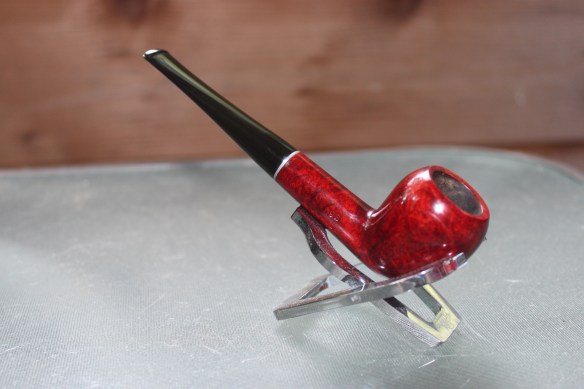
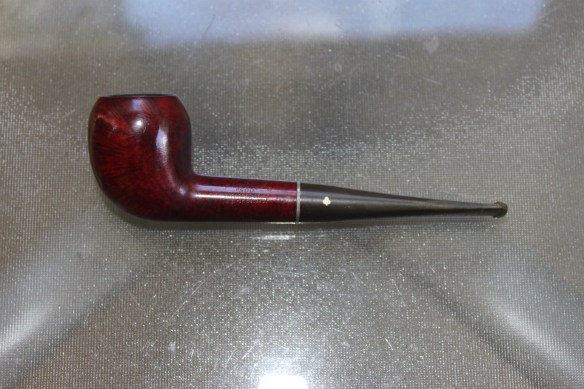
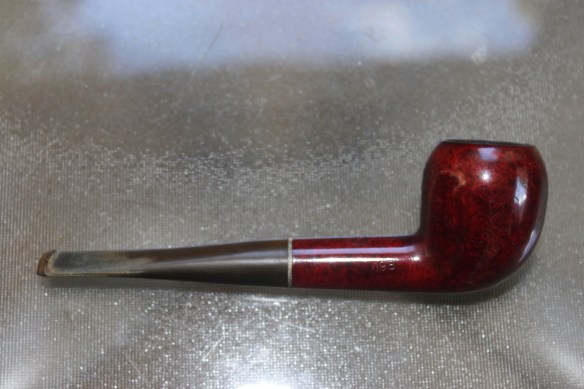
I finished up this Kaywoodie “500” yesterday and wanted to share the process! This pipe didn’t have a ton wrong with it. The bowl was in good shape, the rim had a little blackening/char, and the stem had some oxidation that had to be removed. So here are the “before” pics!
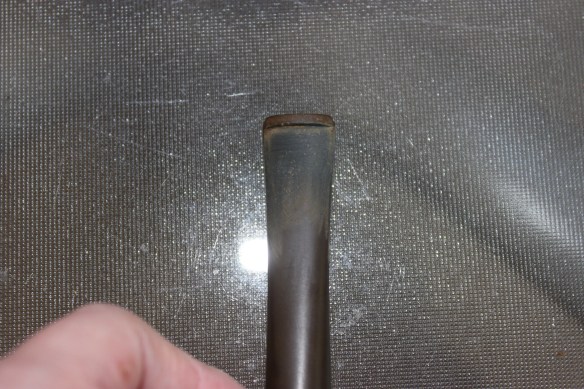
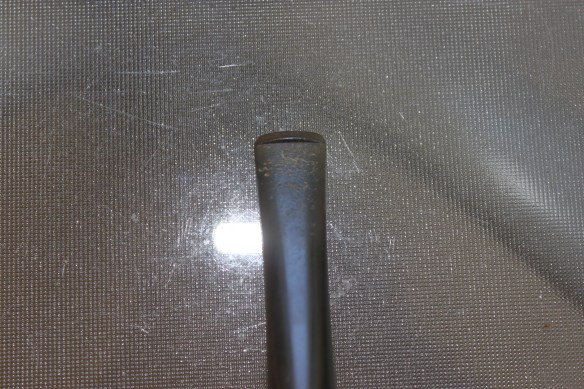

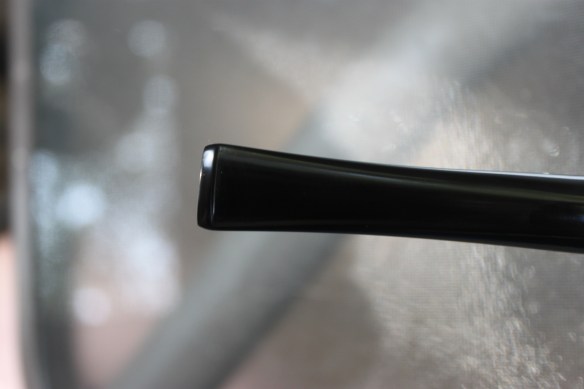
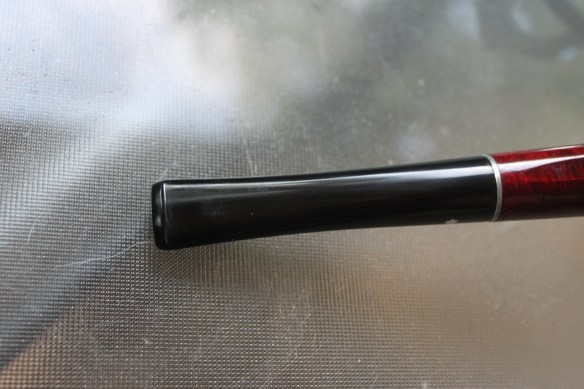
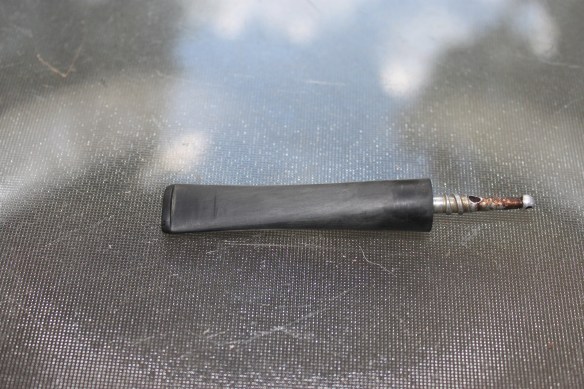
First thing I like to do is remove the oxidation from the stem. Every pipe refurbisher has their own style/way. I prefer to wet sand my stems with 500 grit (removes oxidation), 1000 grit (to smooth), and 1200 (to smooth). Here is what it looks like after that!

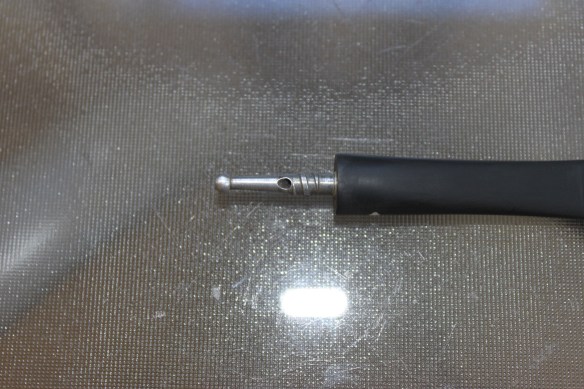
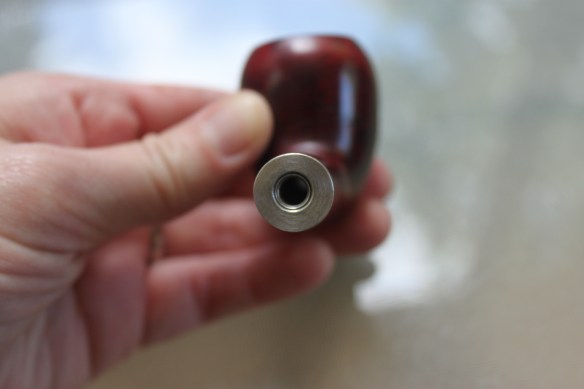
Then I steel wool the metal tenon to get off grime and run vodka/pipe cleaners through the stem.
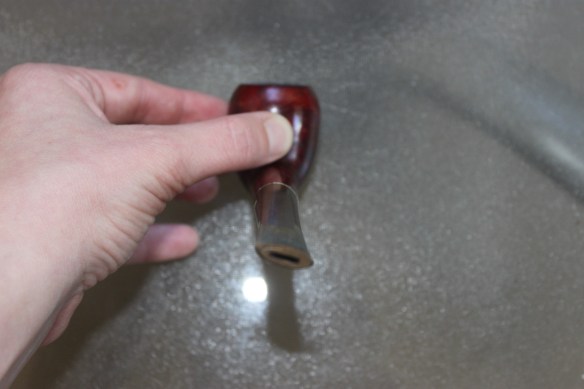
I also steel wool the metal part in the shank of the bowl. These parts can get corroded or grimy. Steel wool shines it up quickly.
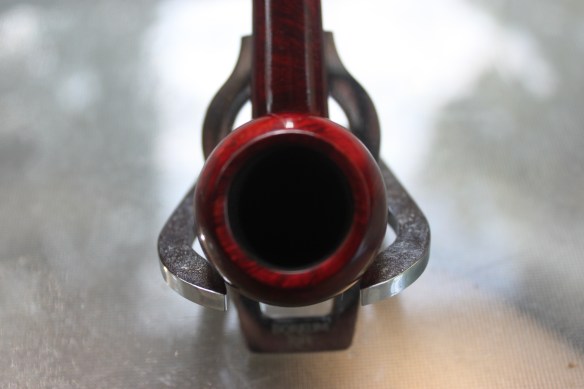
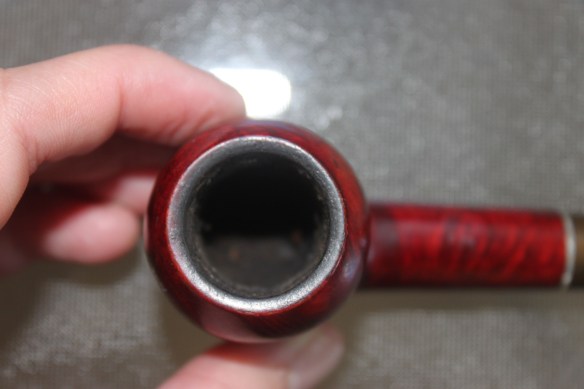
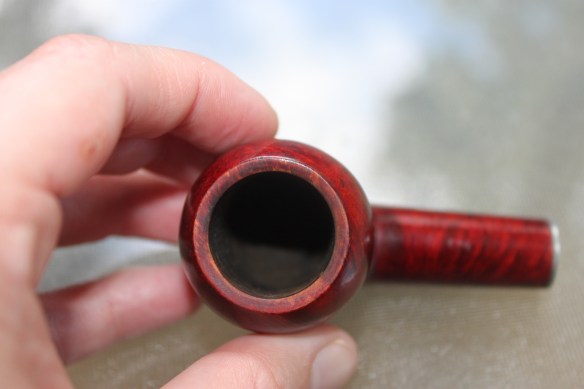
Next step is to tackle the rim. It always depends on the severity of the damage to the rim but this one just needed some light sanding with 1200 grit. Also, ream the charcoal/buildup out of the bowl to make it nice and smooth. Clean with q-tips and vodka.
Depending on how much sanding has to be done on the rim, sometimes it has to be stained/re-finished. So, I made sure that the rim matches bowl in color and shine.
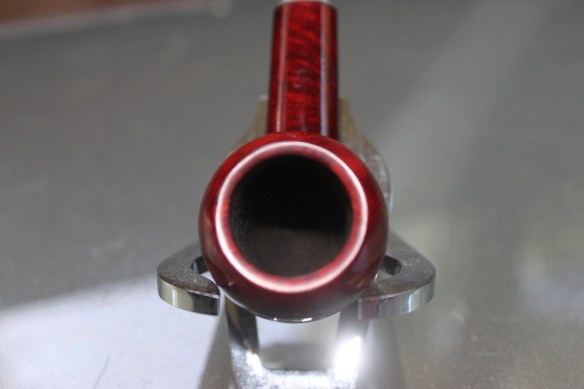
Put it all together, buff it with red tripoli then finish buffing with carnauba wax and BOOM! You have yourself a beautiful finished refurb!