Sirena Lago Green Pipe Refurb

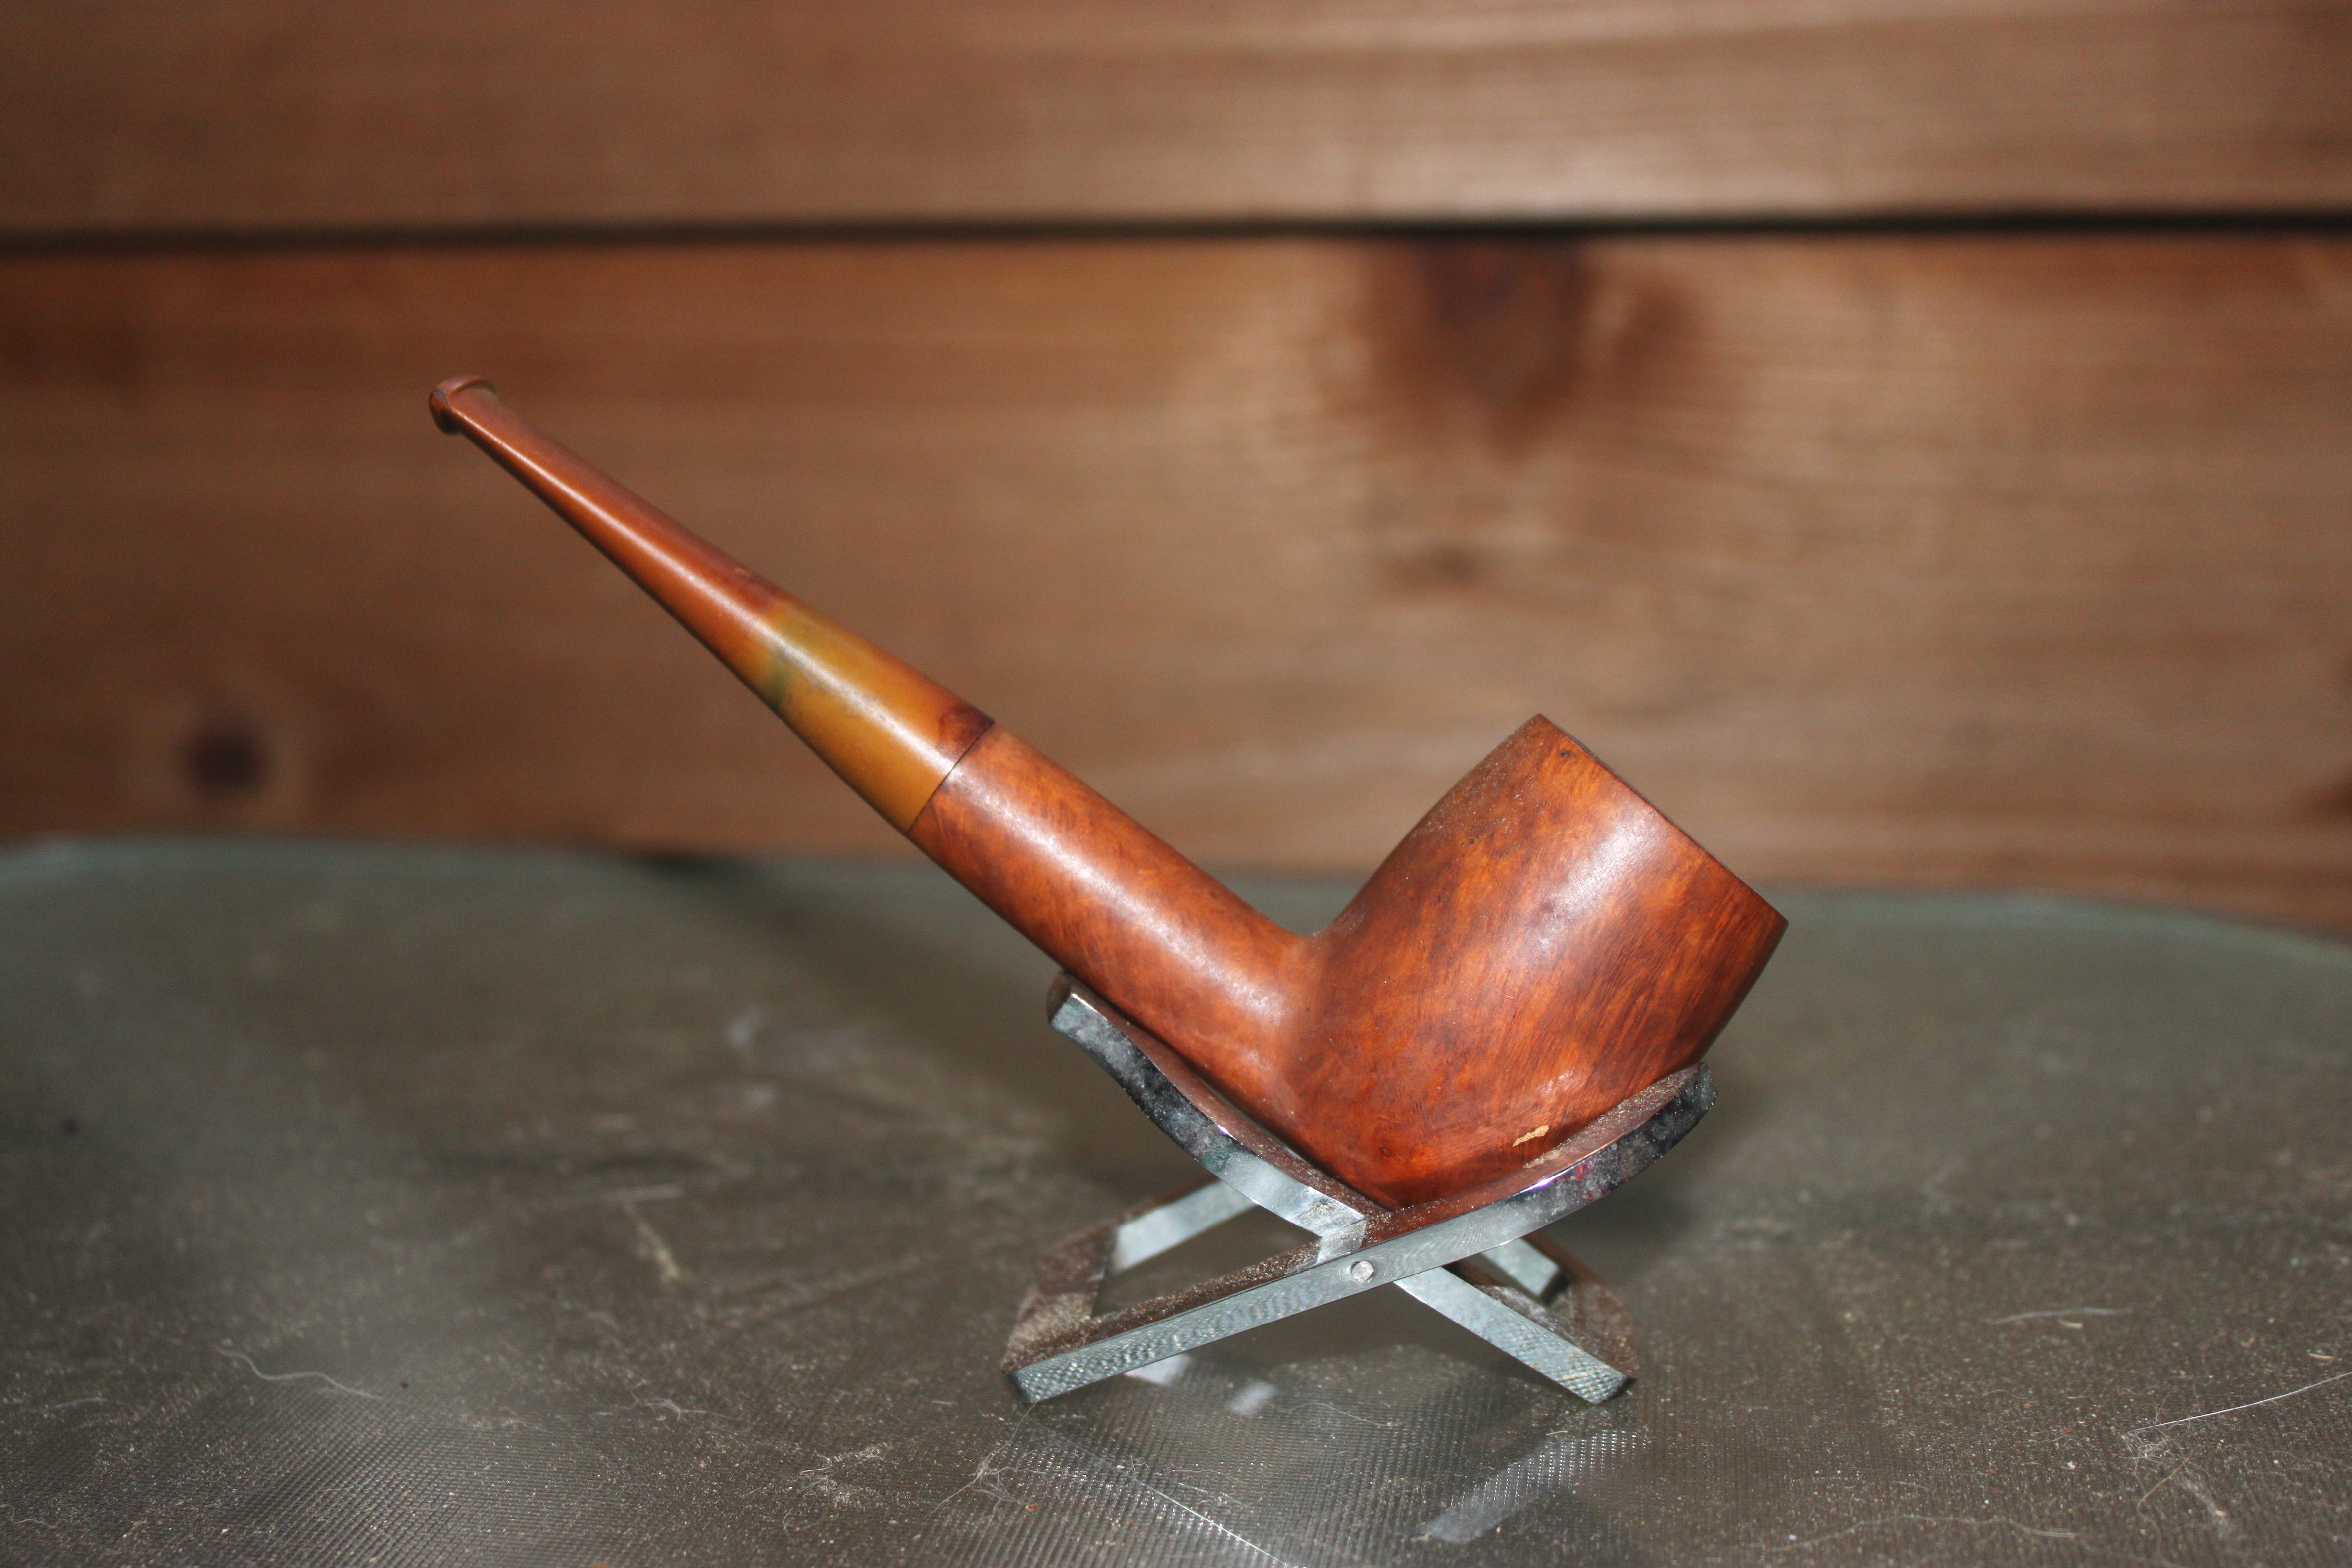
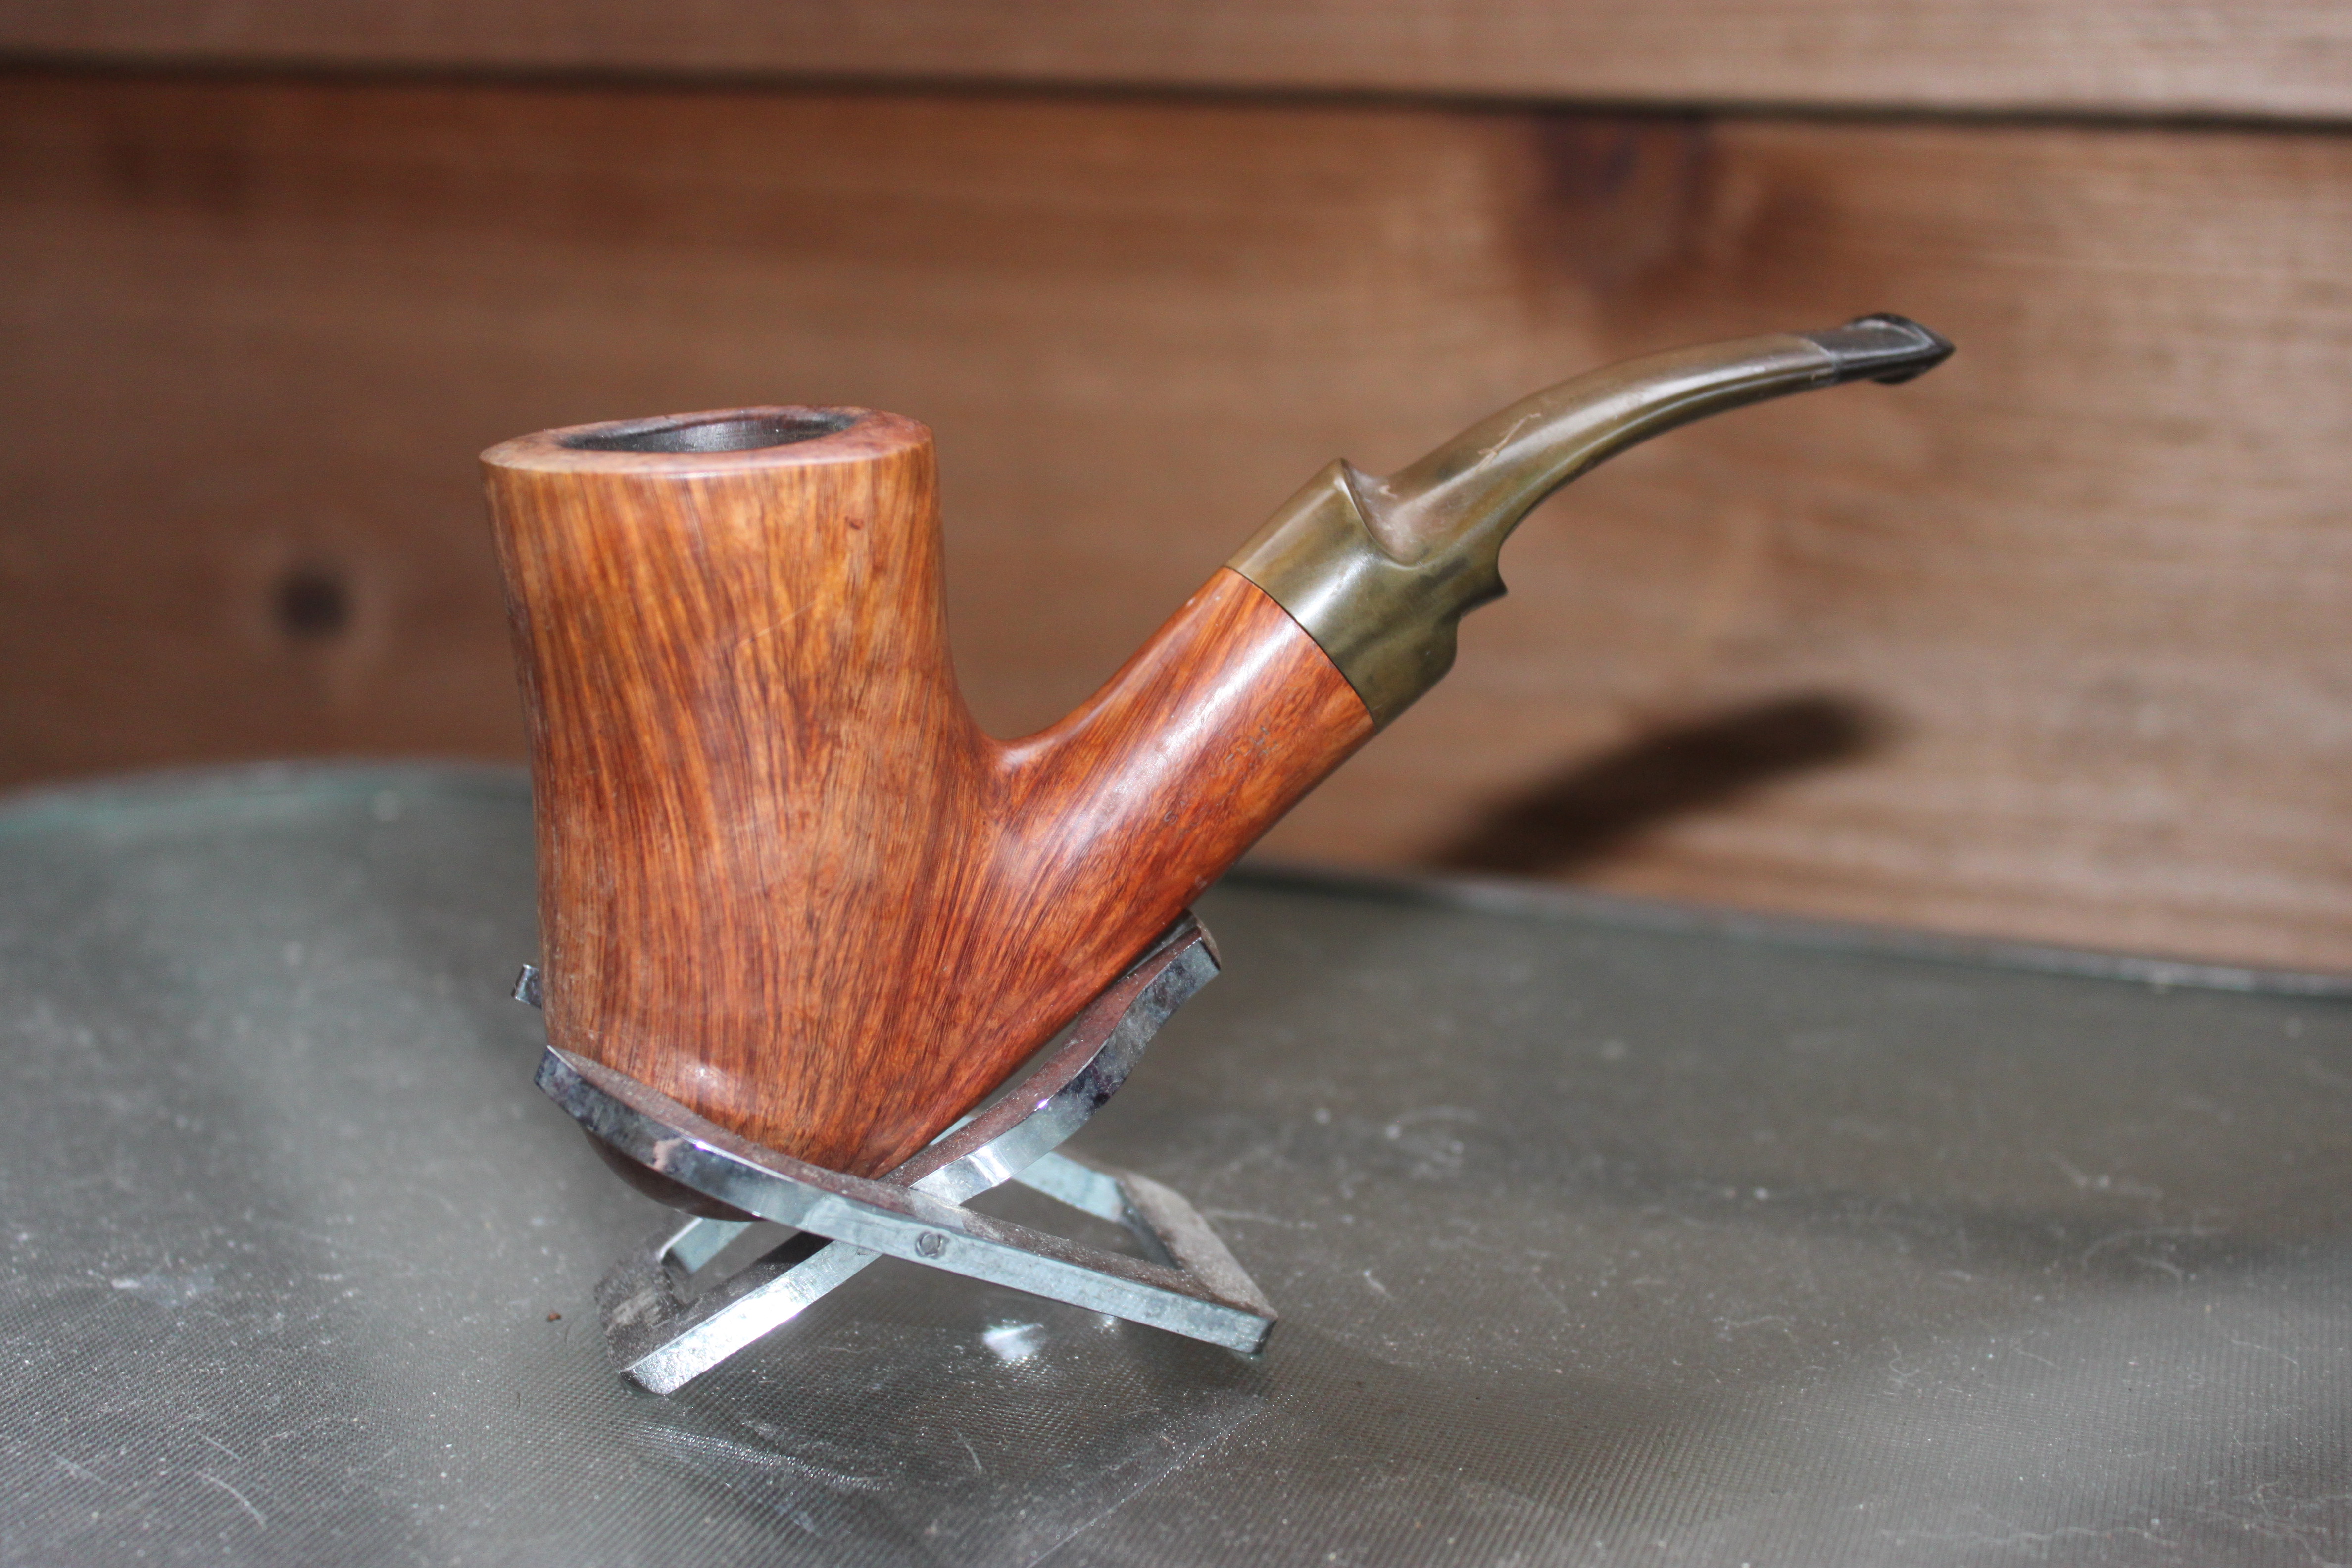
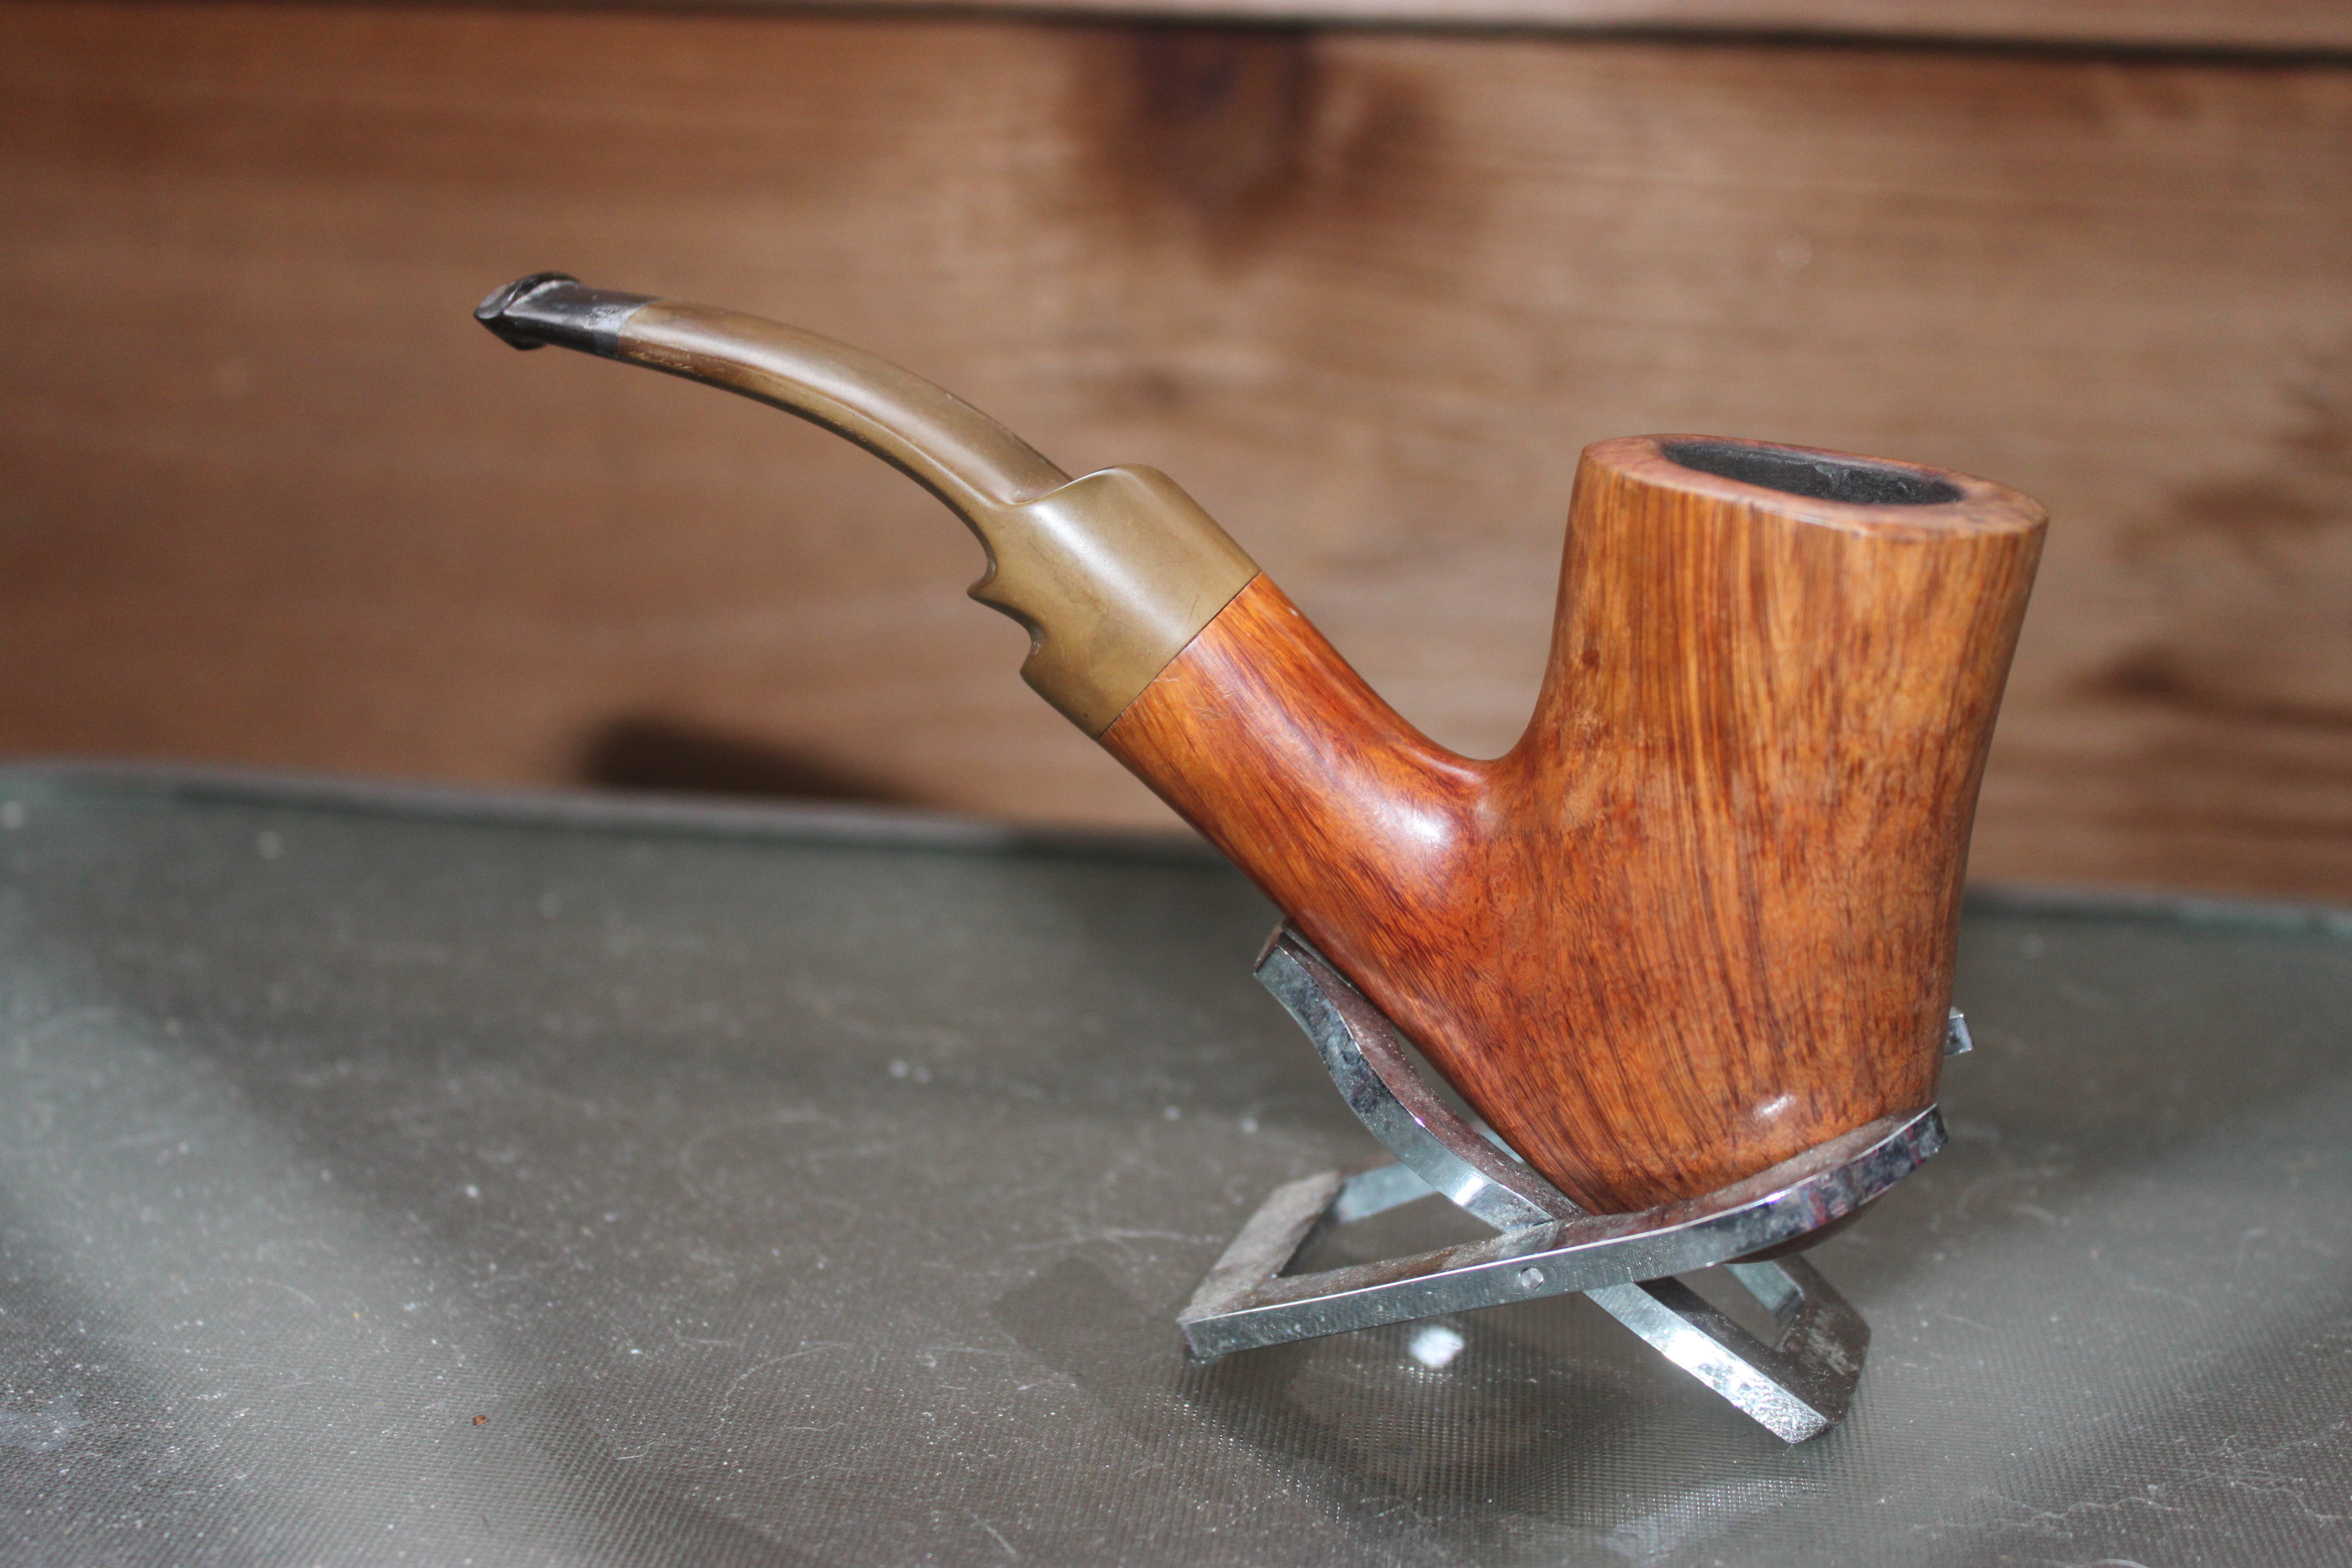
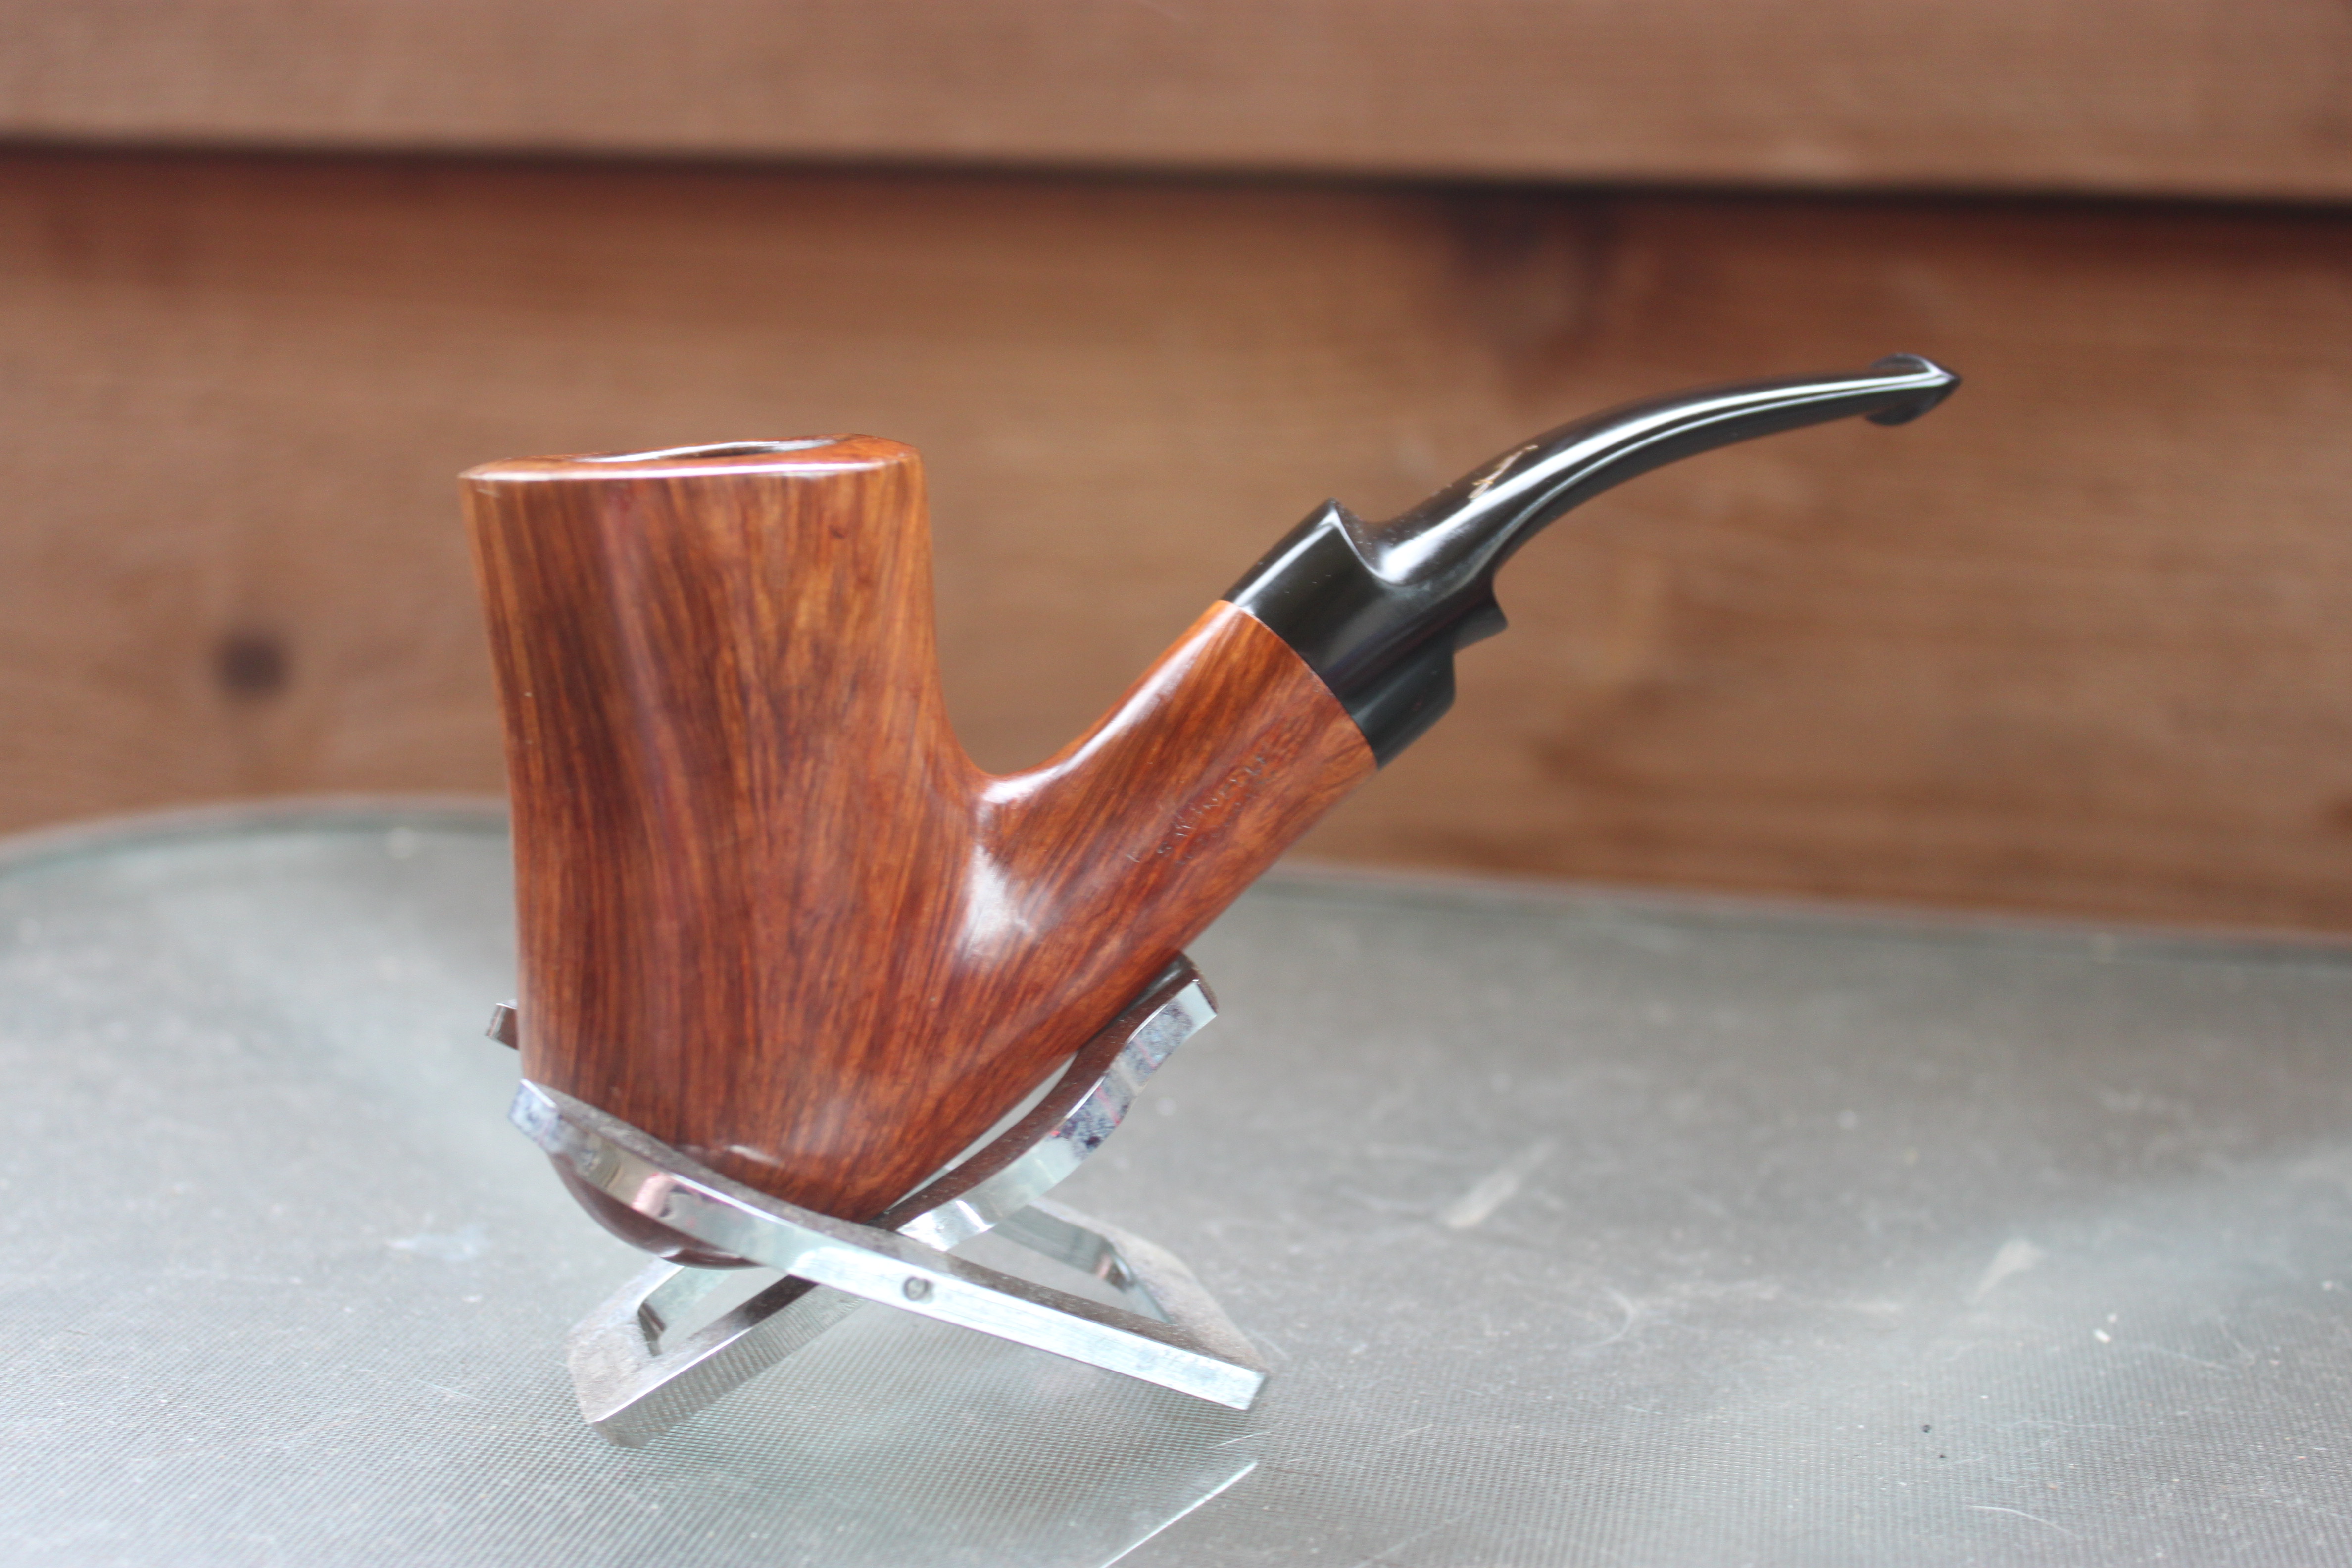
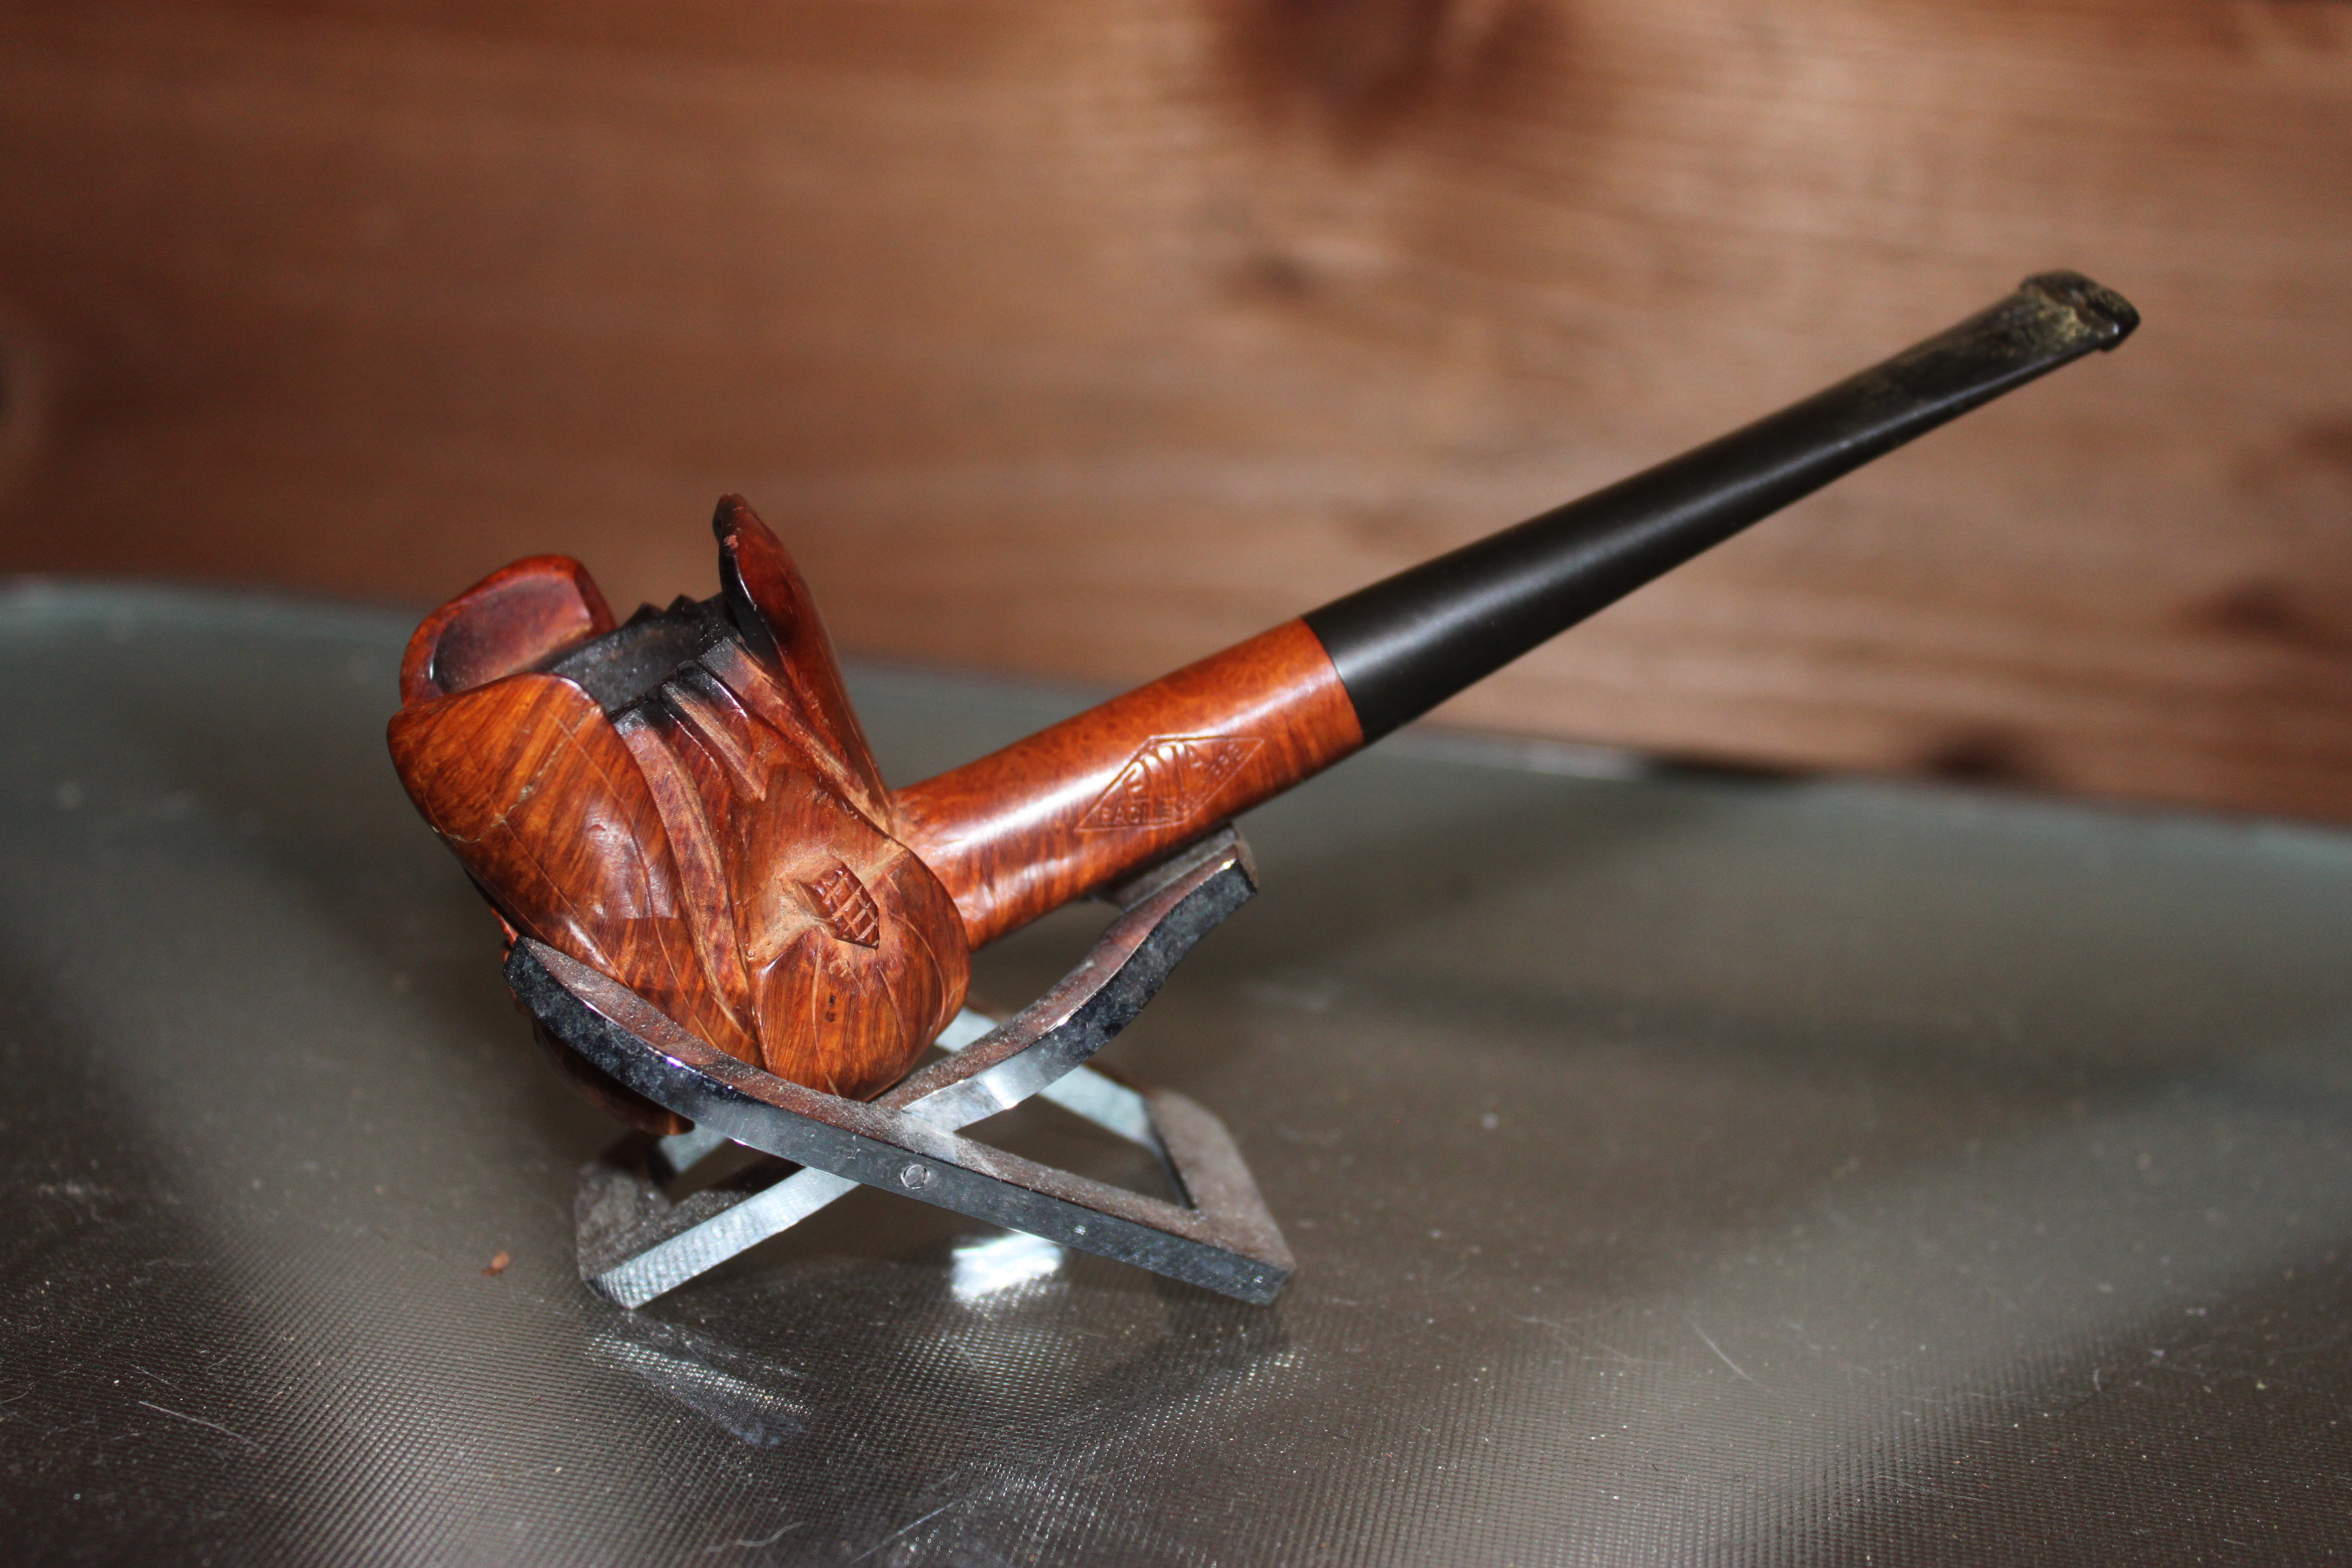
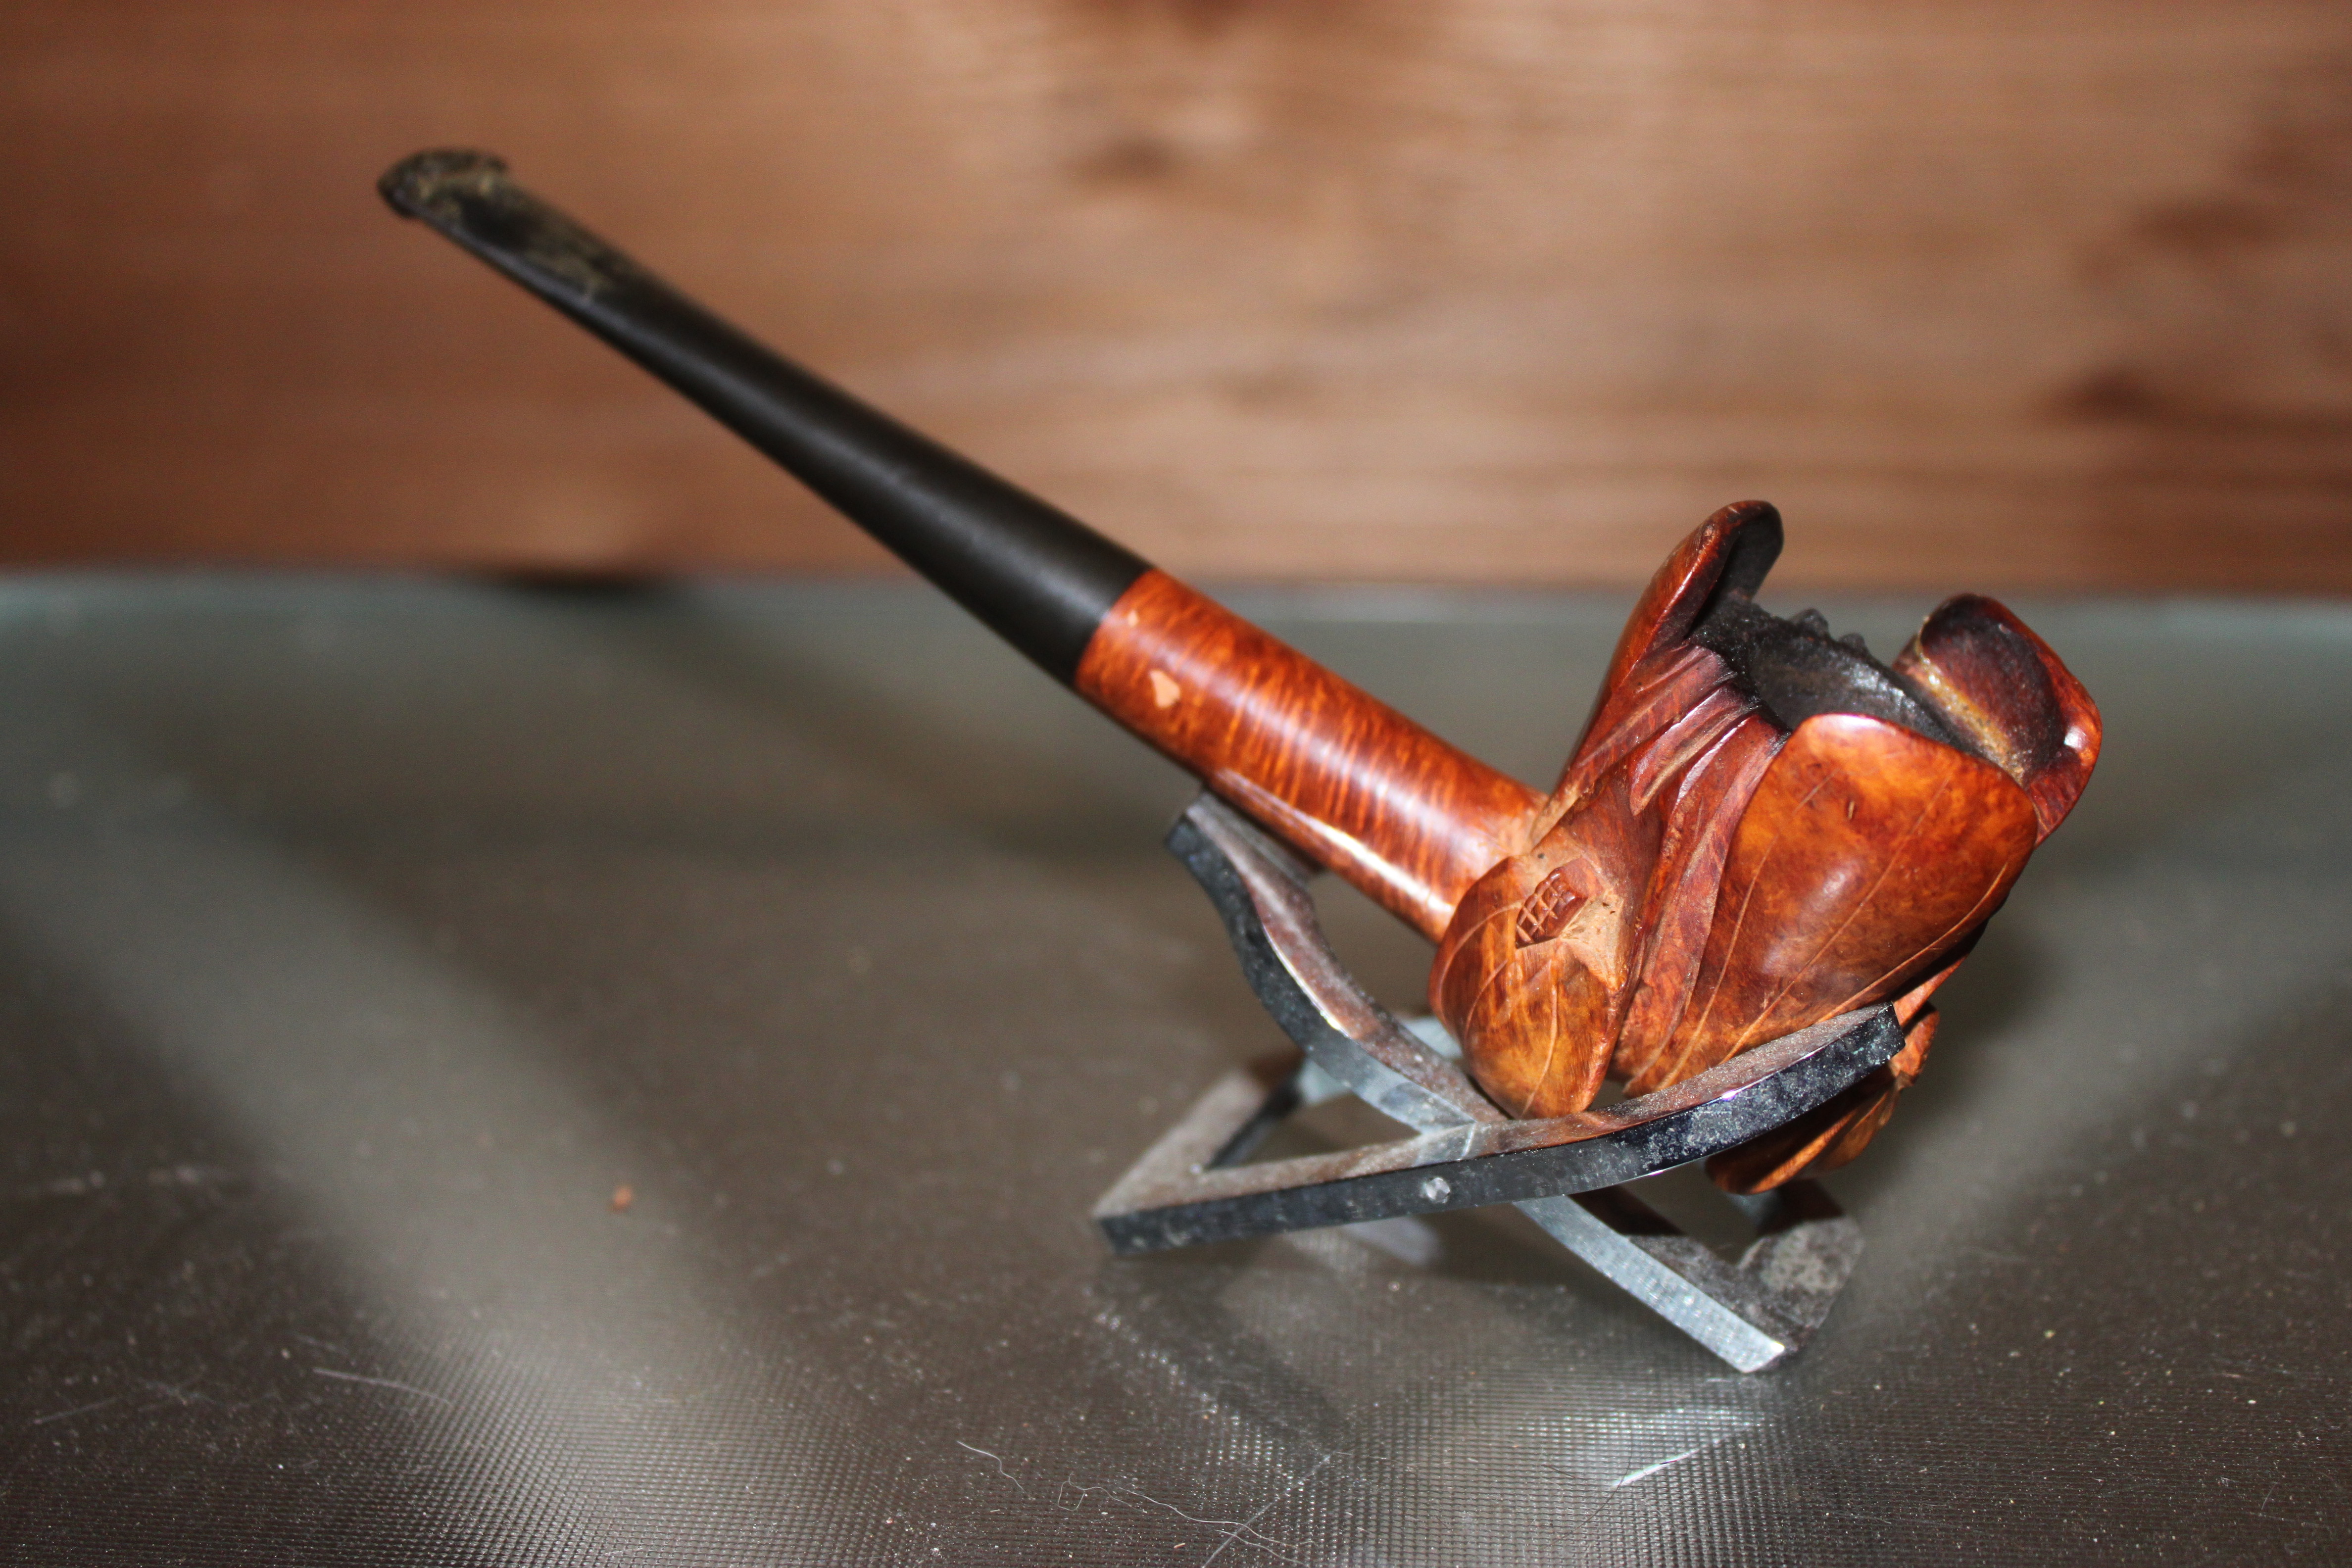
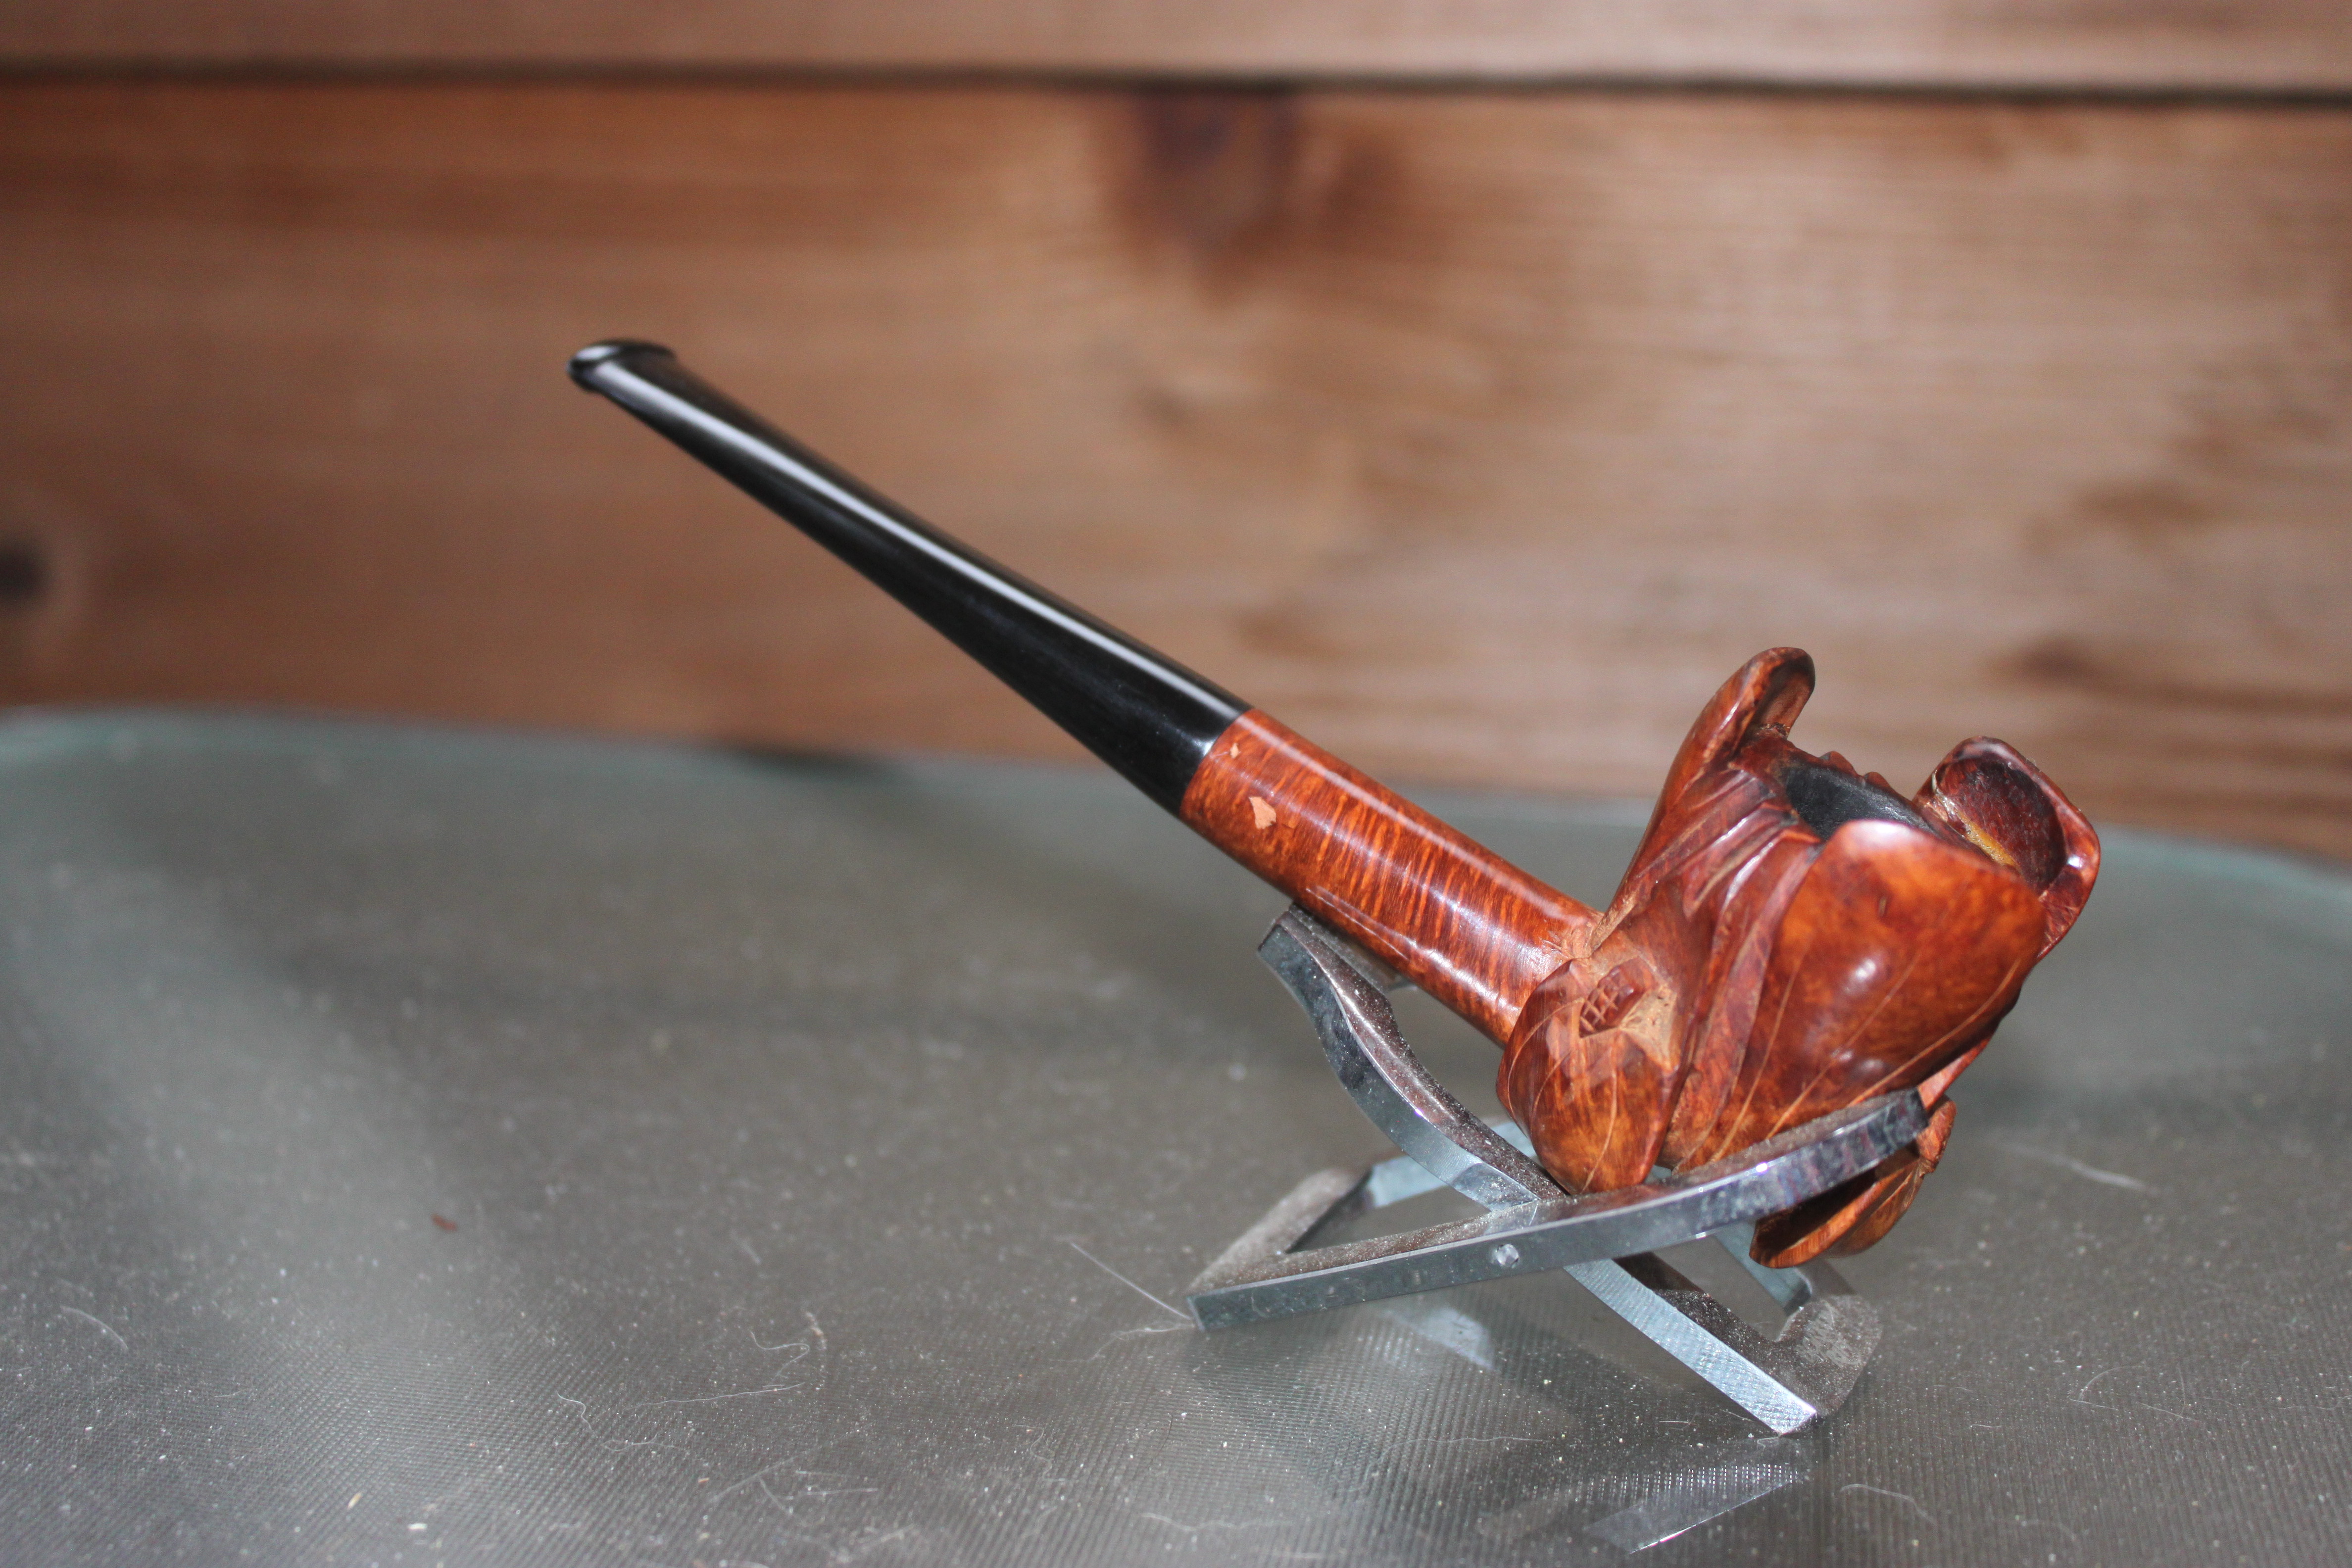
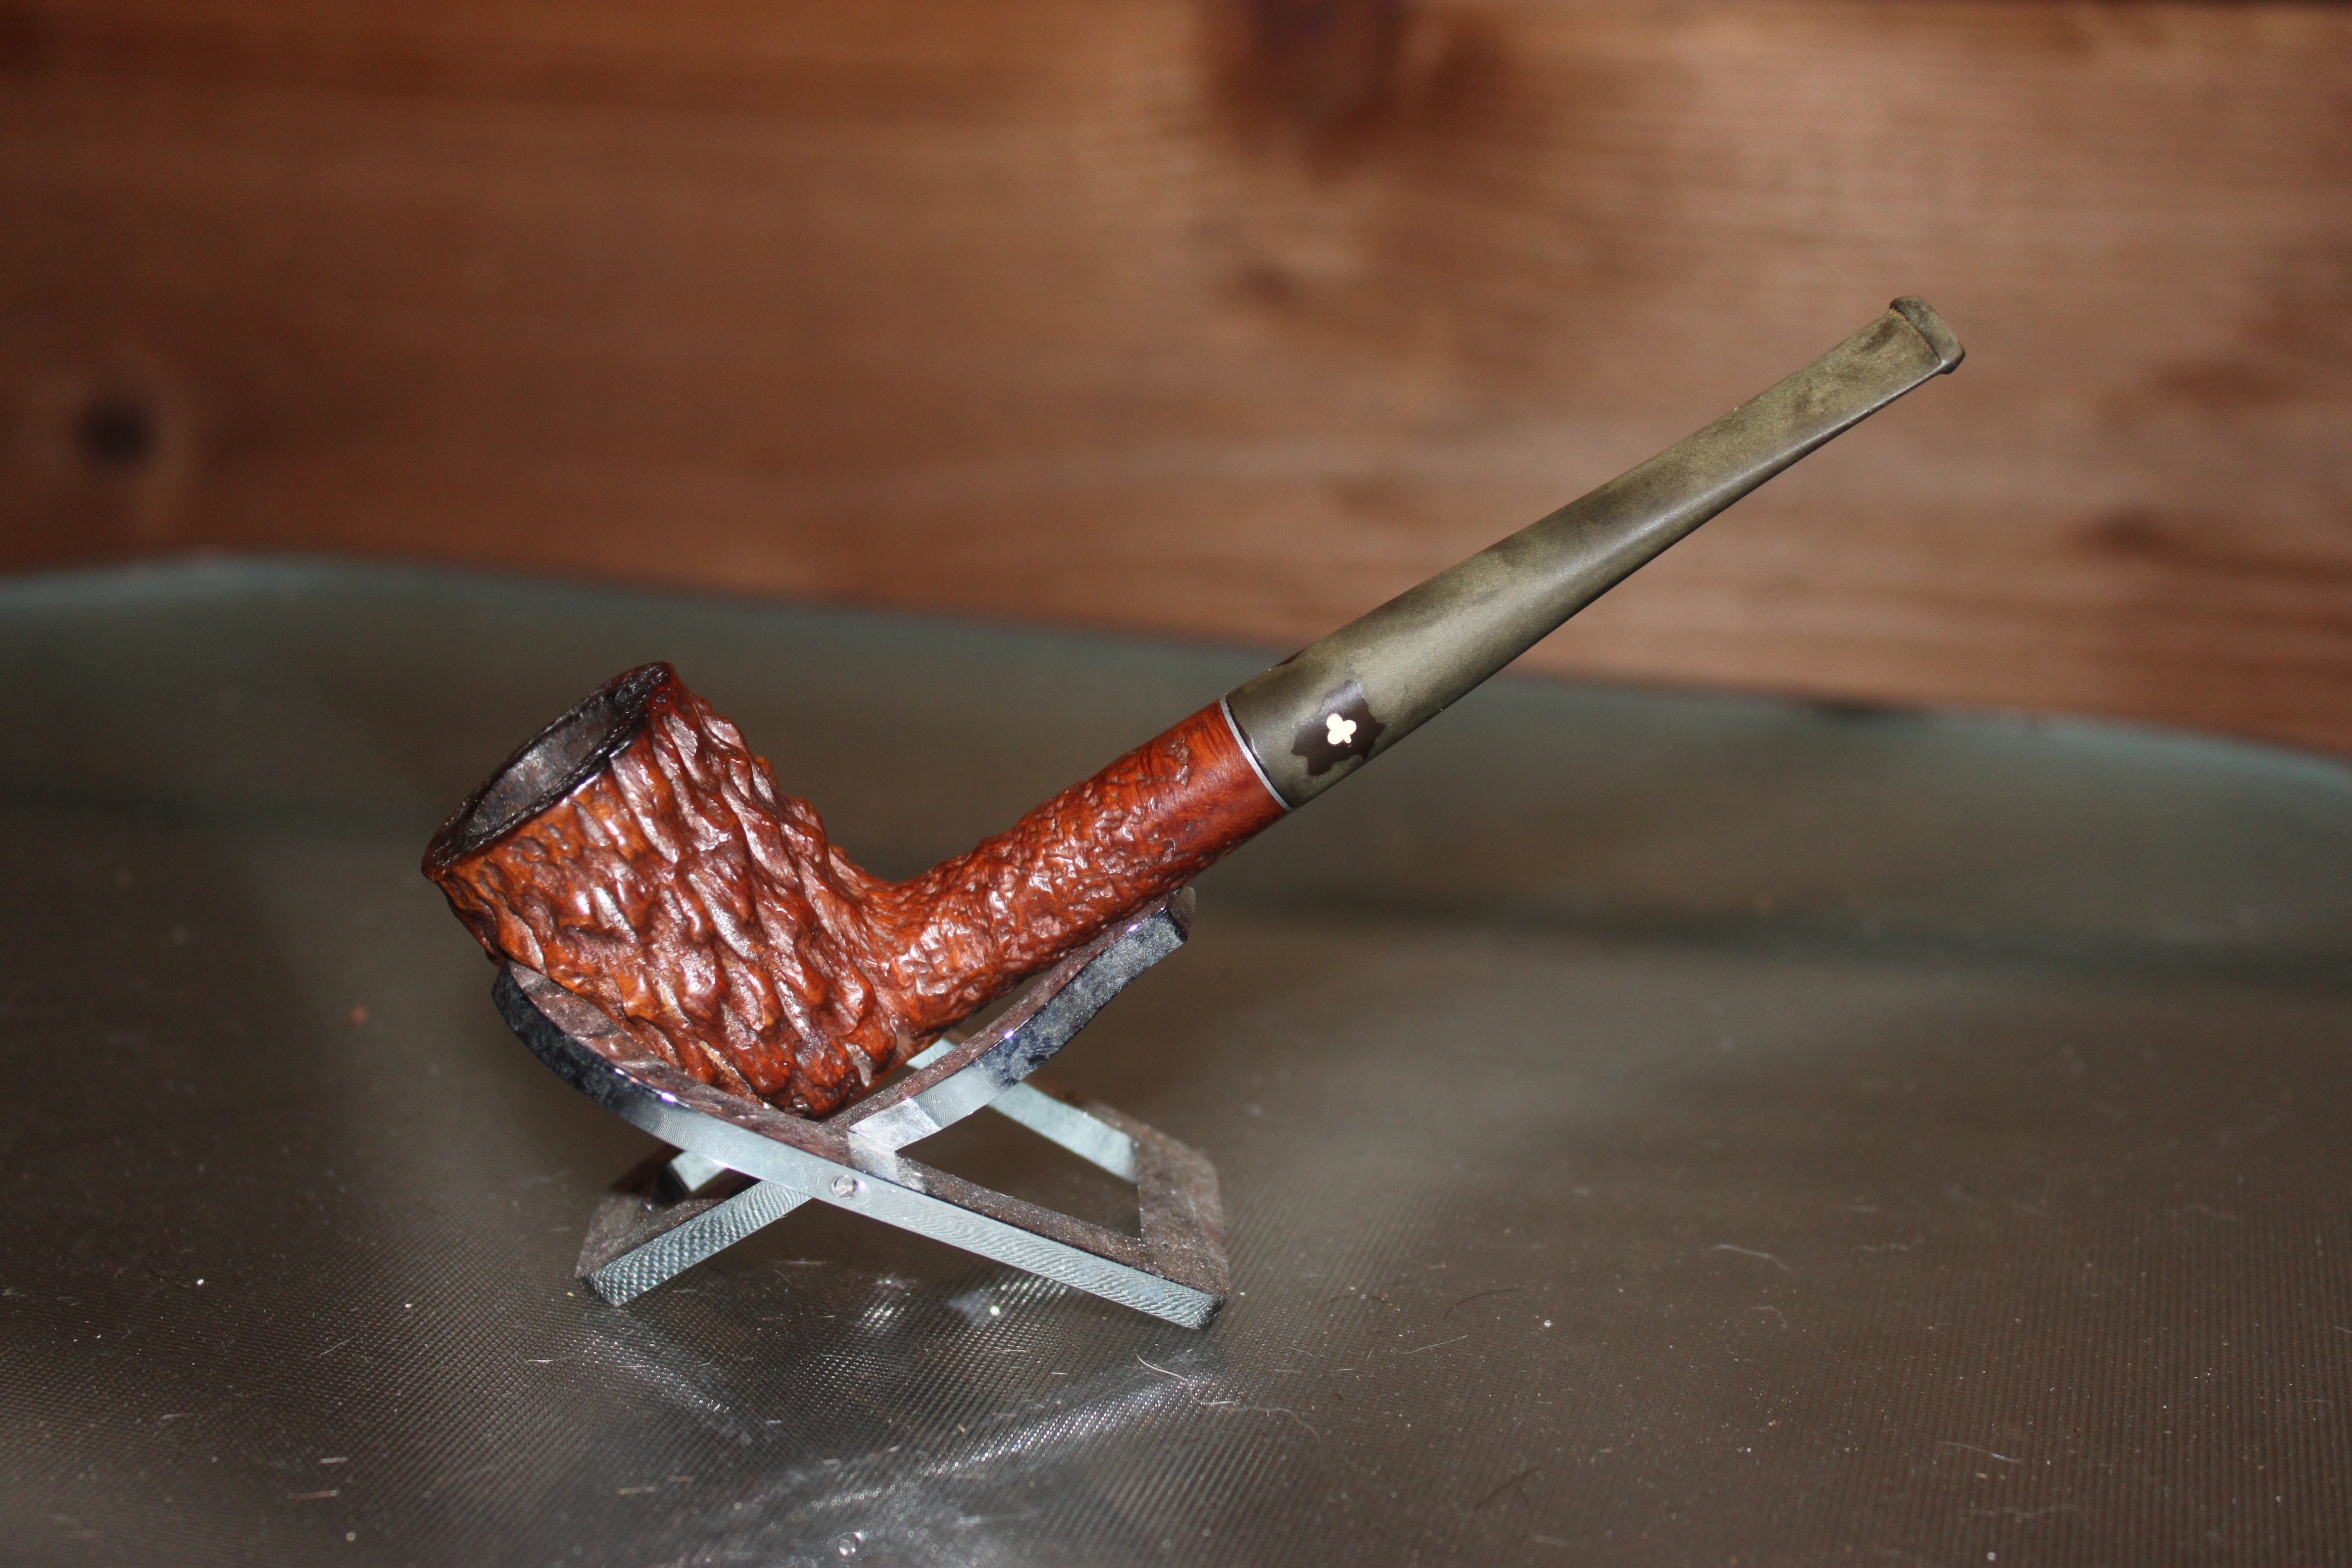
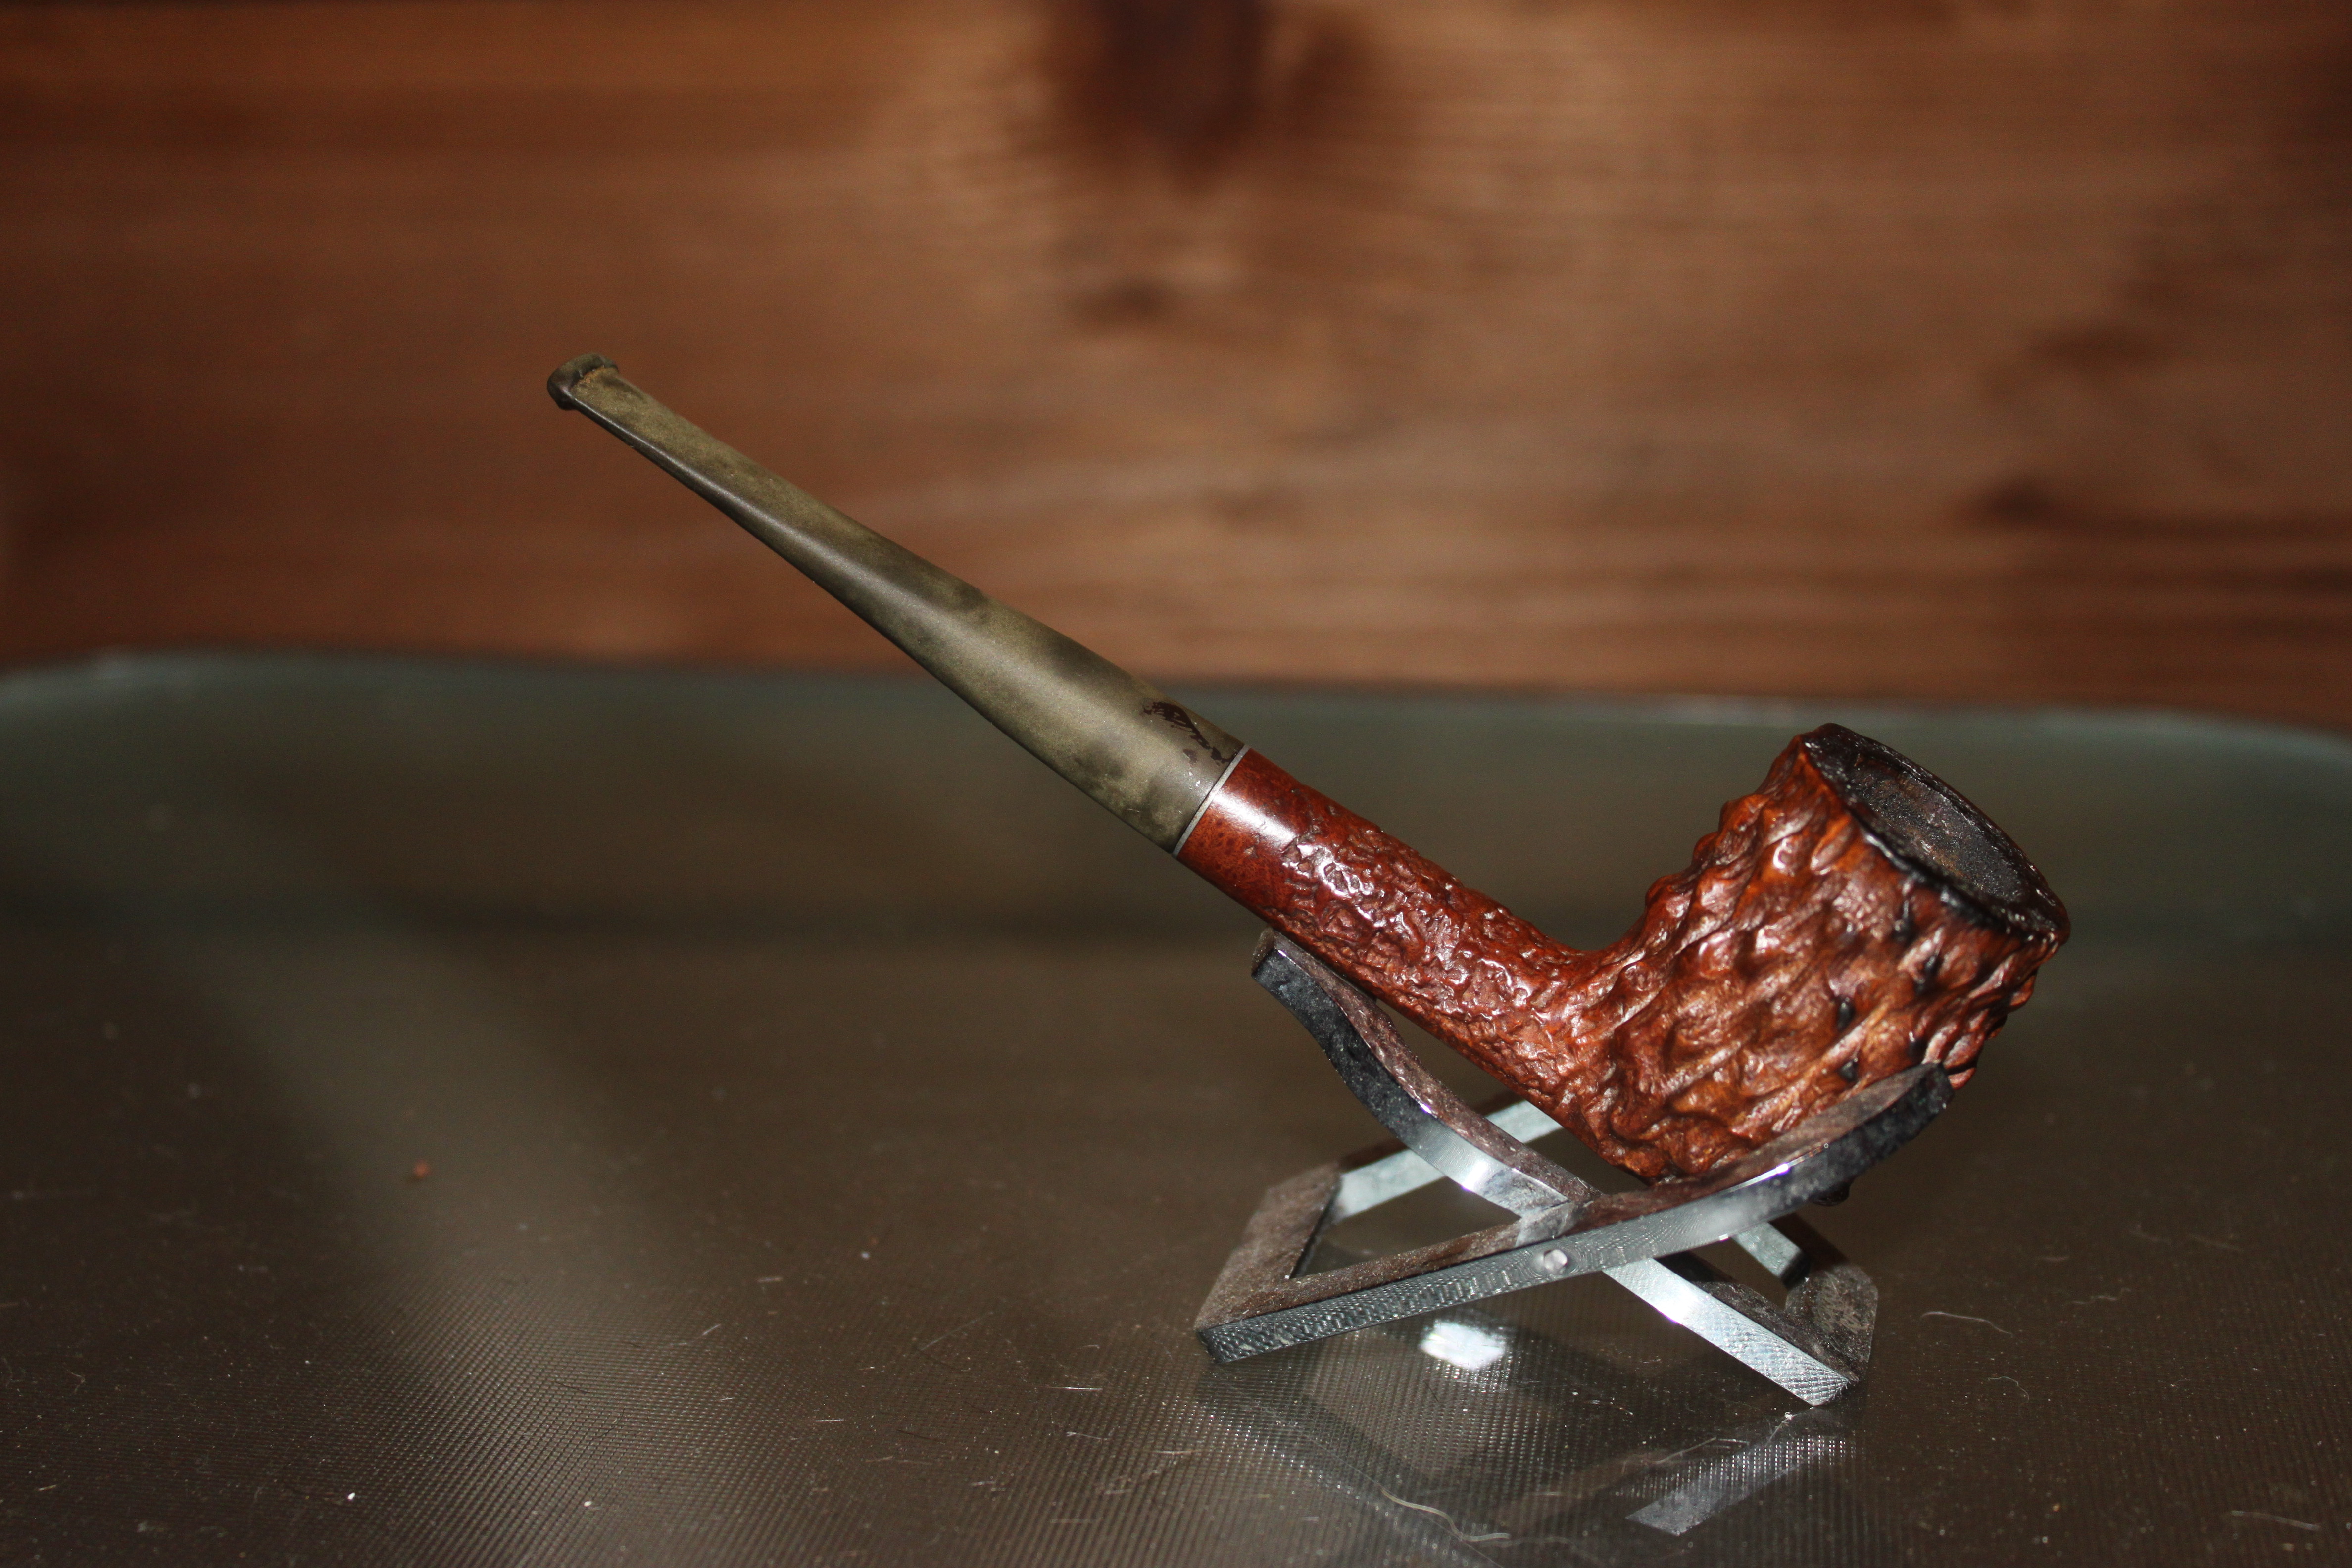
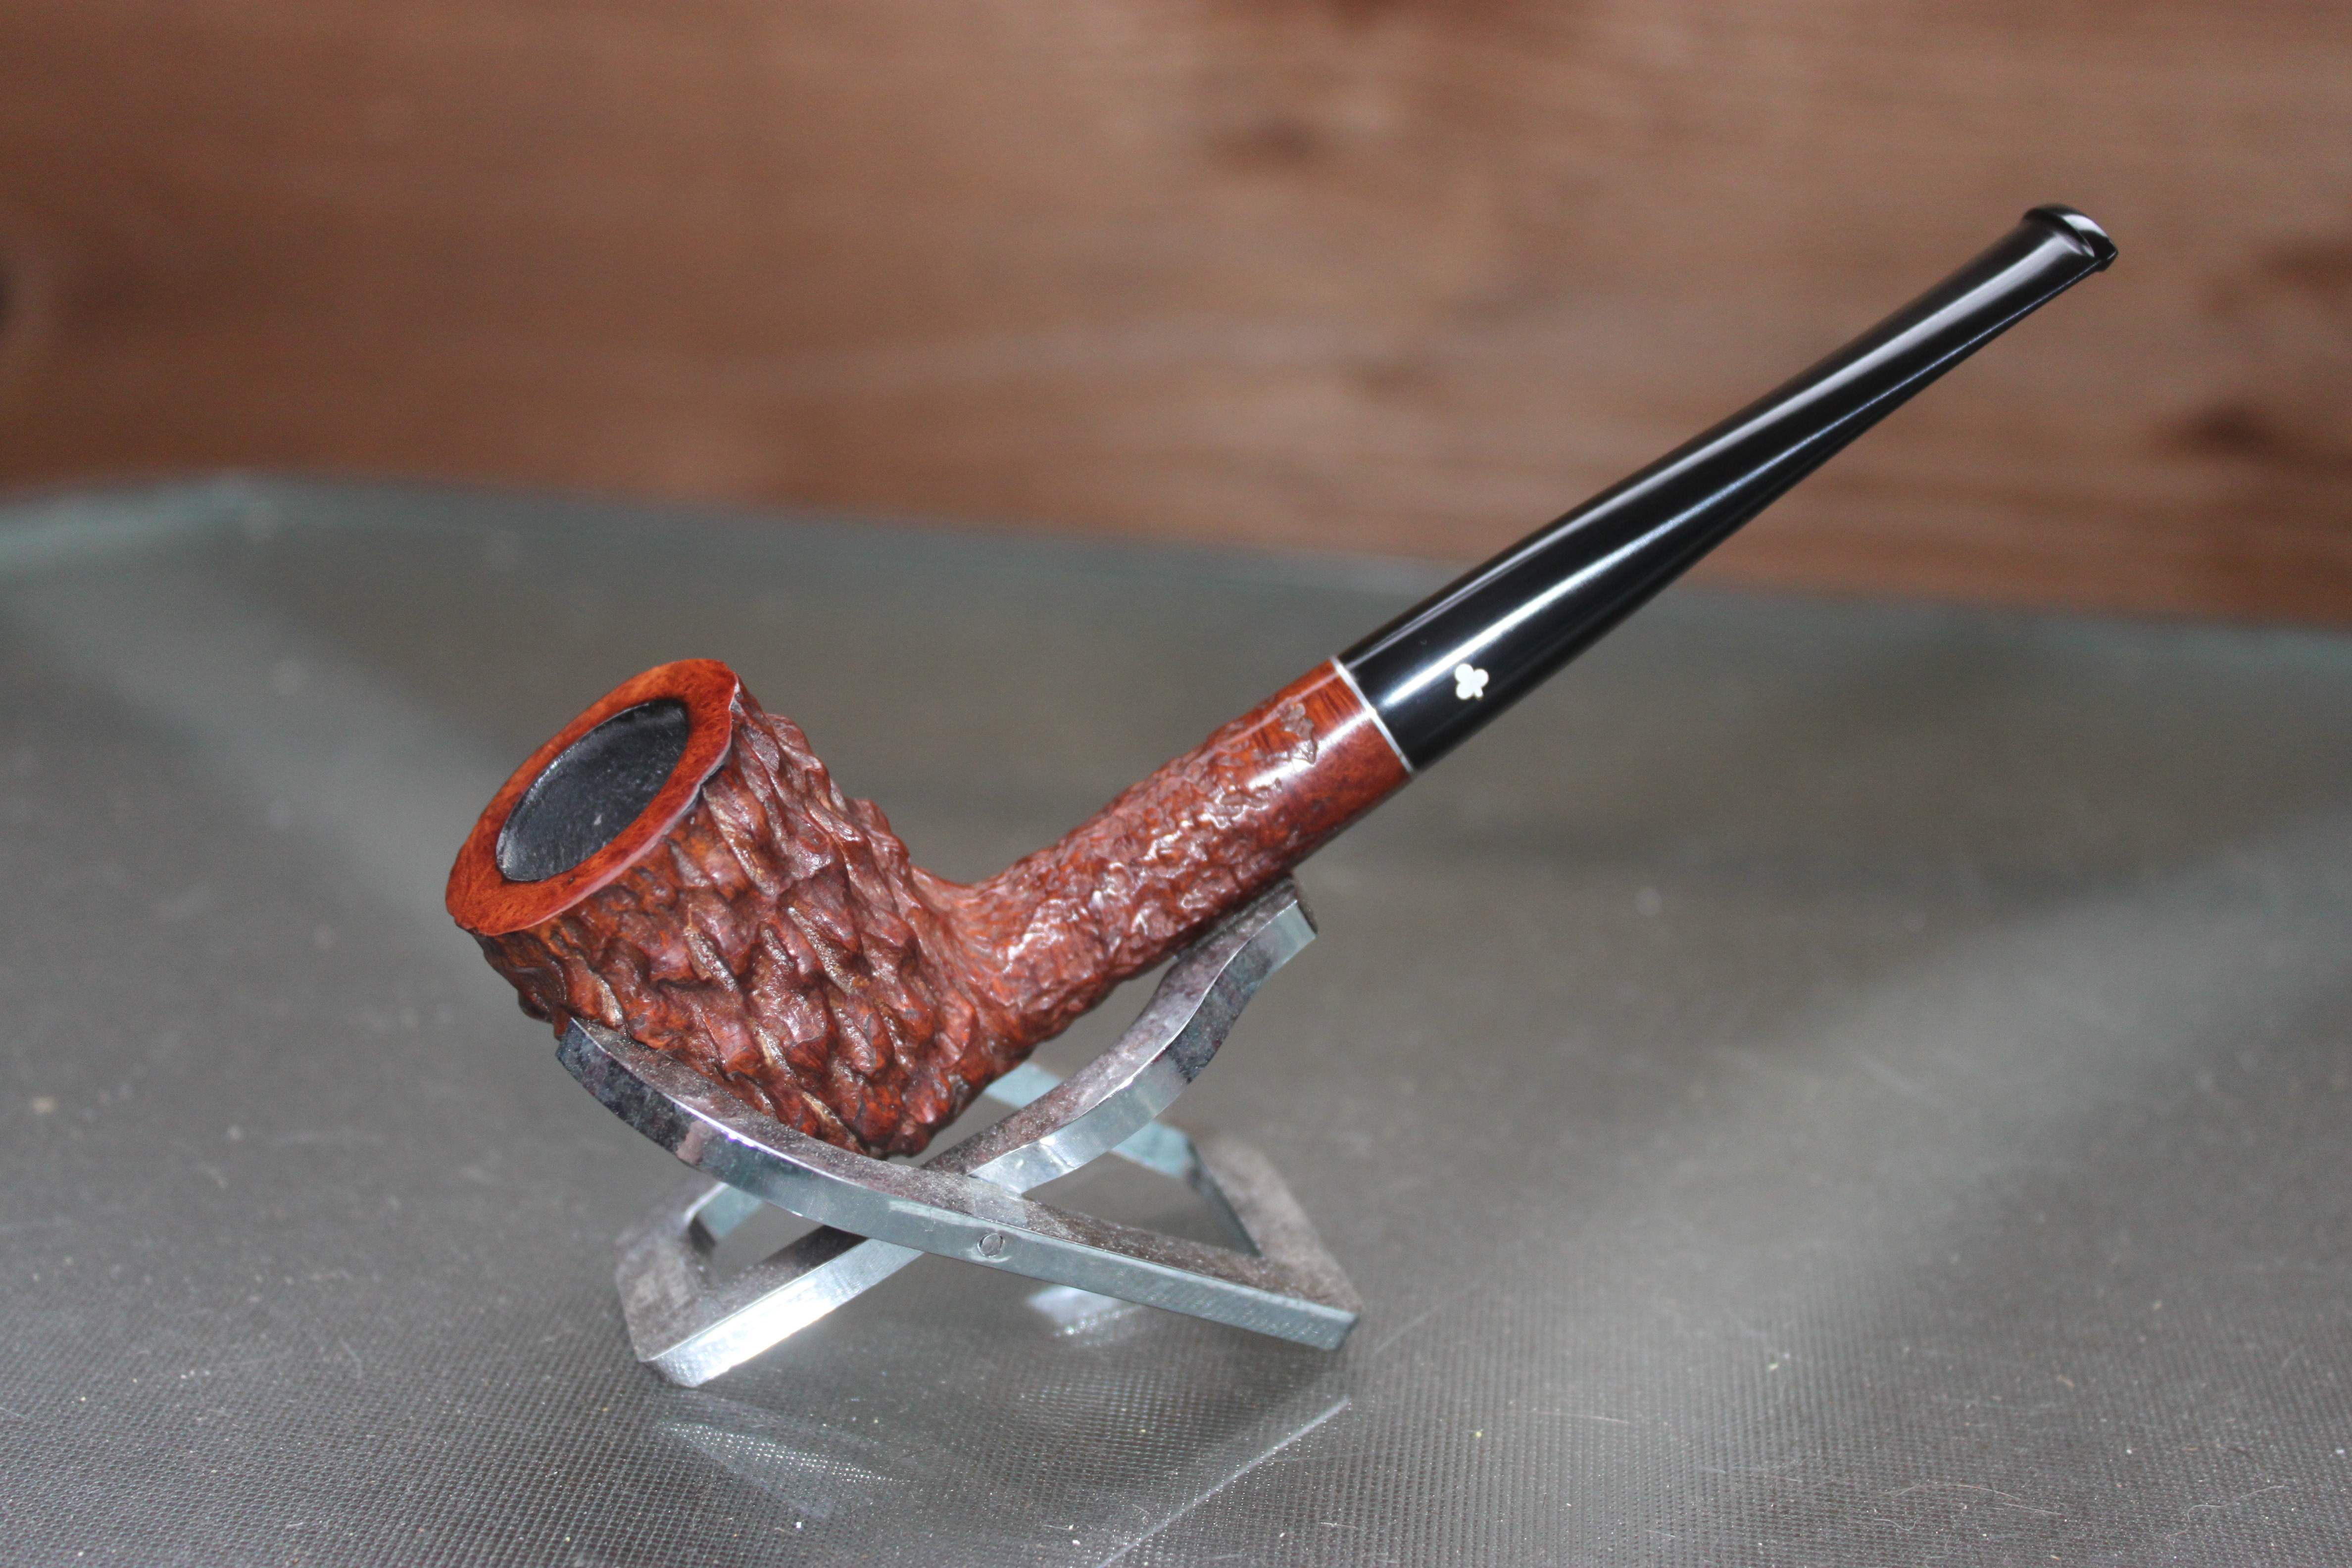
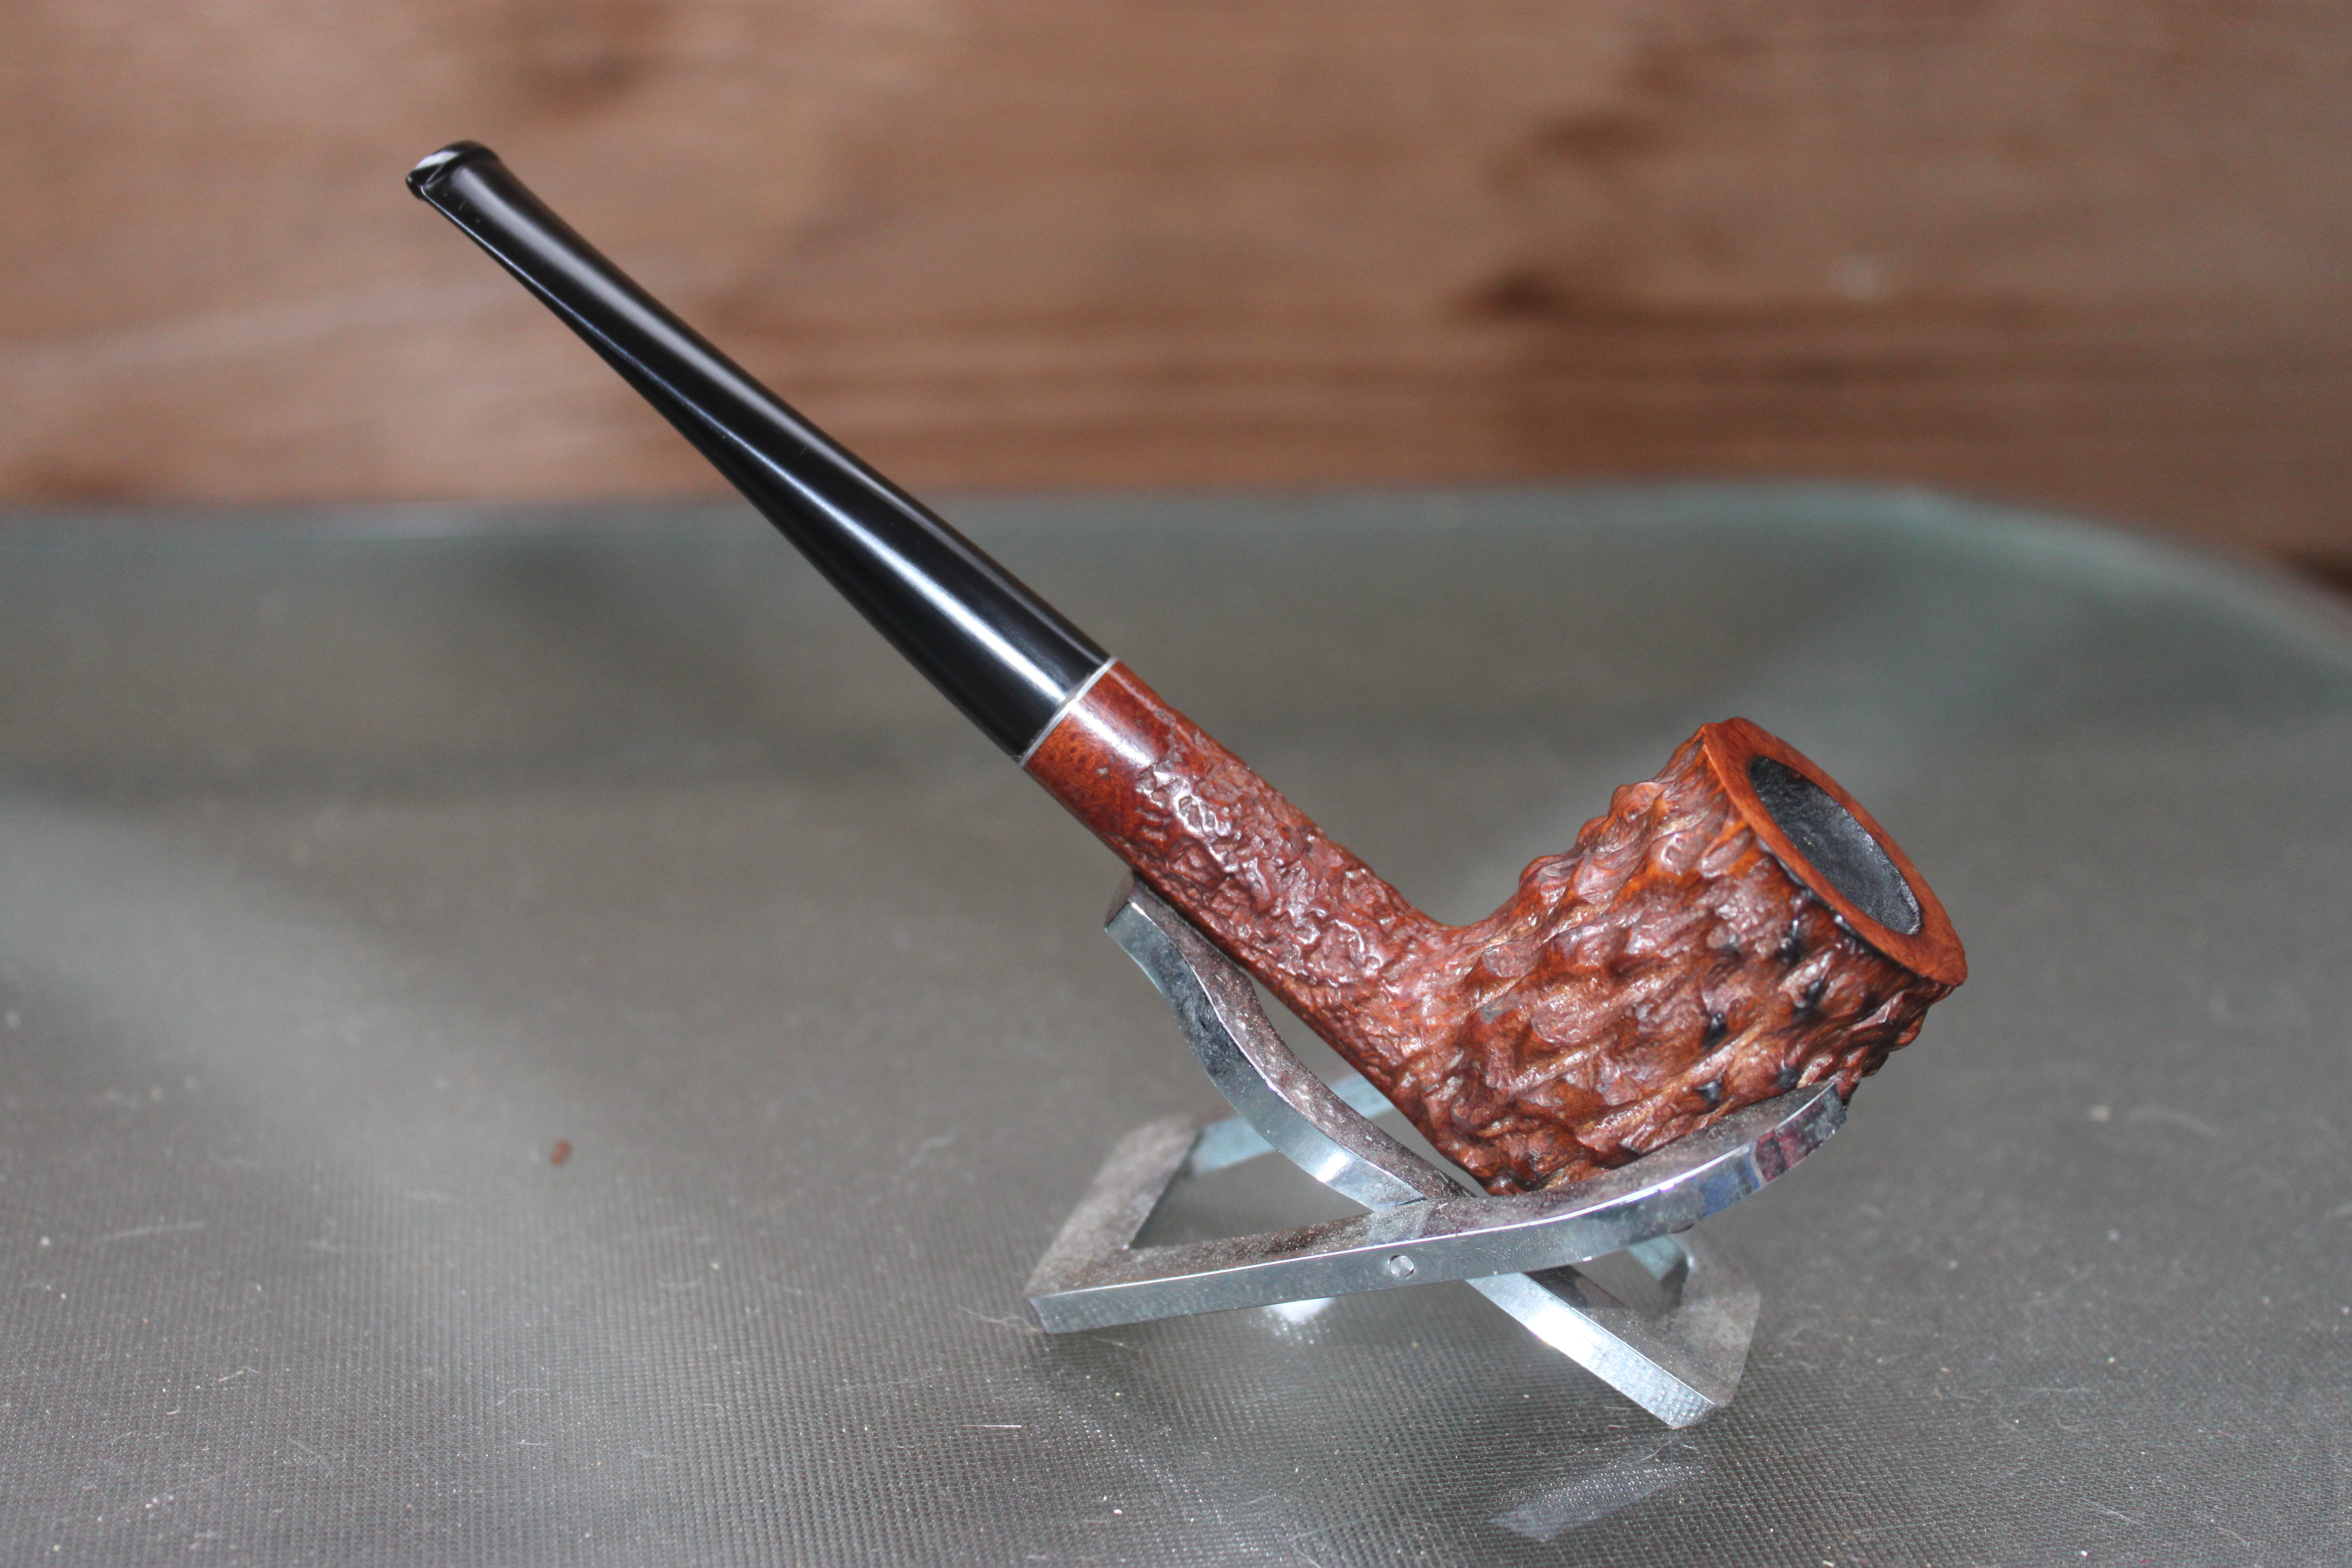
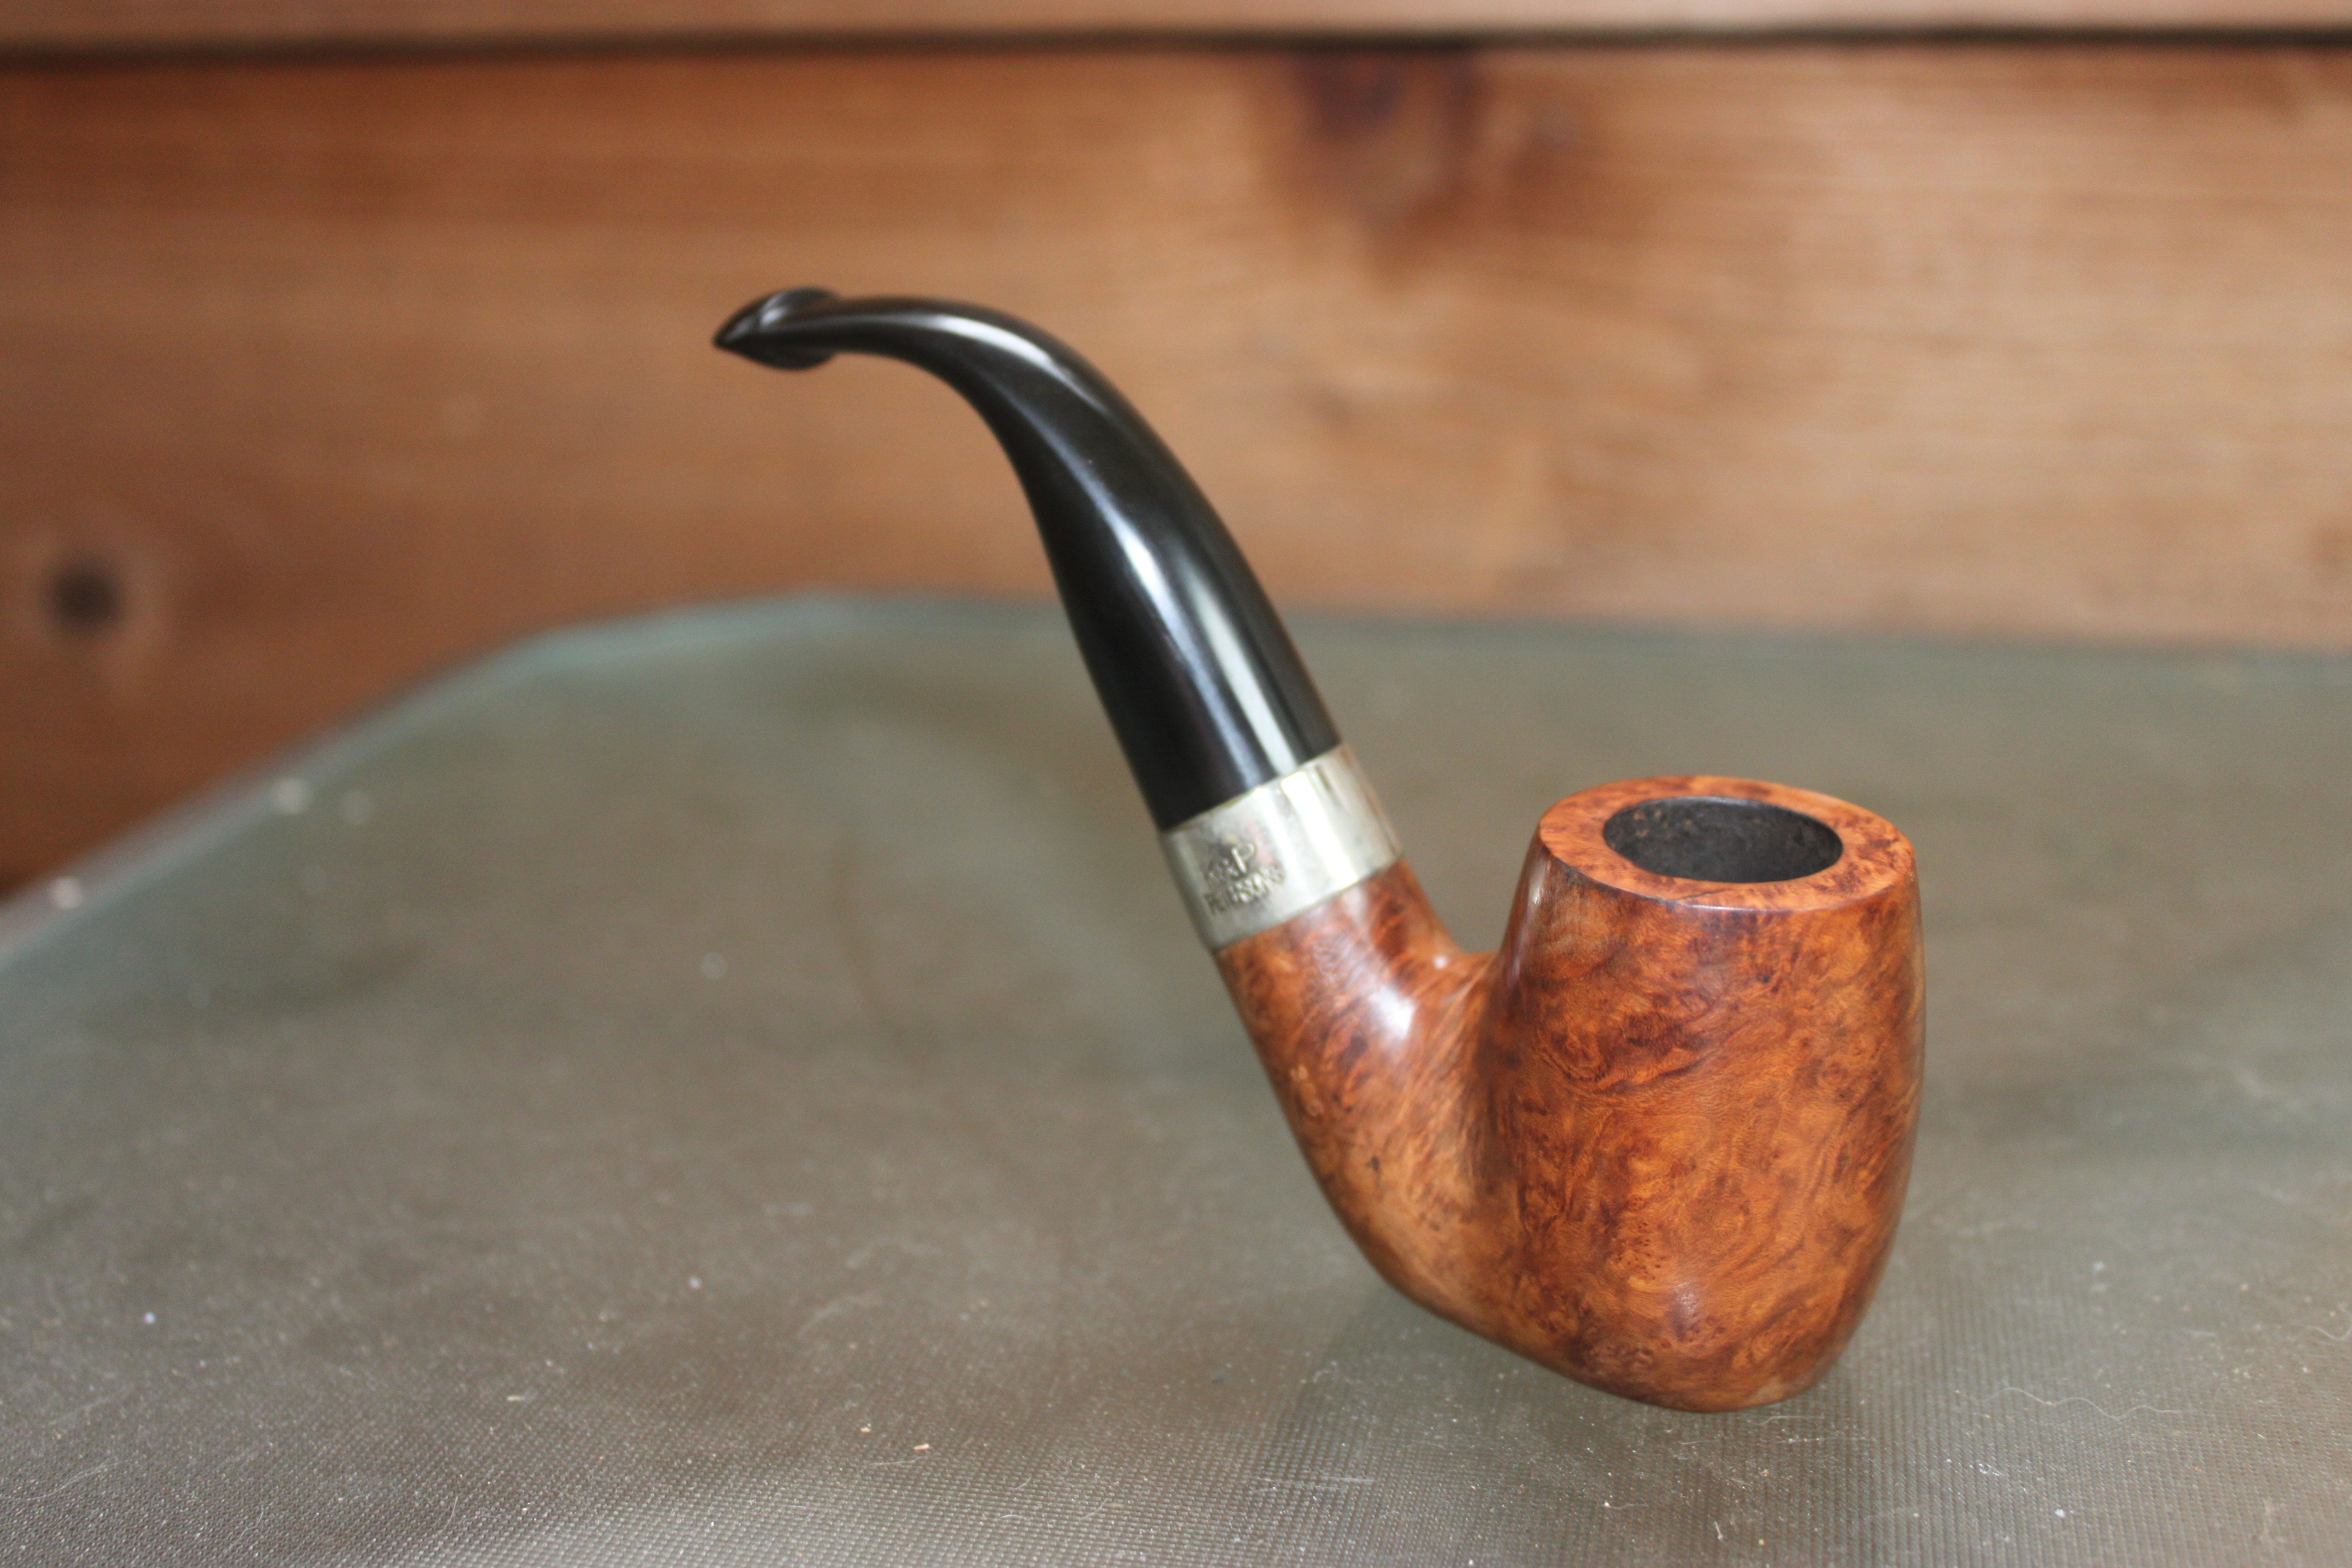
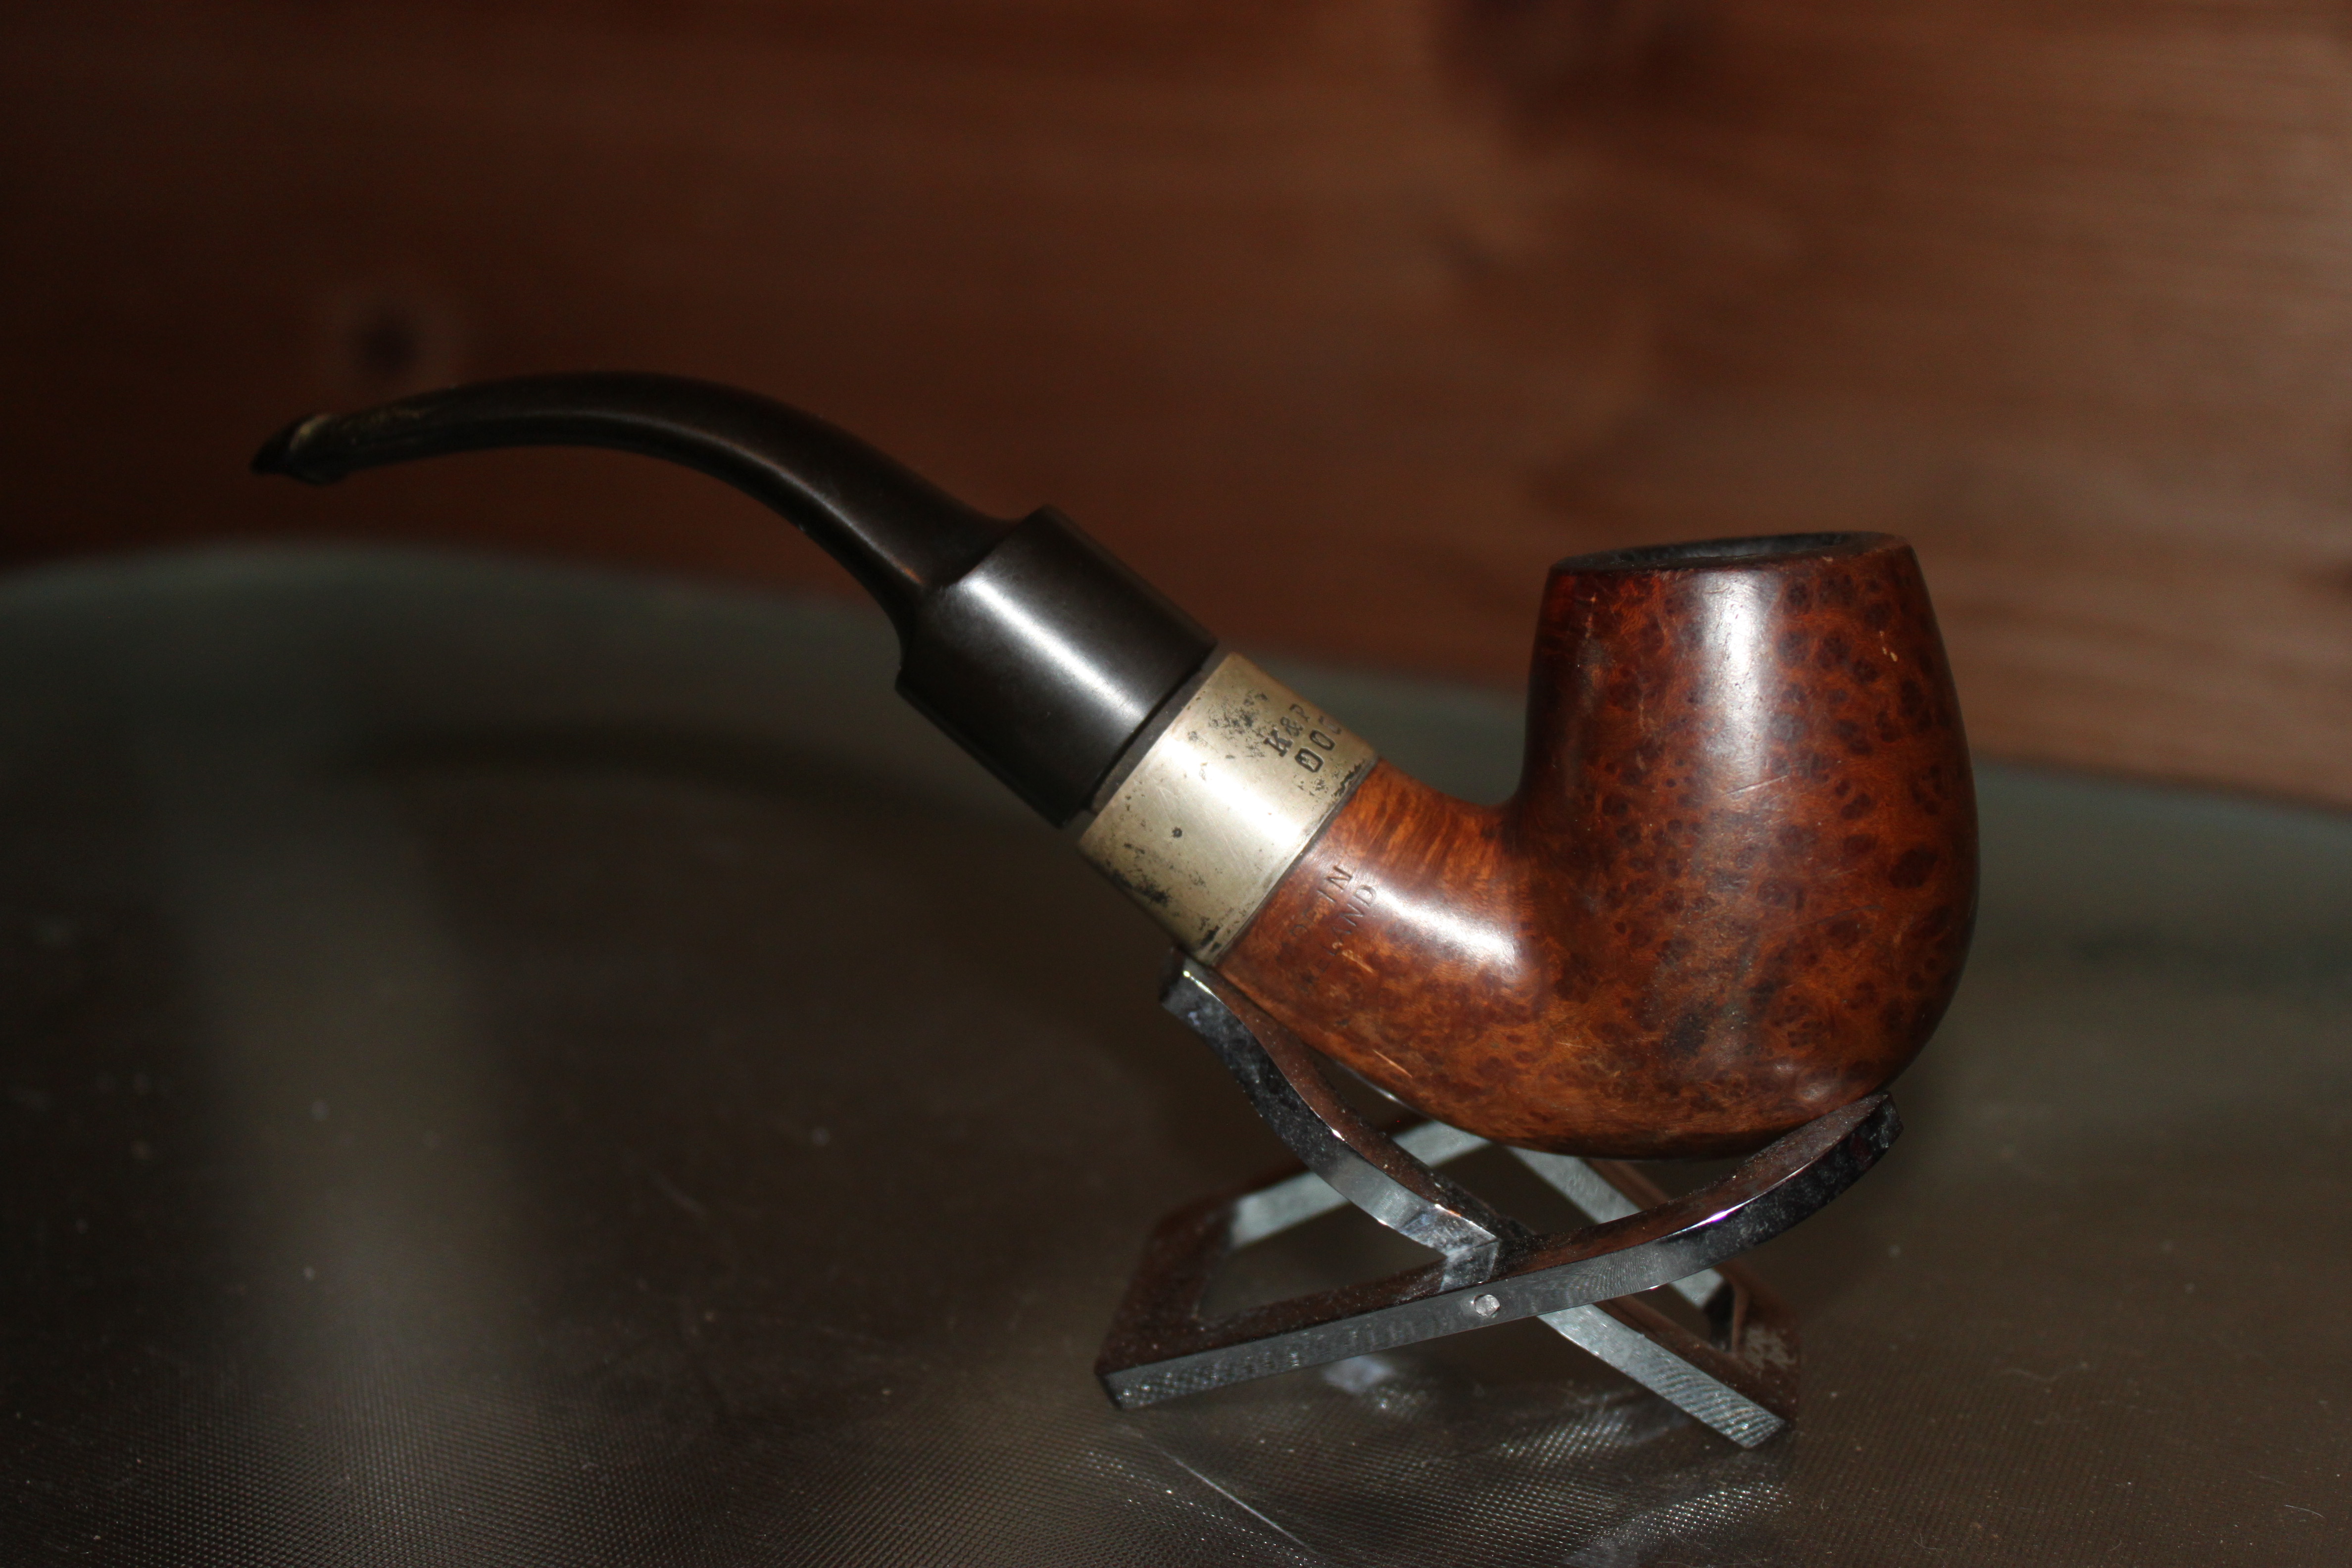
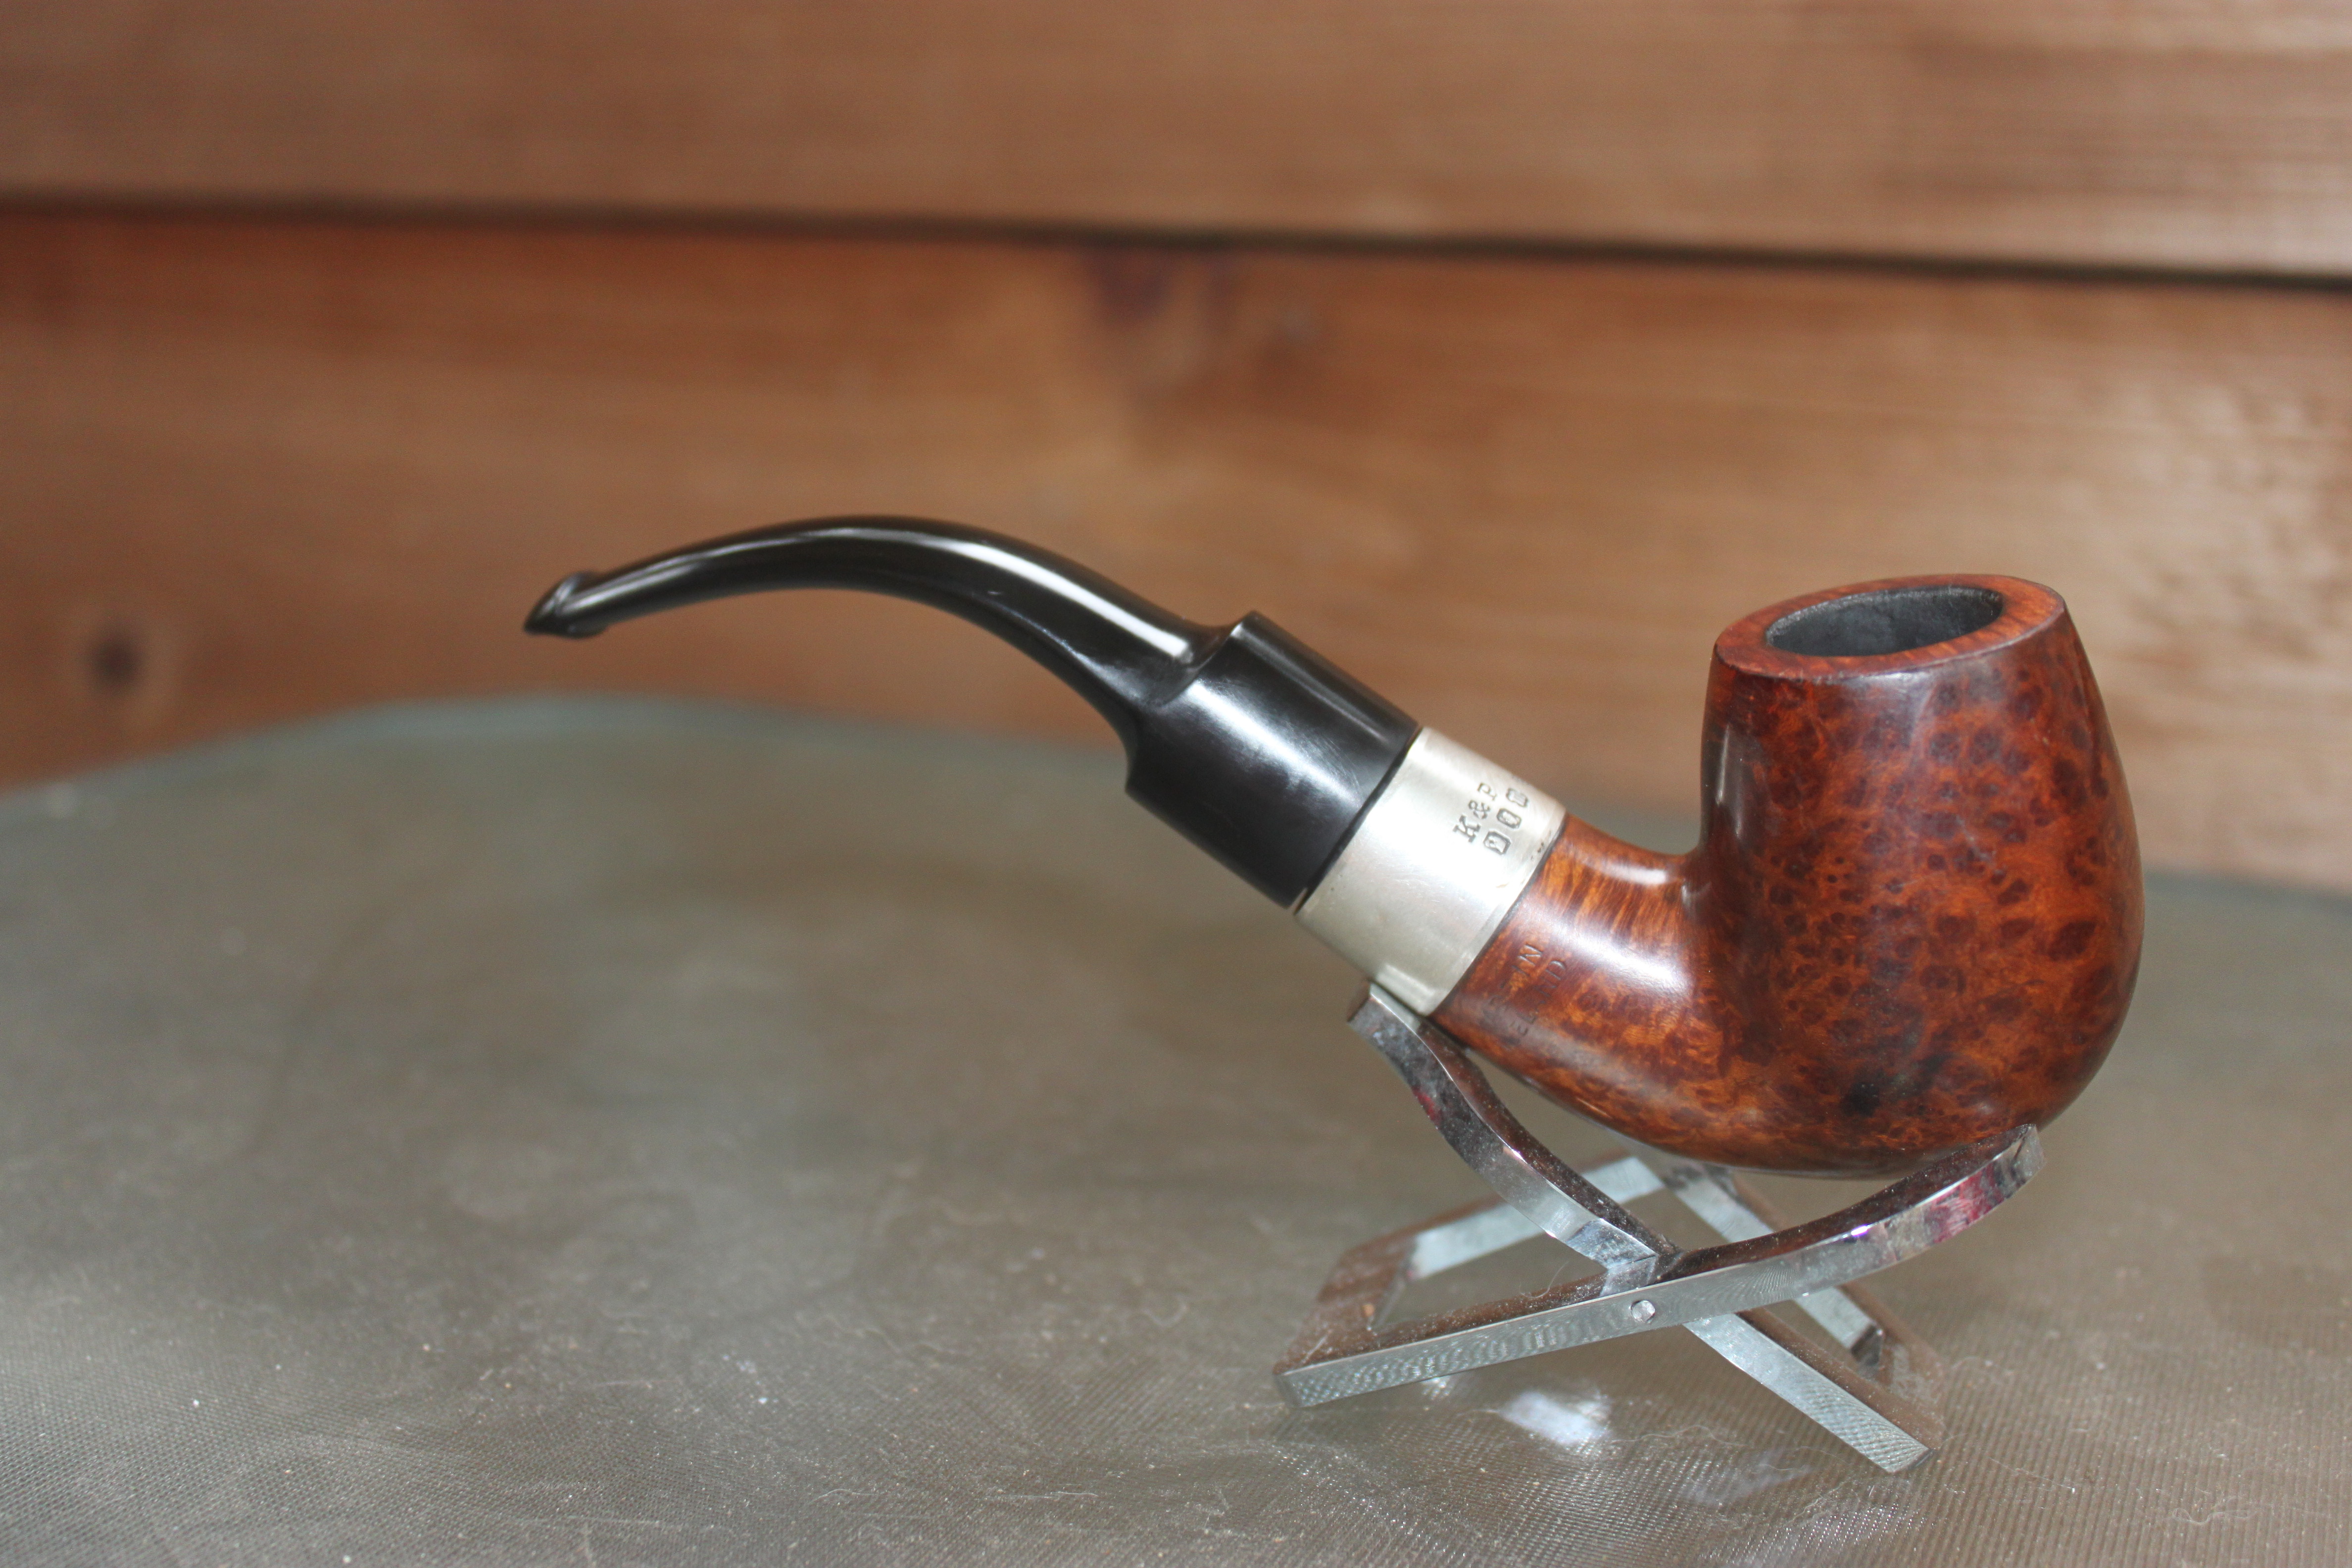
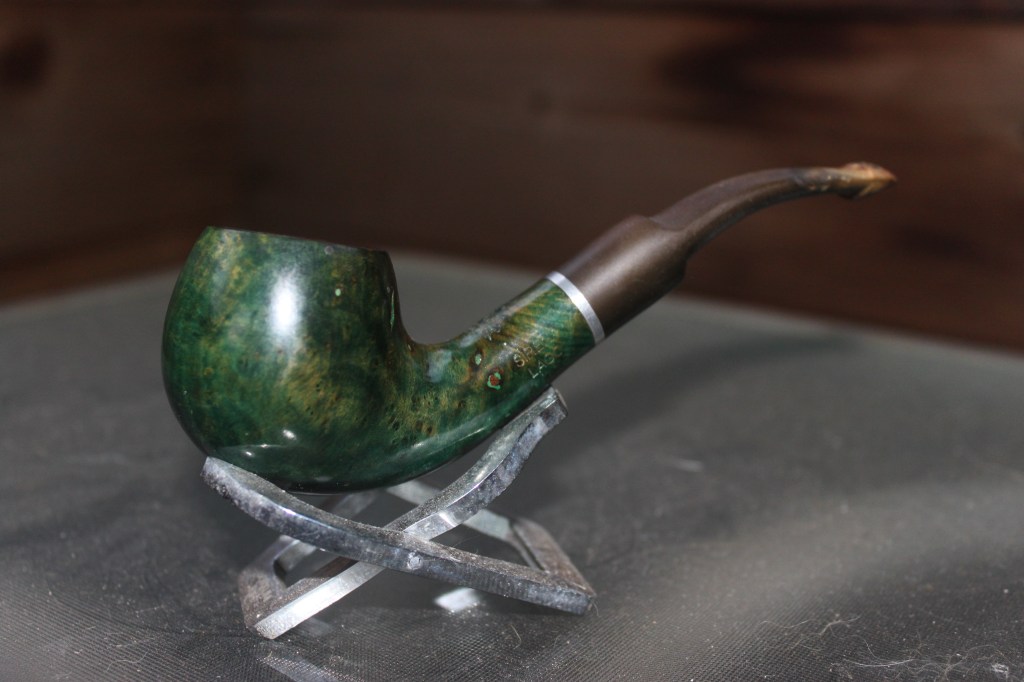
This was a fun project that I picked up in a lot purchased online. This was also my first time staining a pipe bowl green. Check out the process and finished product below!

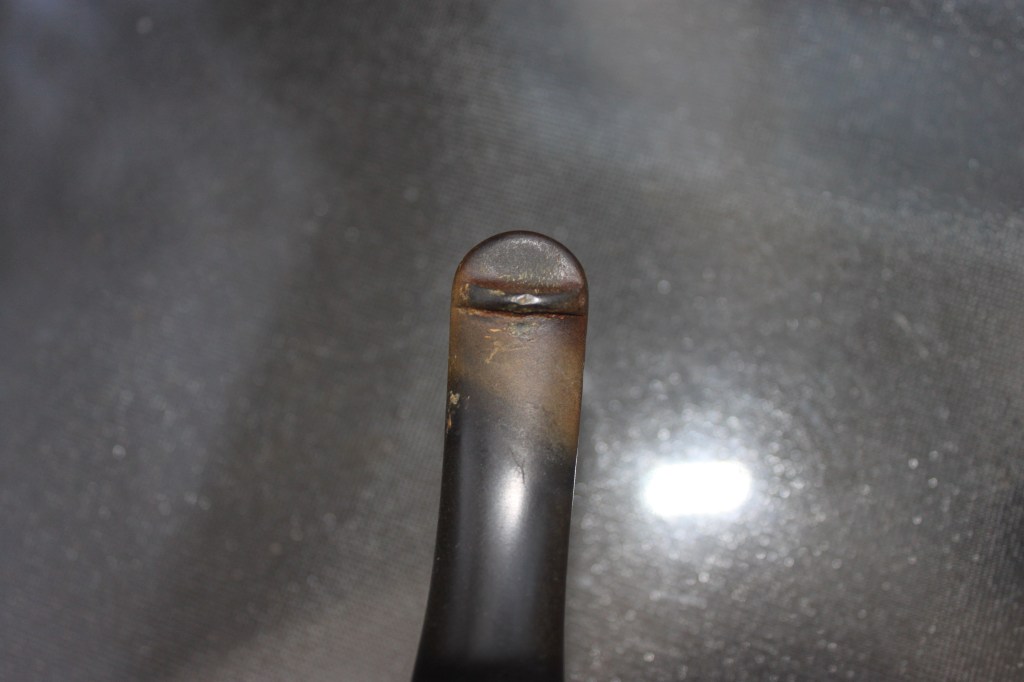
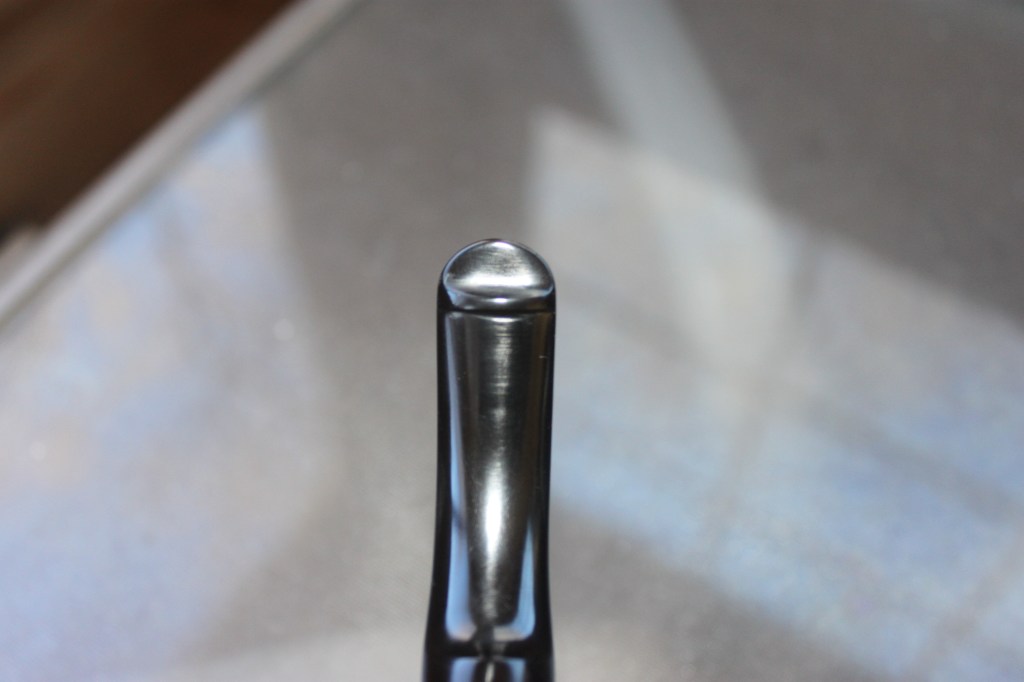
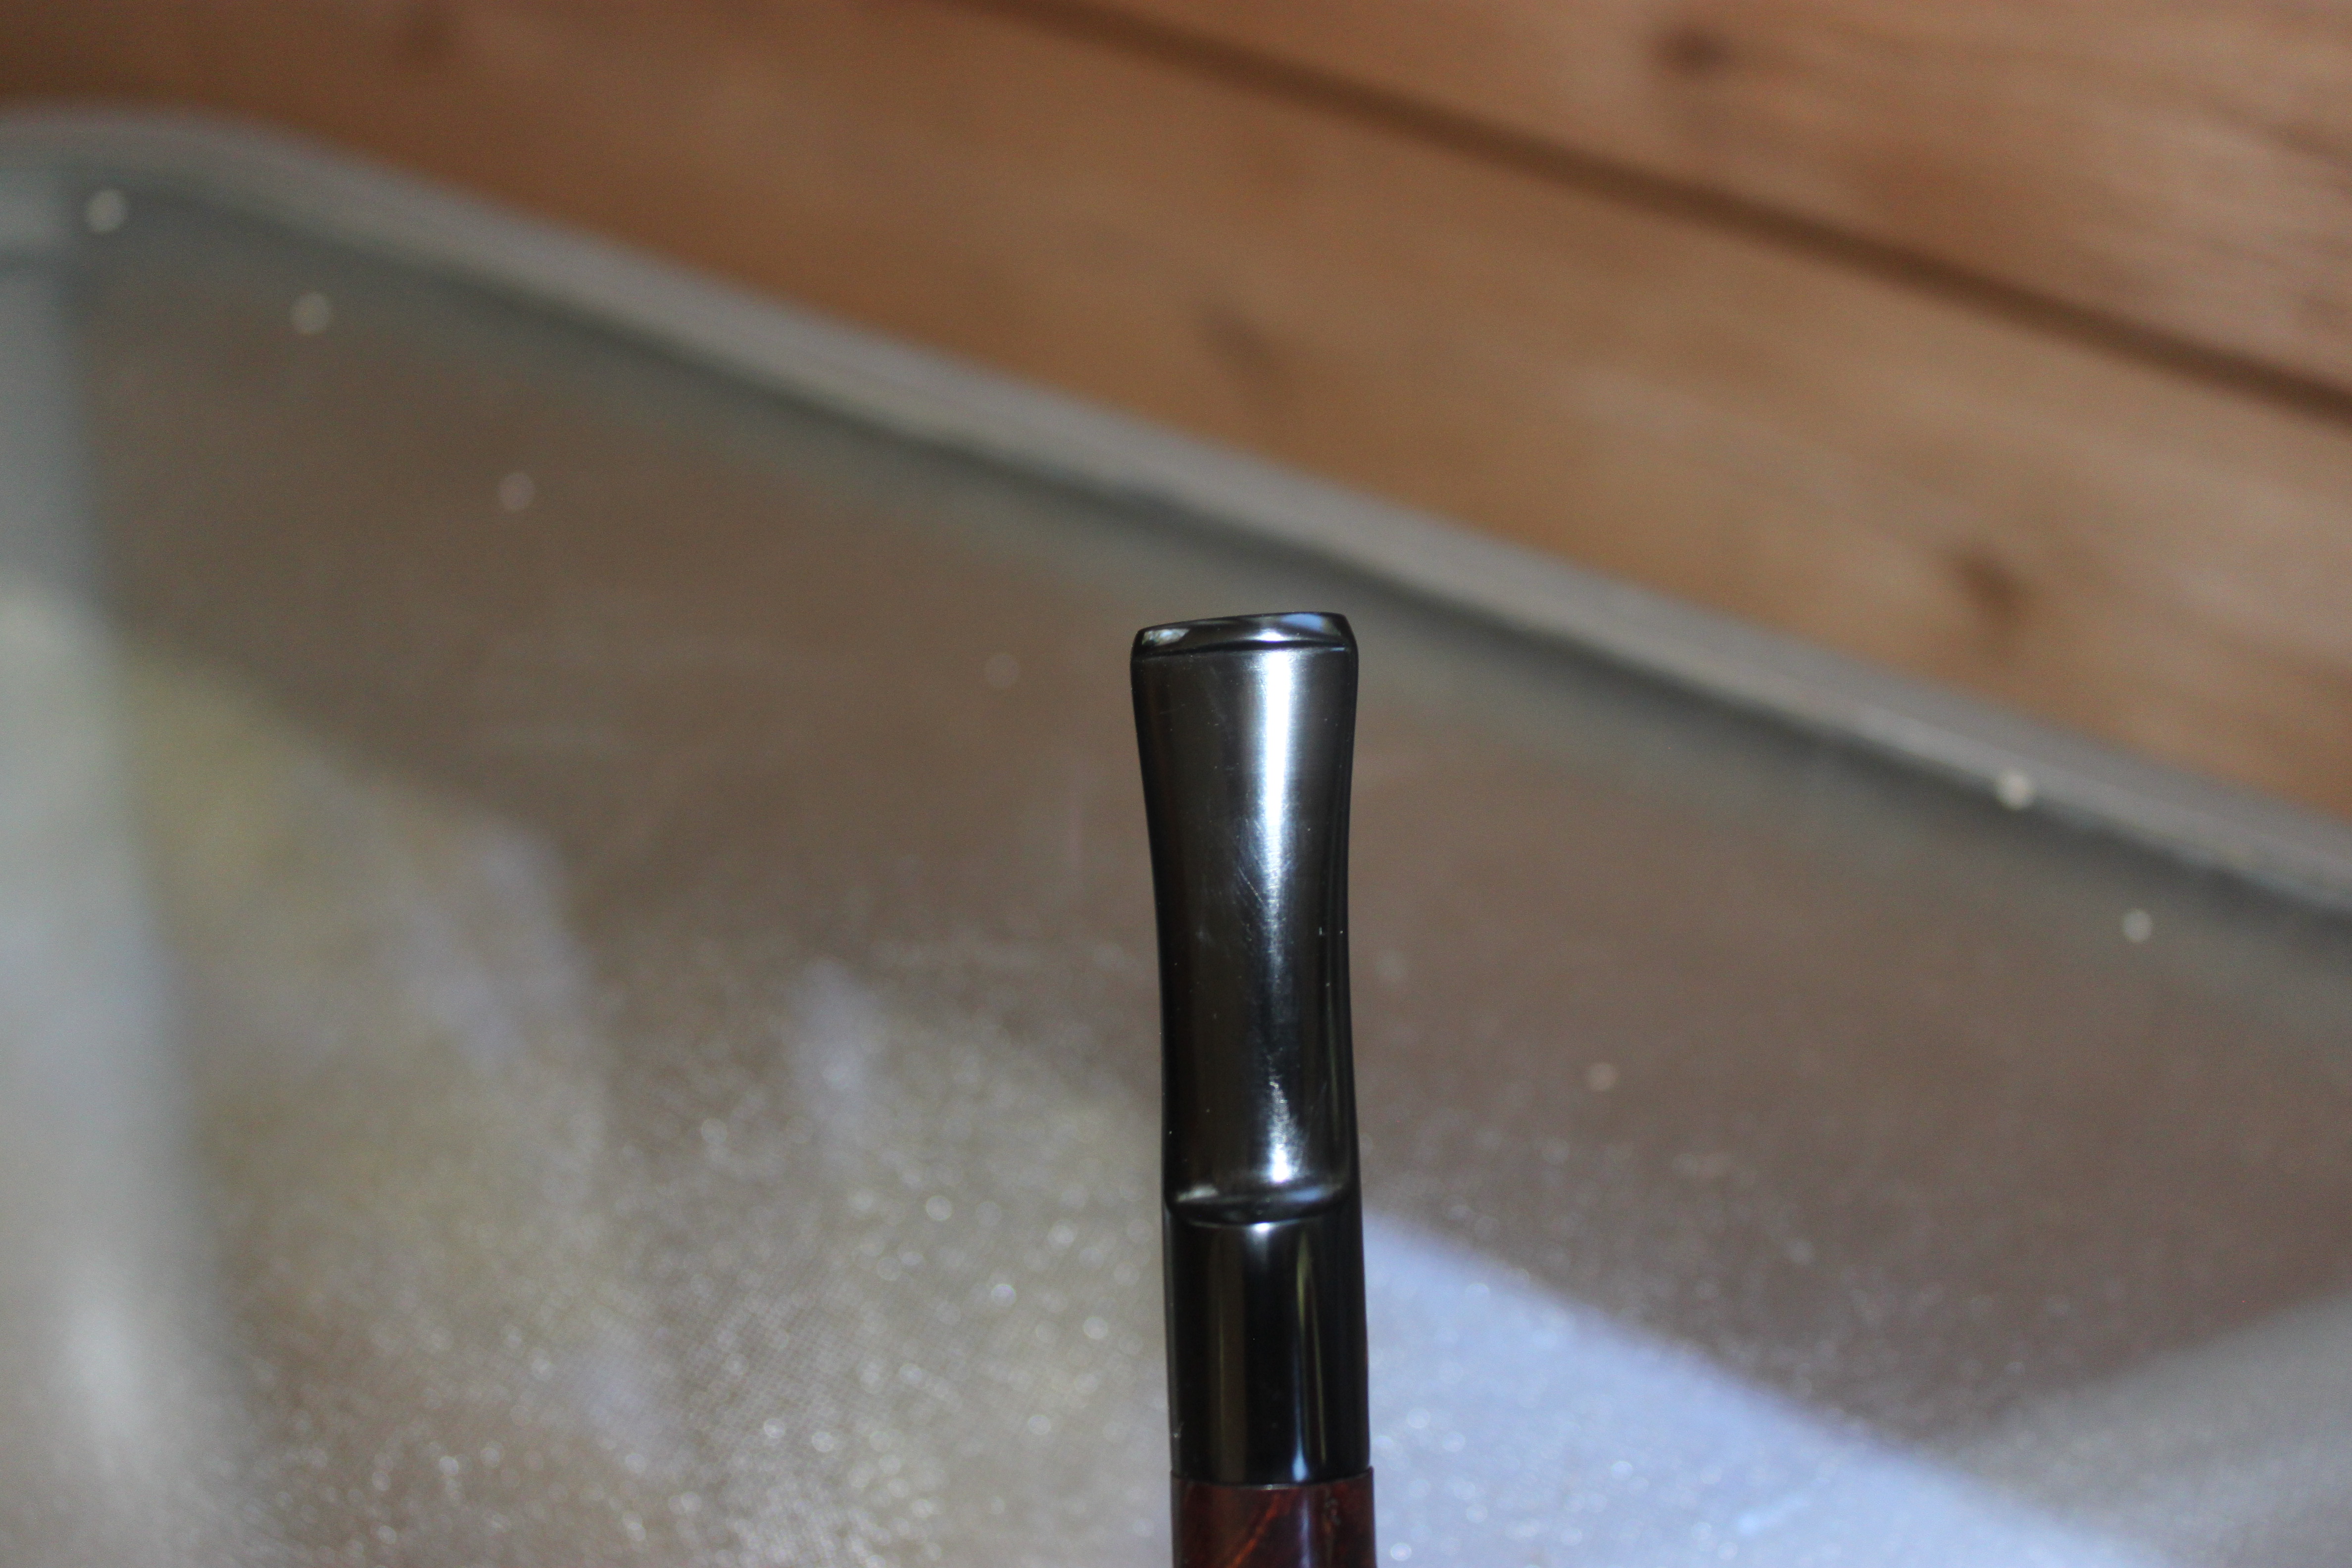
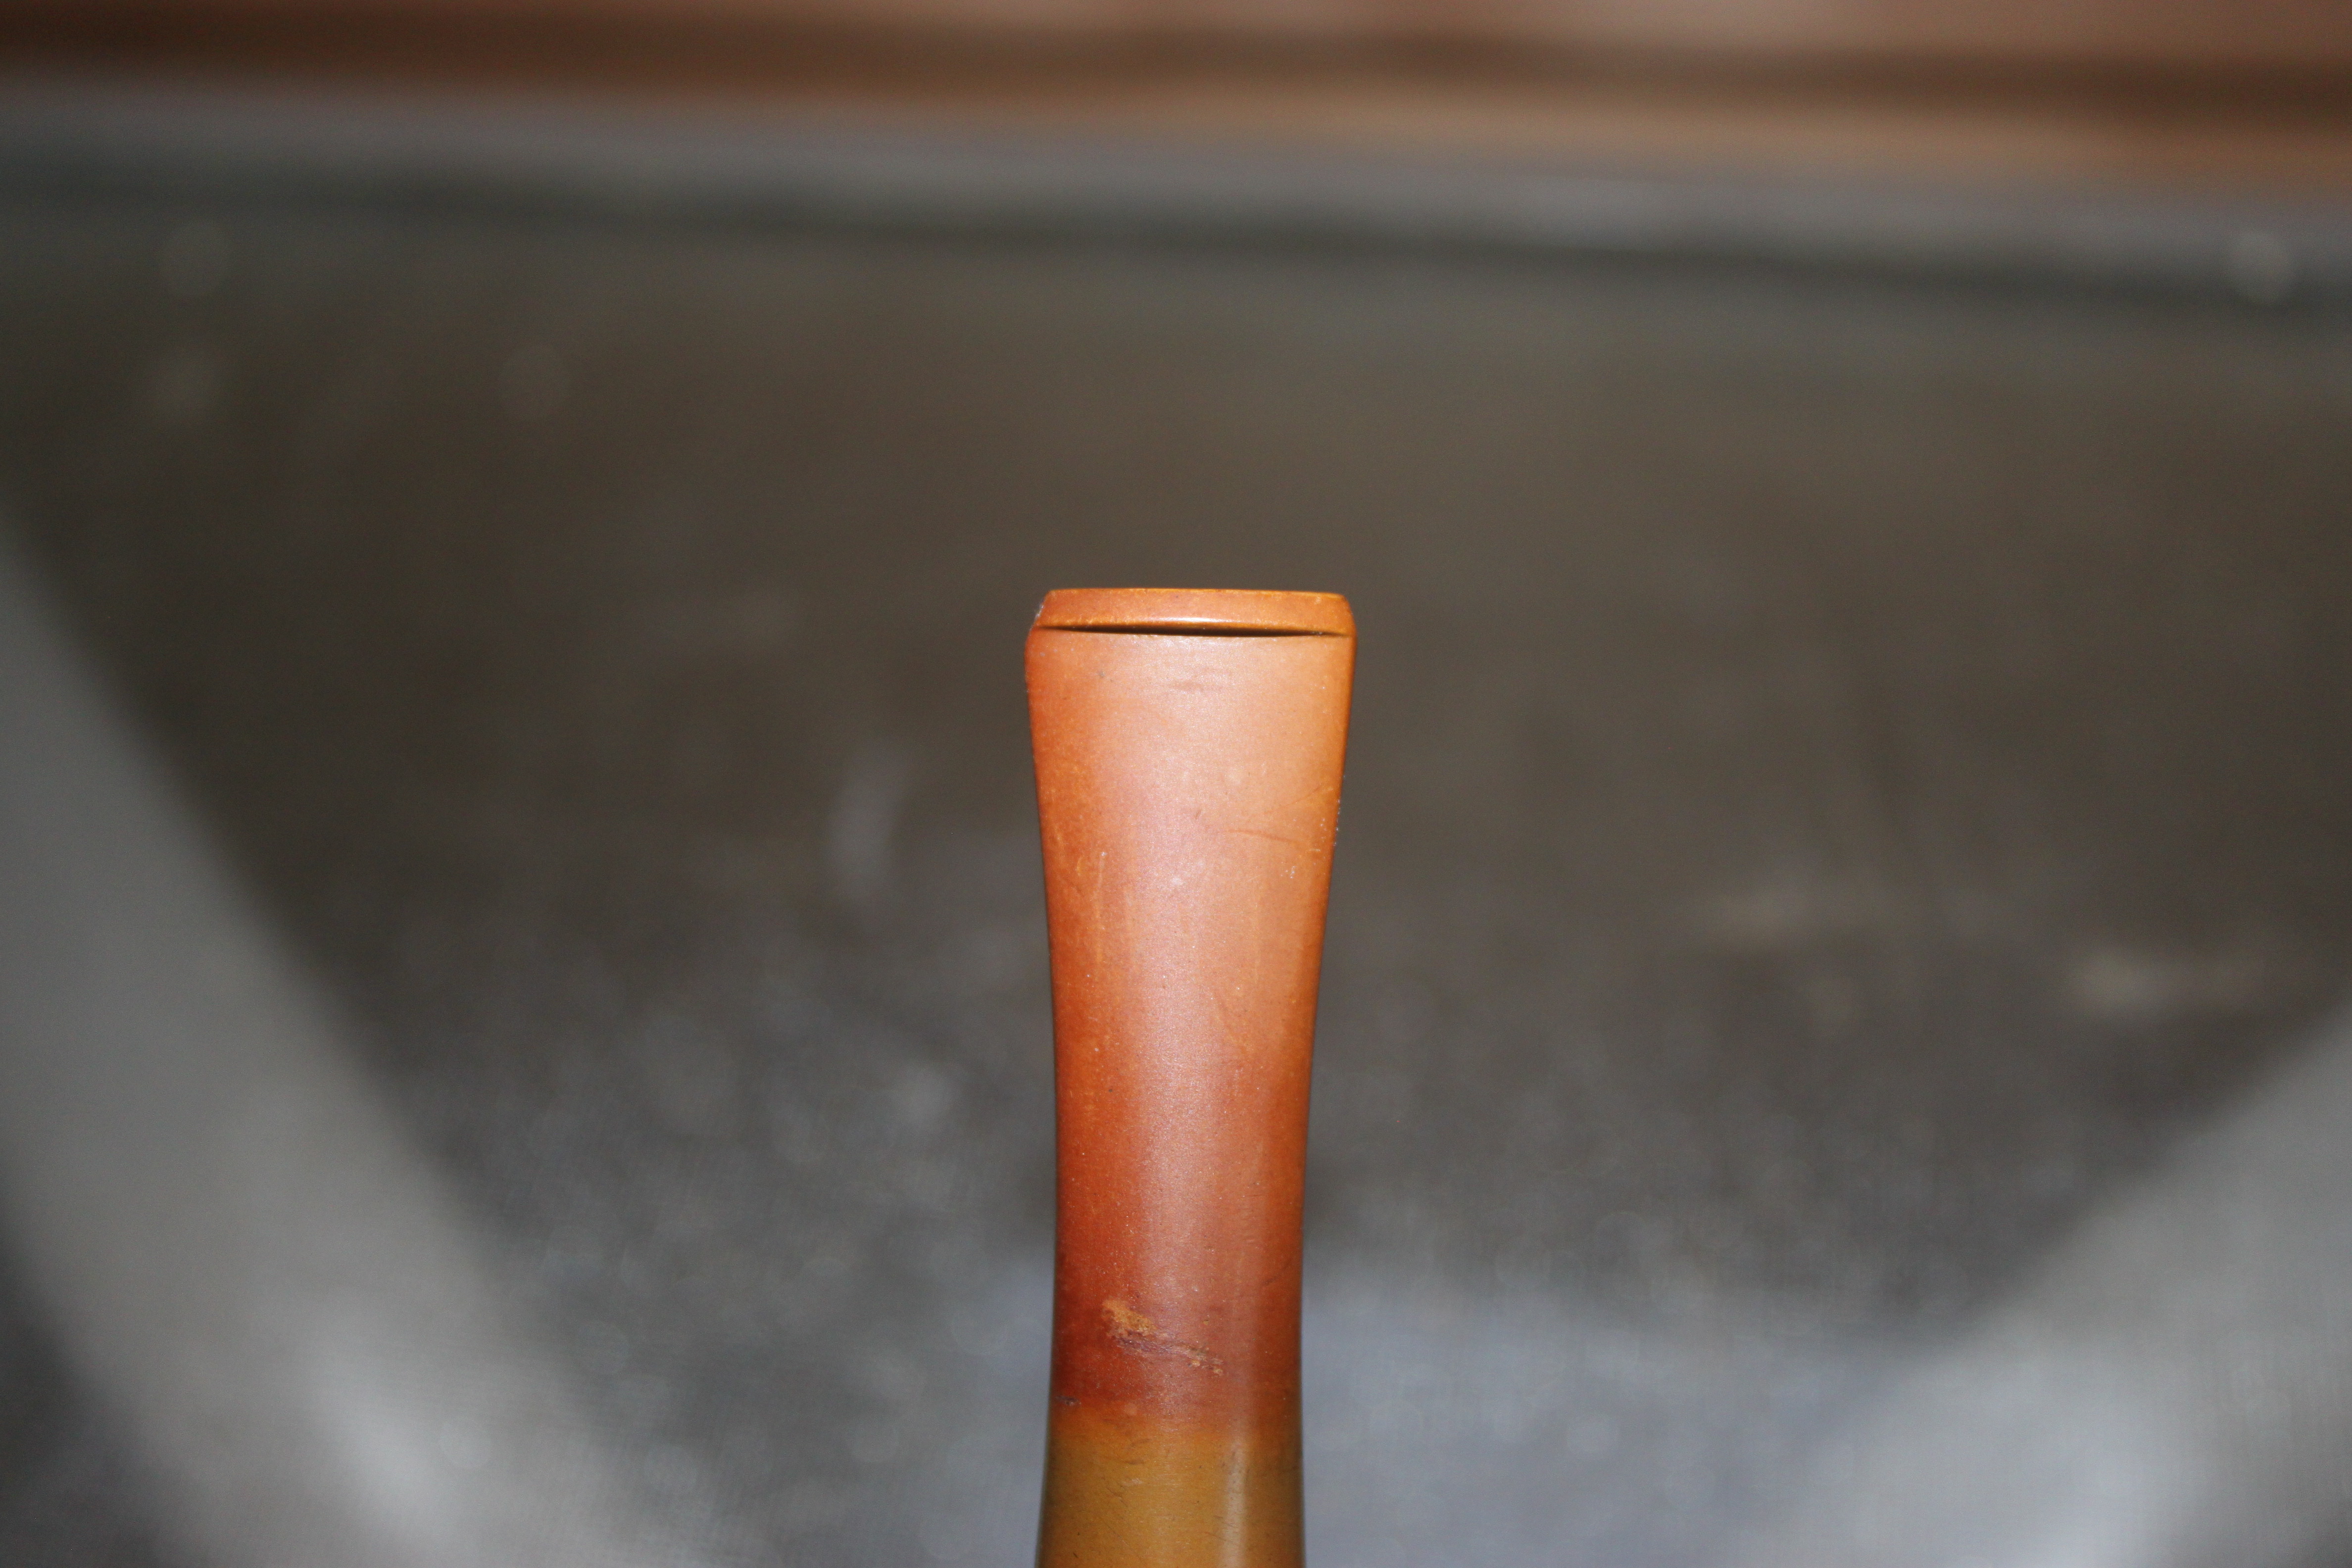
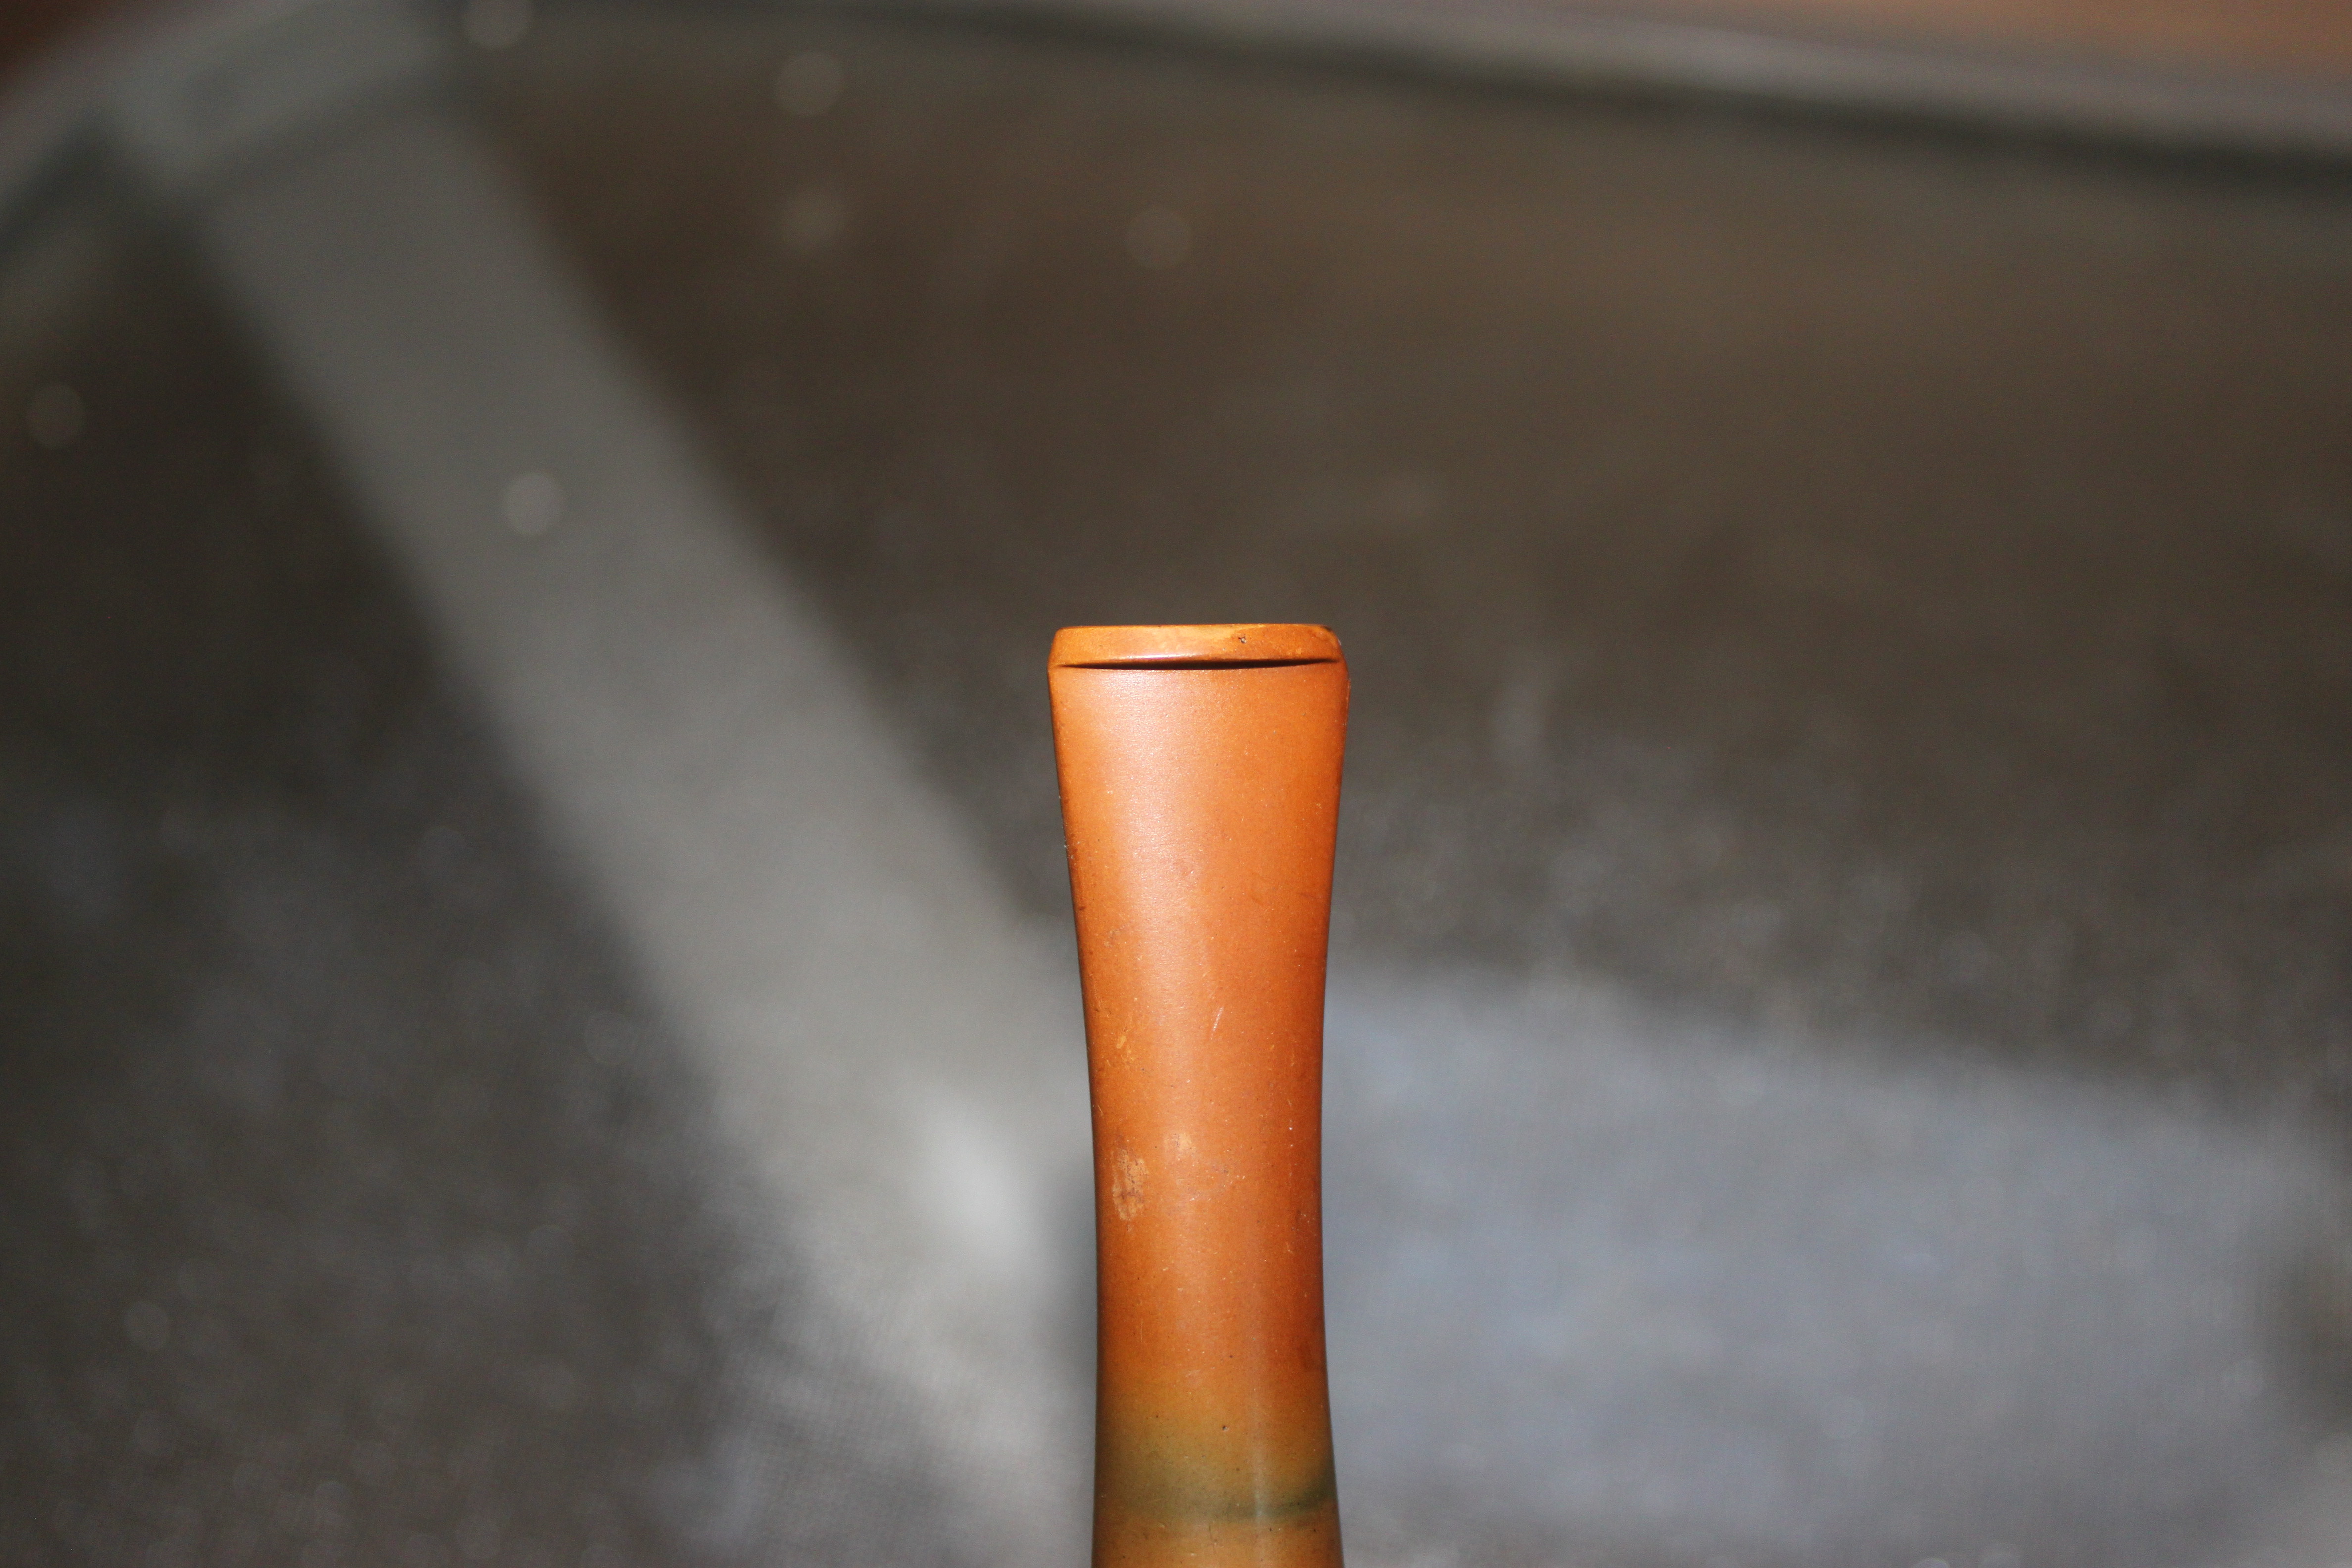
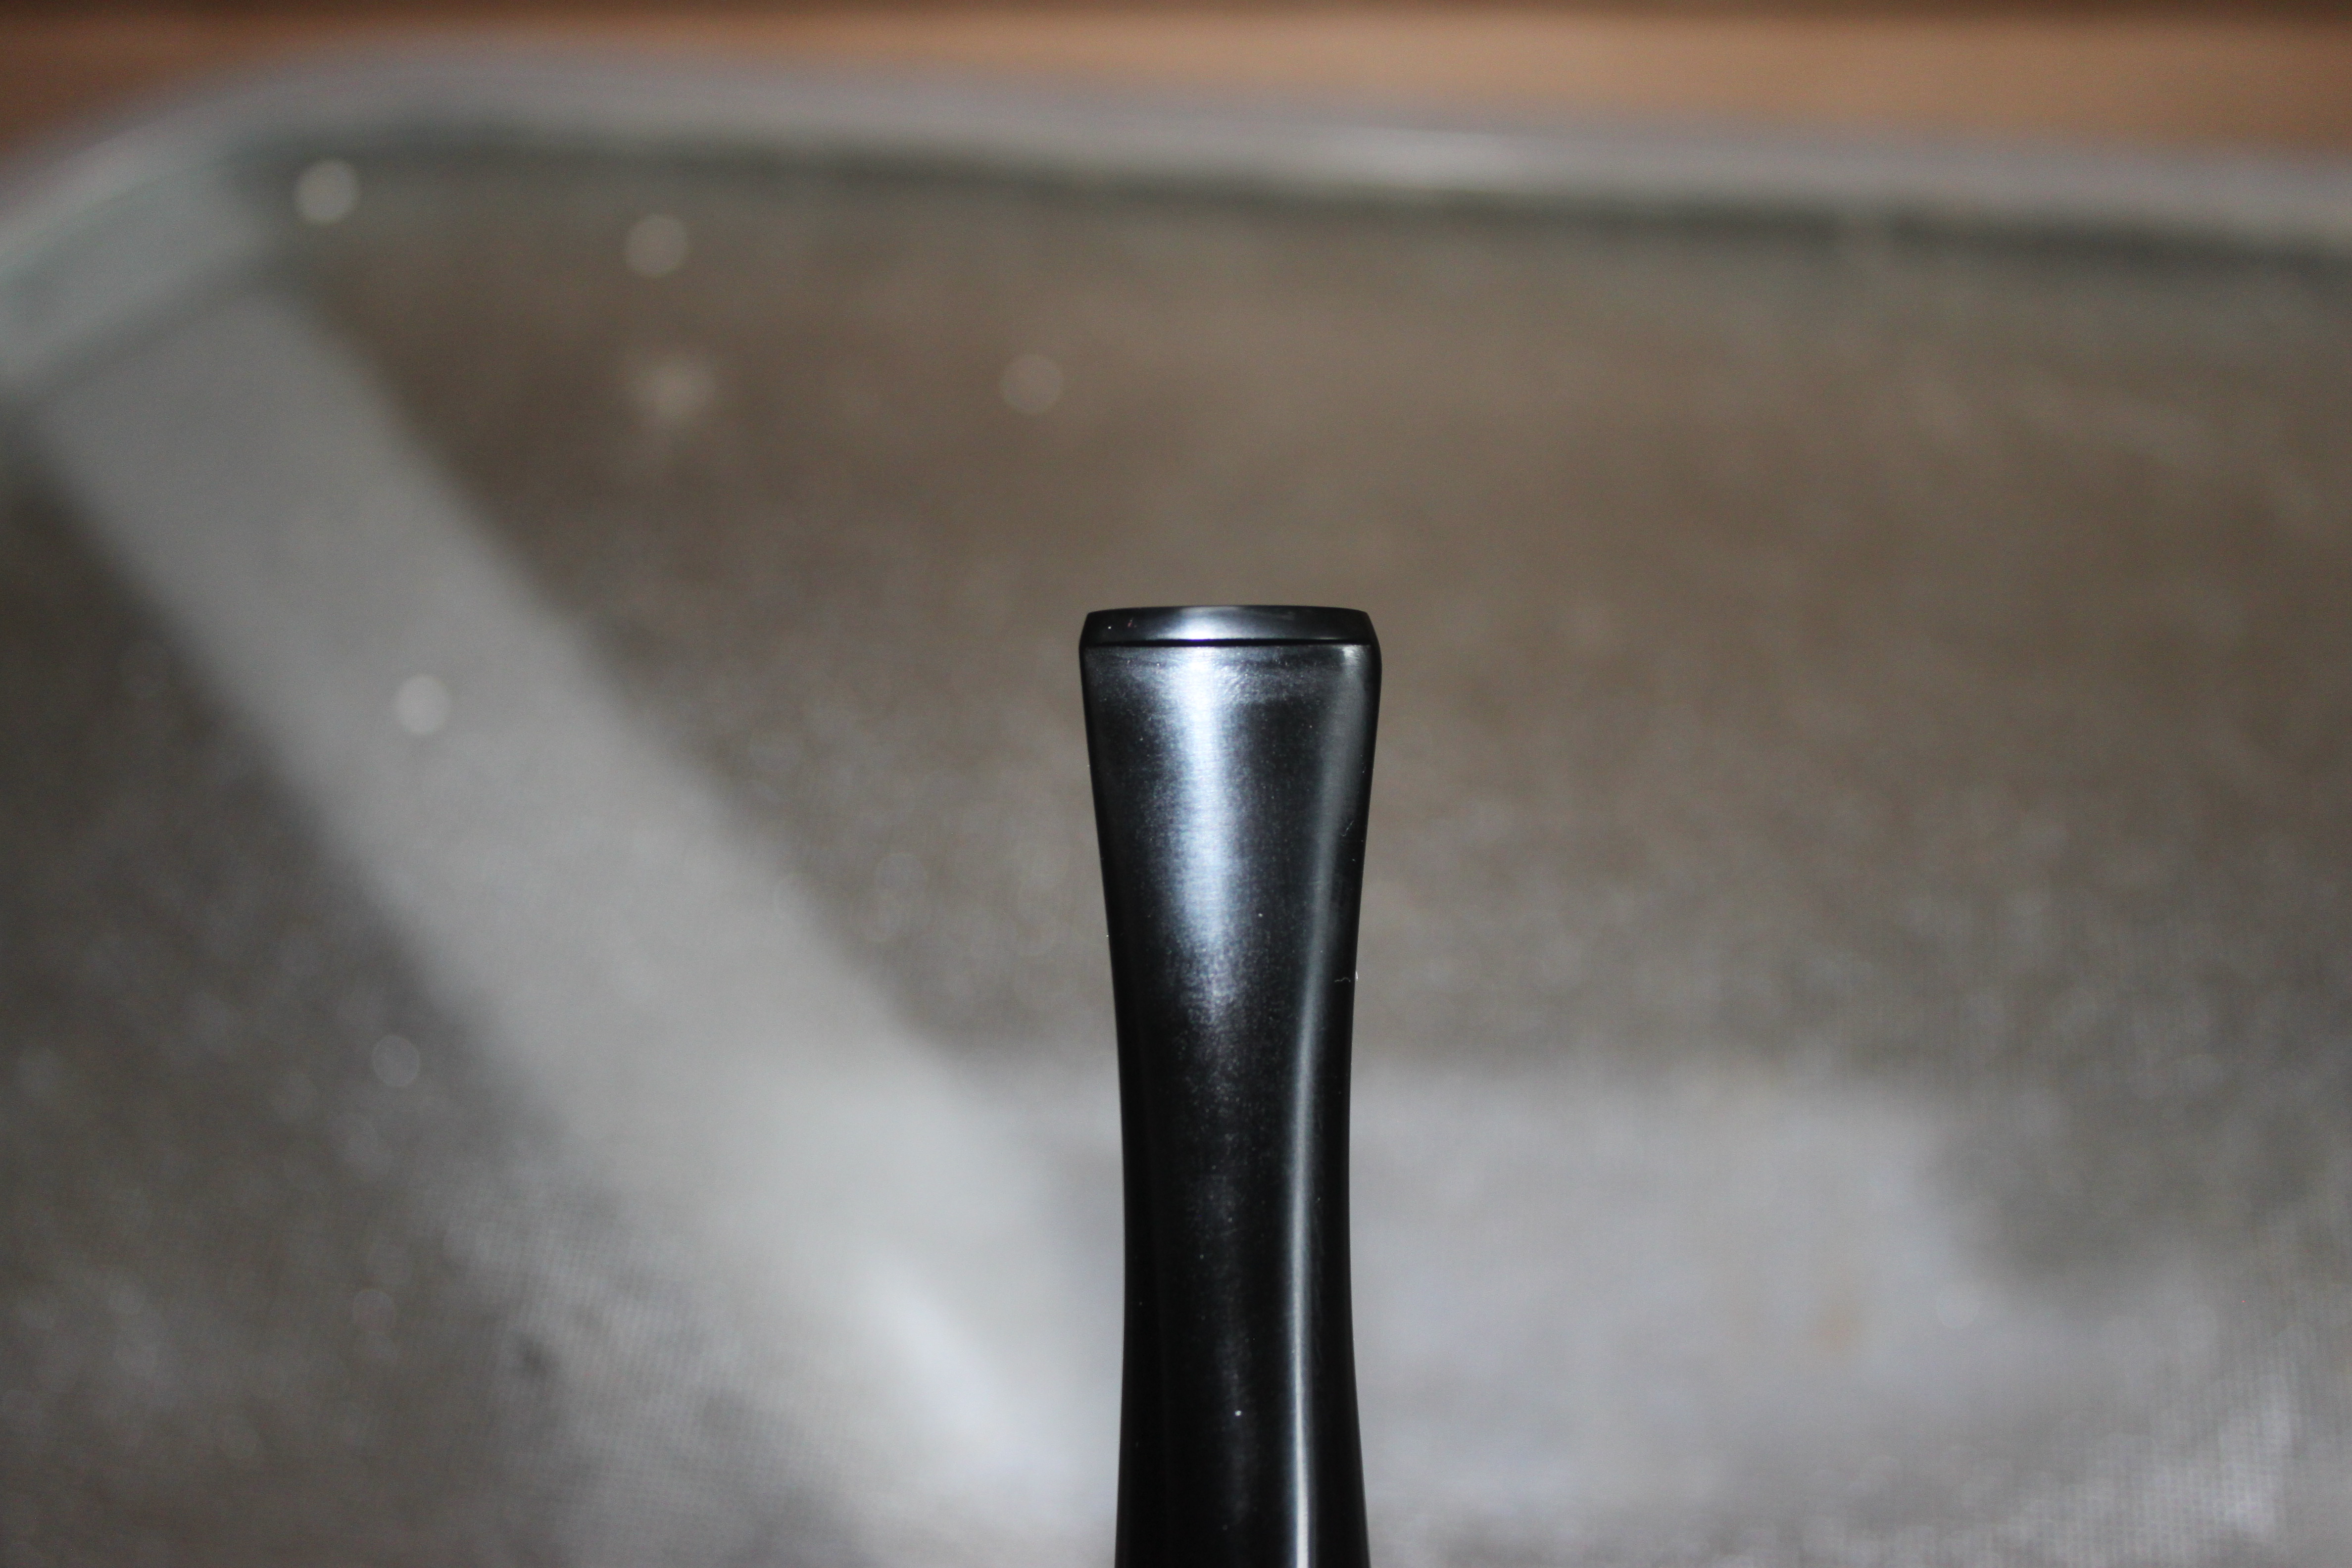
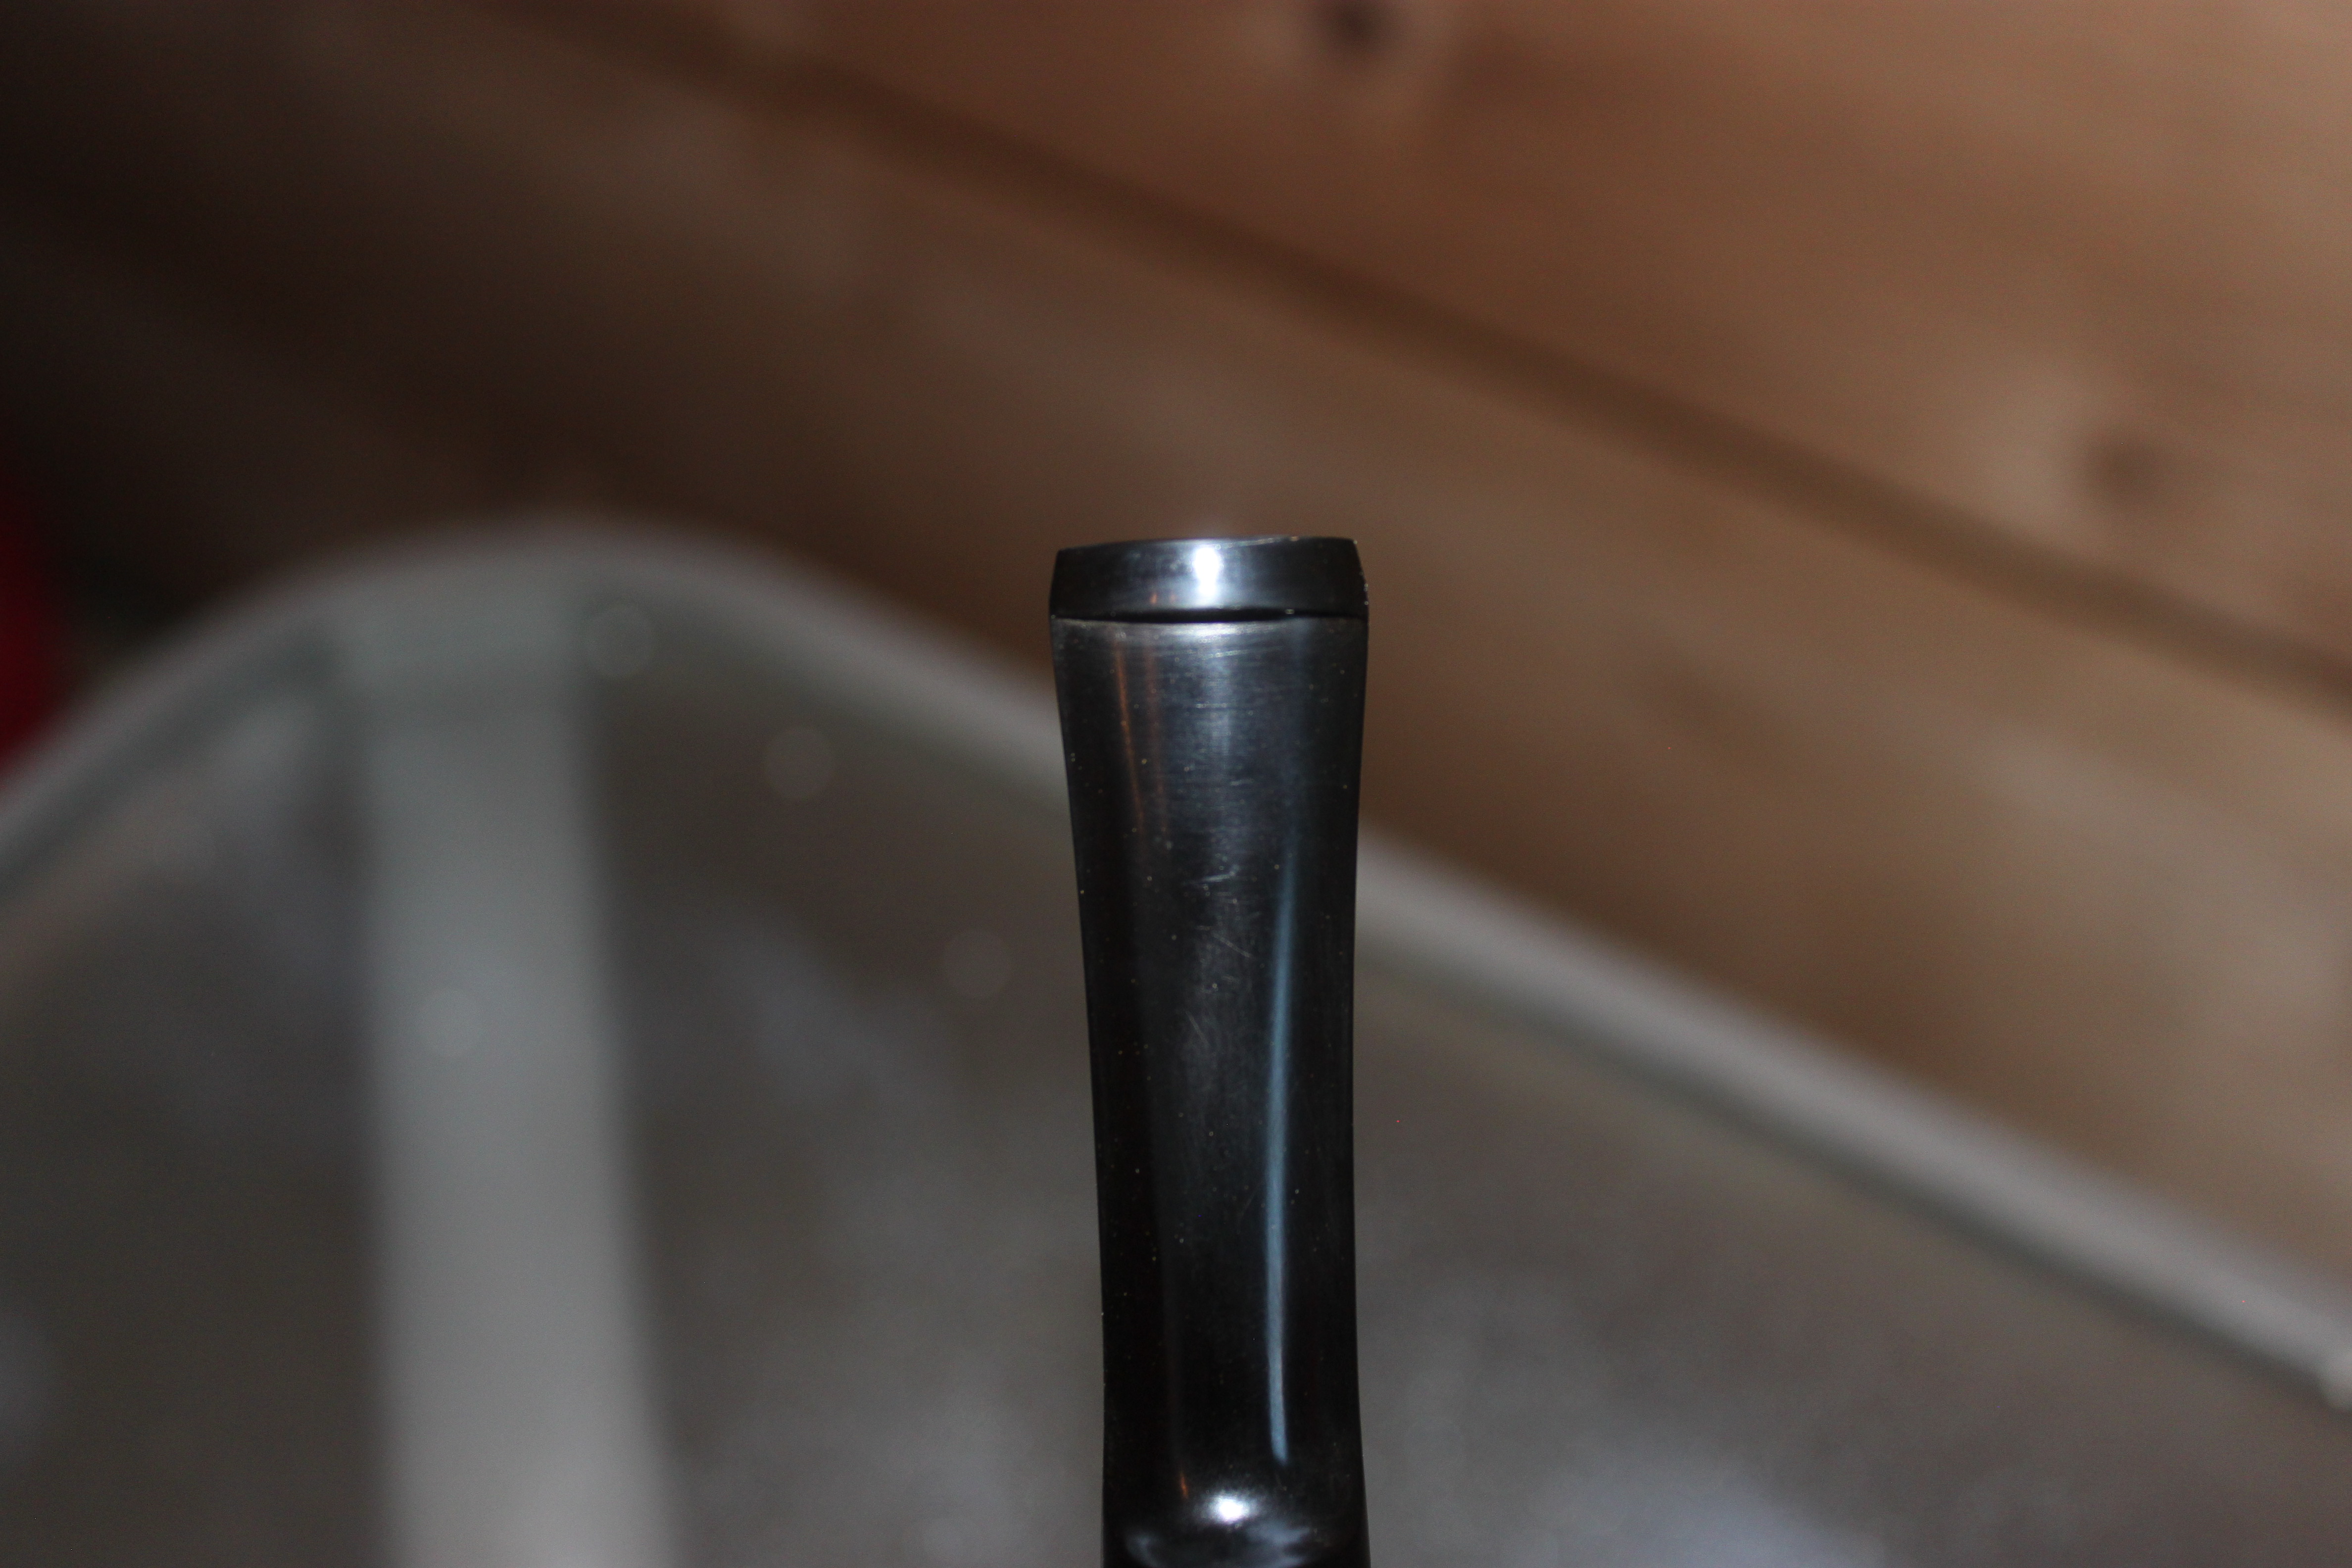
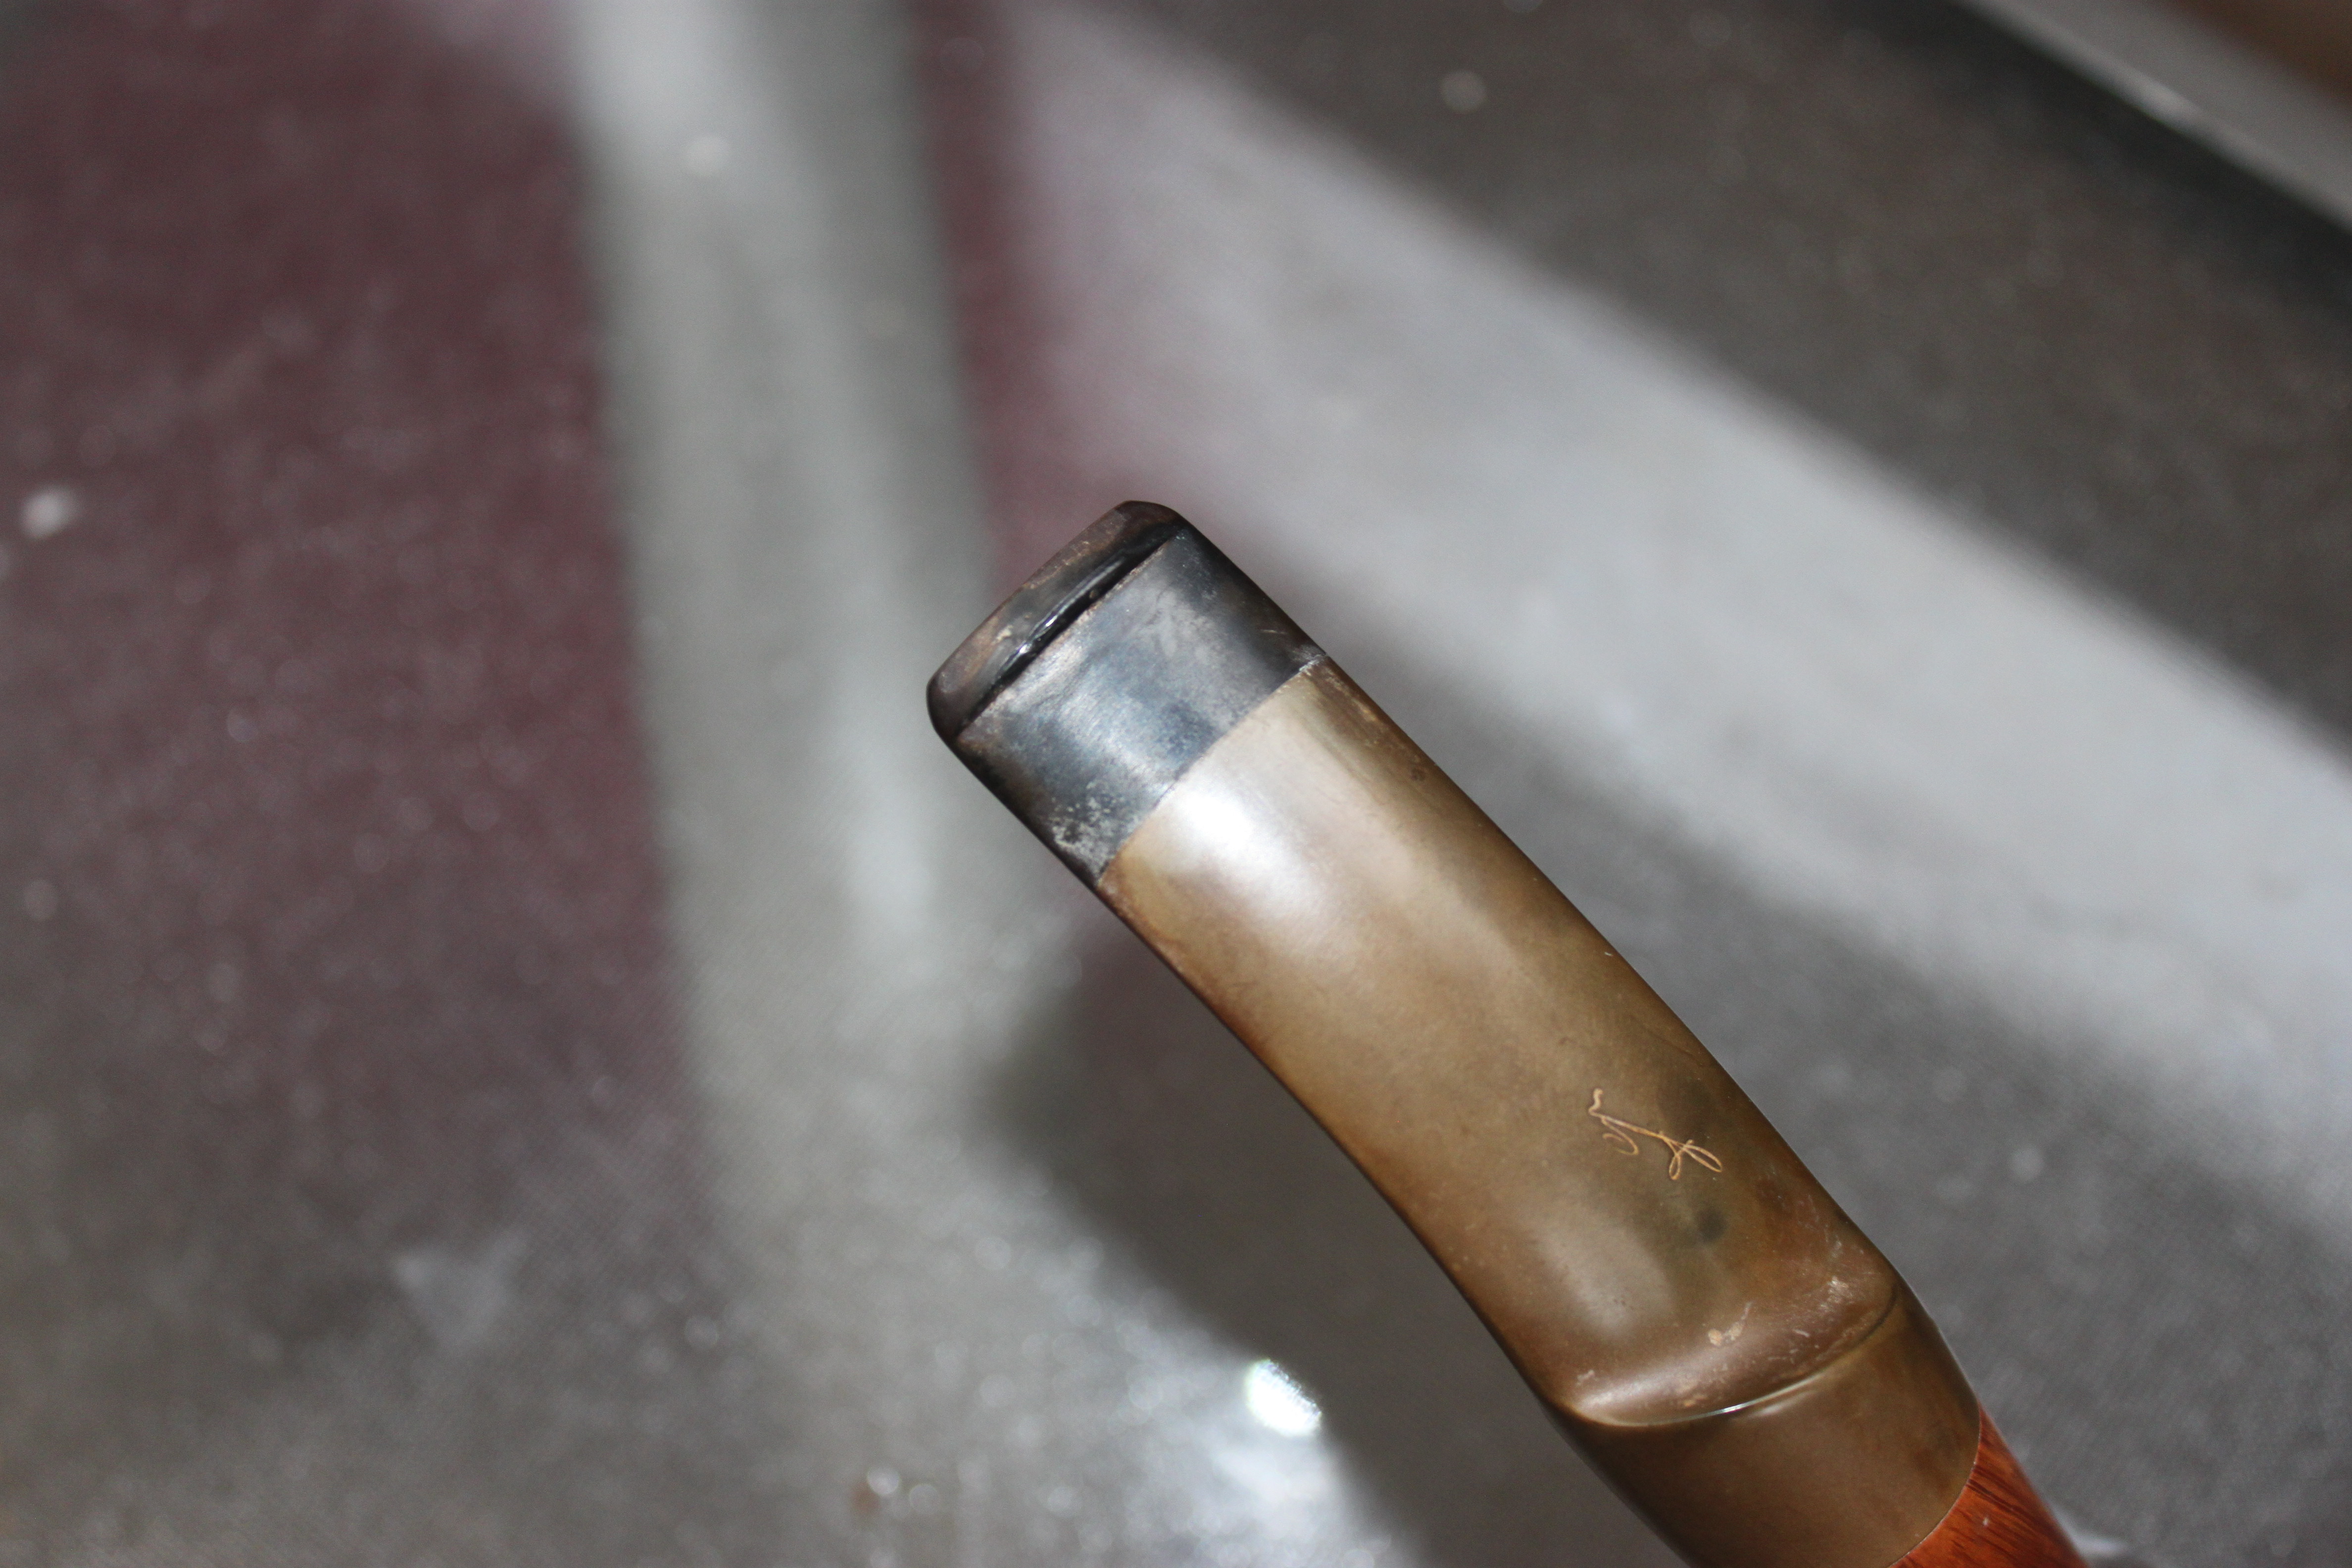
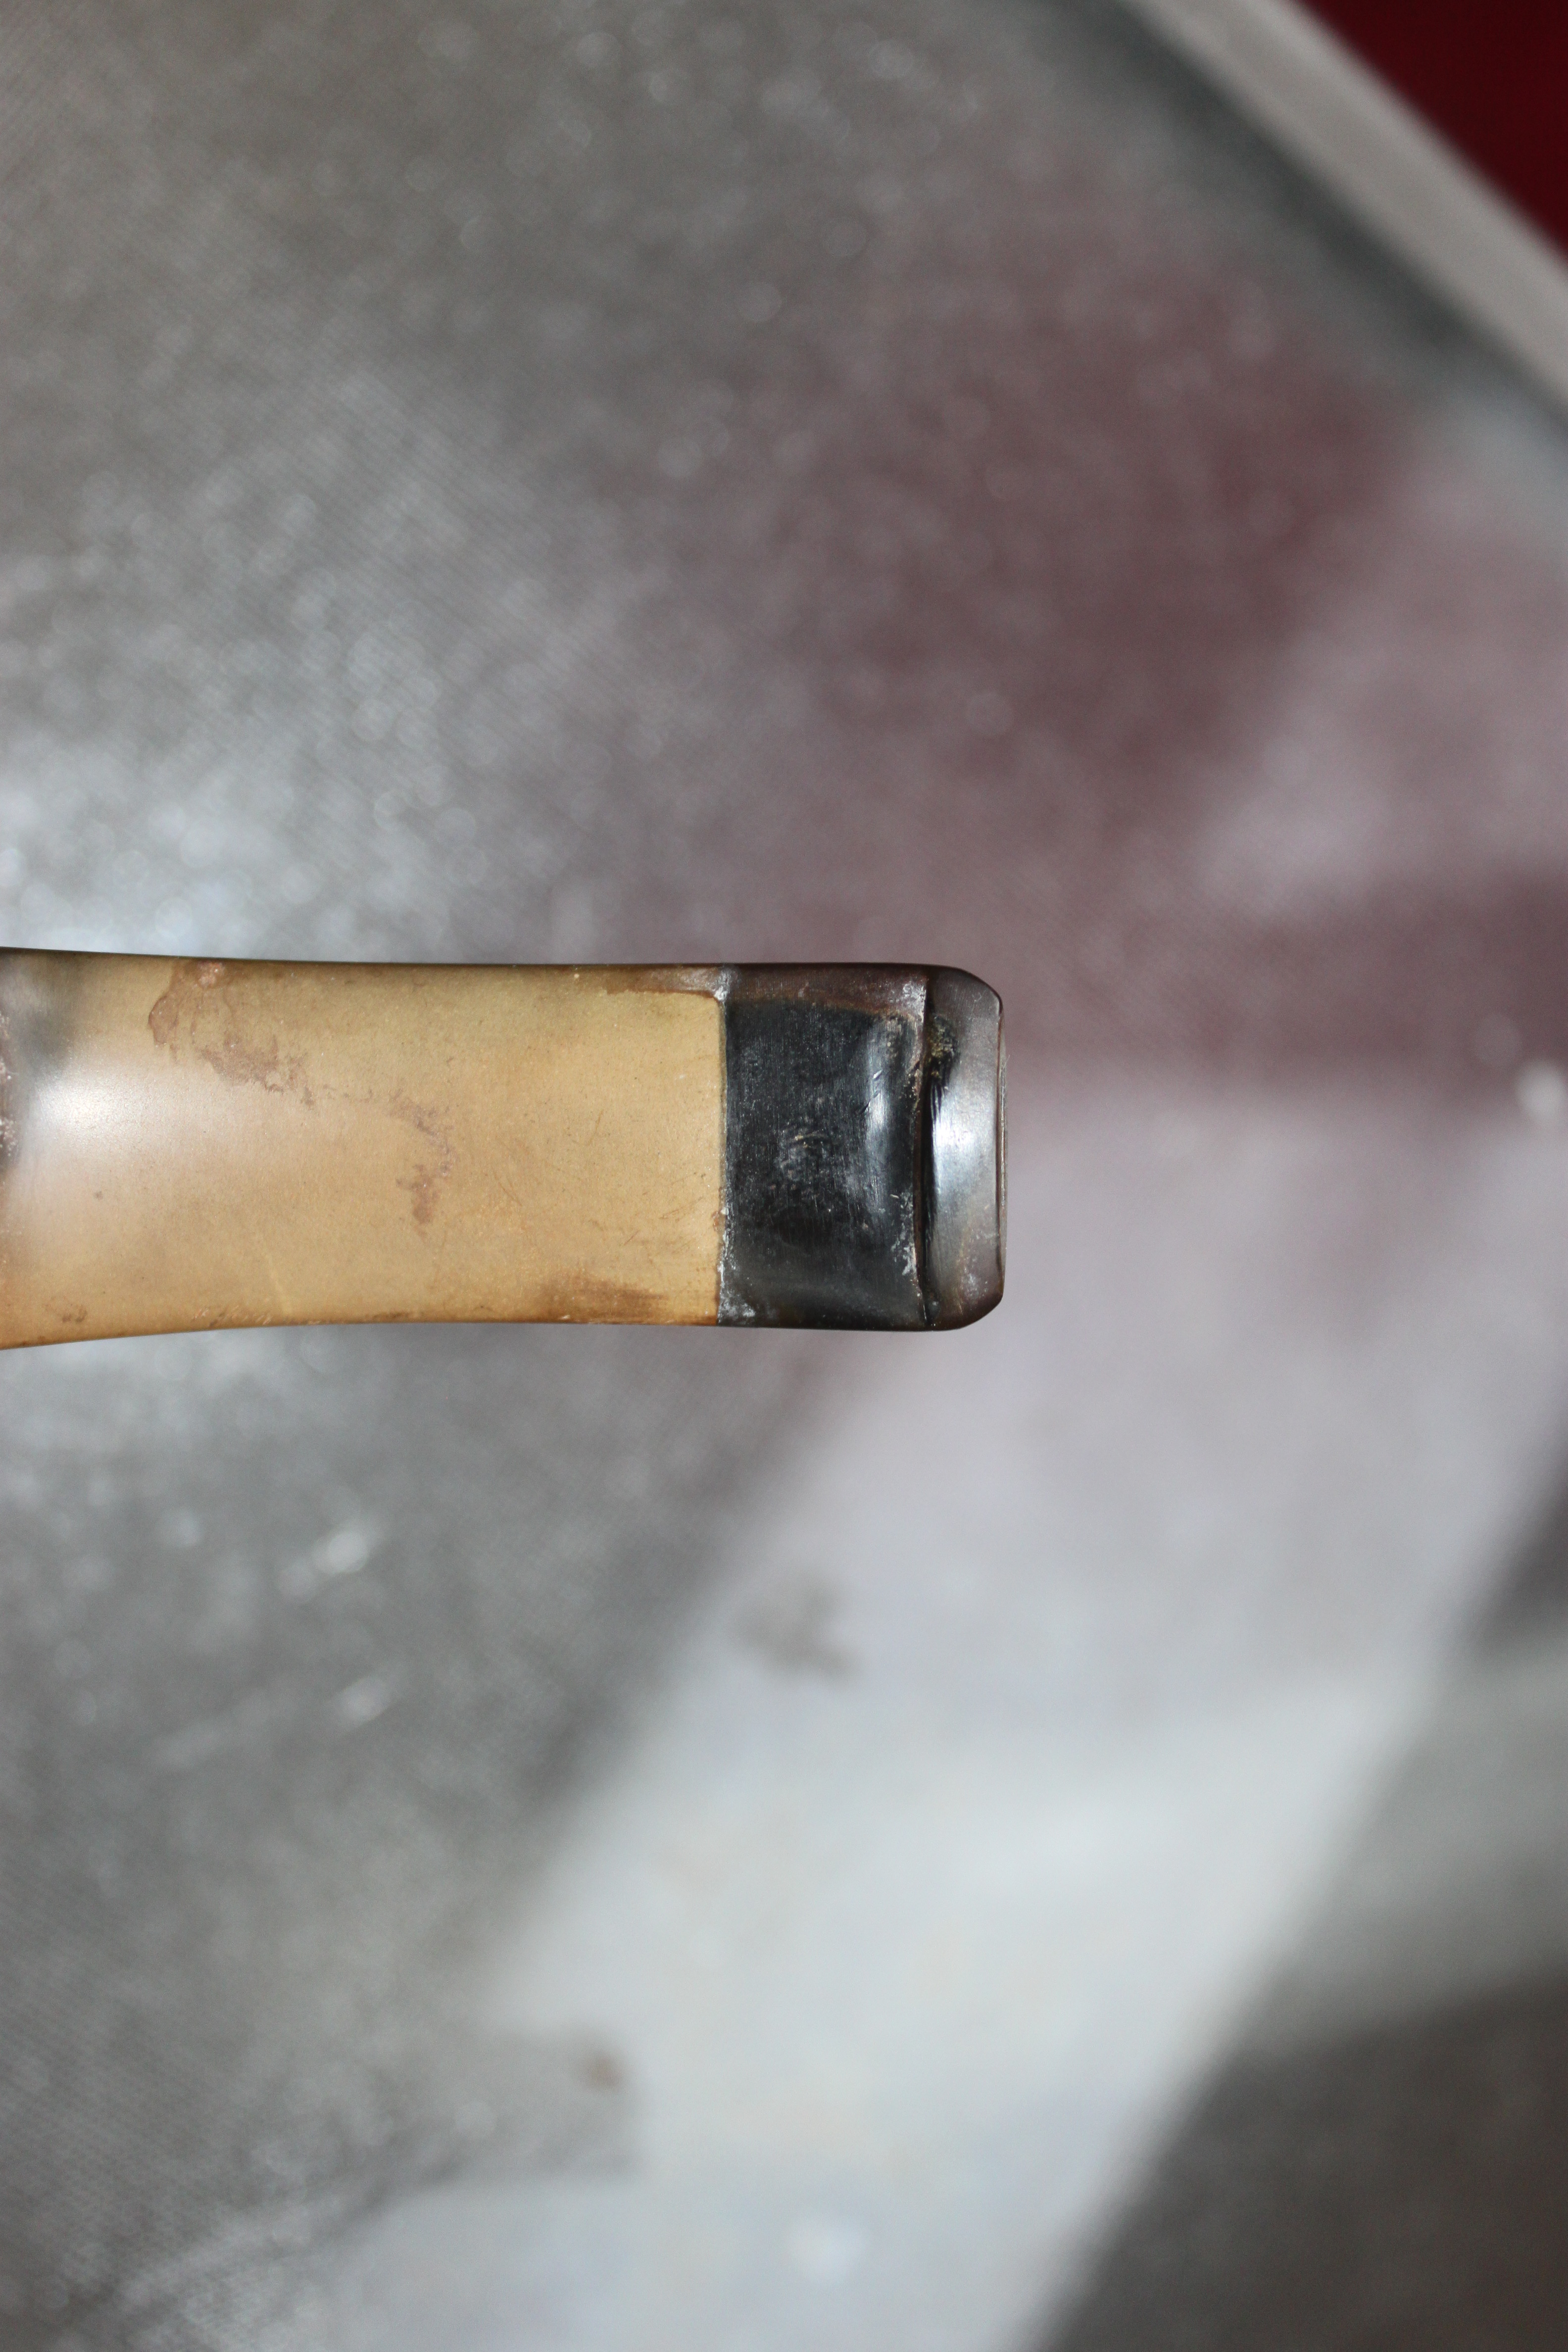
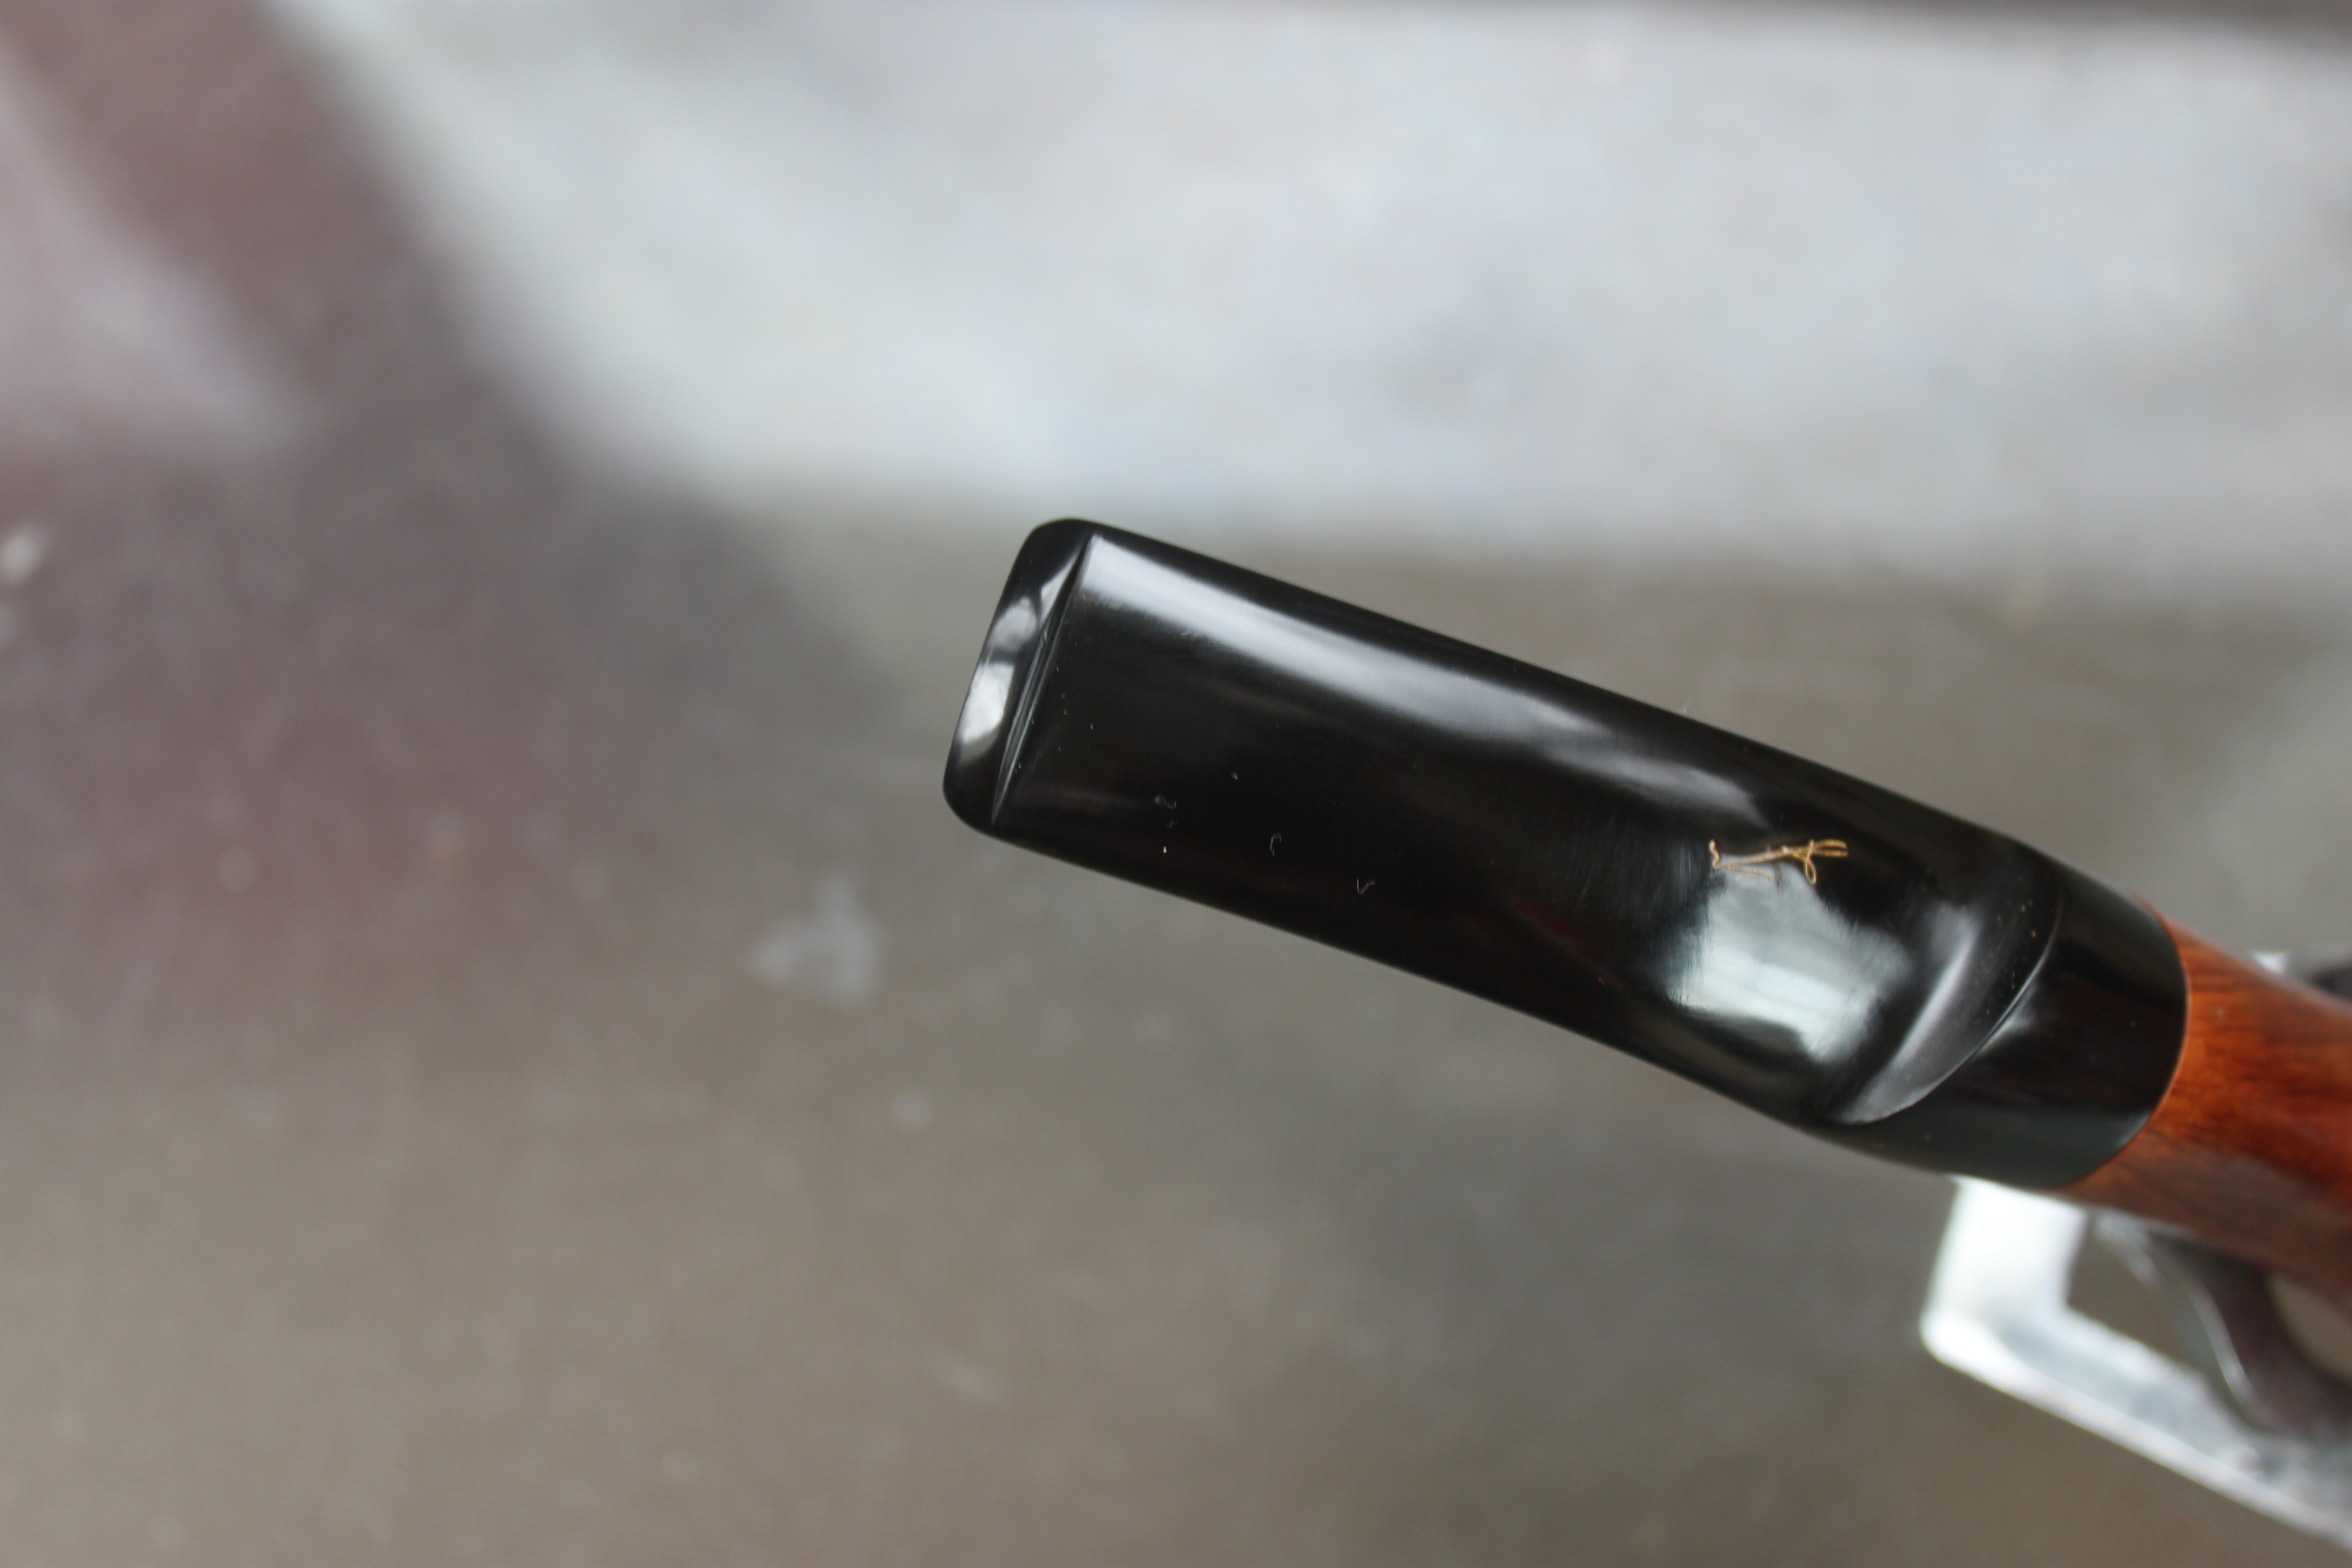
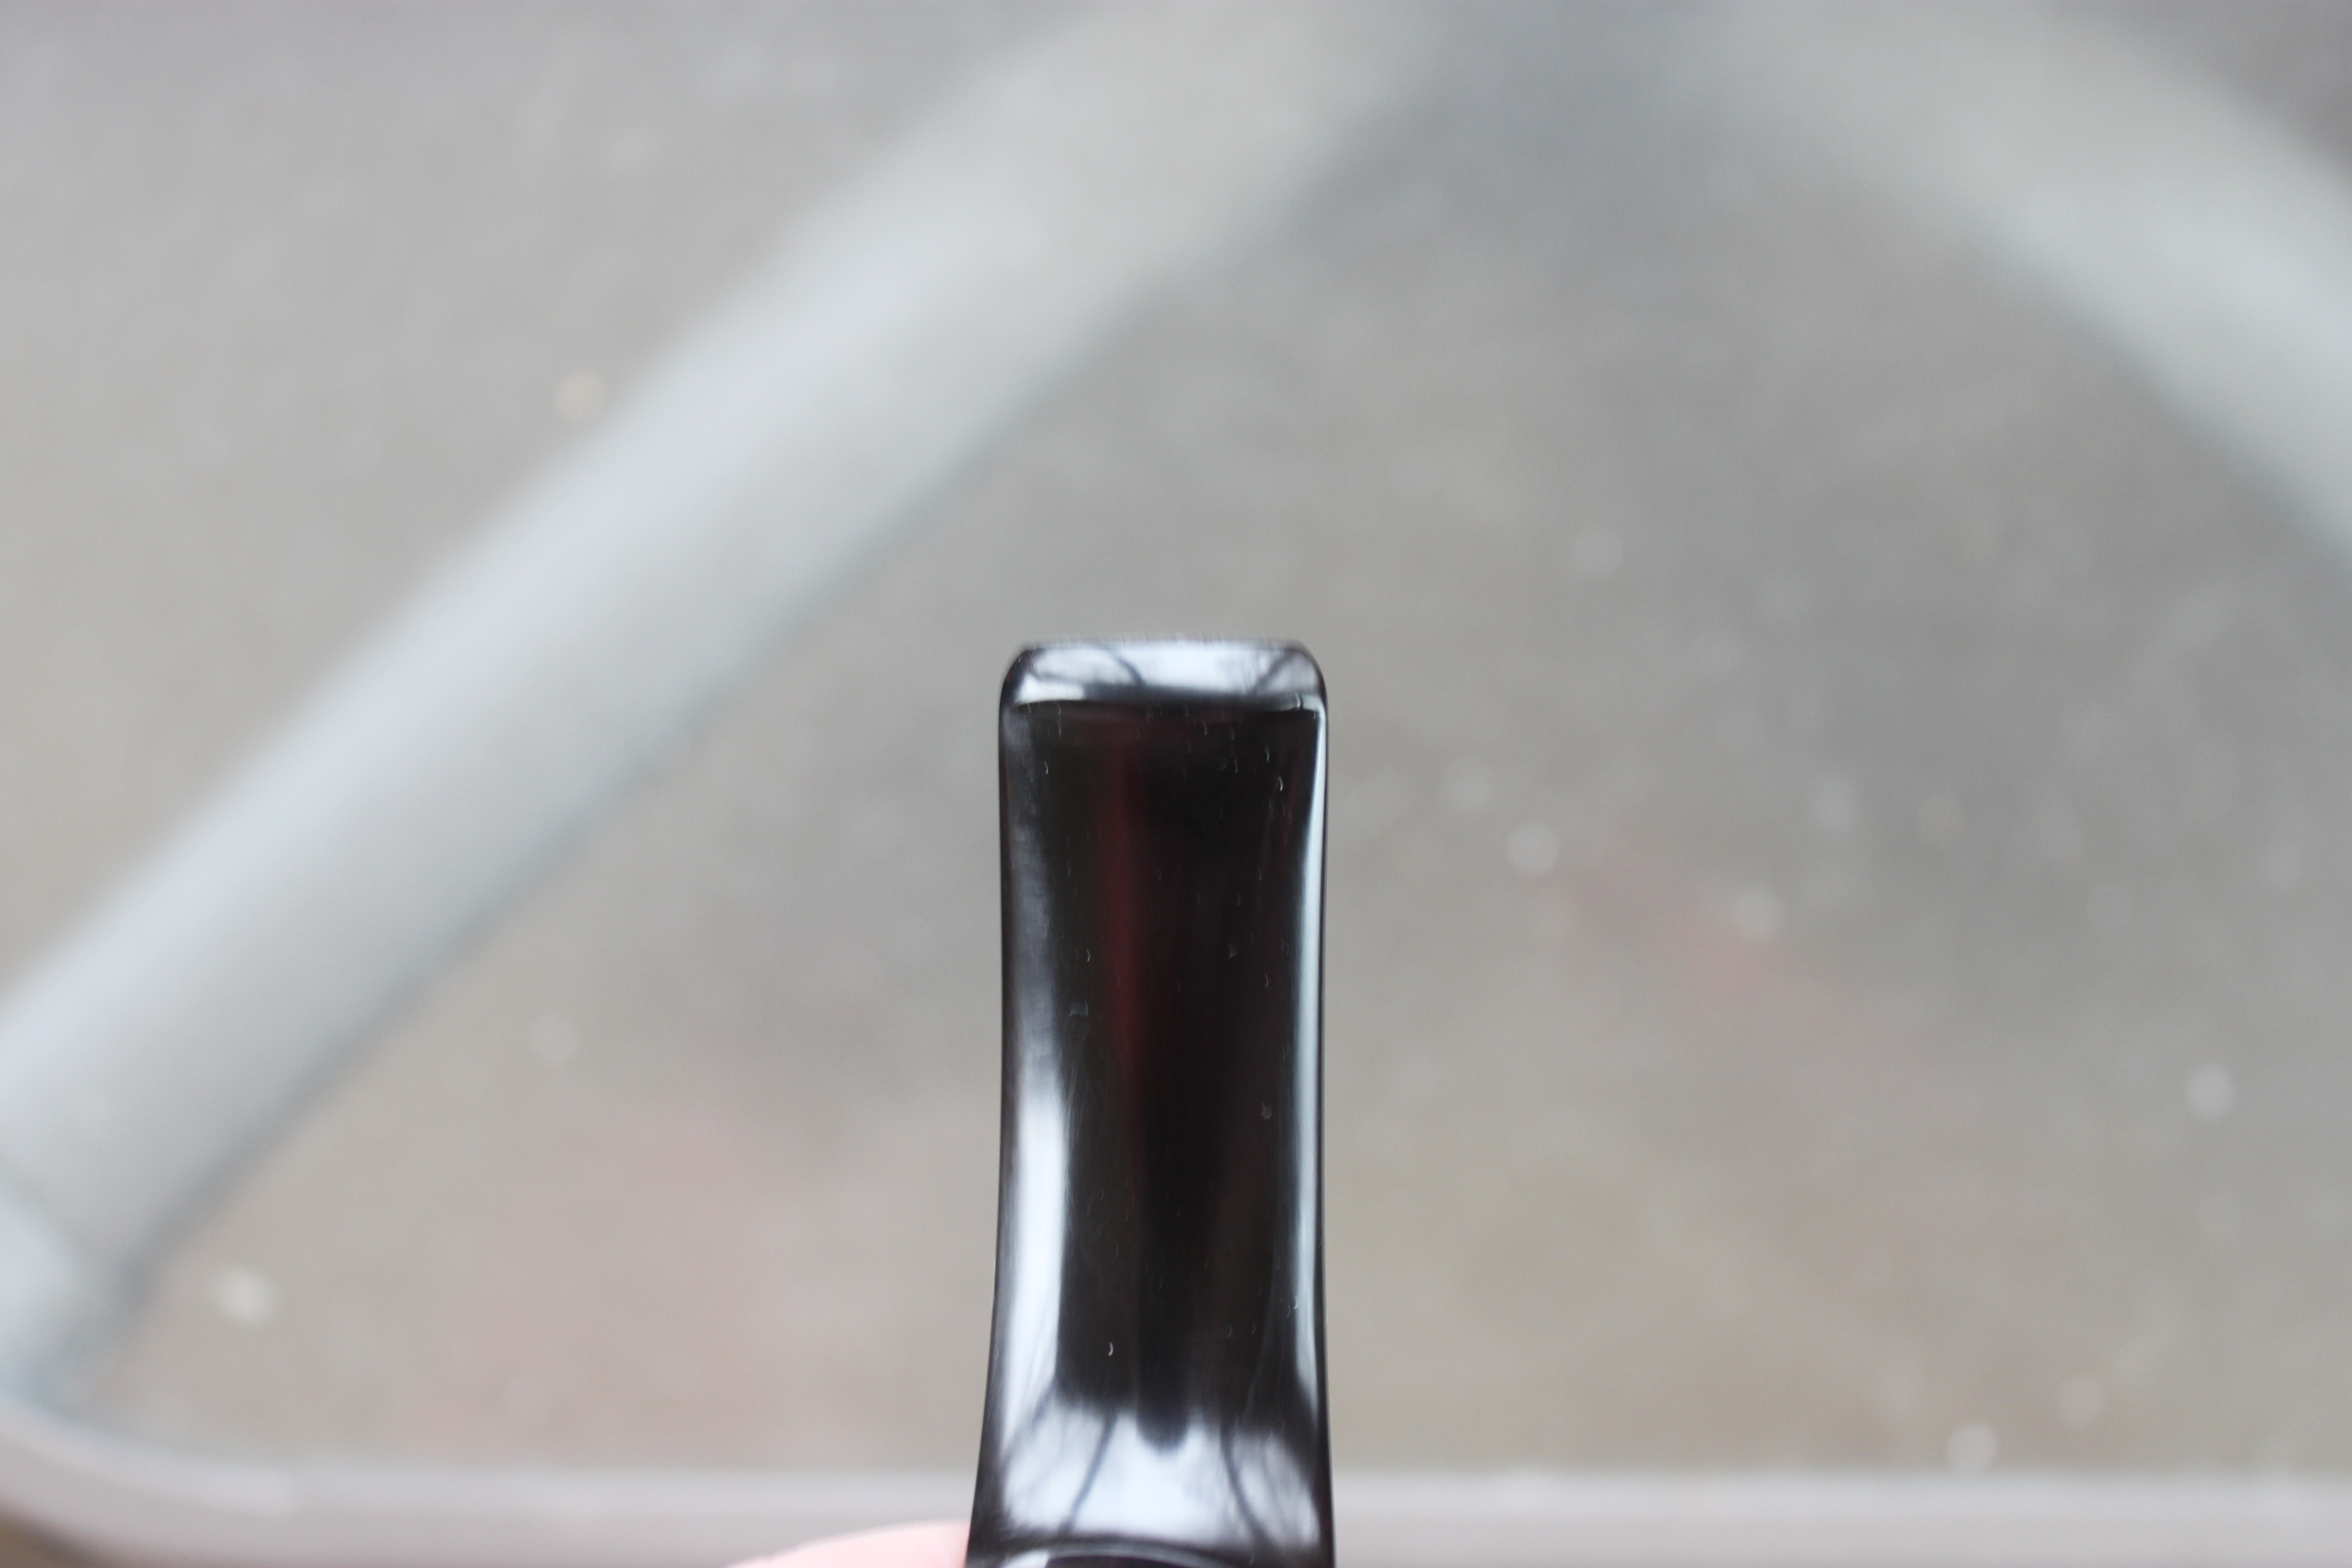
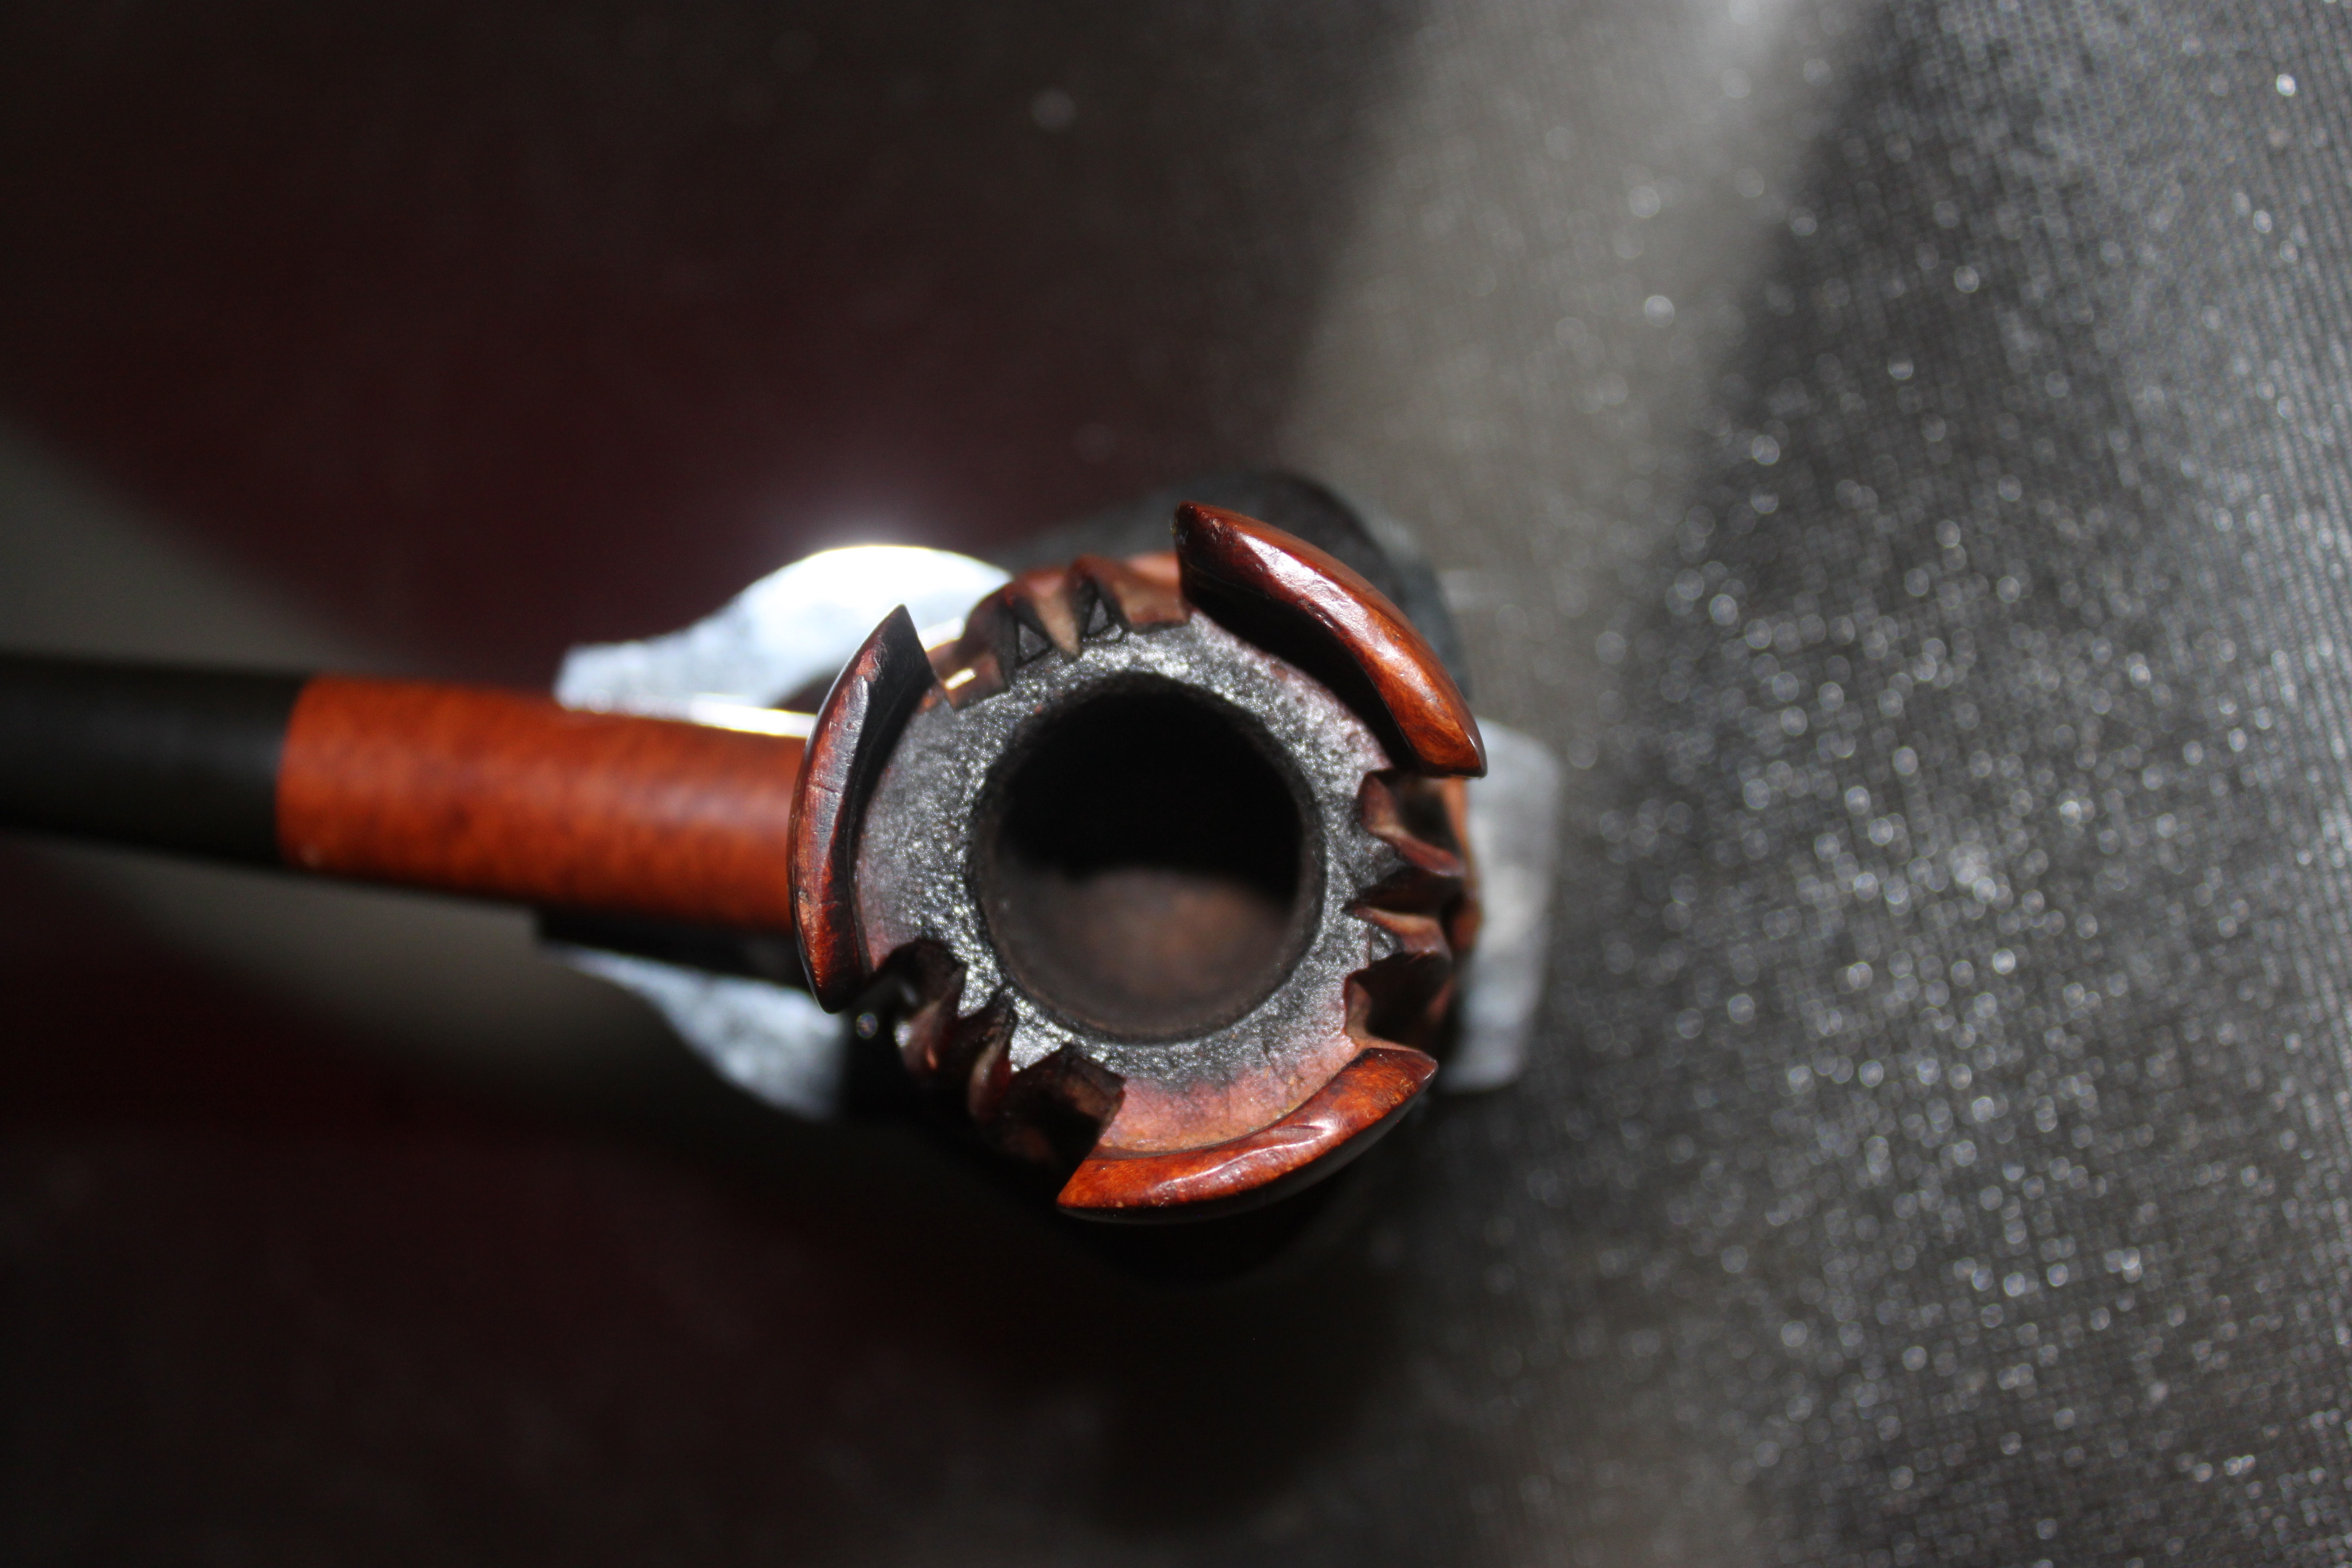
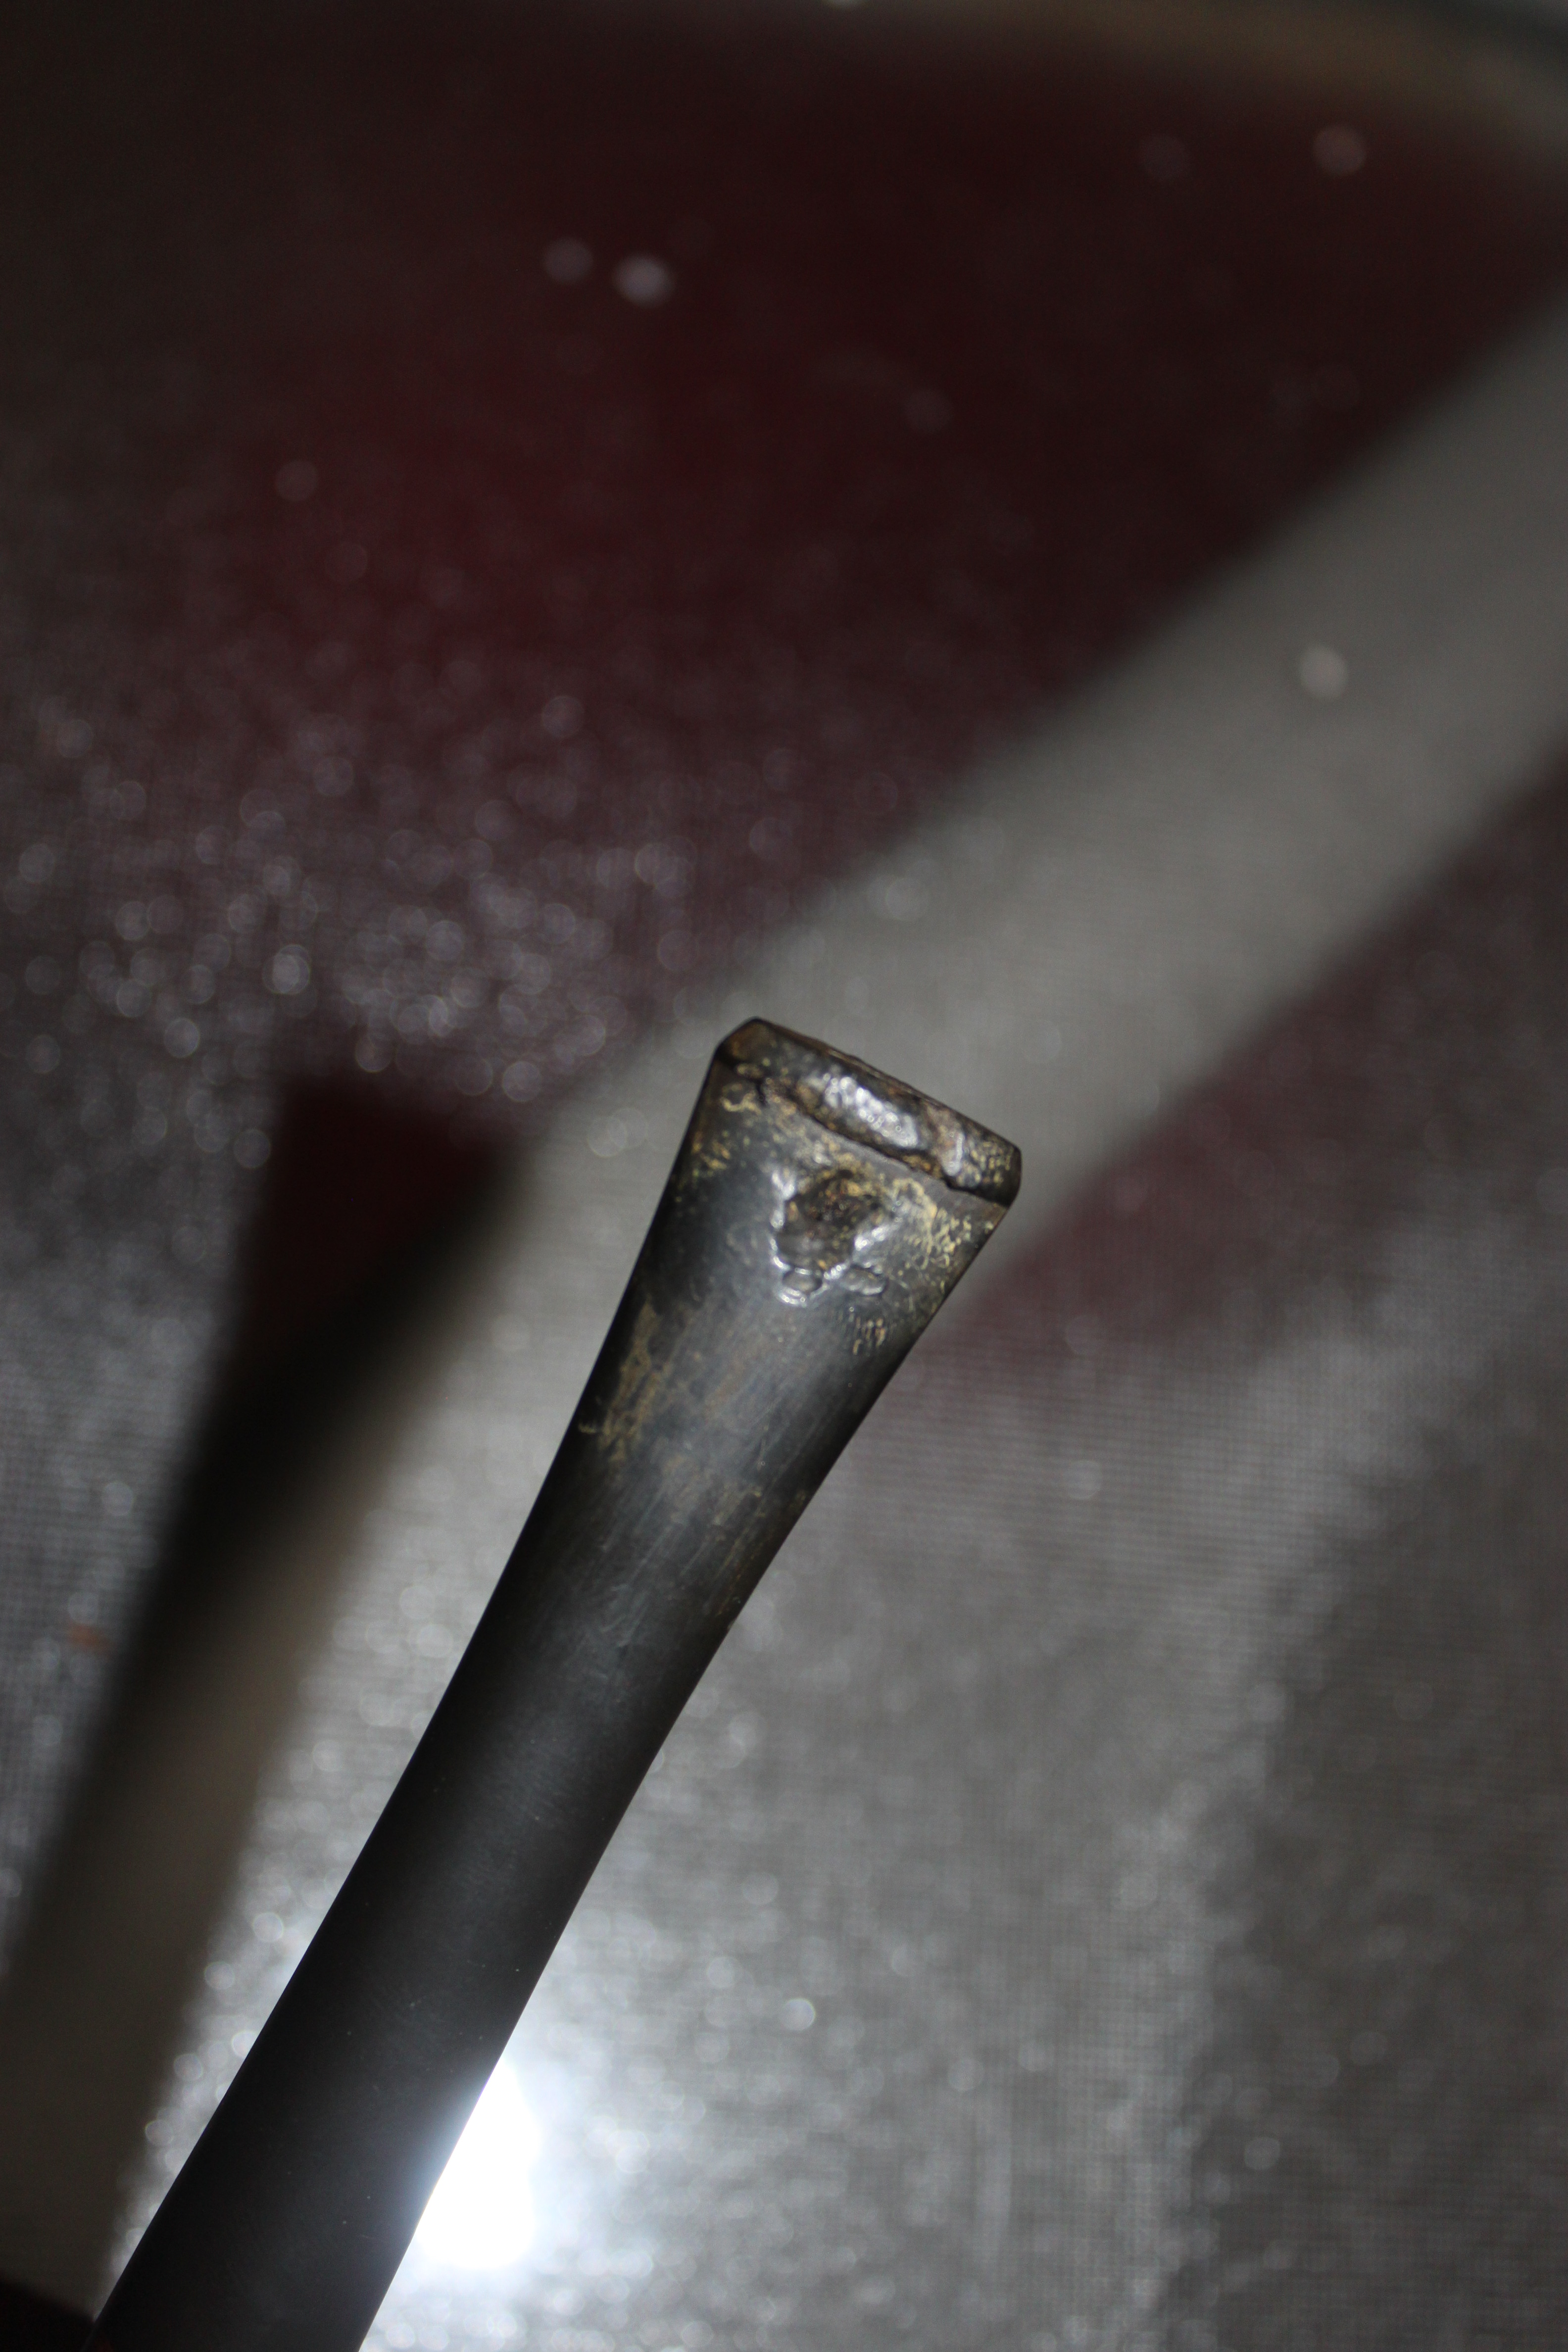
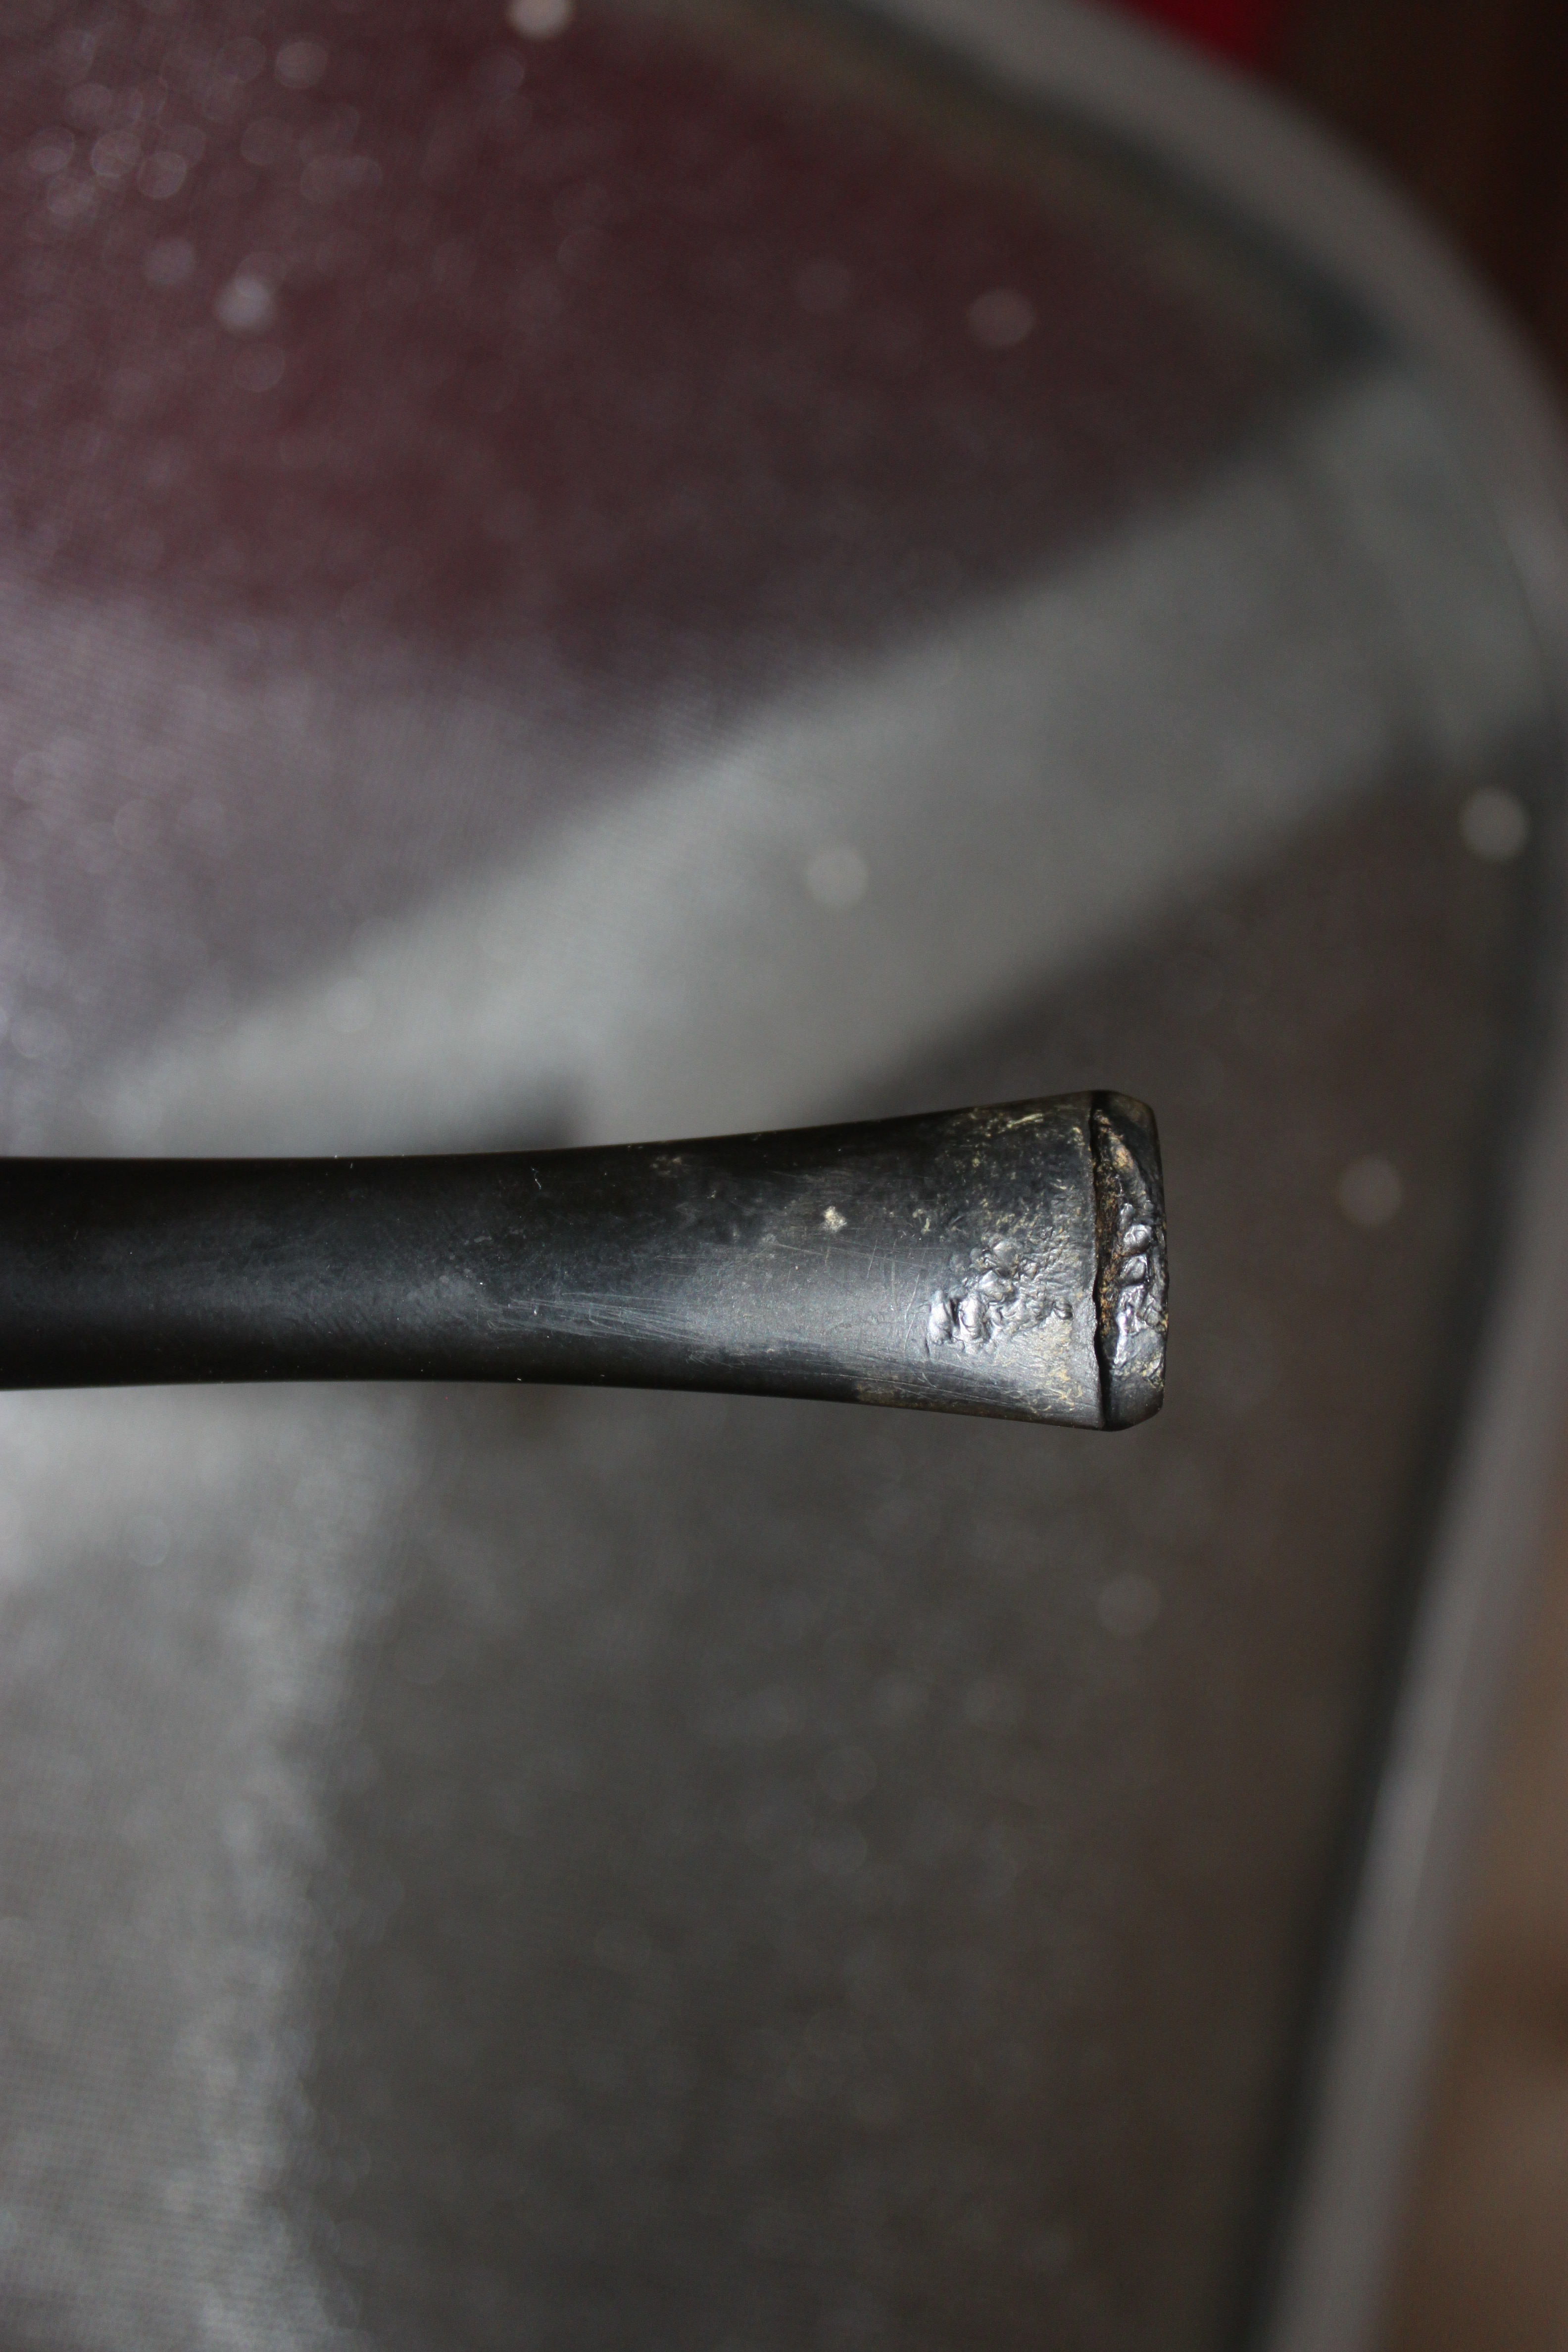
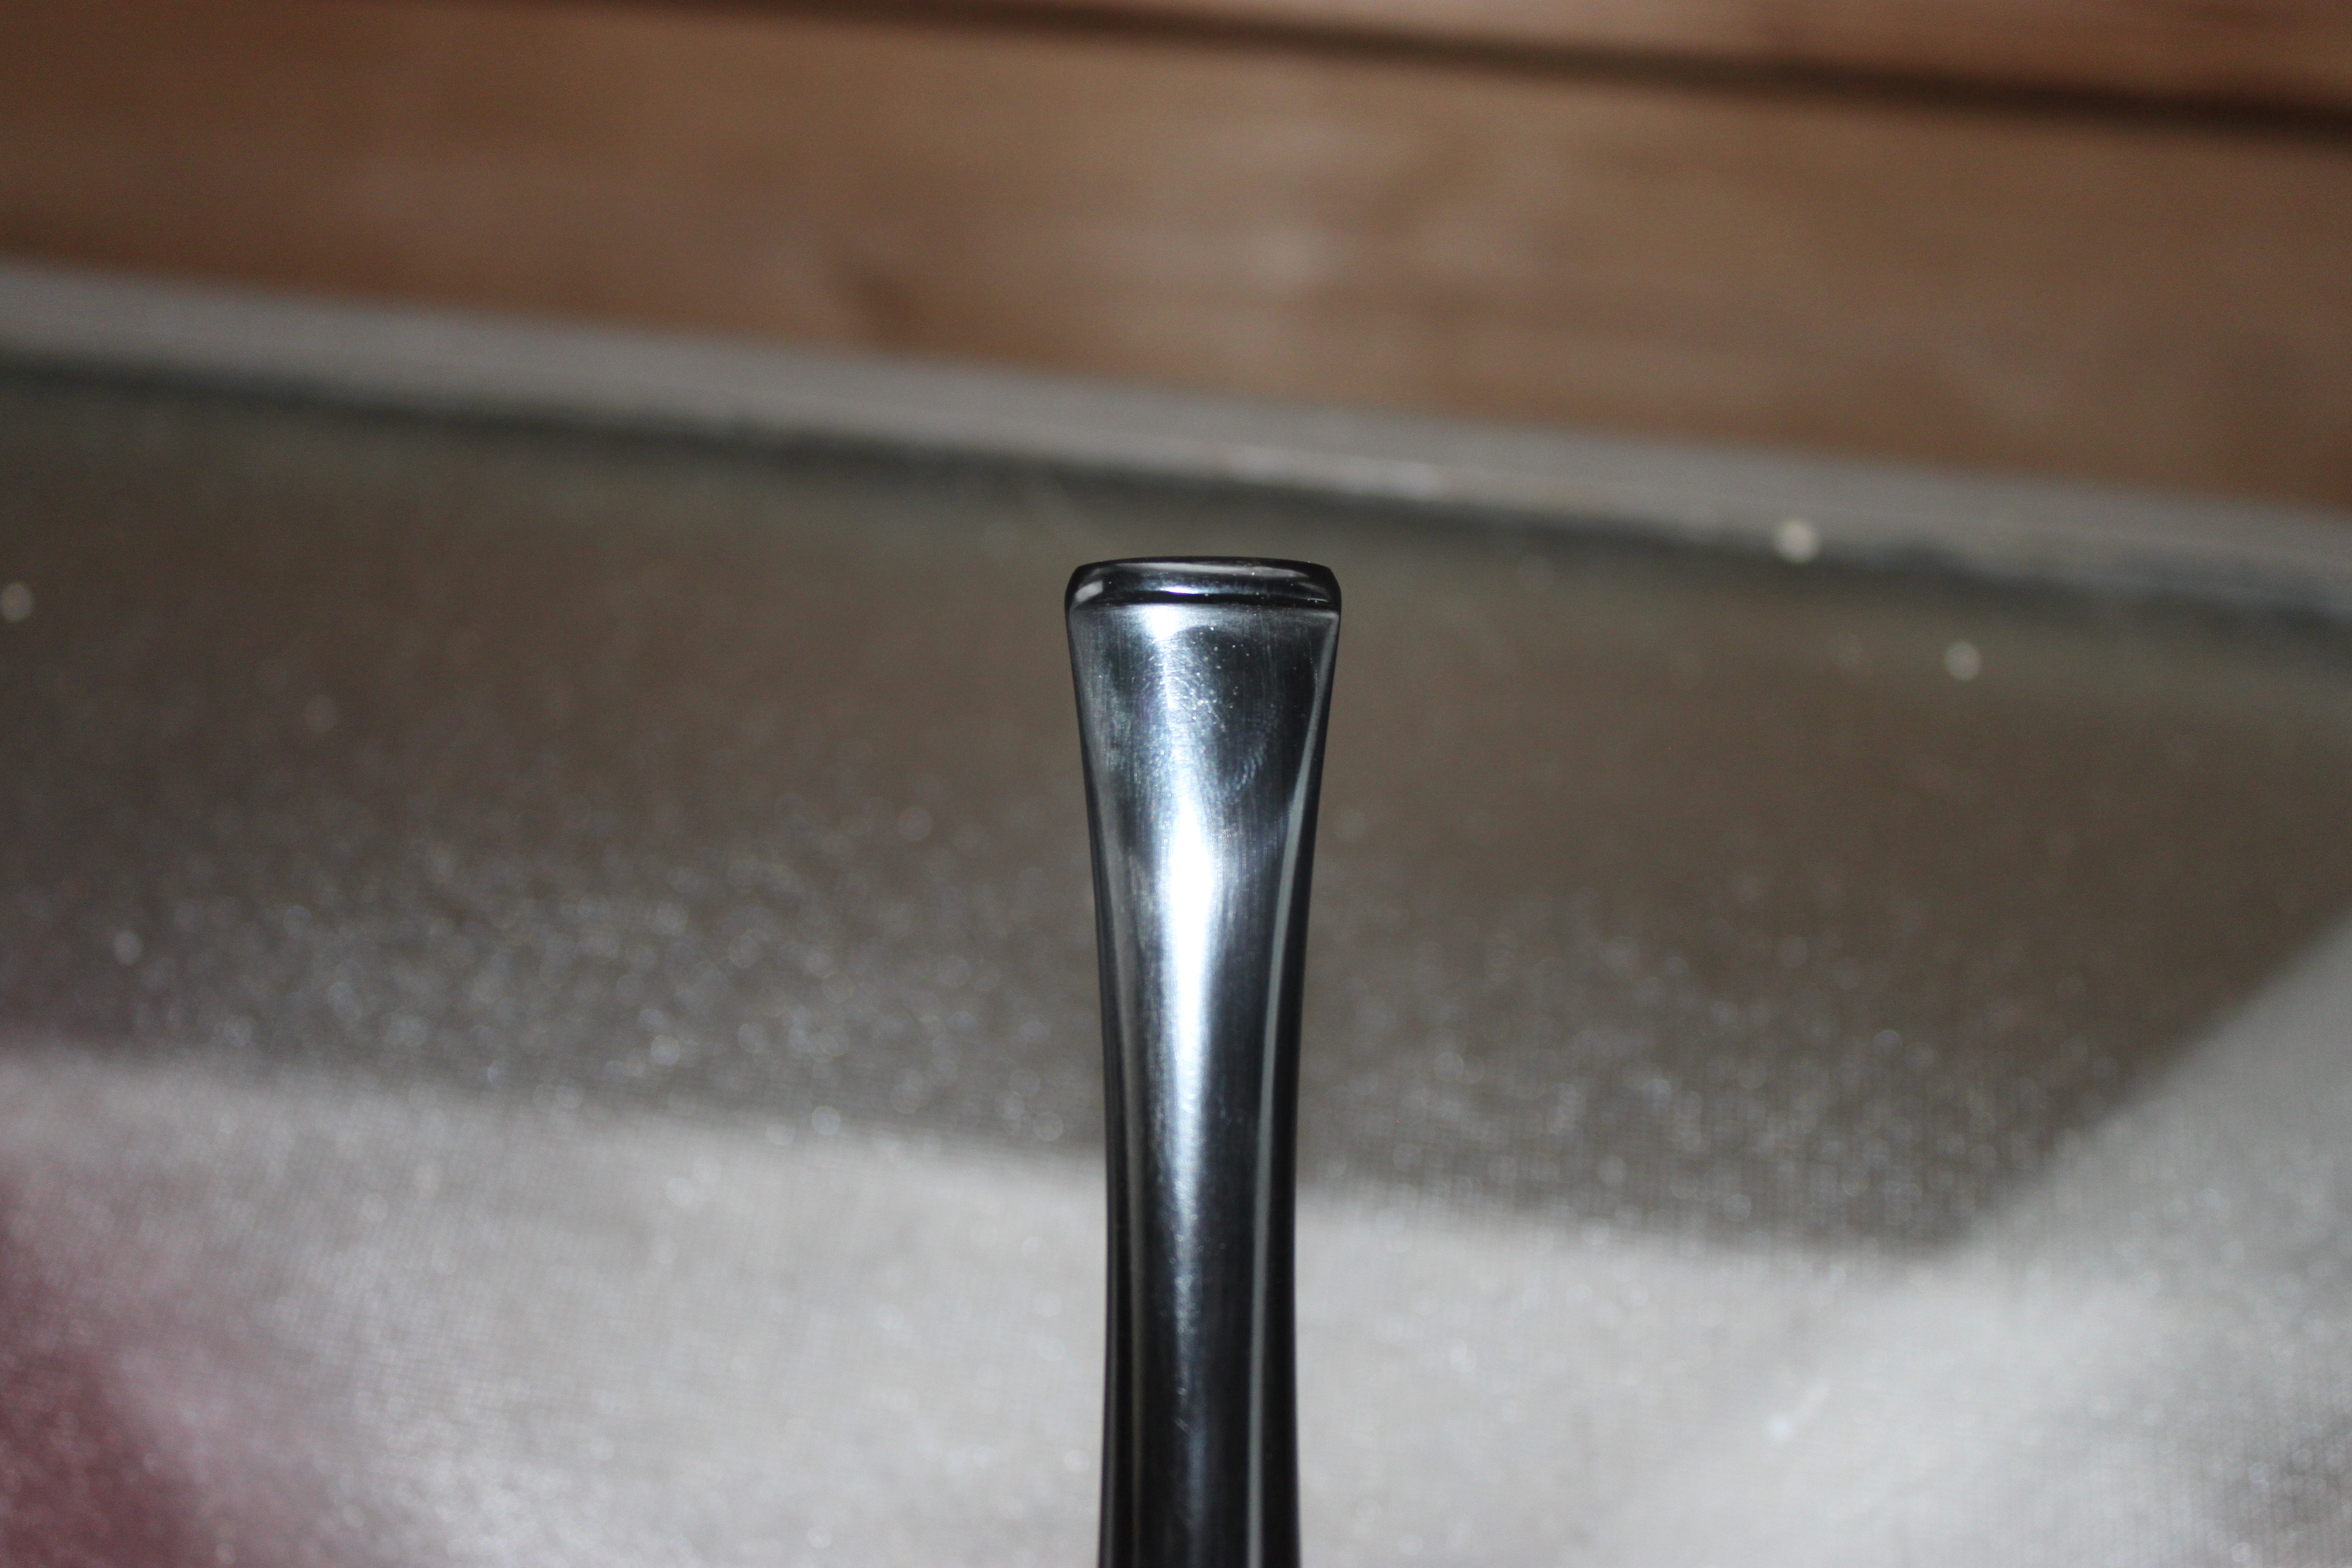
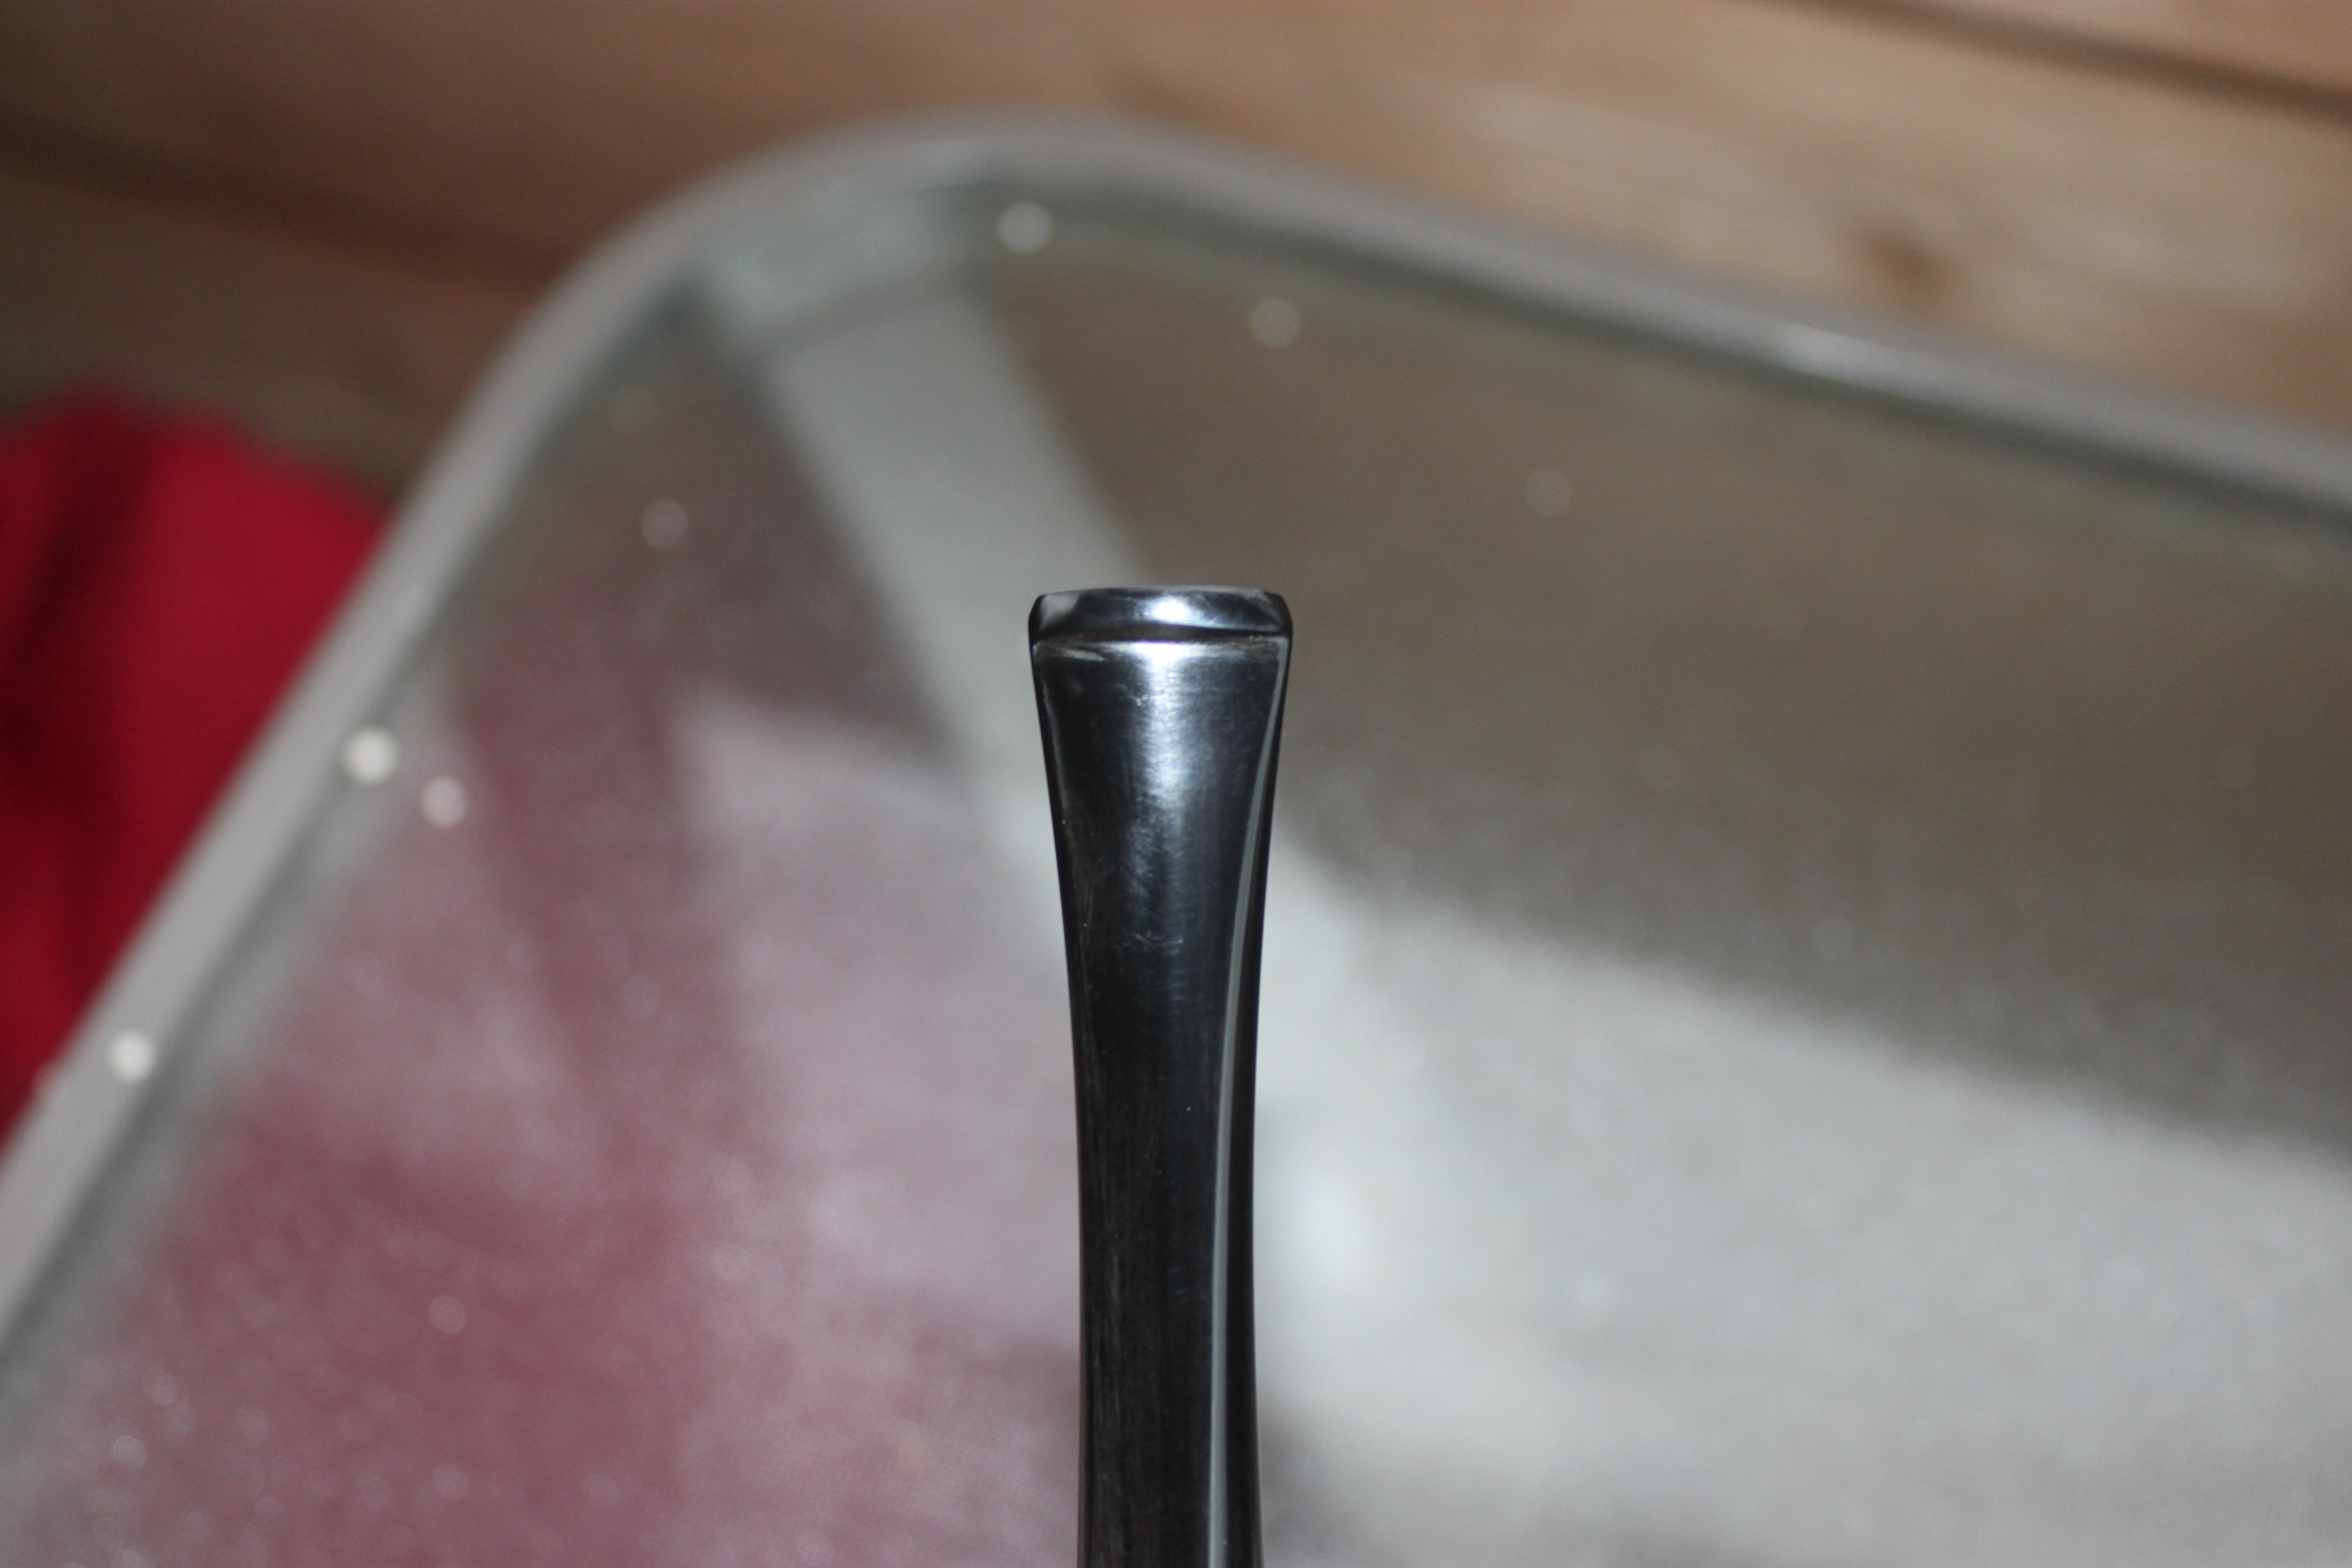
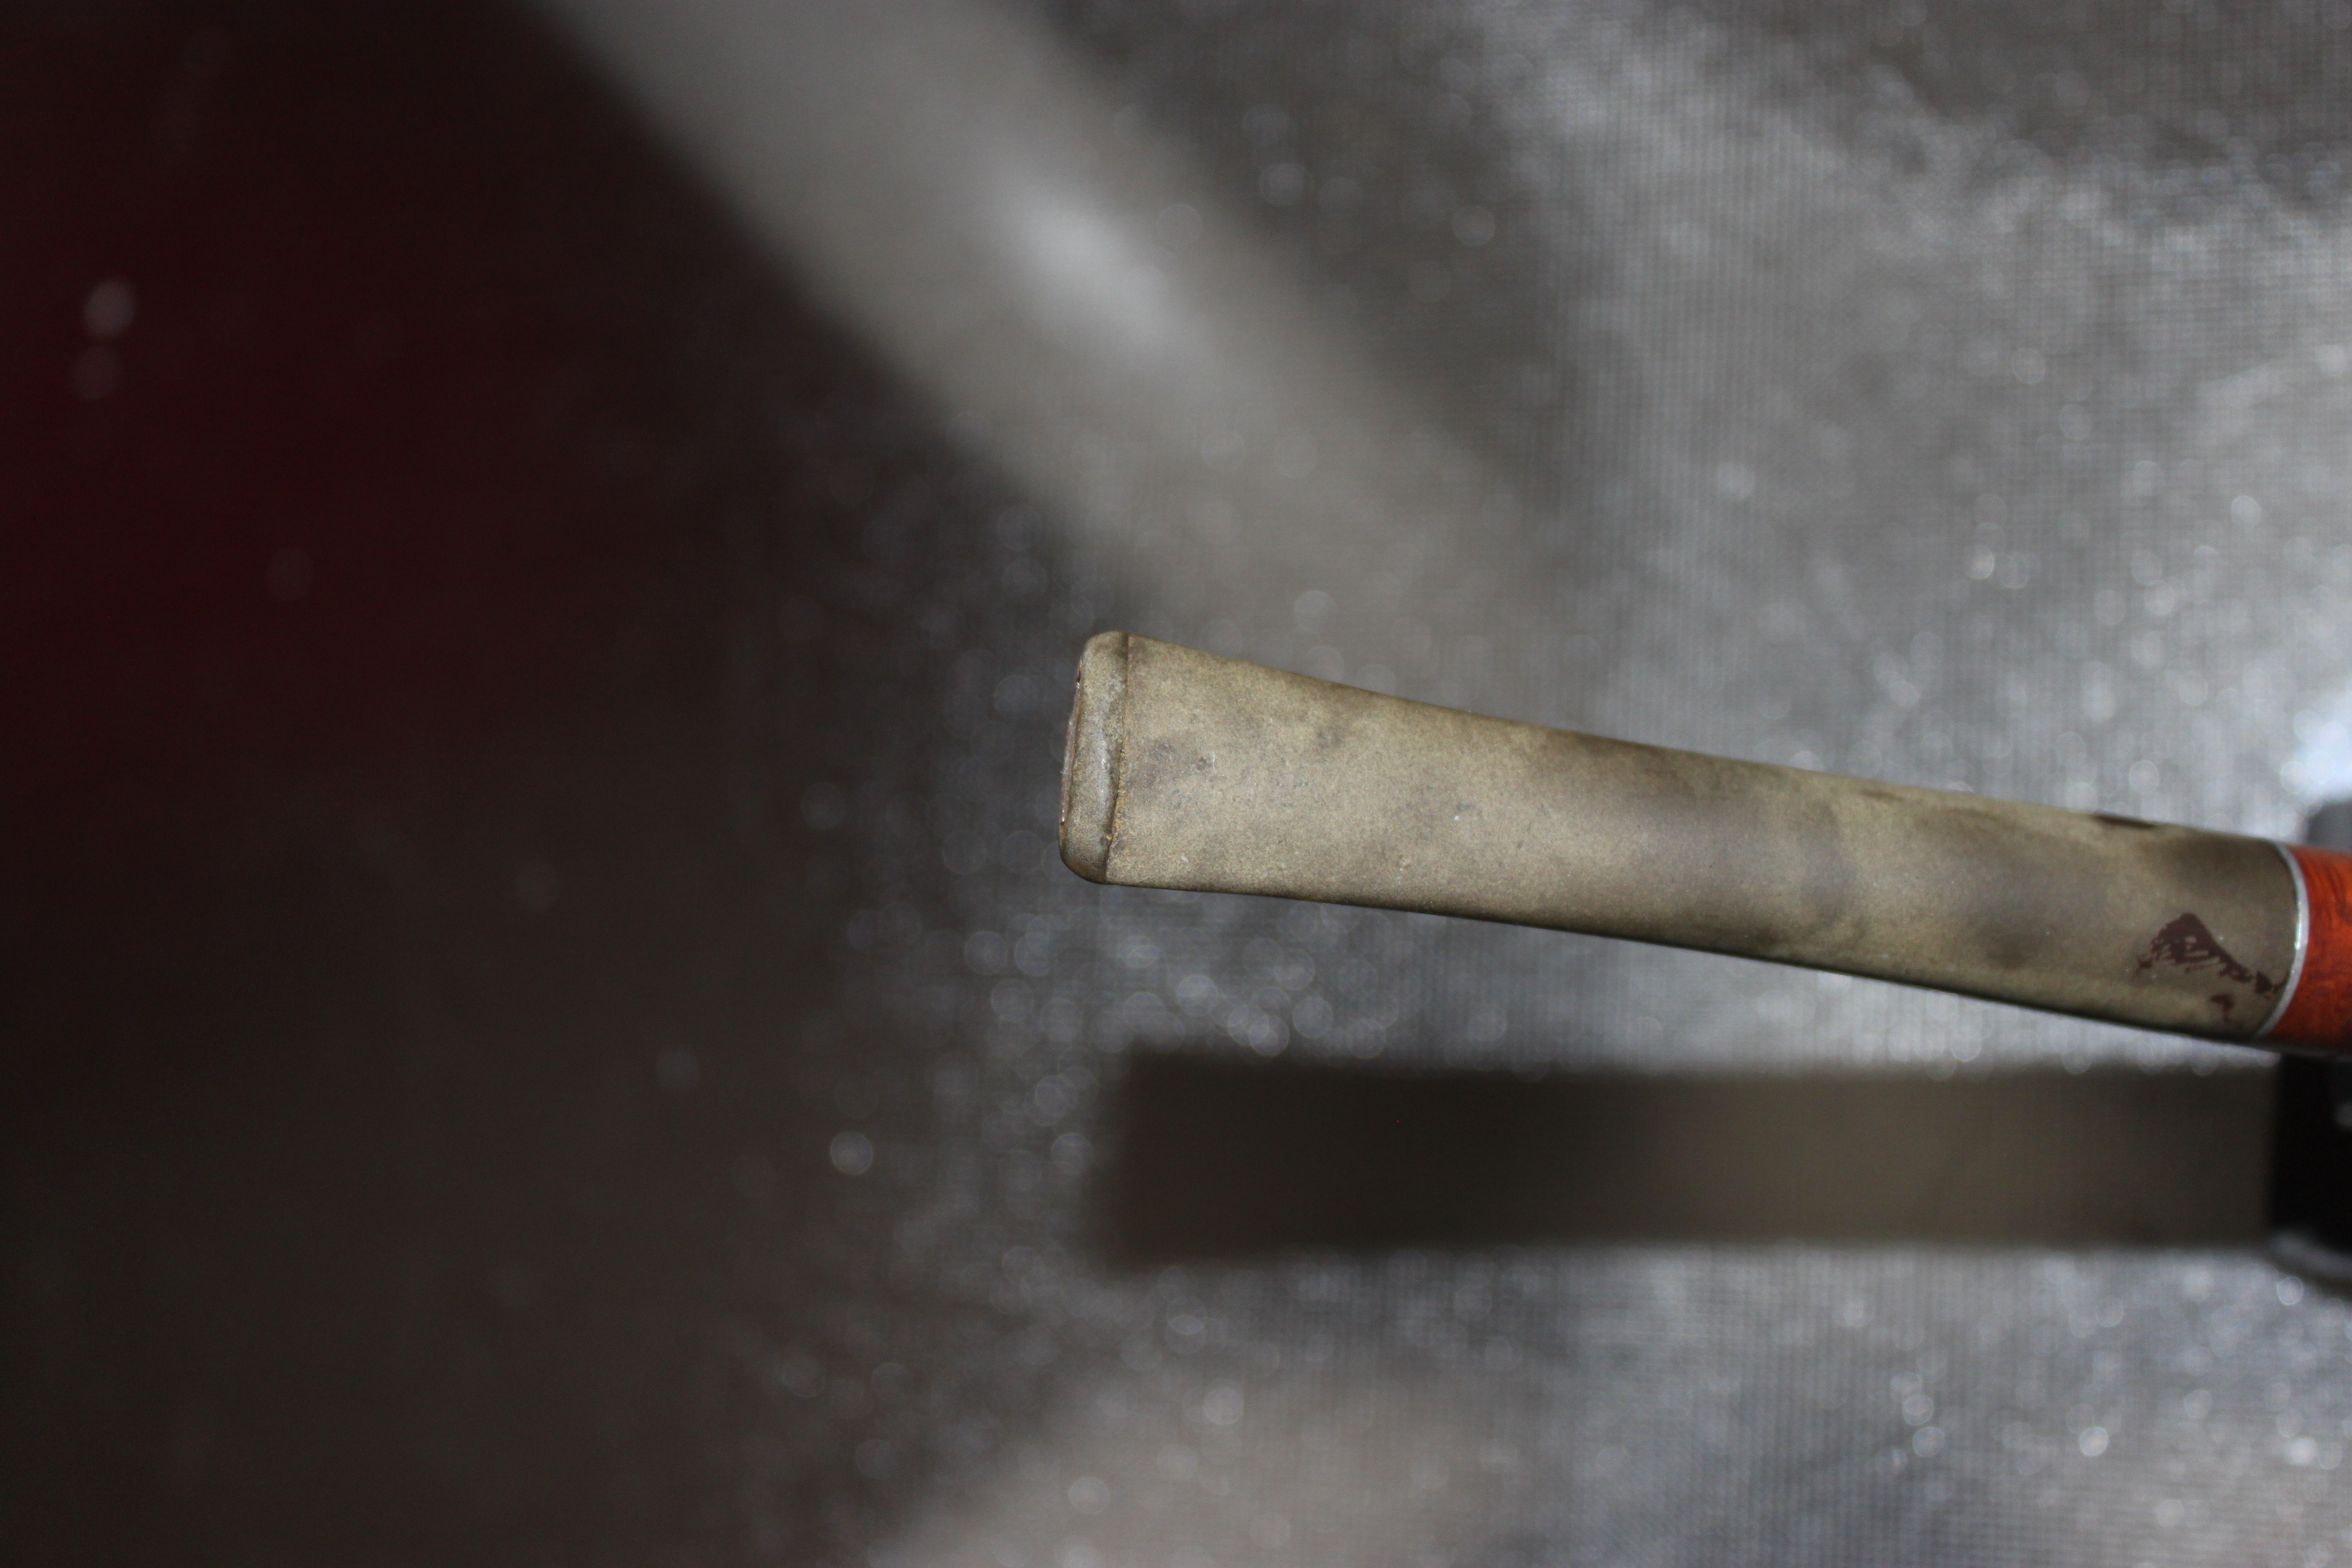
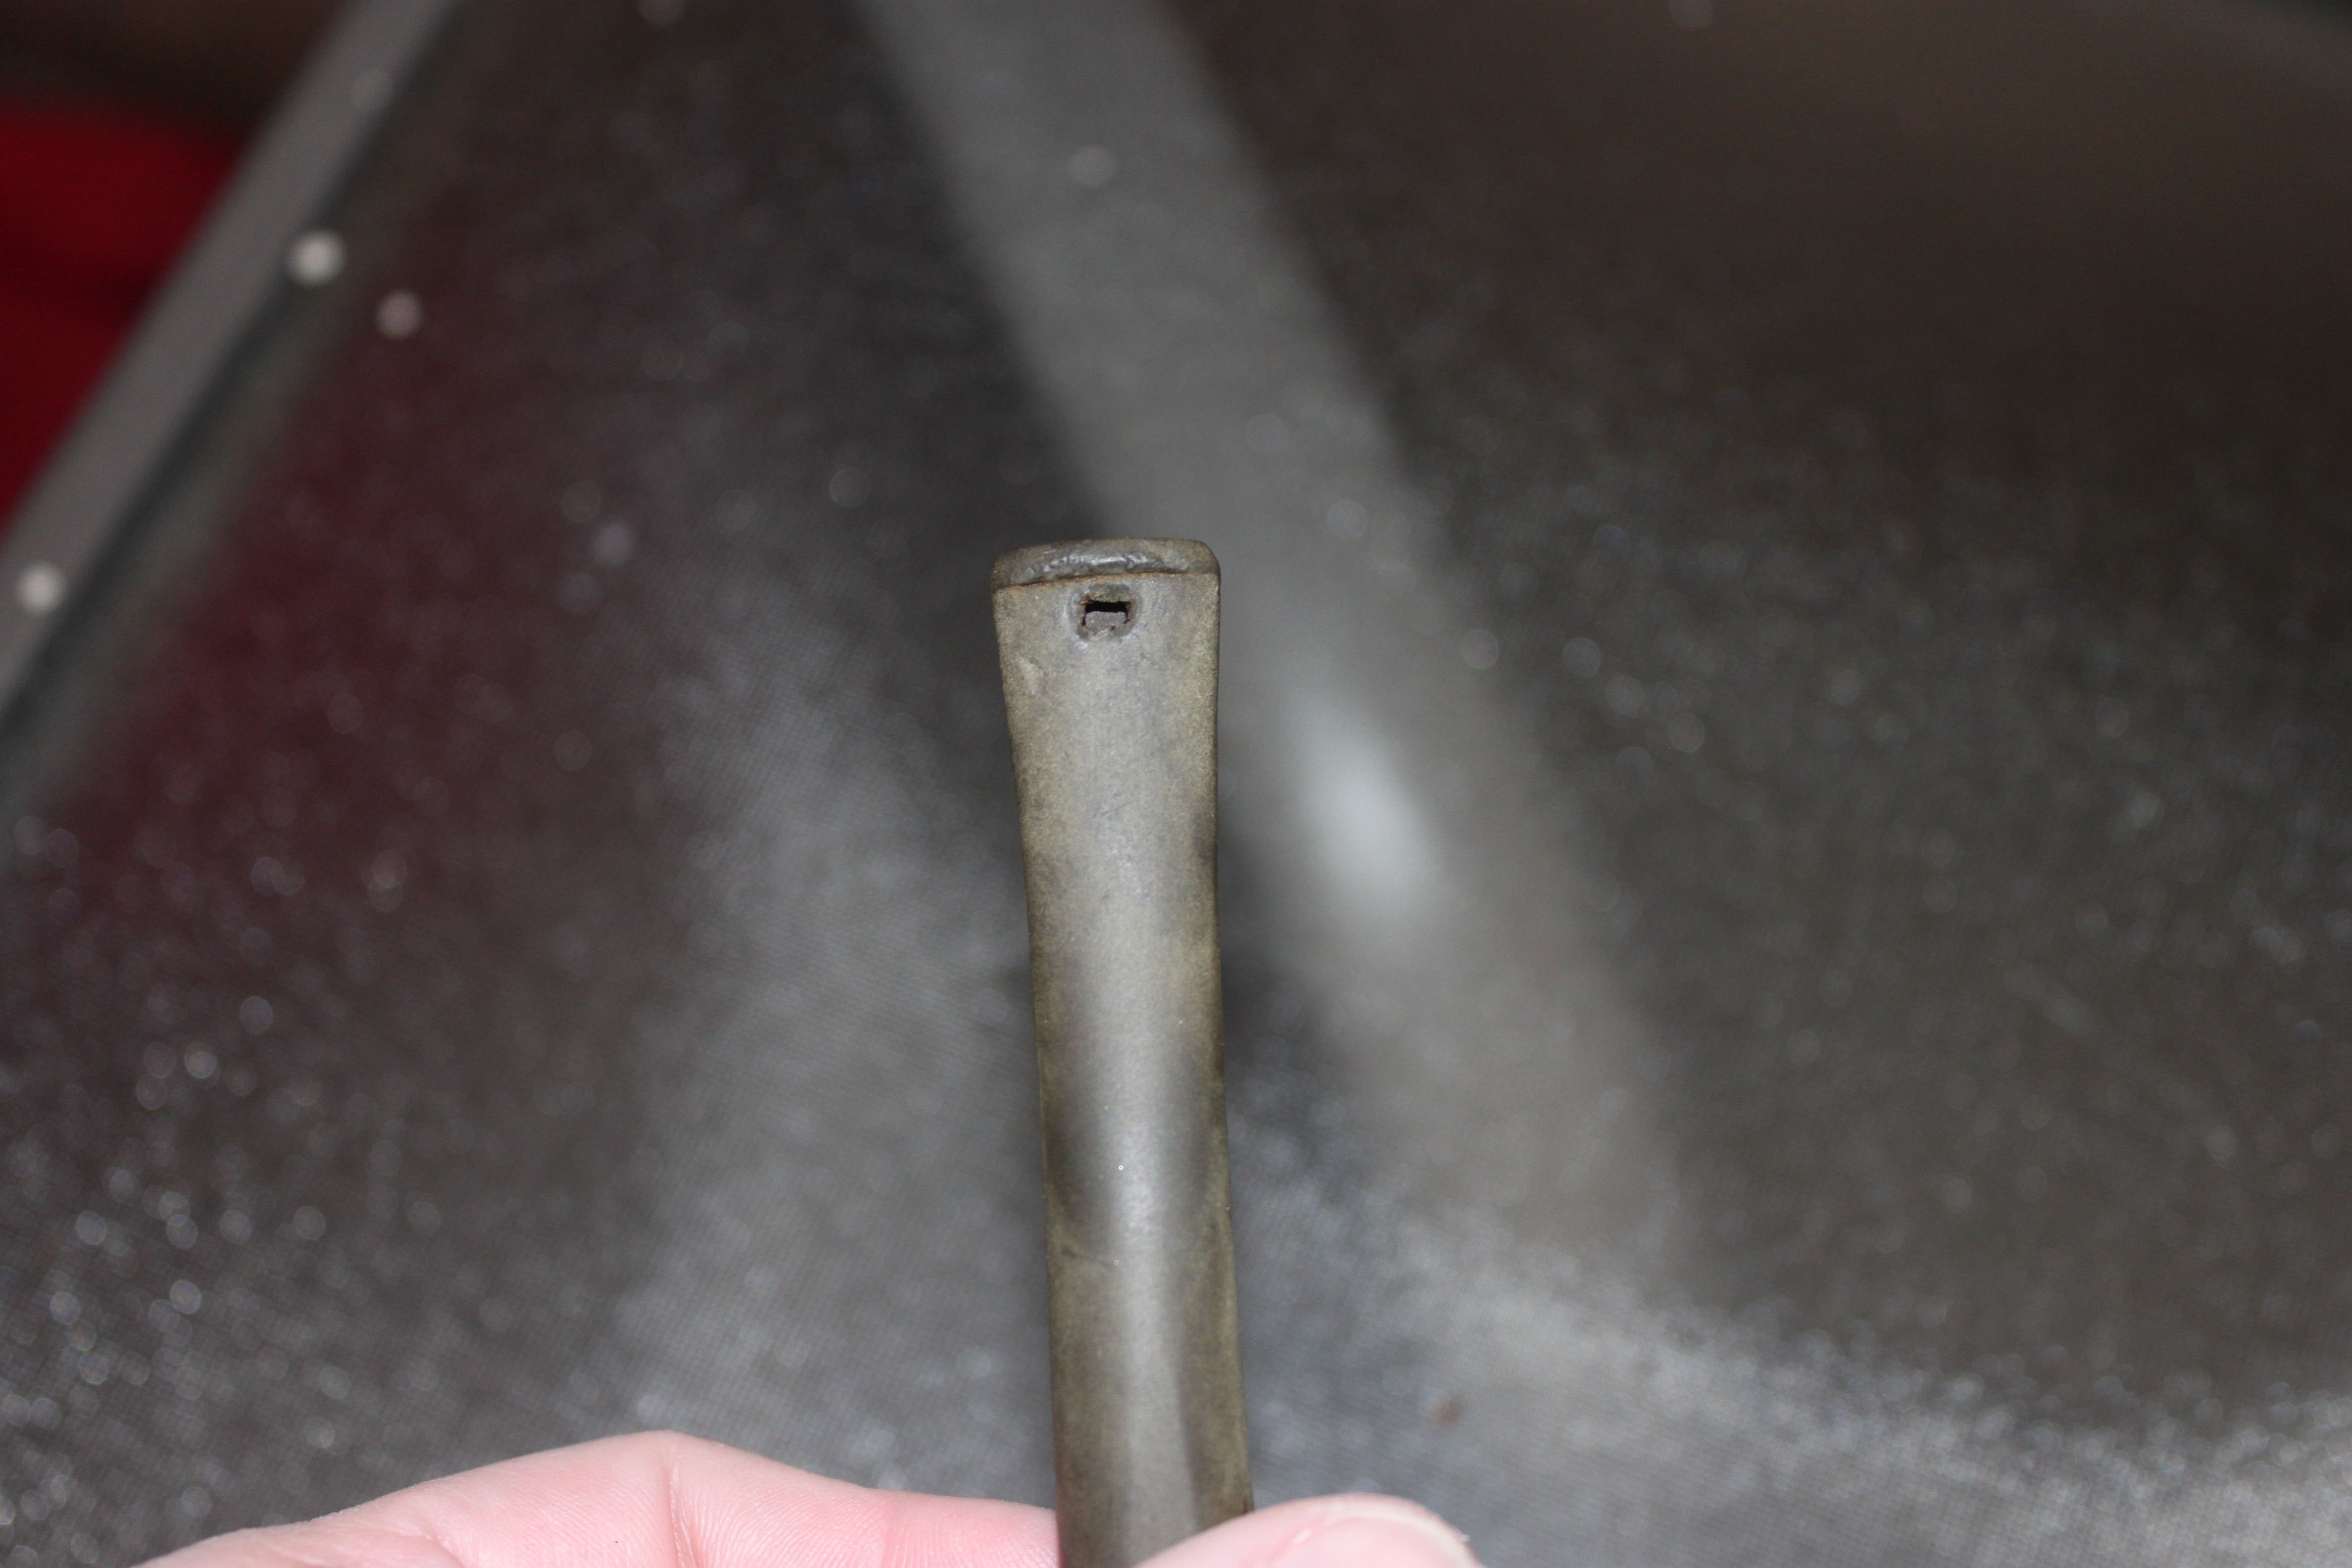
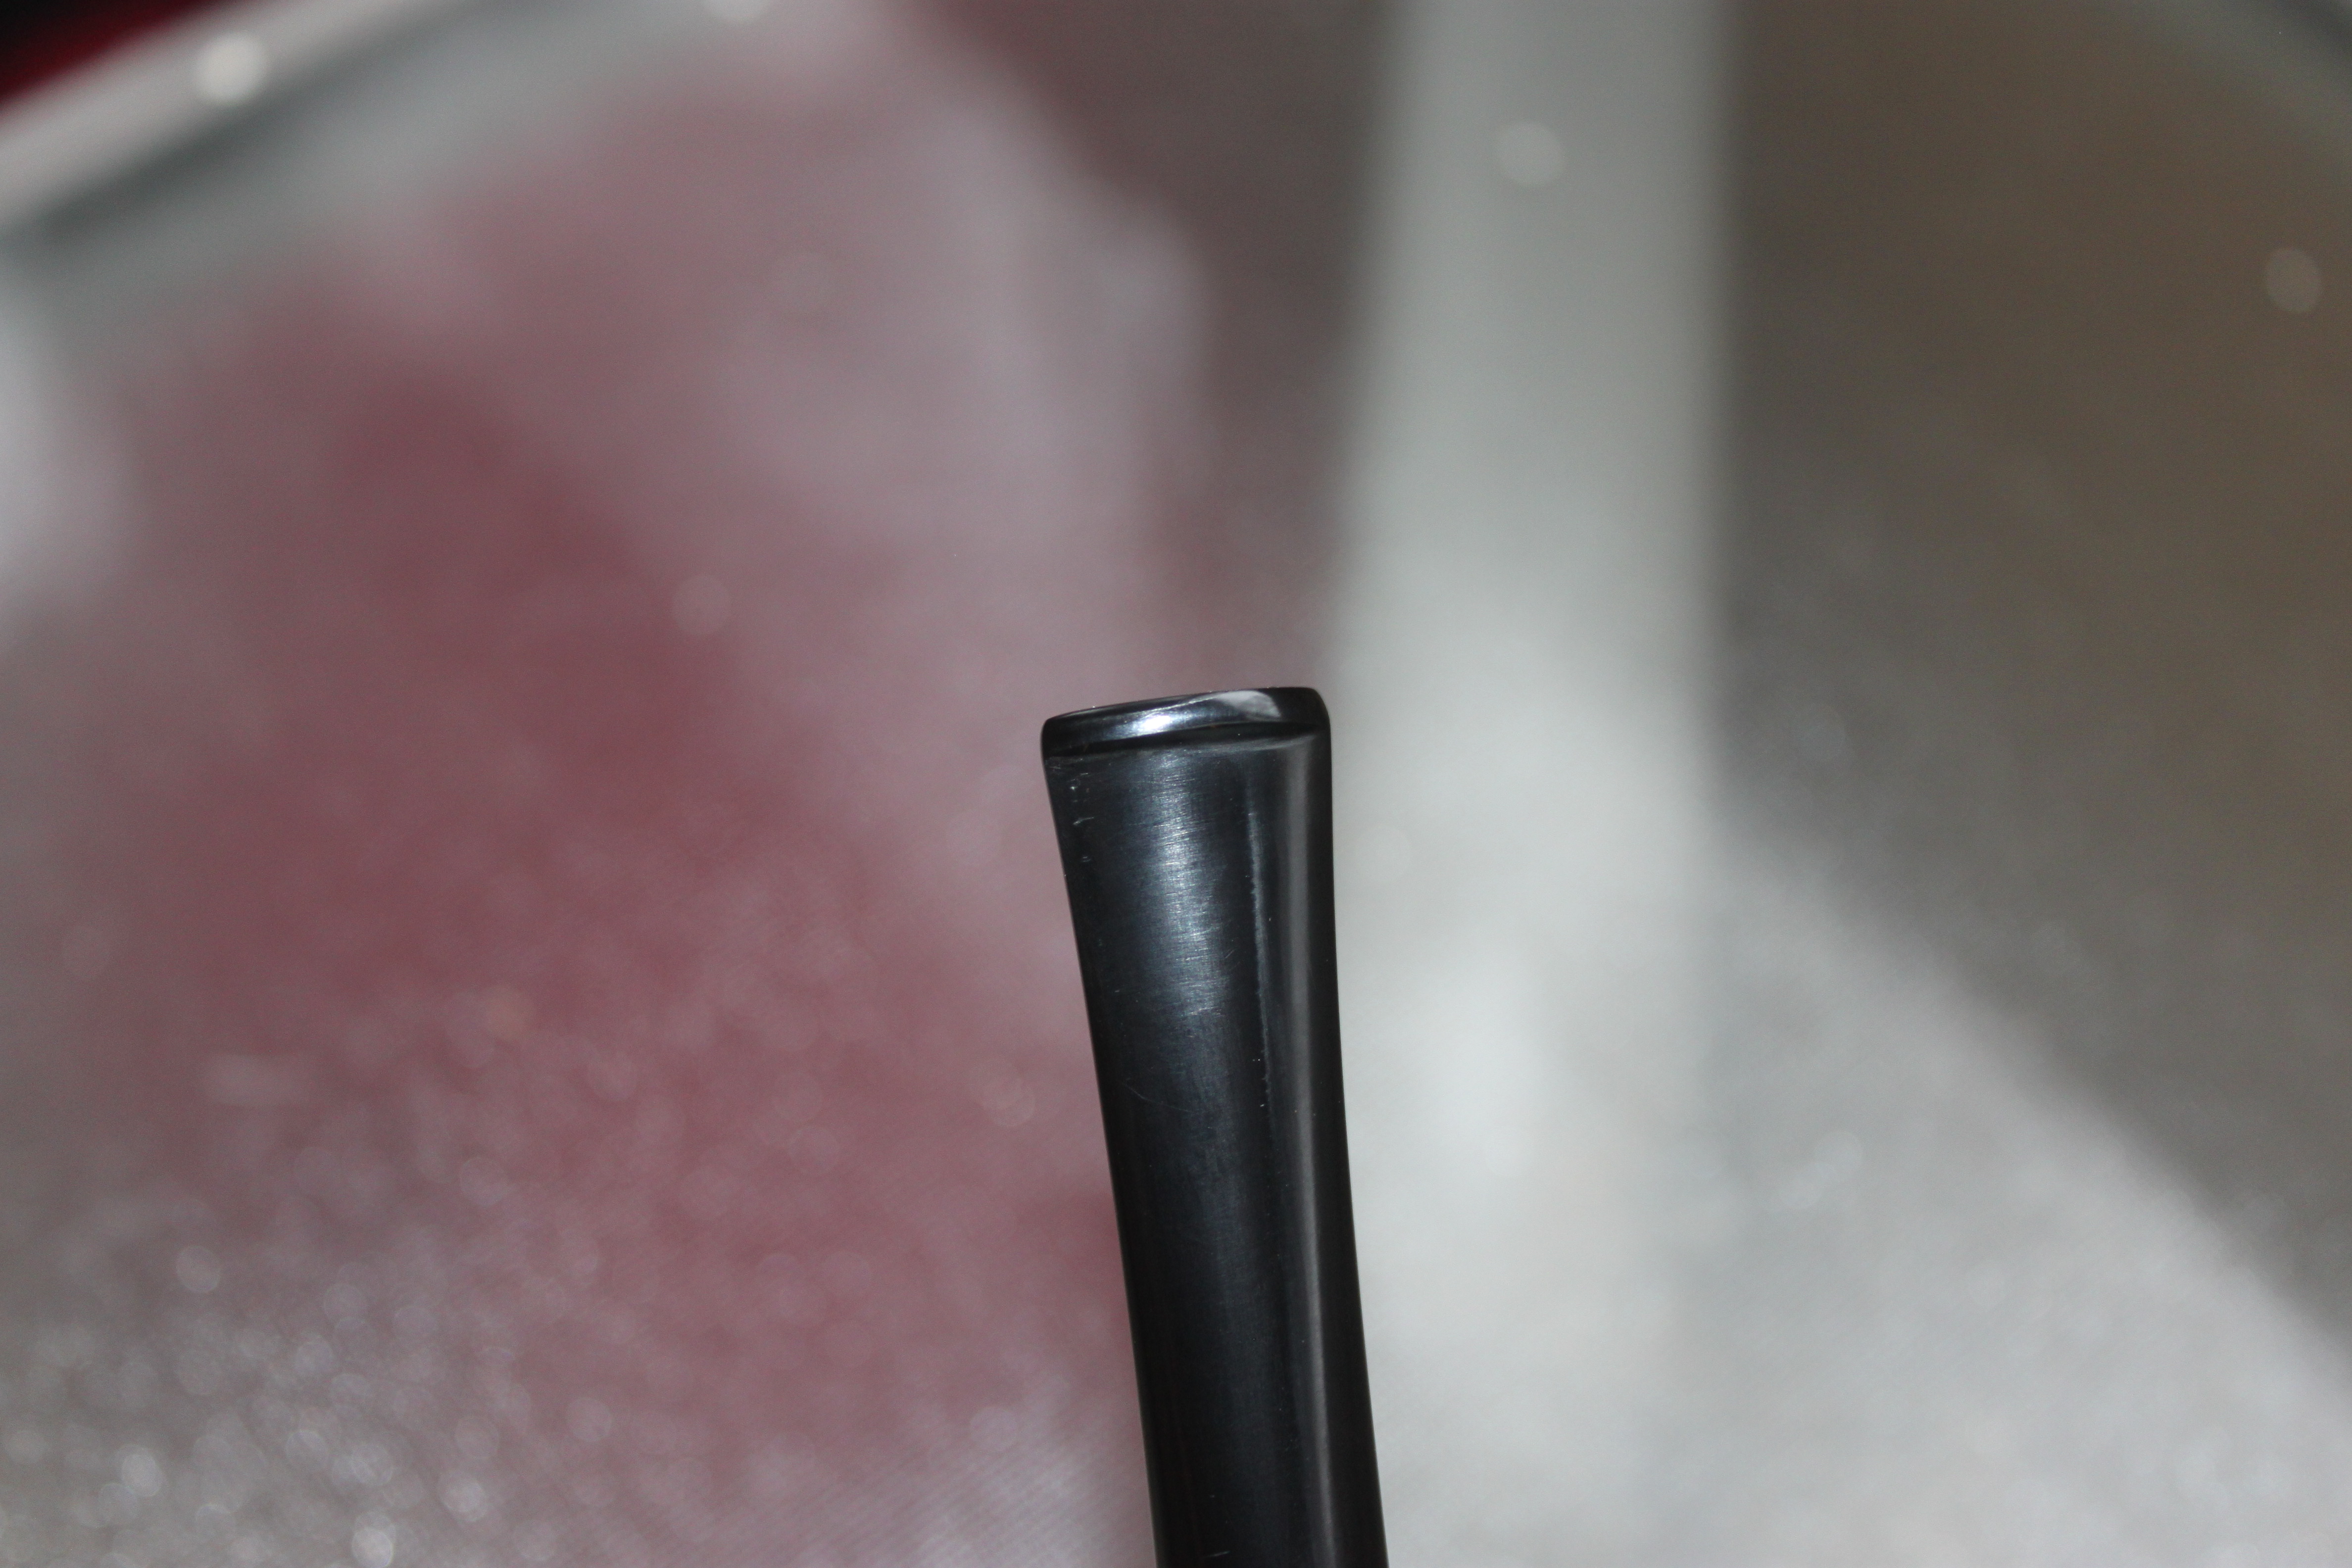
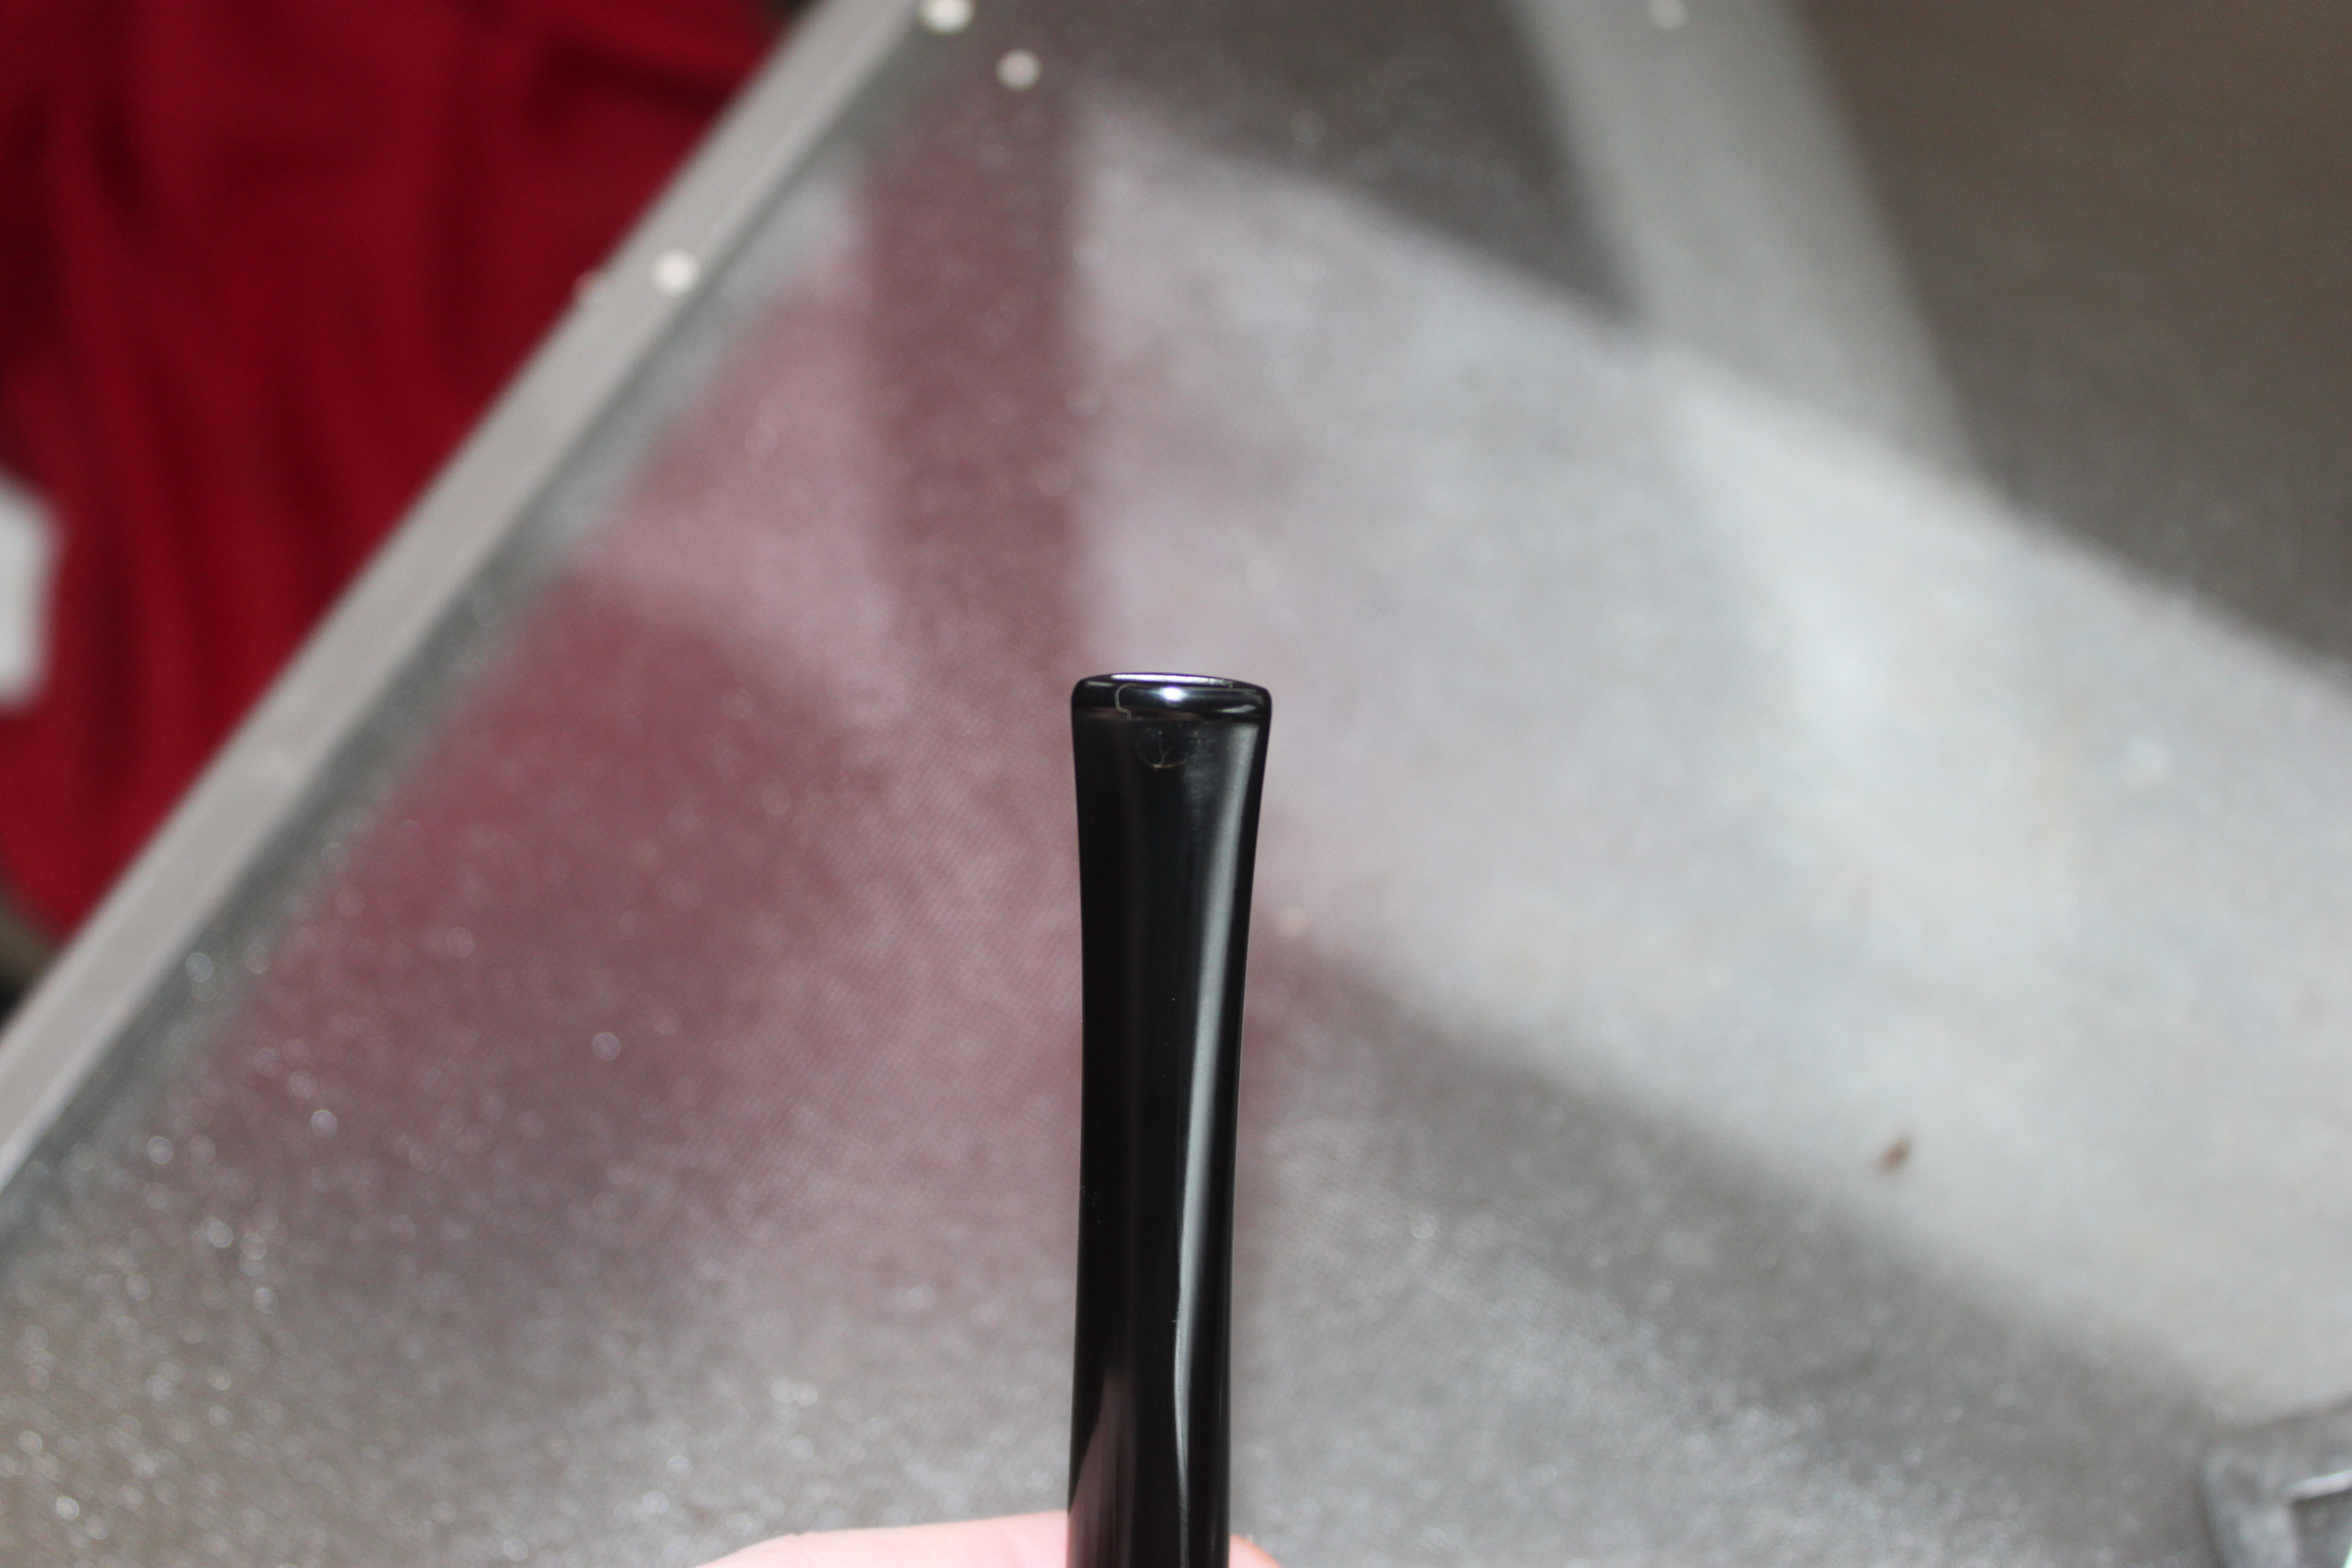
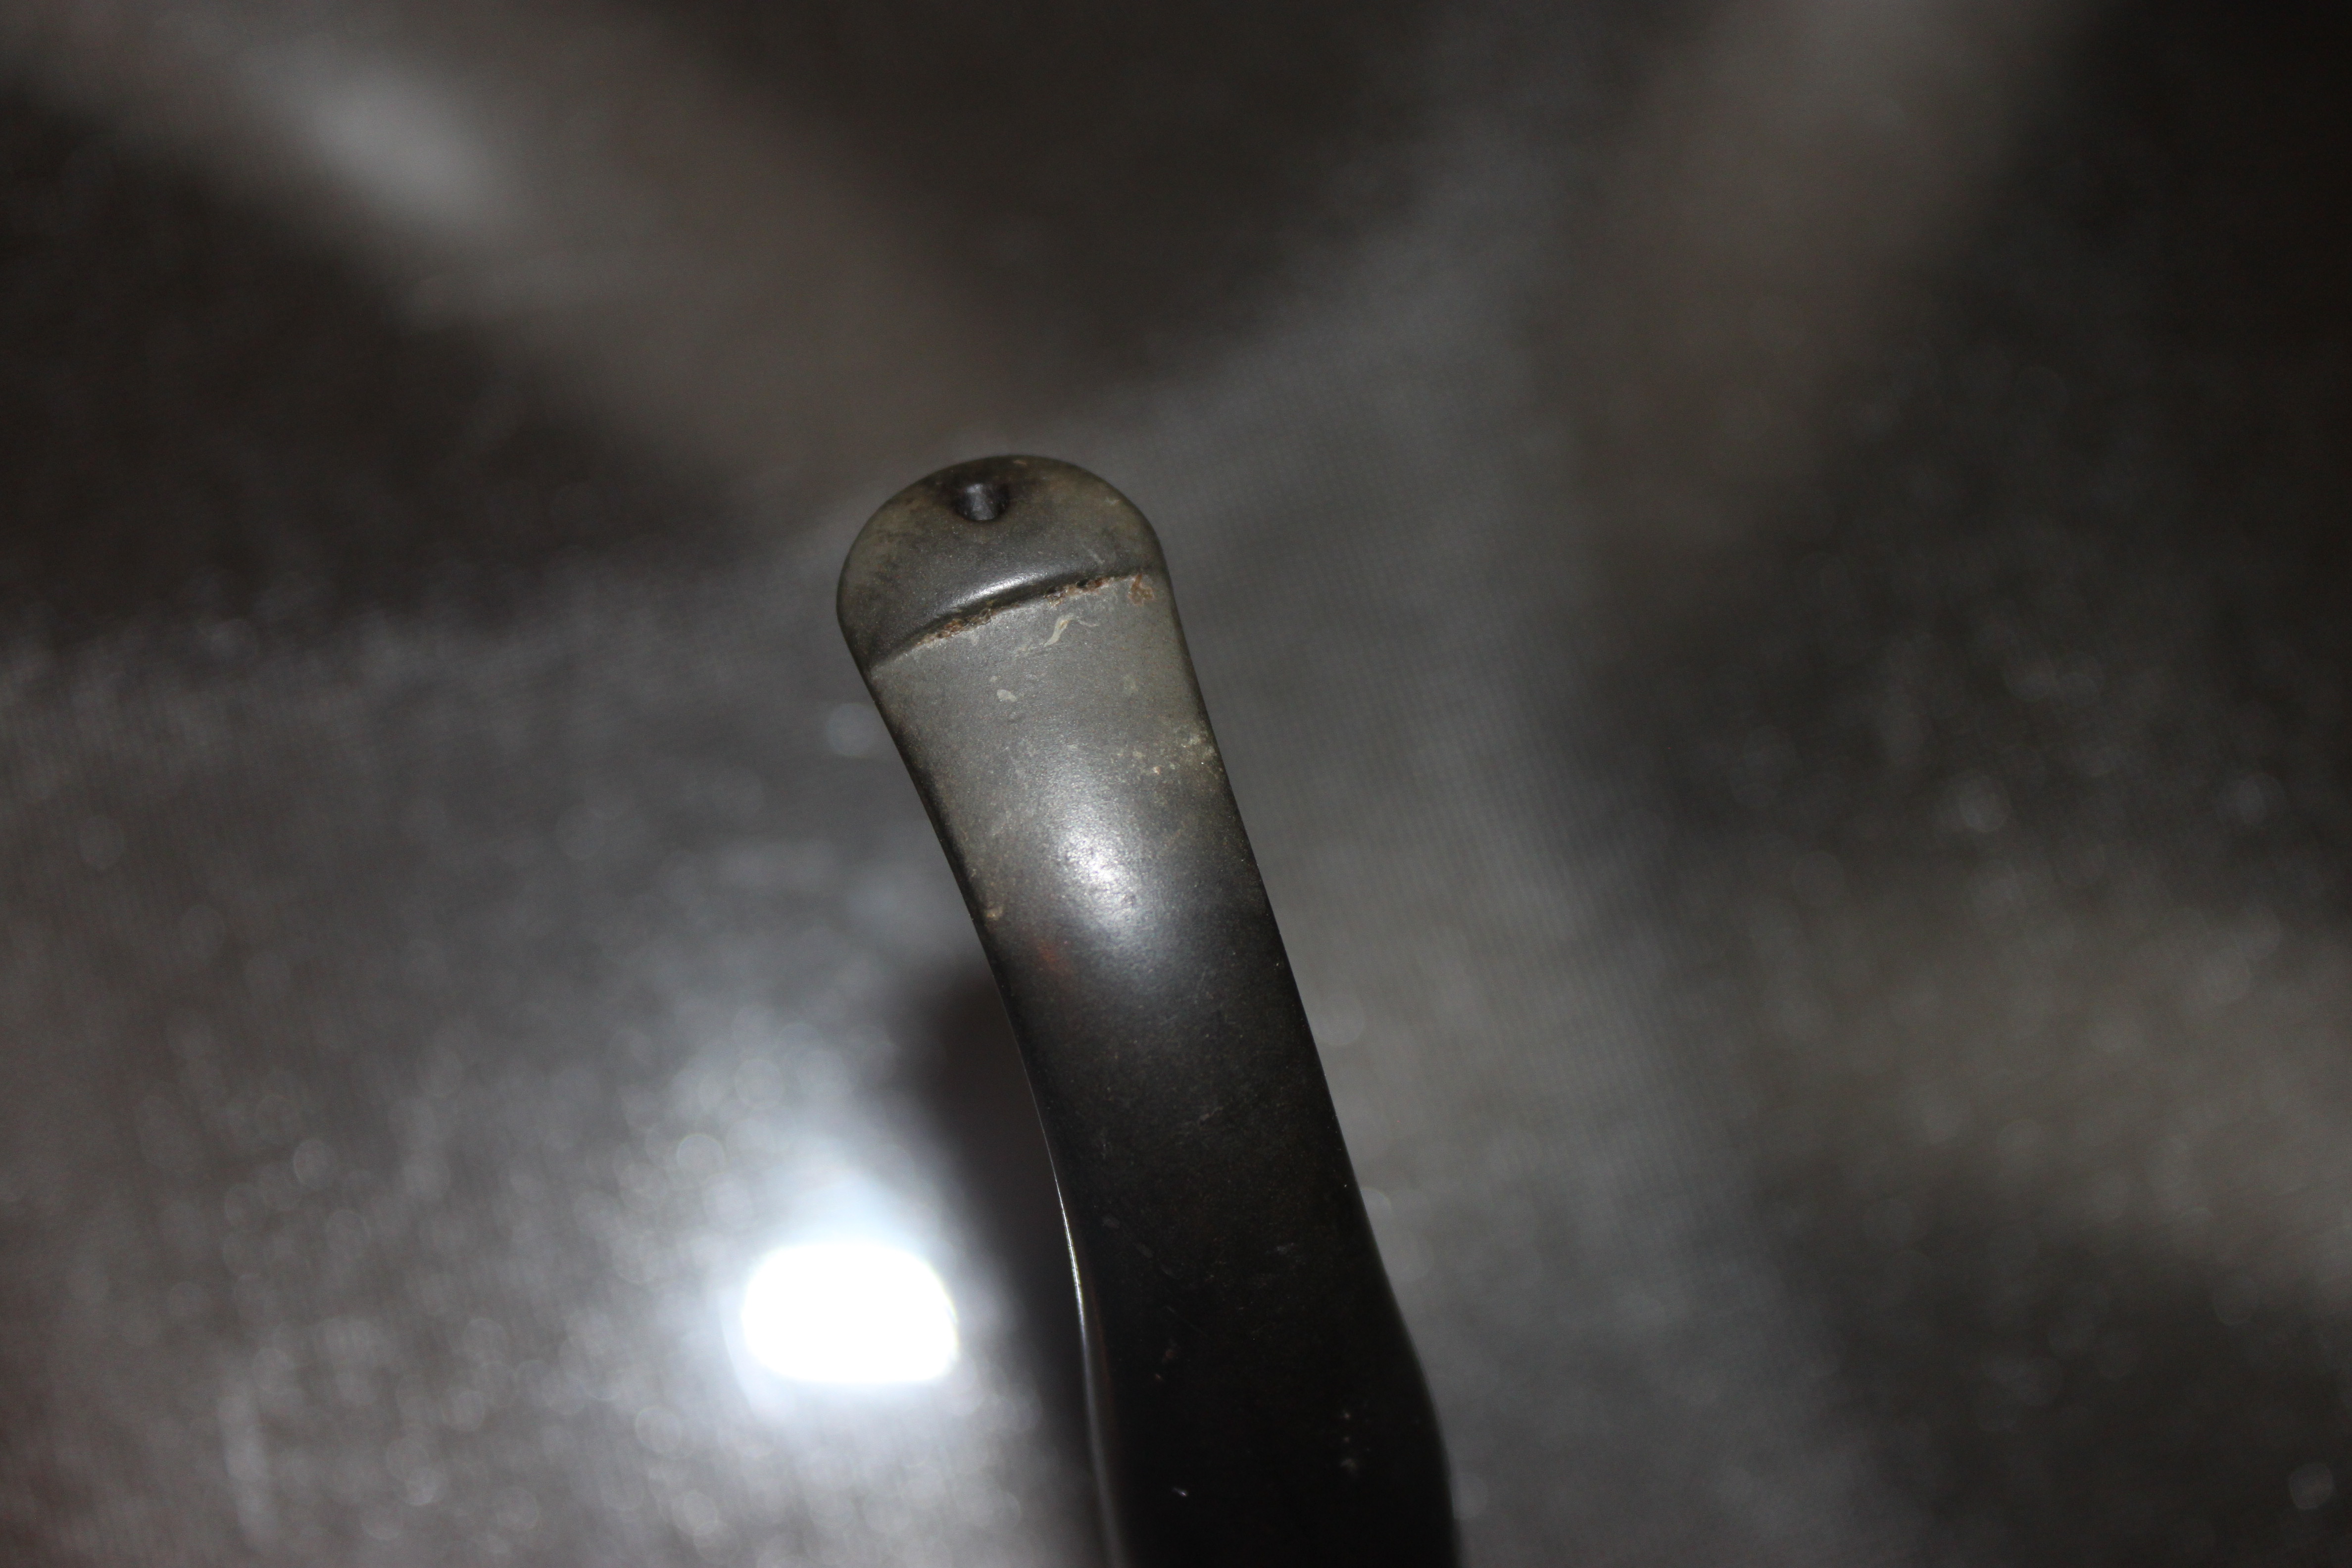
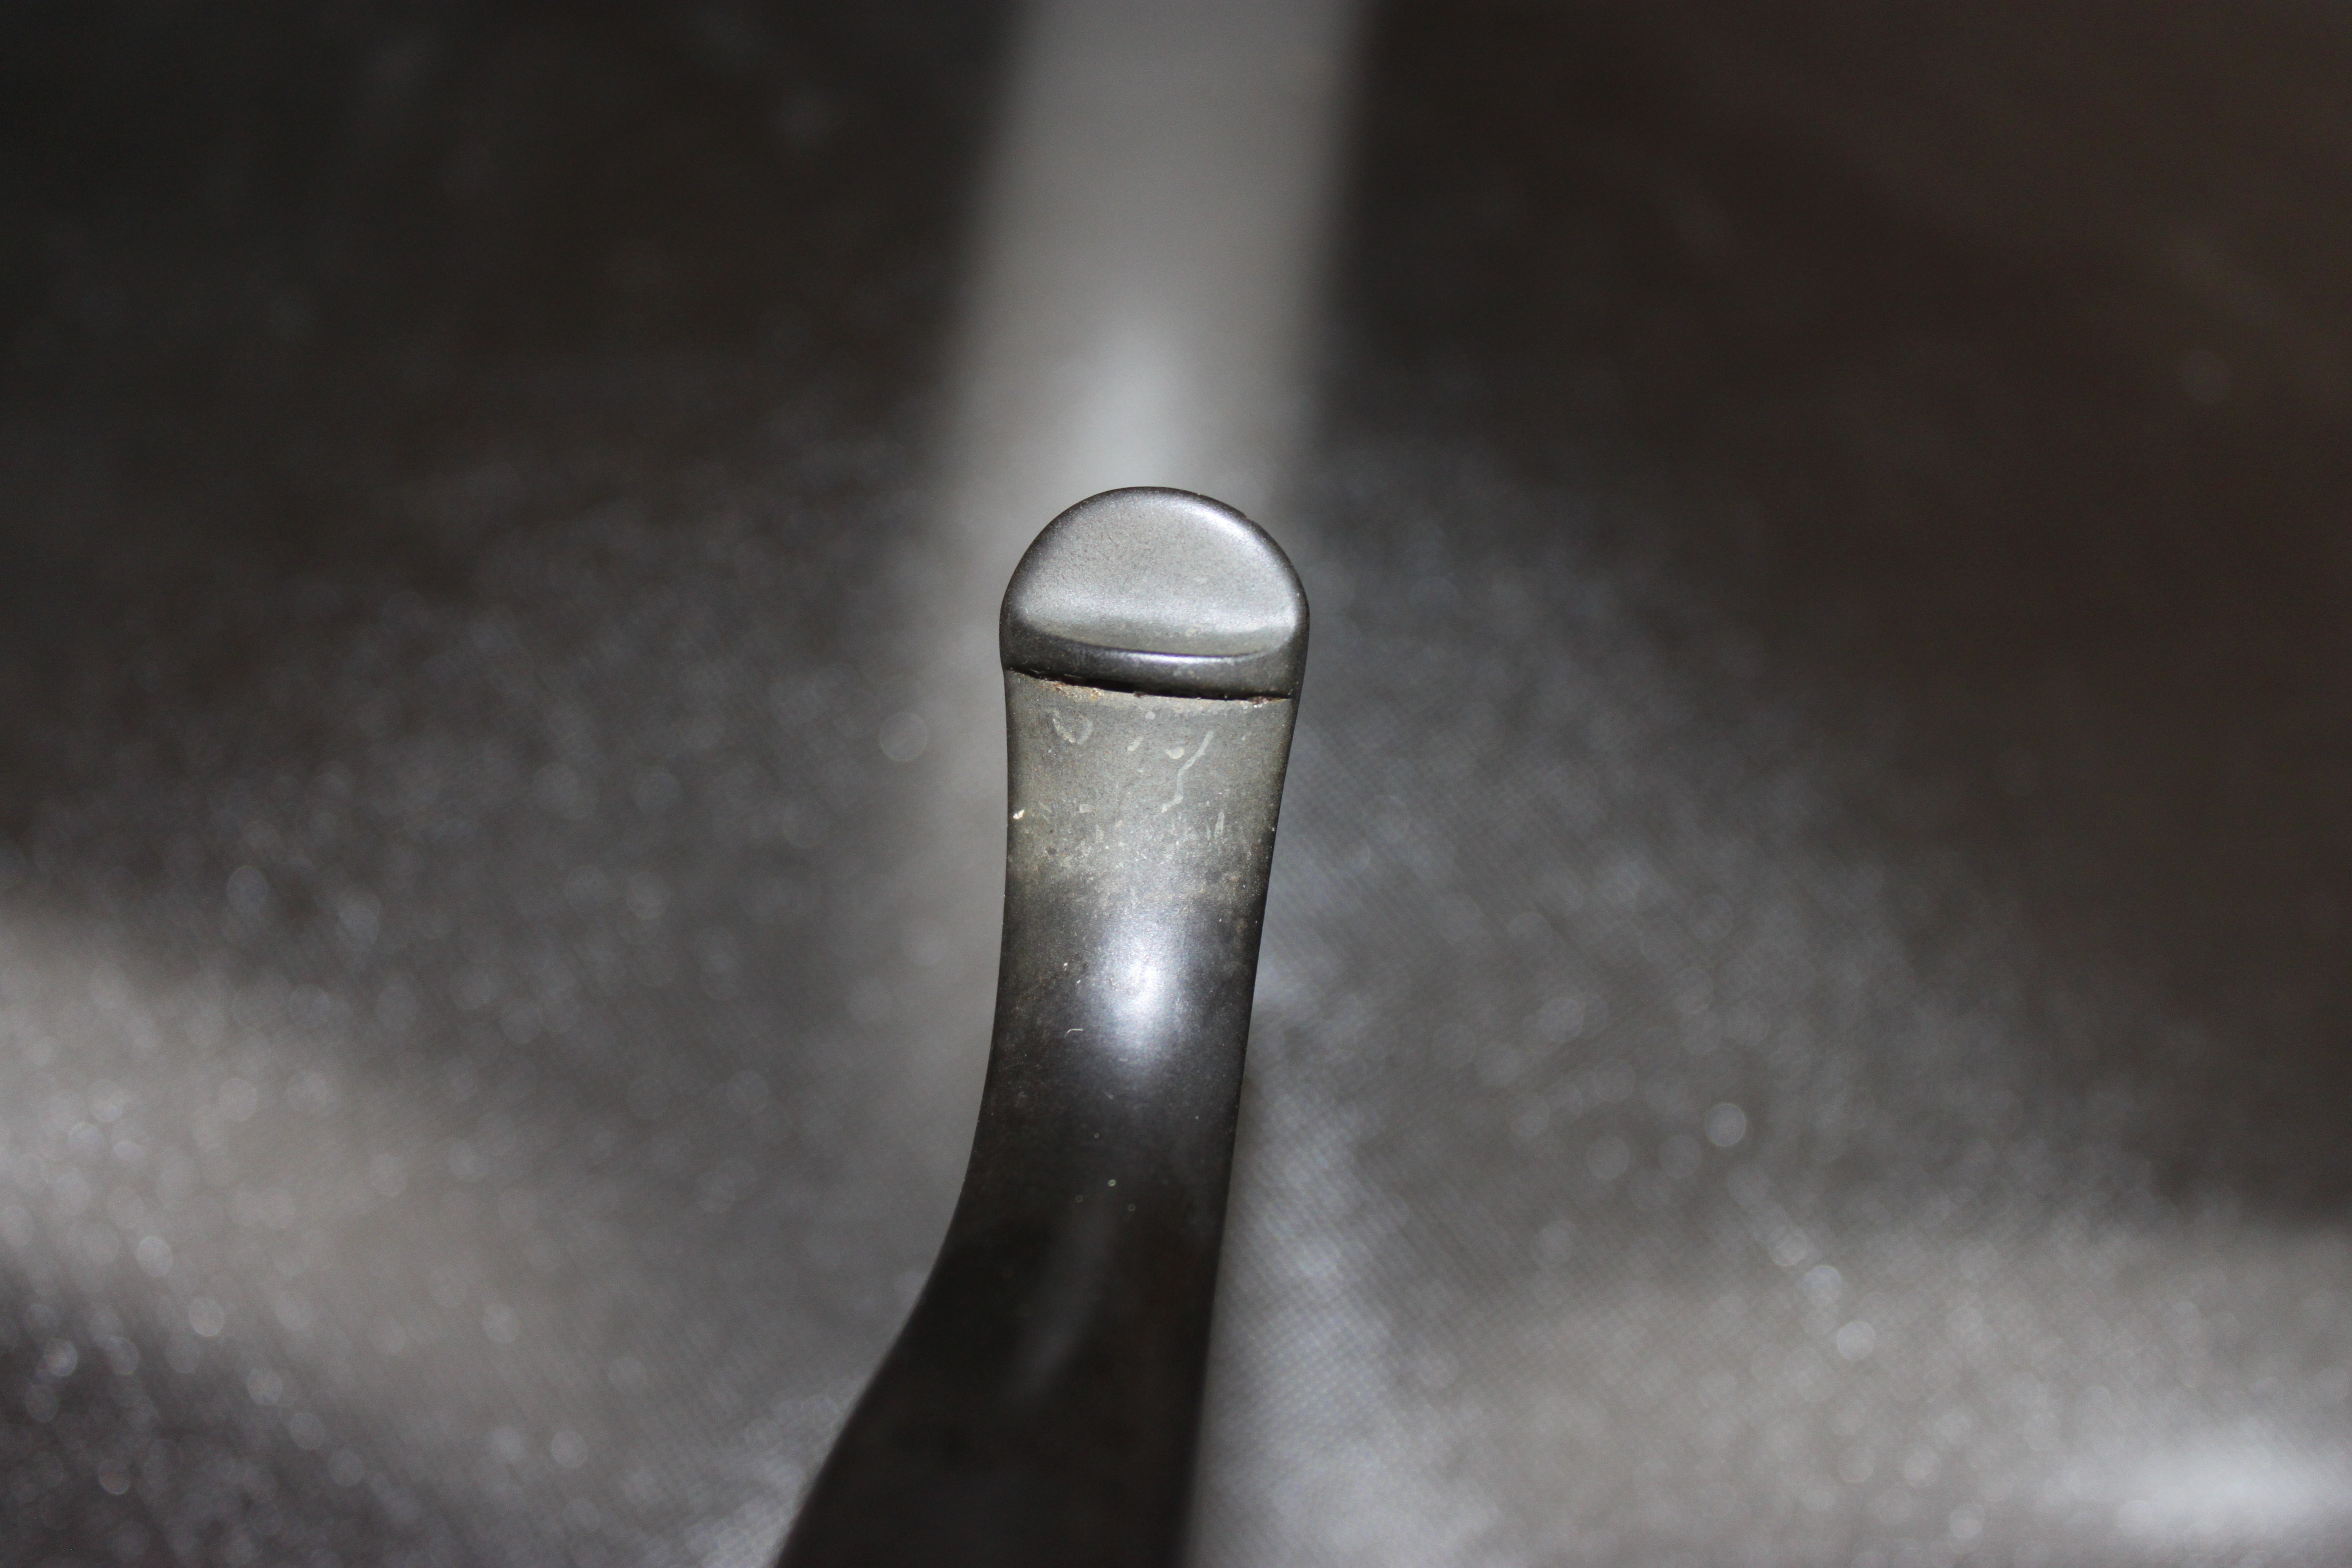
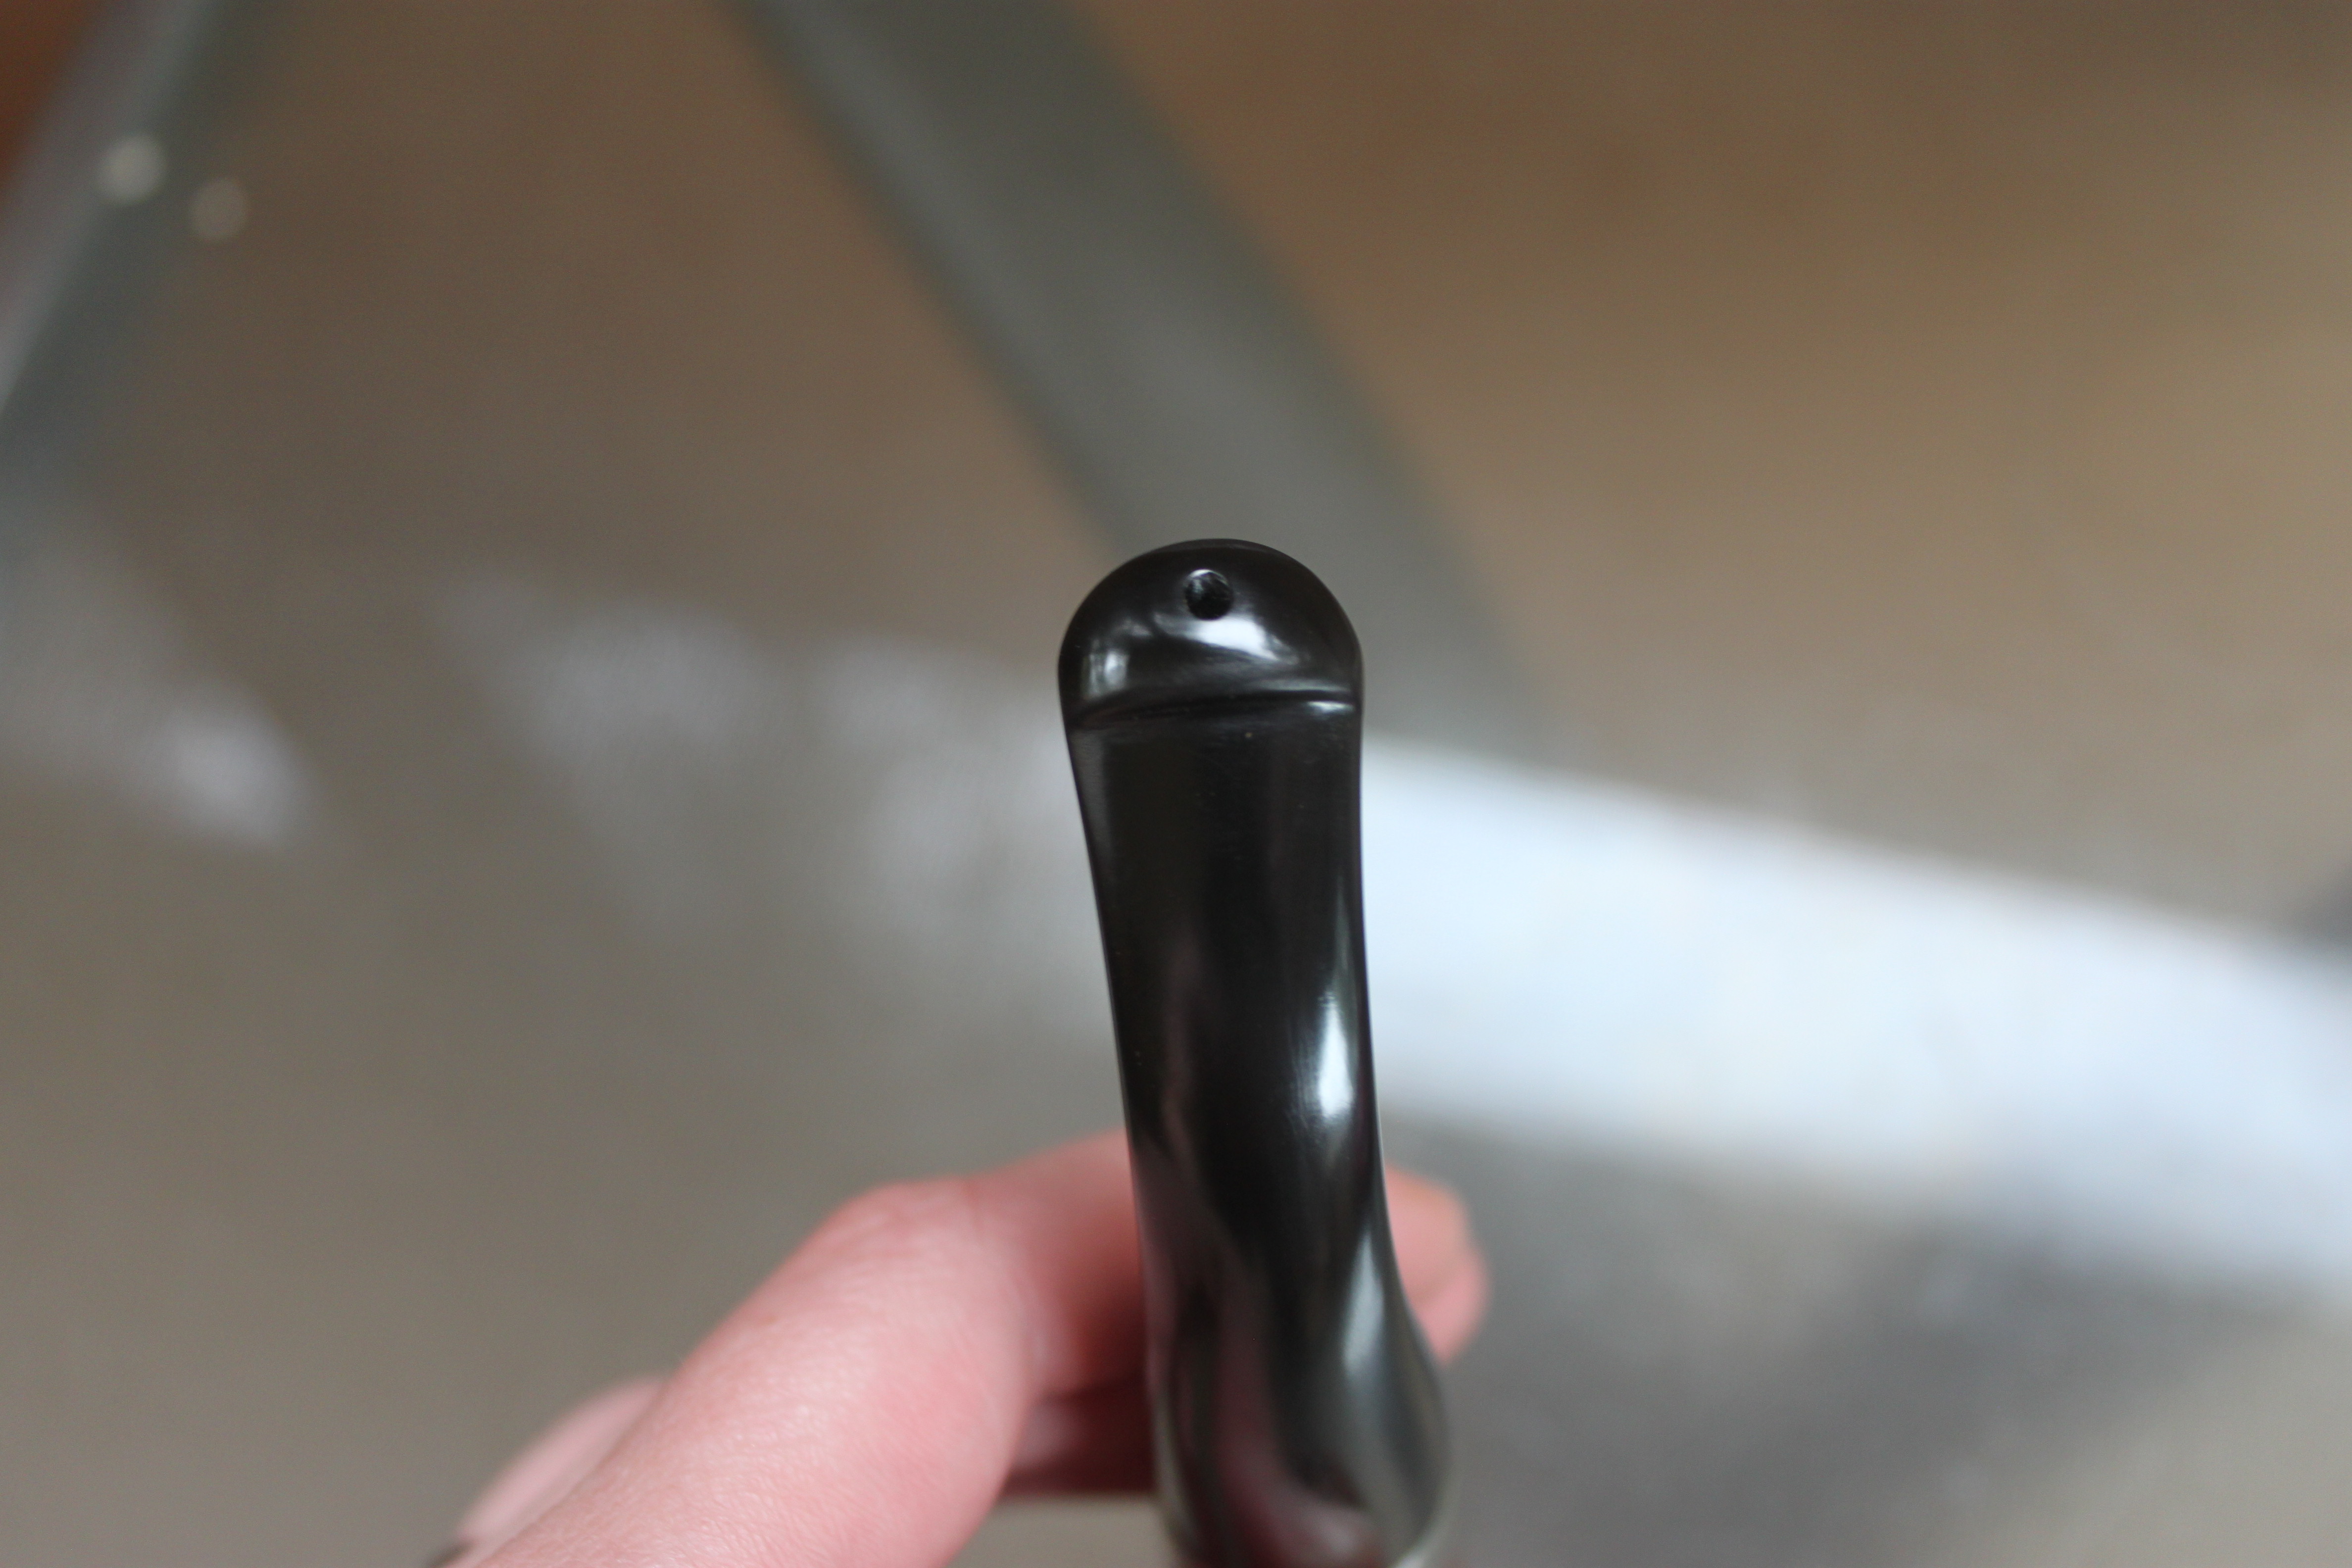
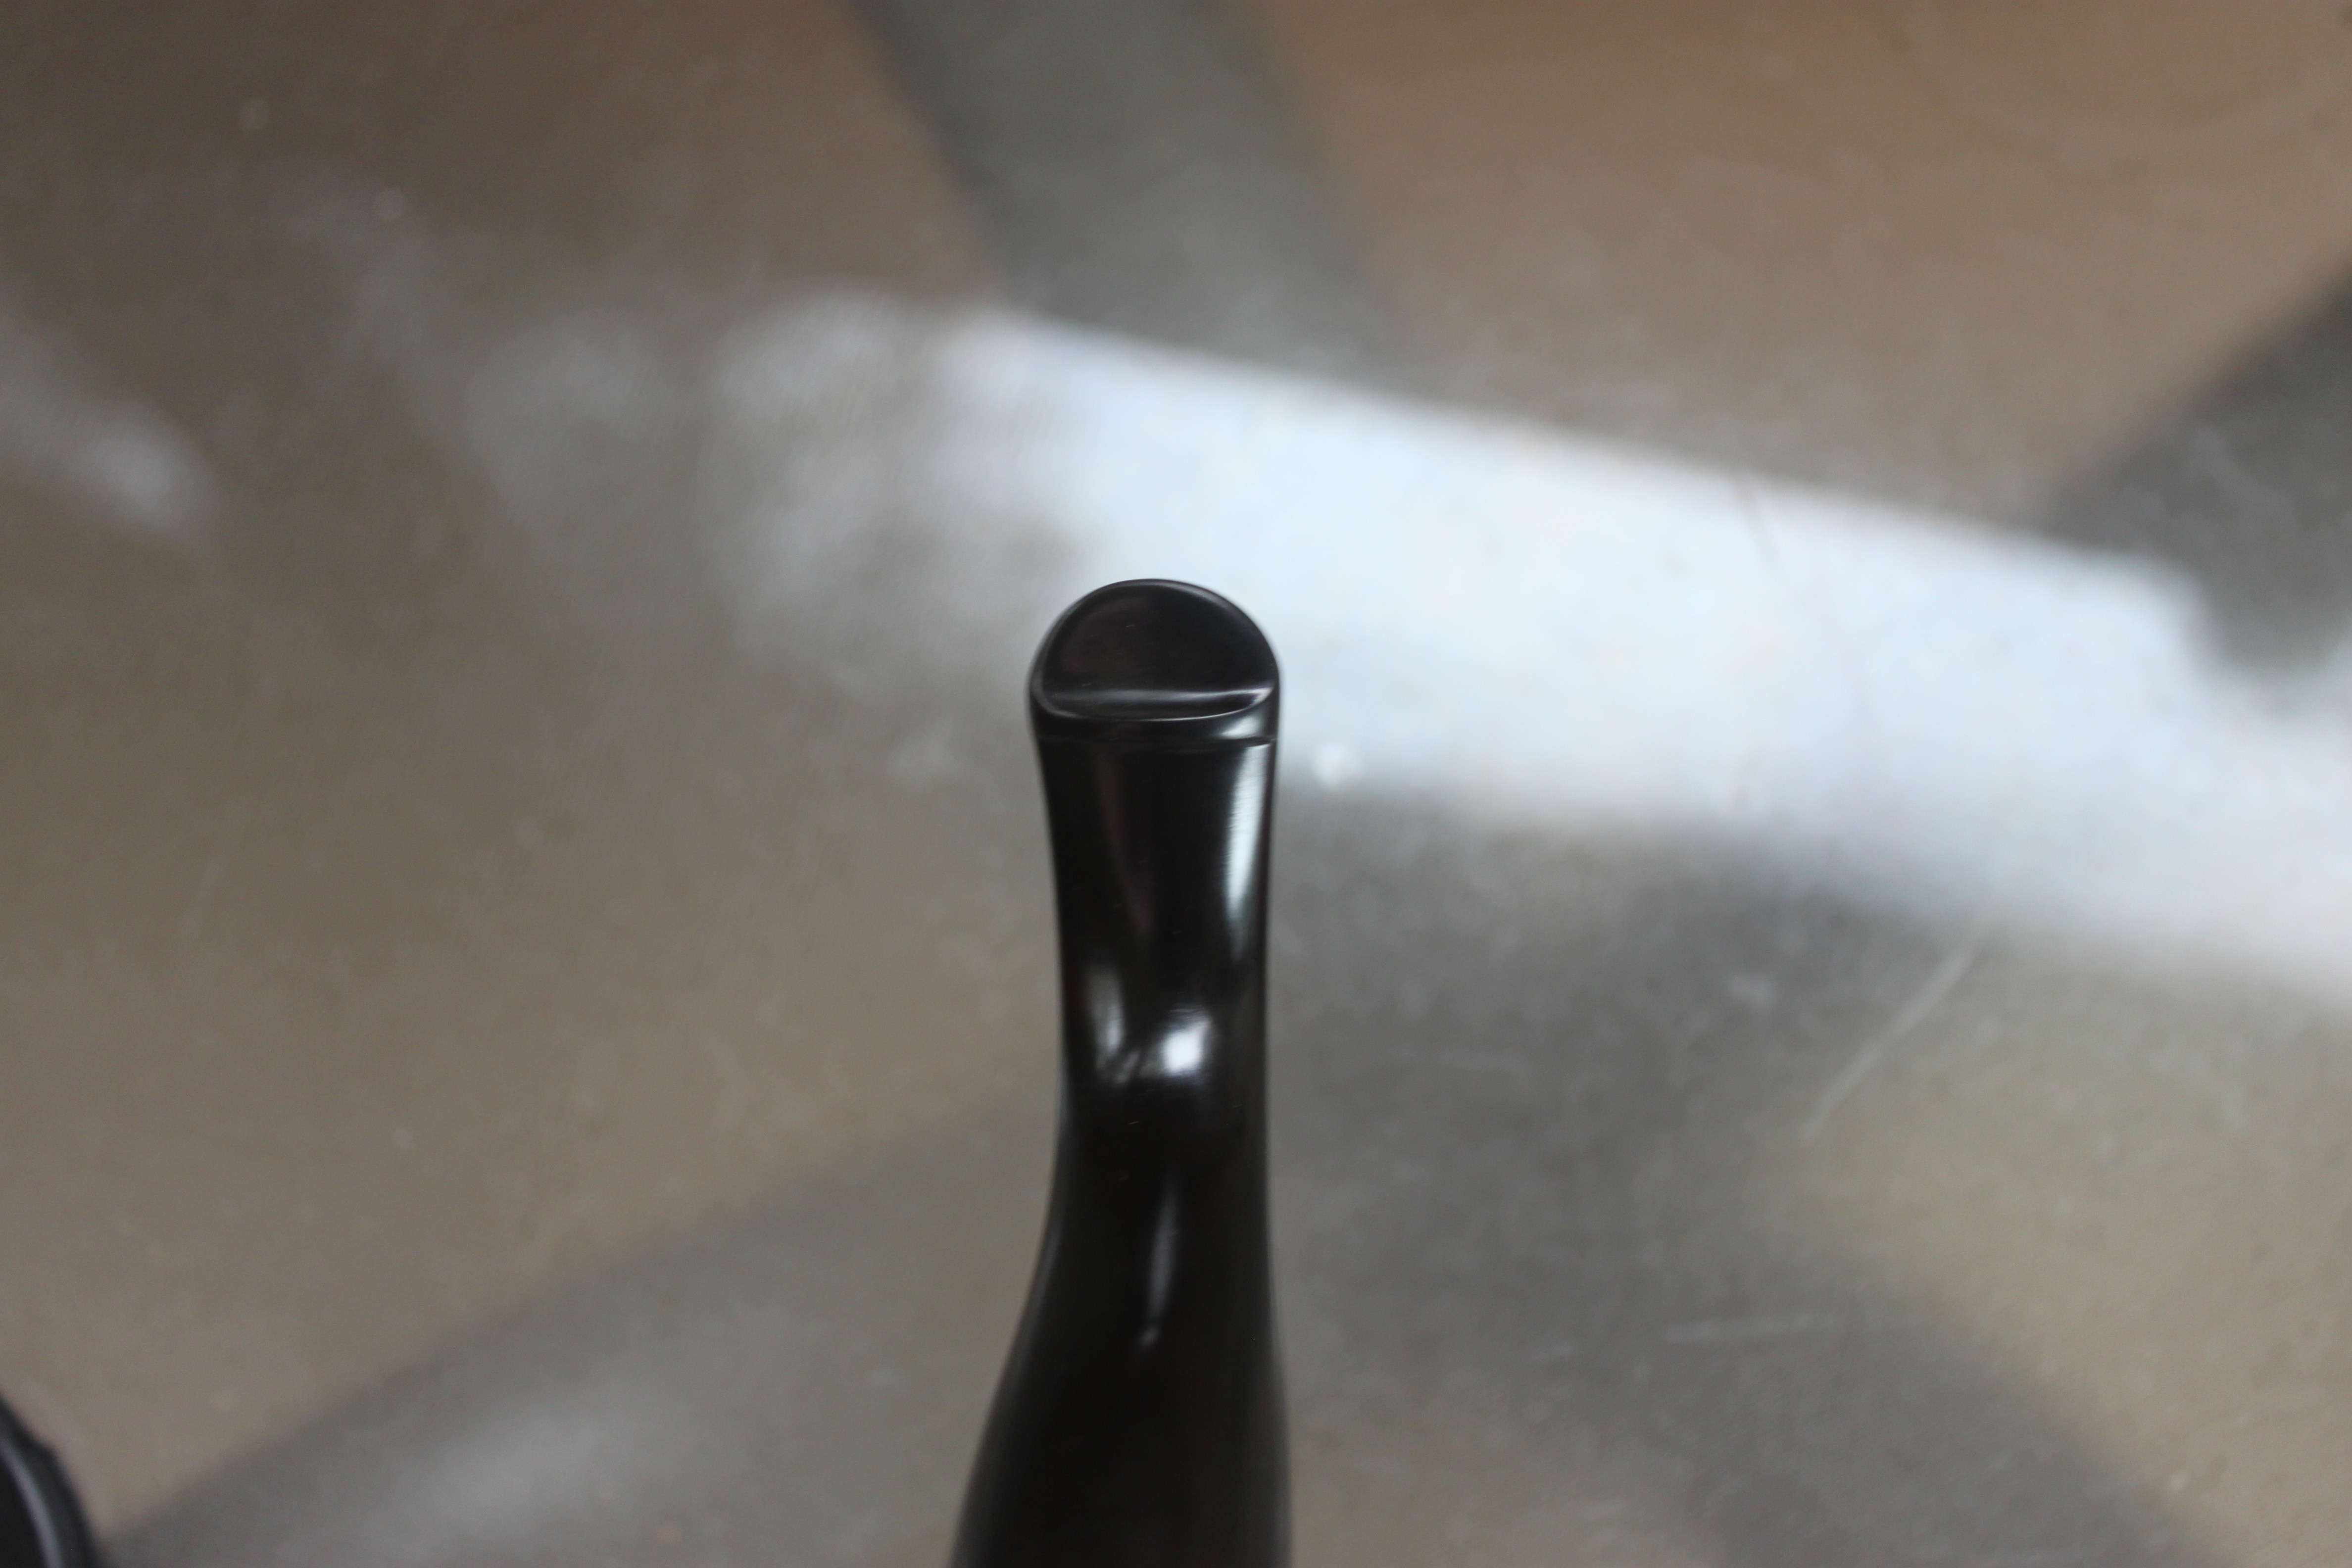
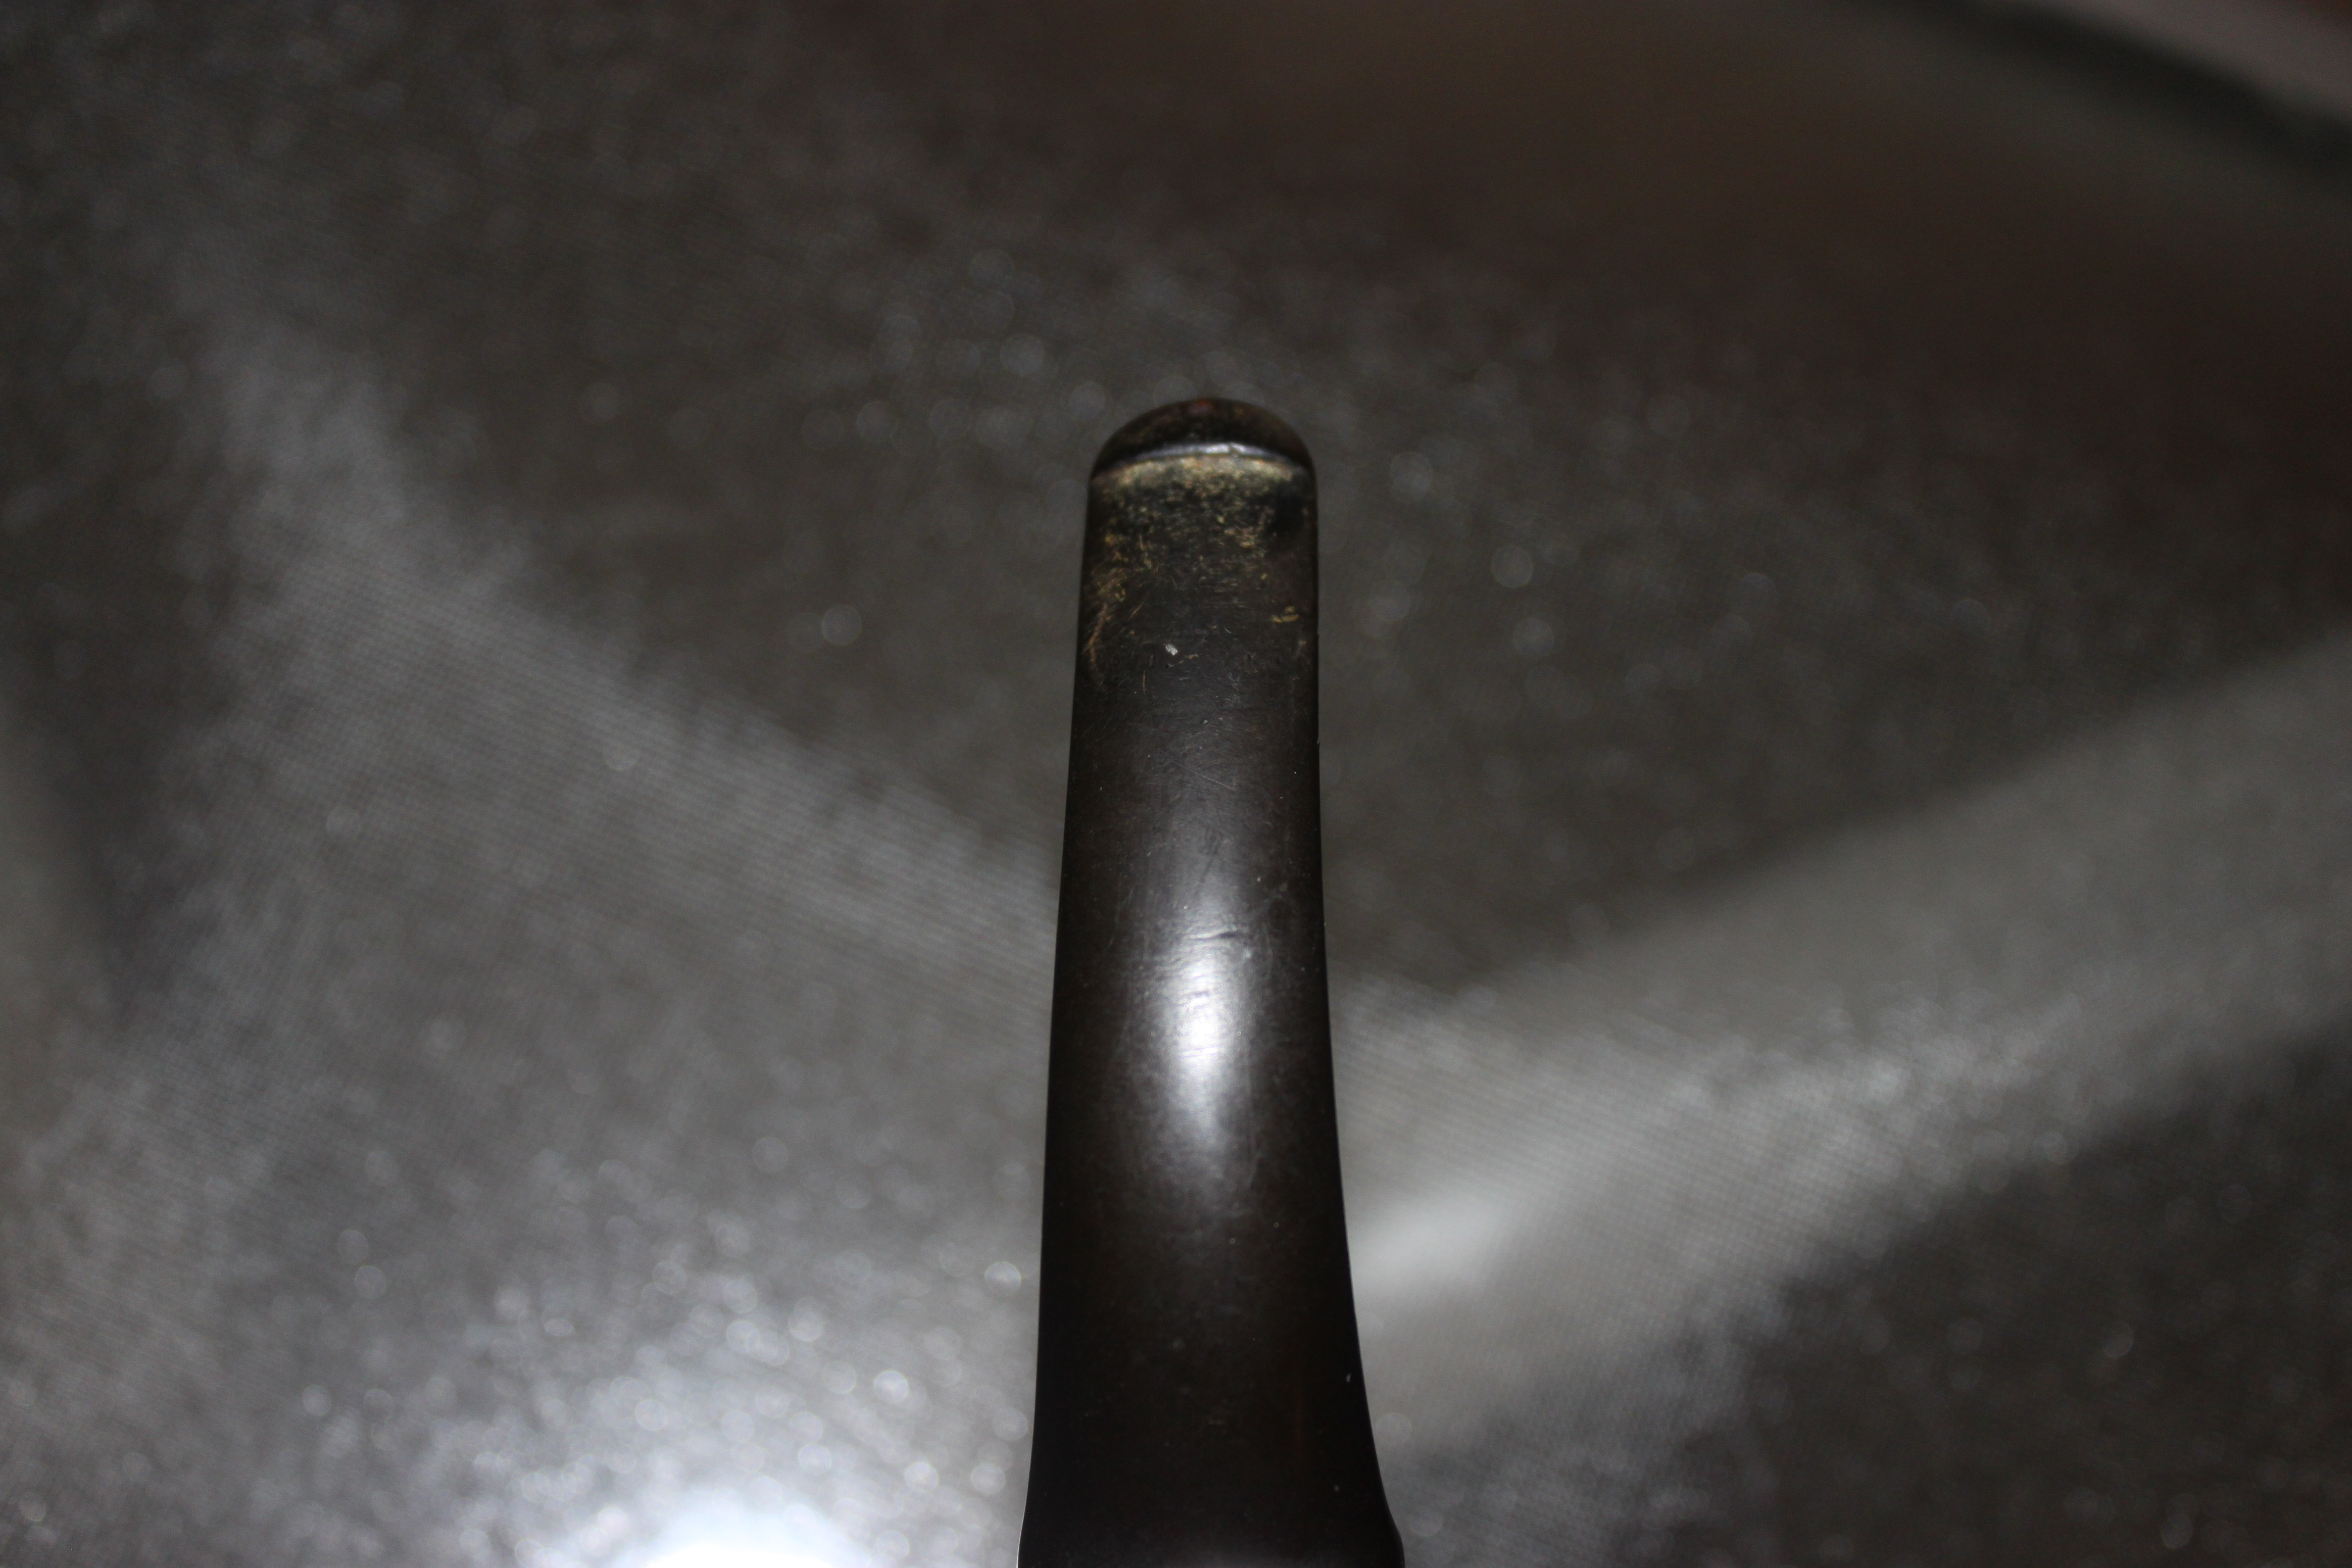
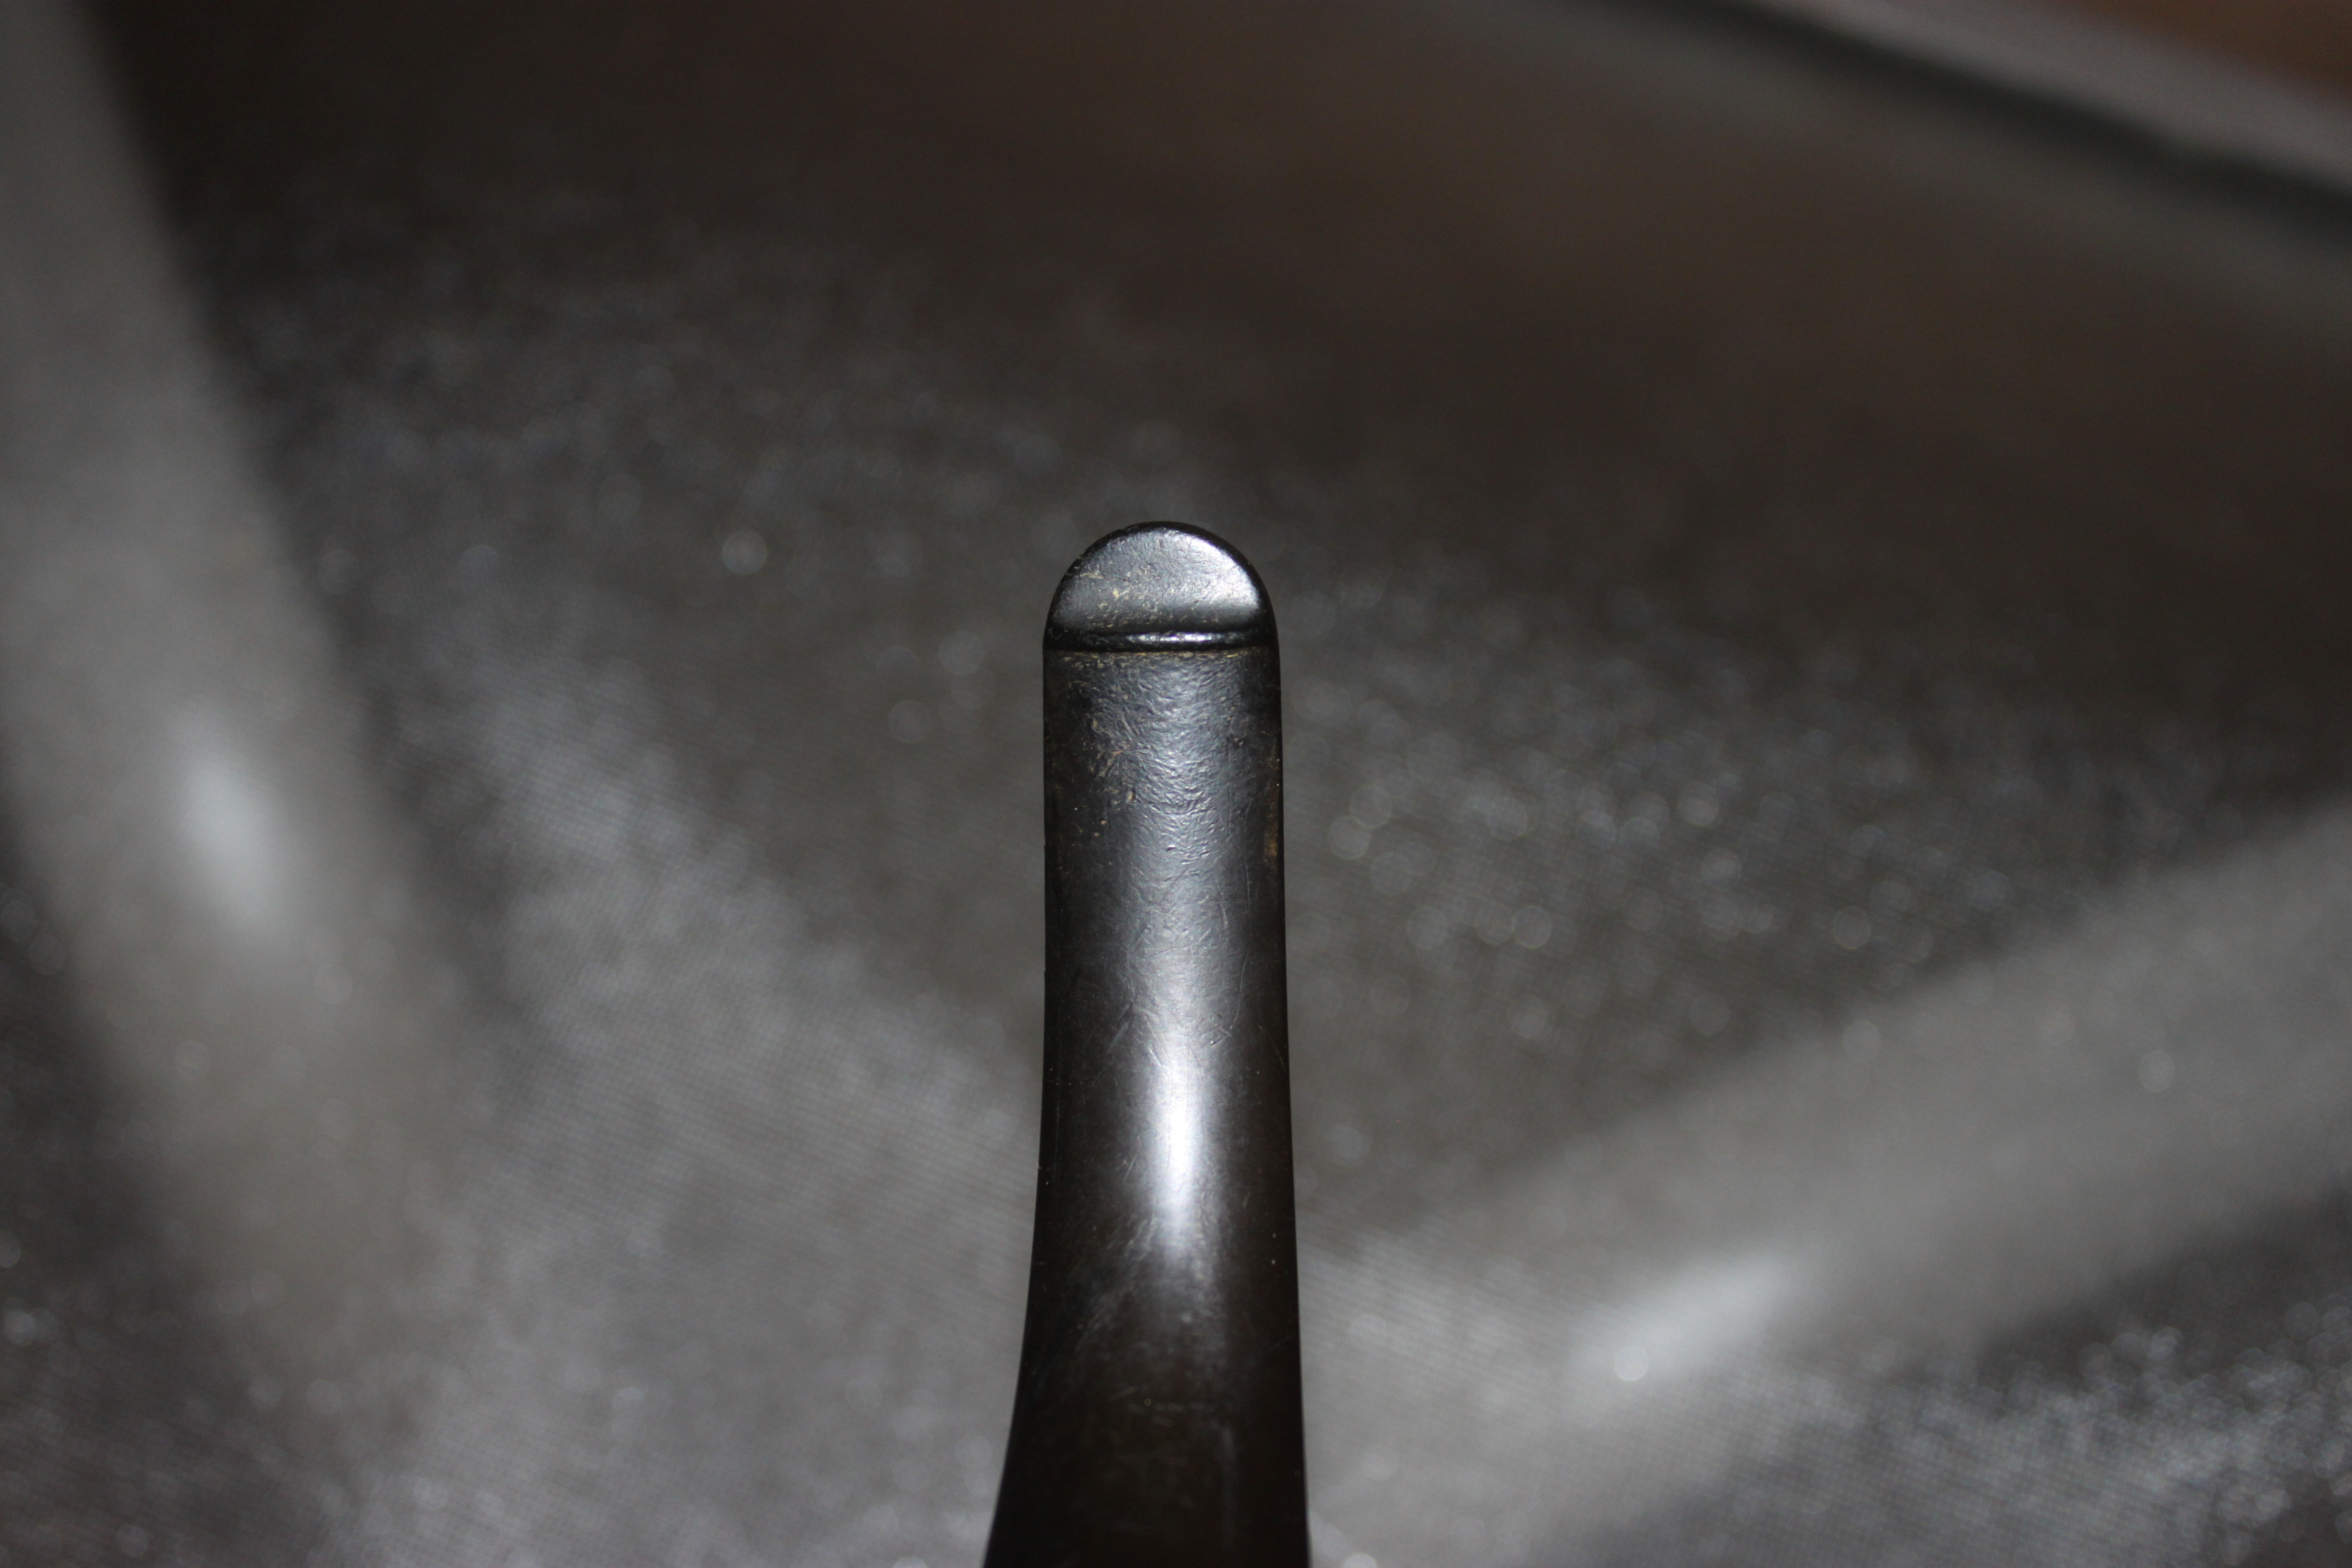
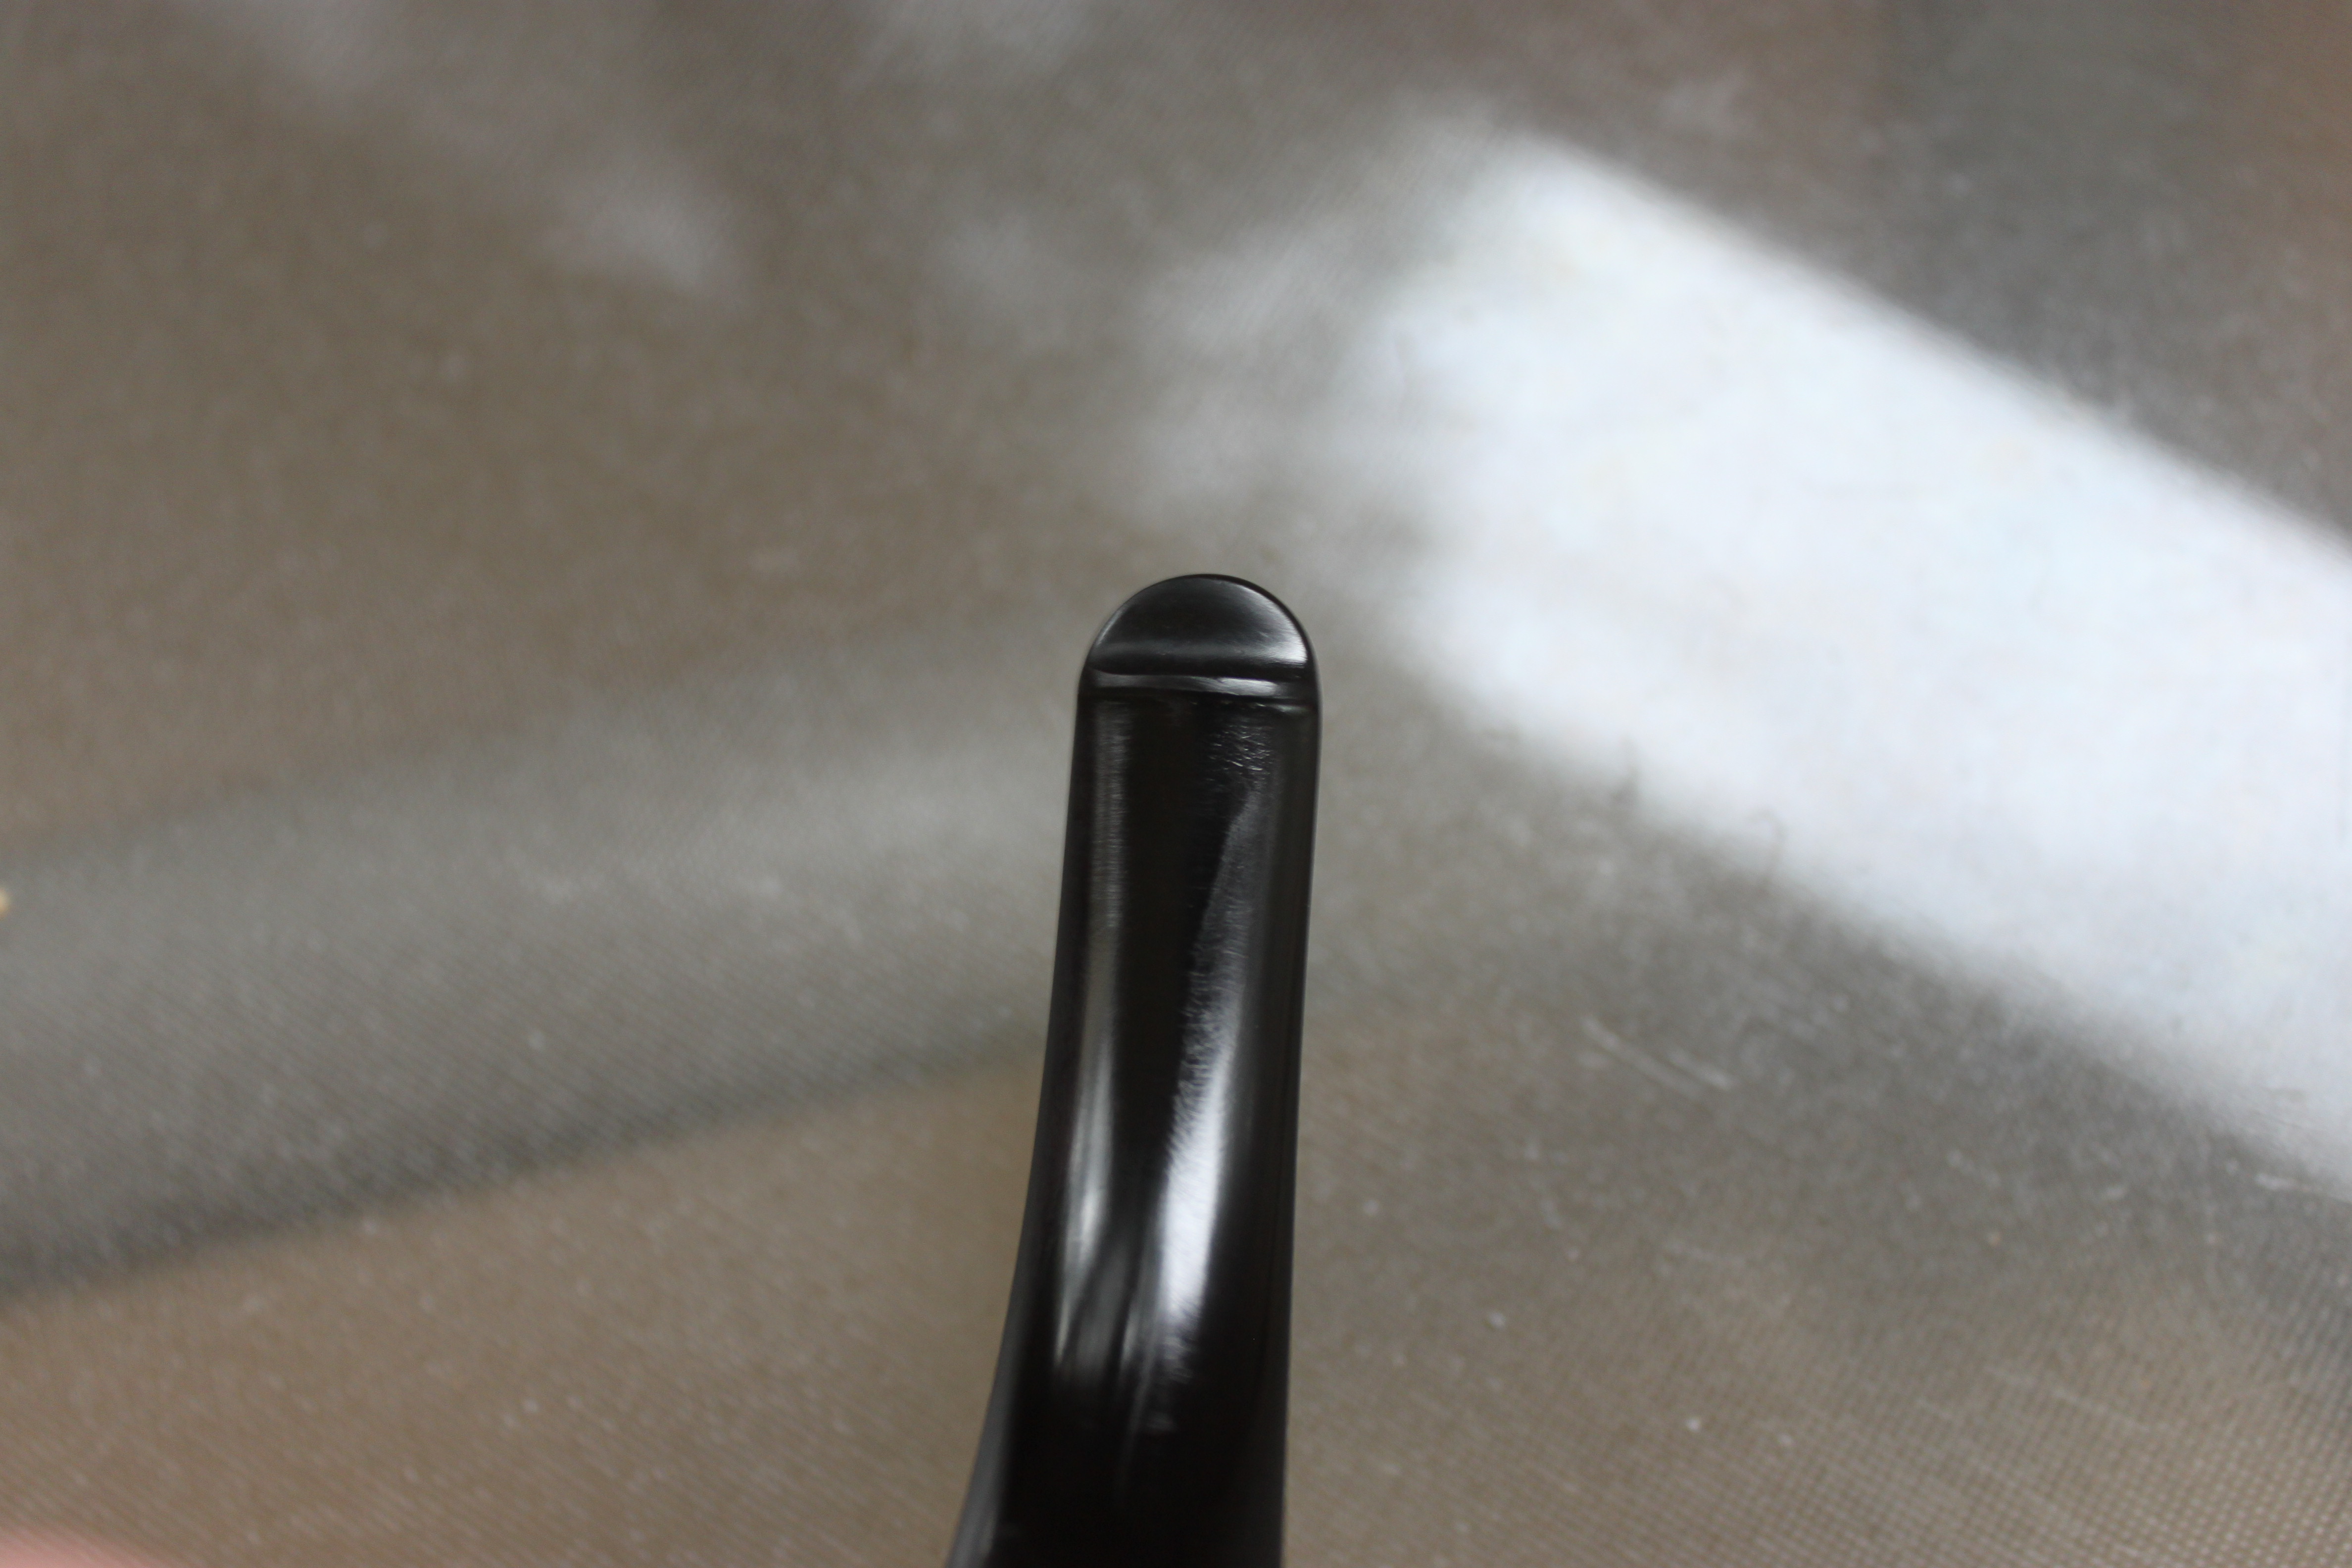
Stem: The stem had quite a bit of oxidation and a few teeth dents. I wet sanded the stem with 500 grit, 1000 grit, and 1200 grit sand paper. It took off the oxidation and sooth out to tooth marks because they weren’t too deep. I then took a q-tip with high-proof vodka to the filter section of the stem. Then I took hard bristle pipe cleaners with high-proof to the rest of the inside of the stem.

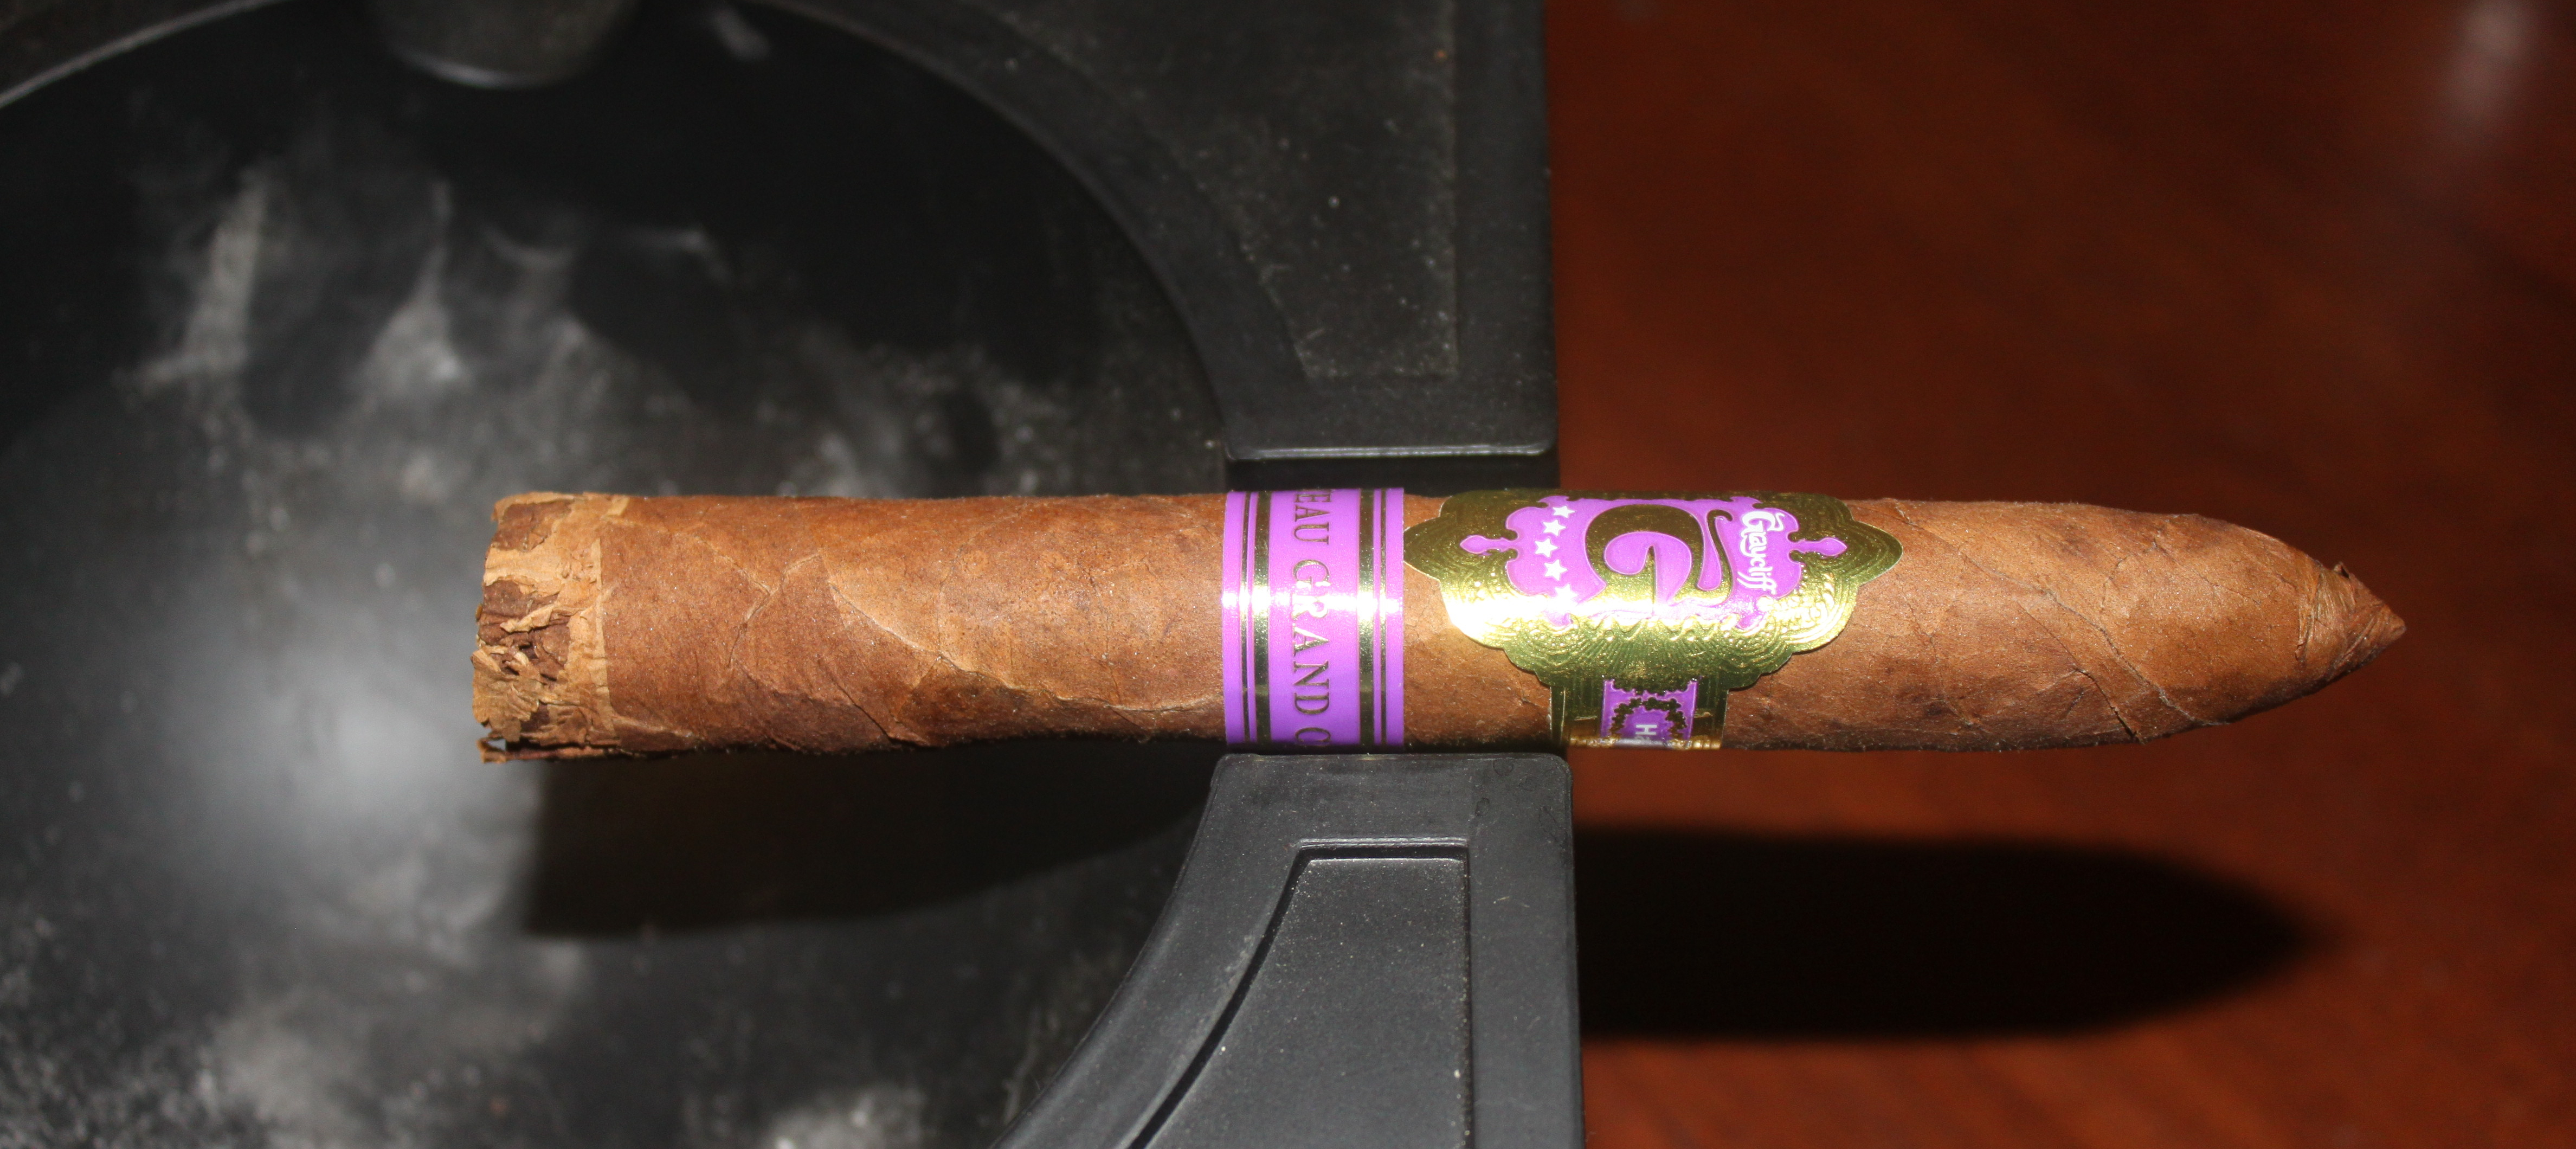
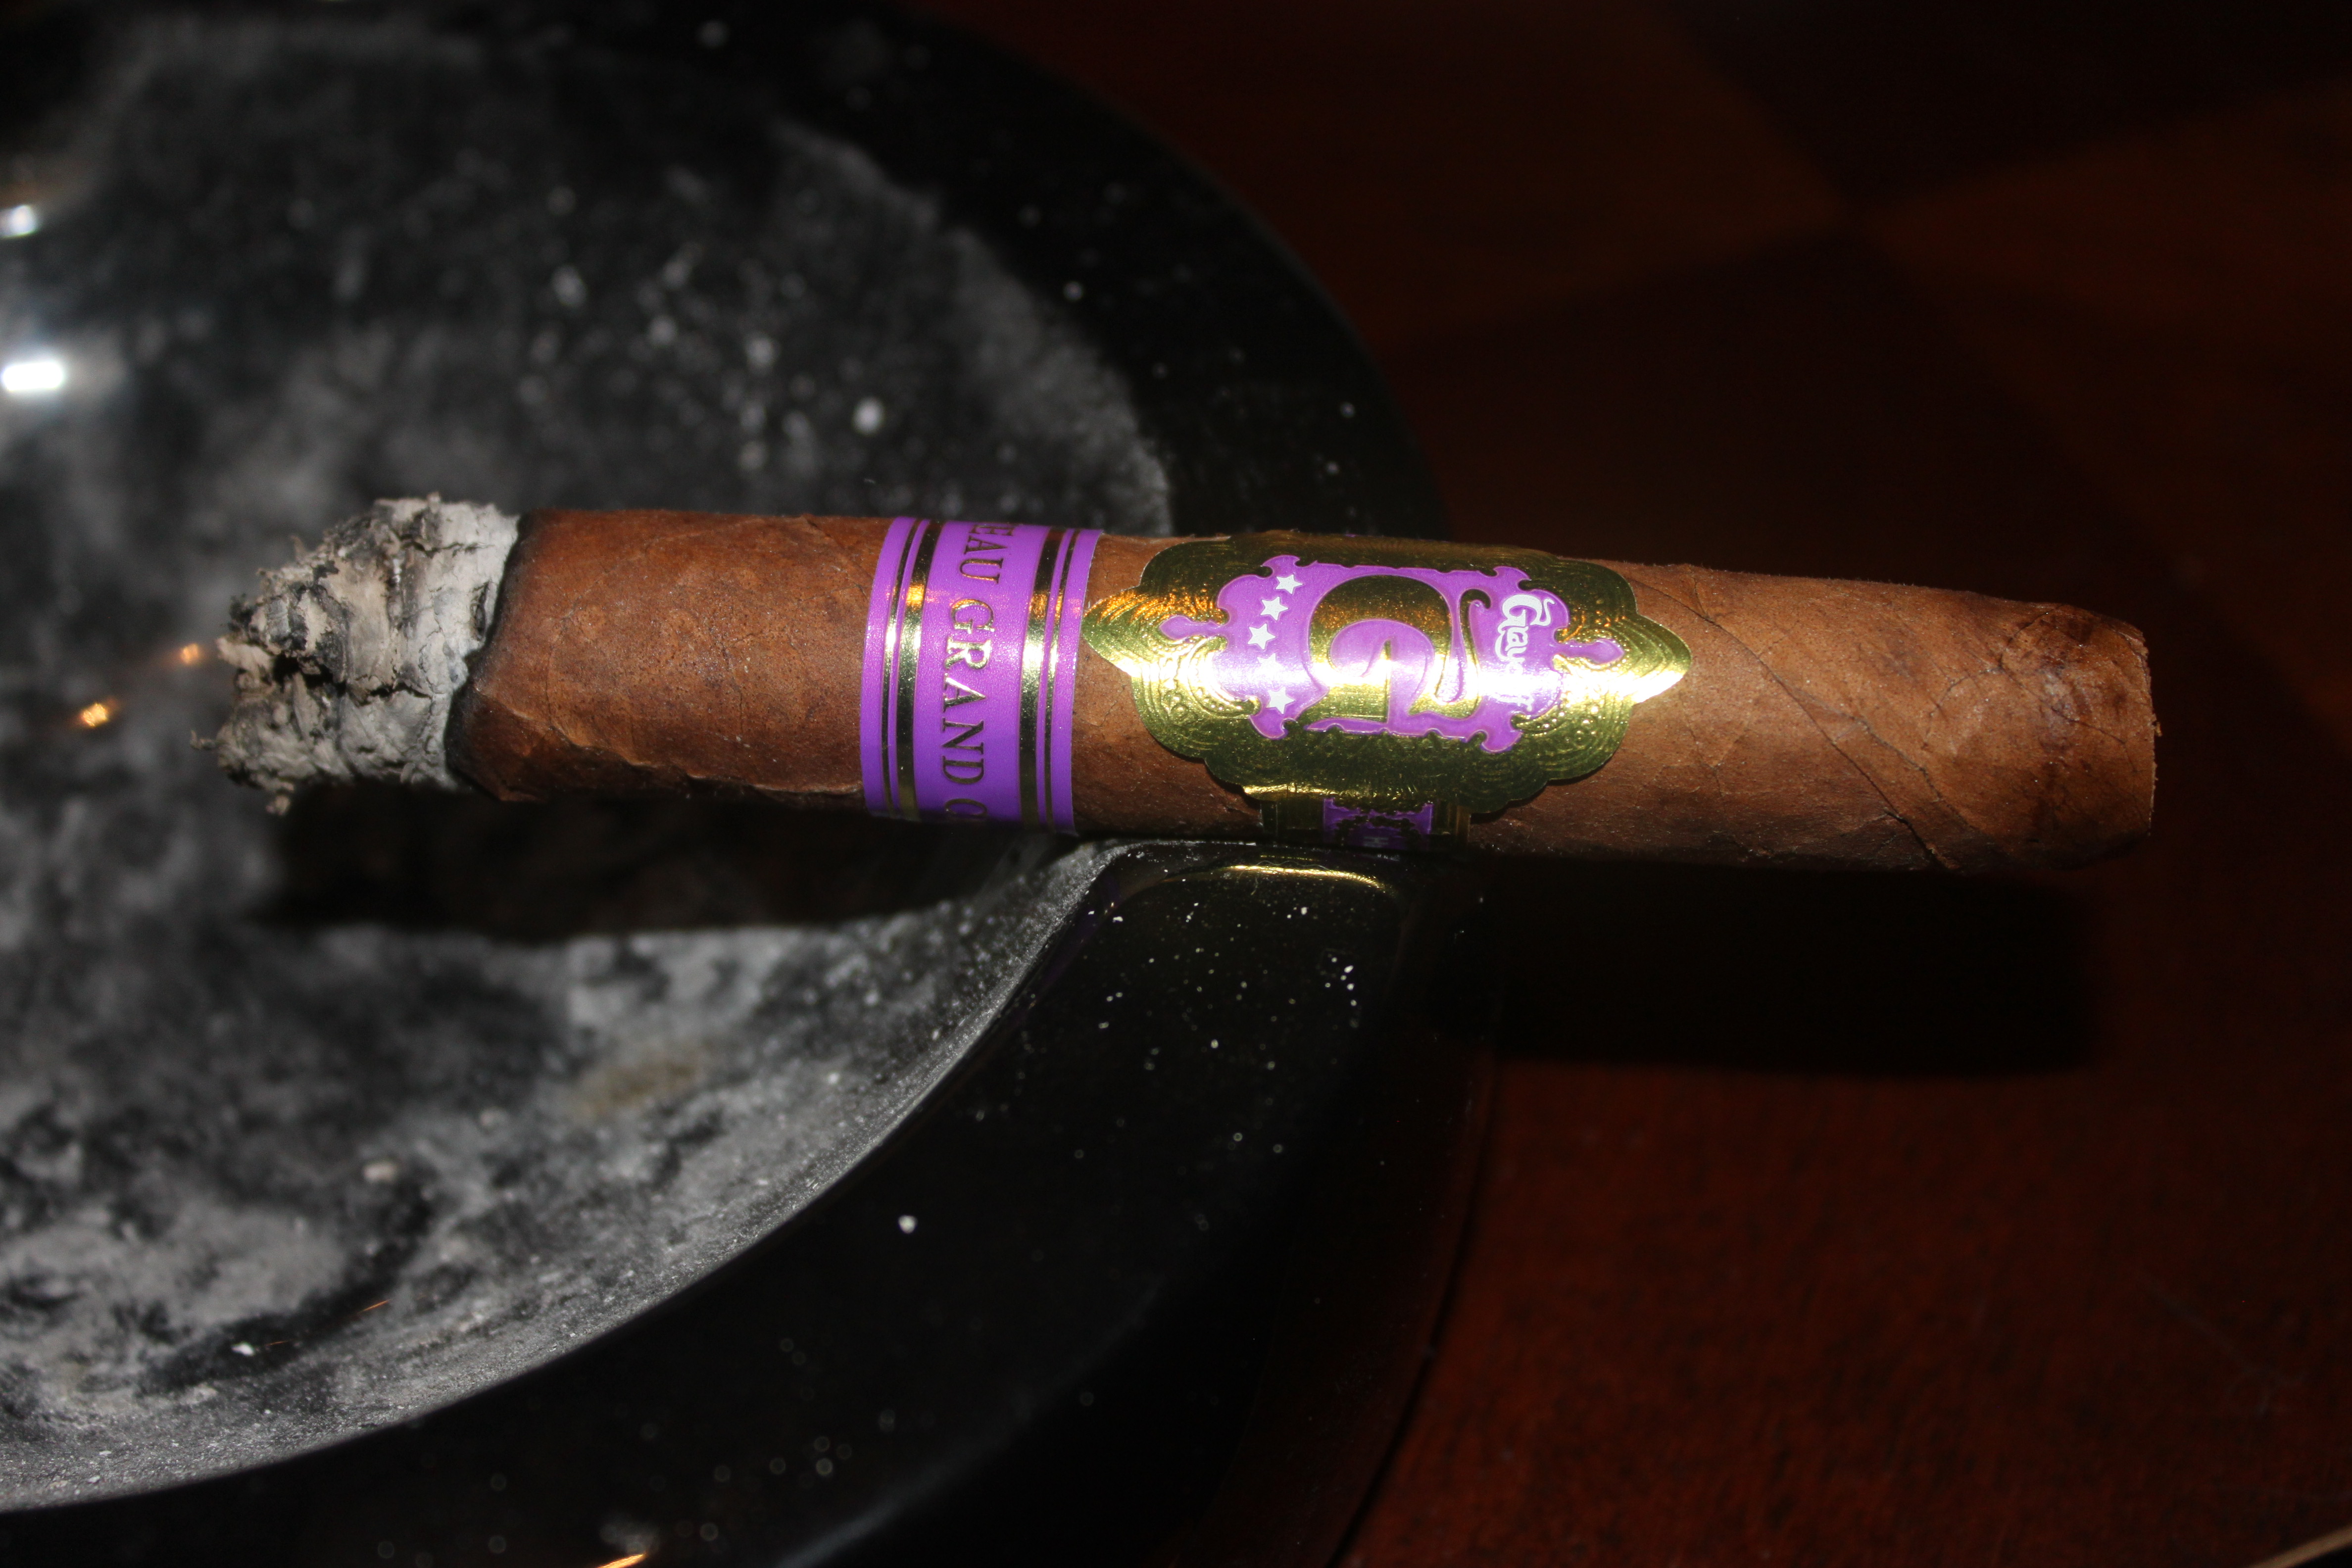
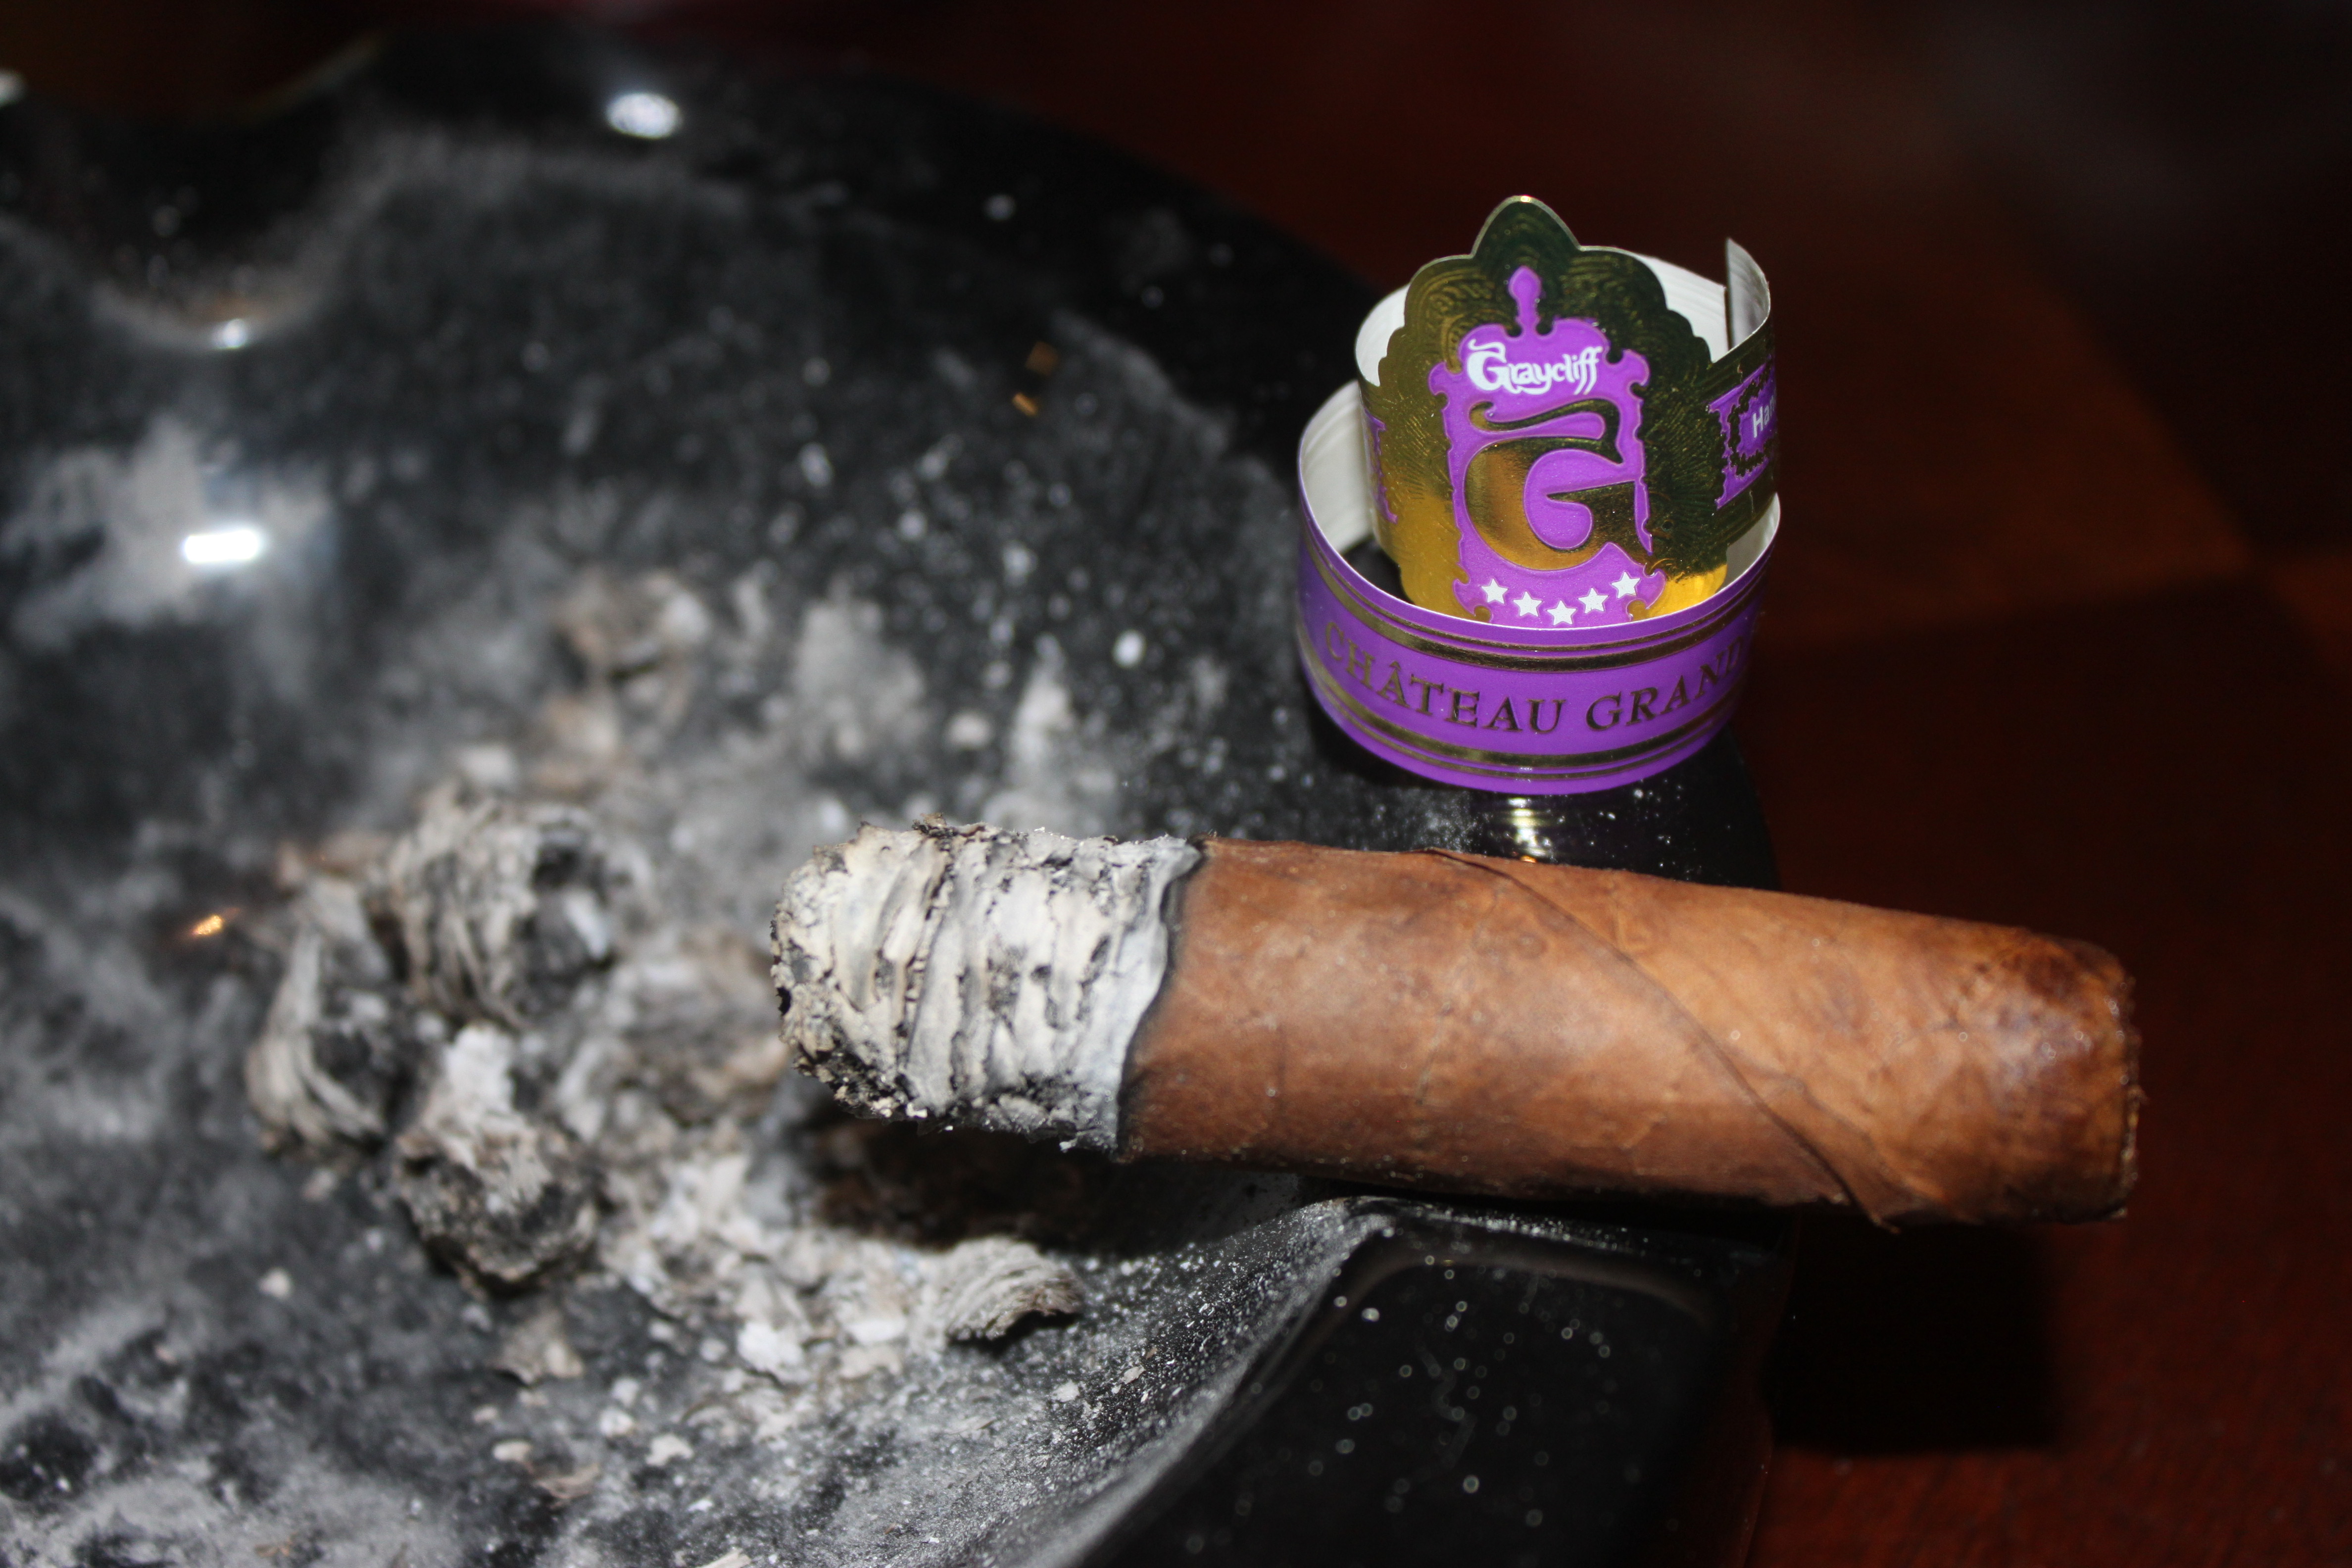
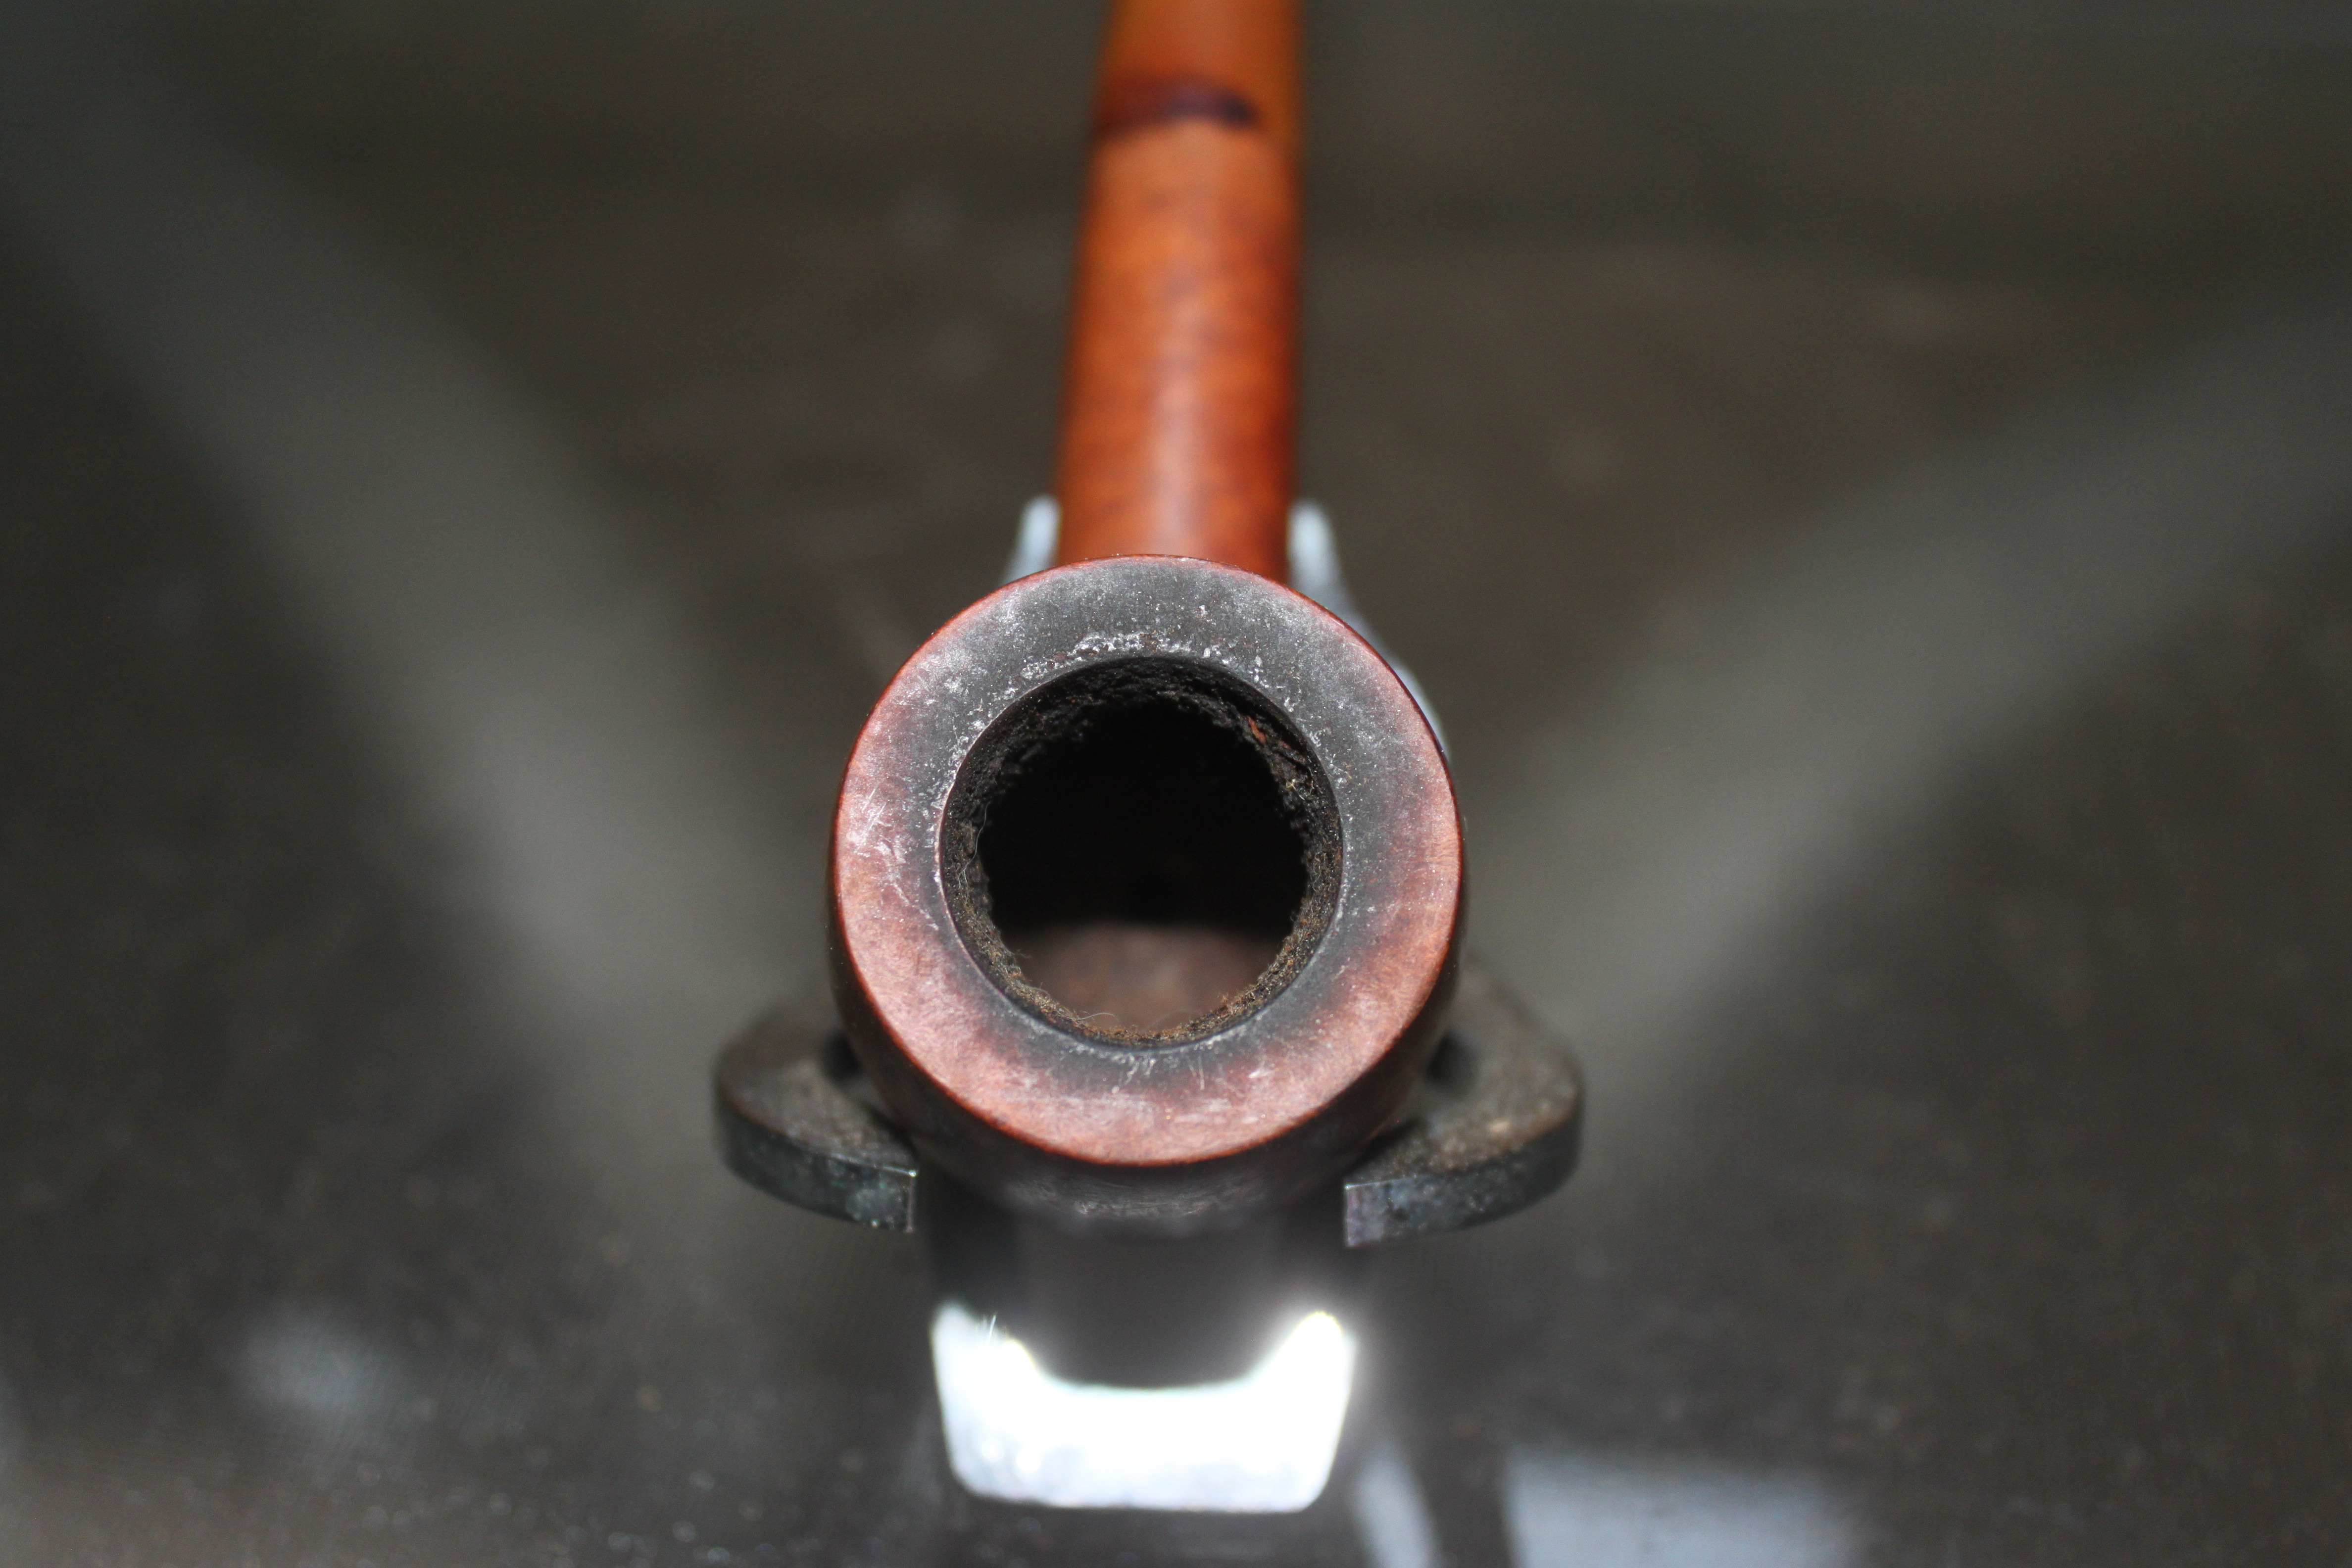
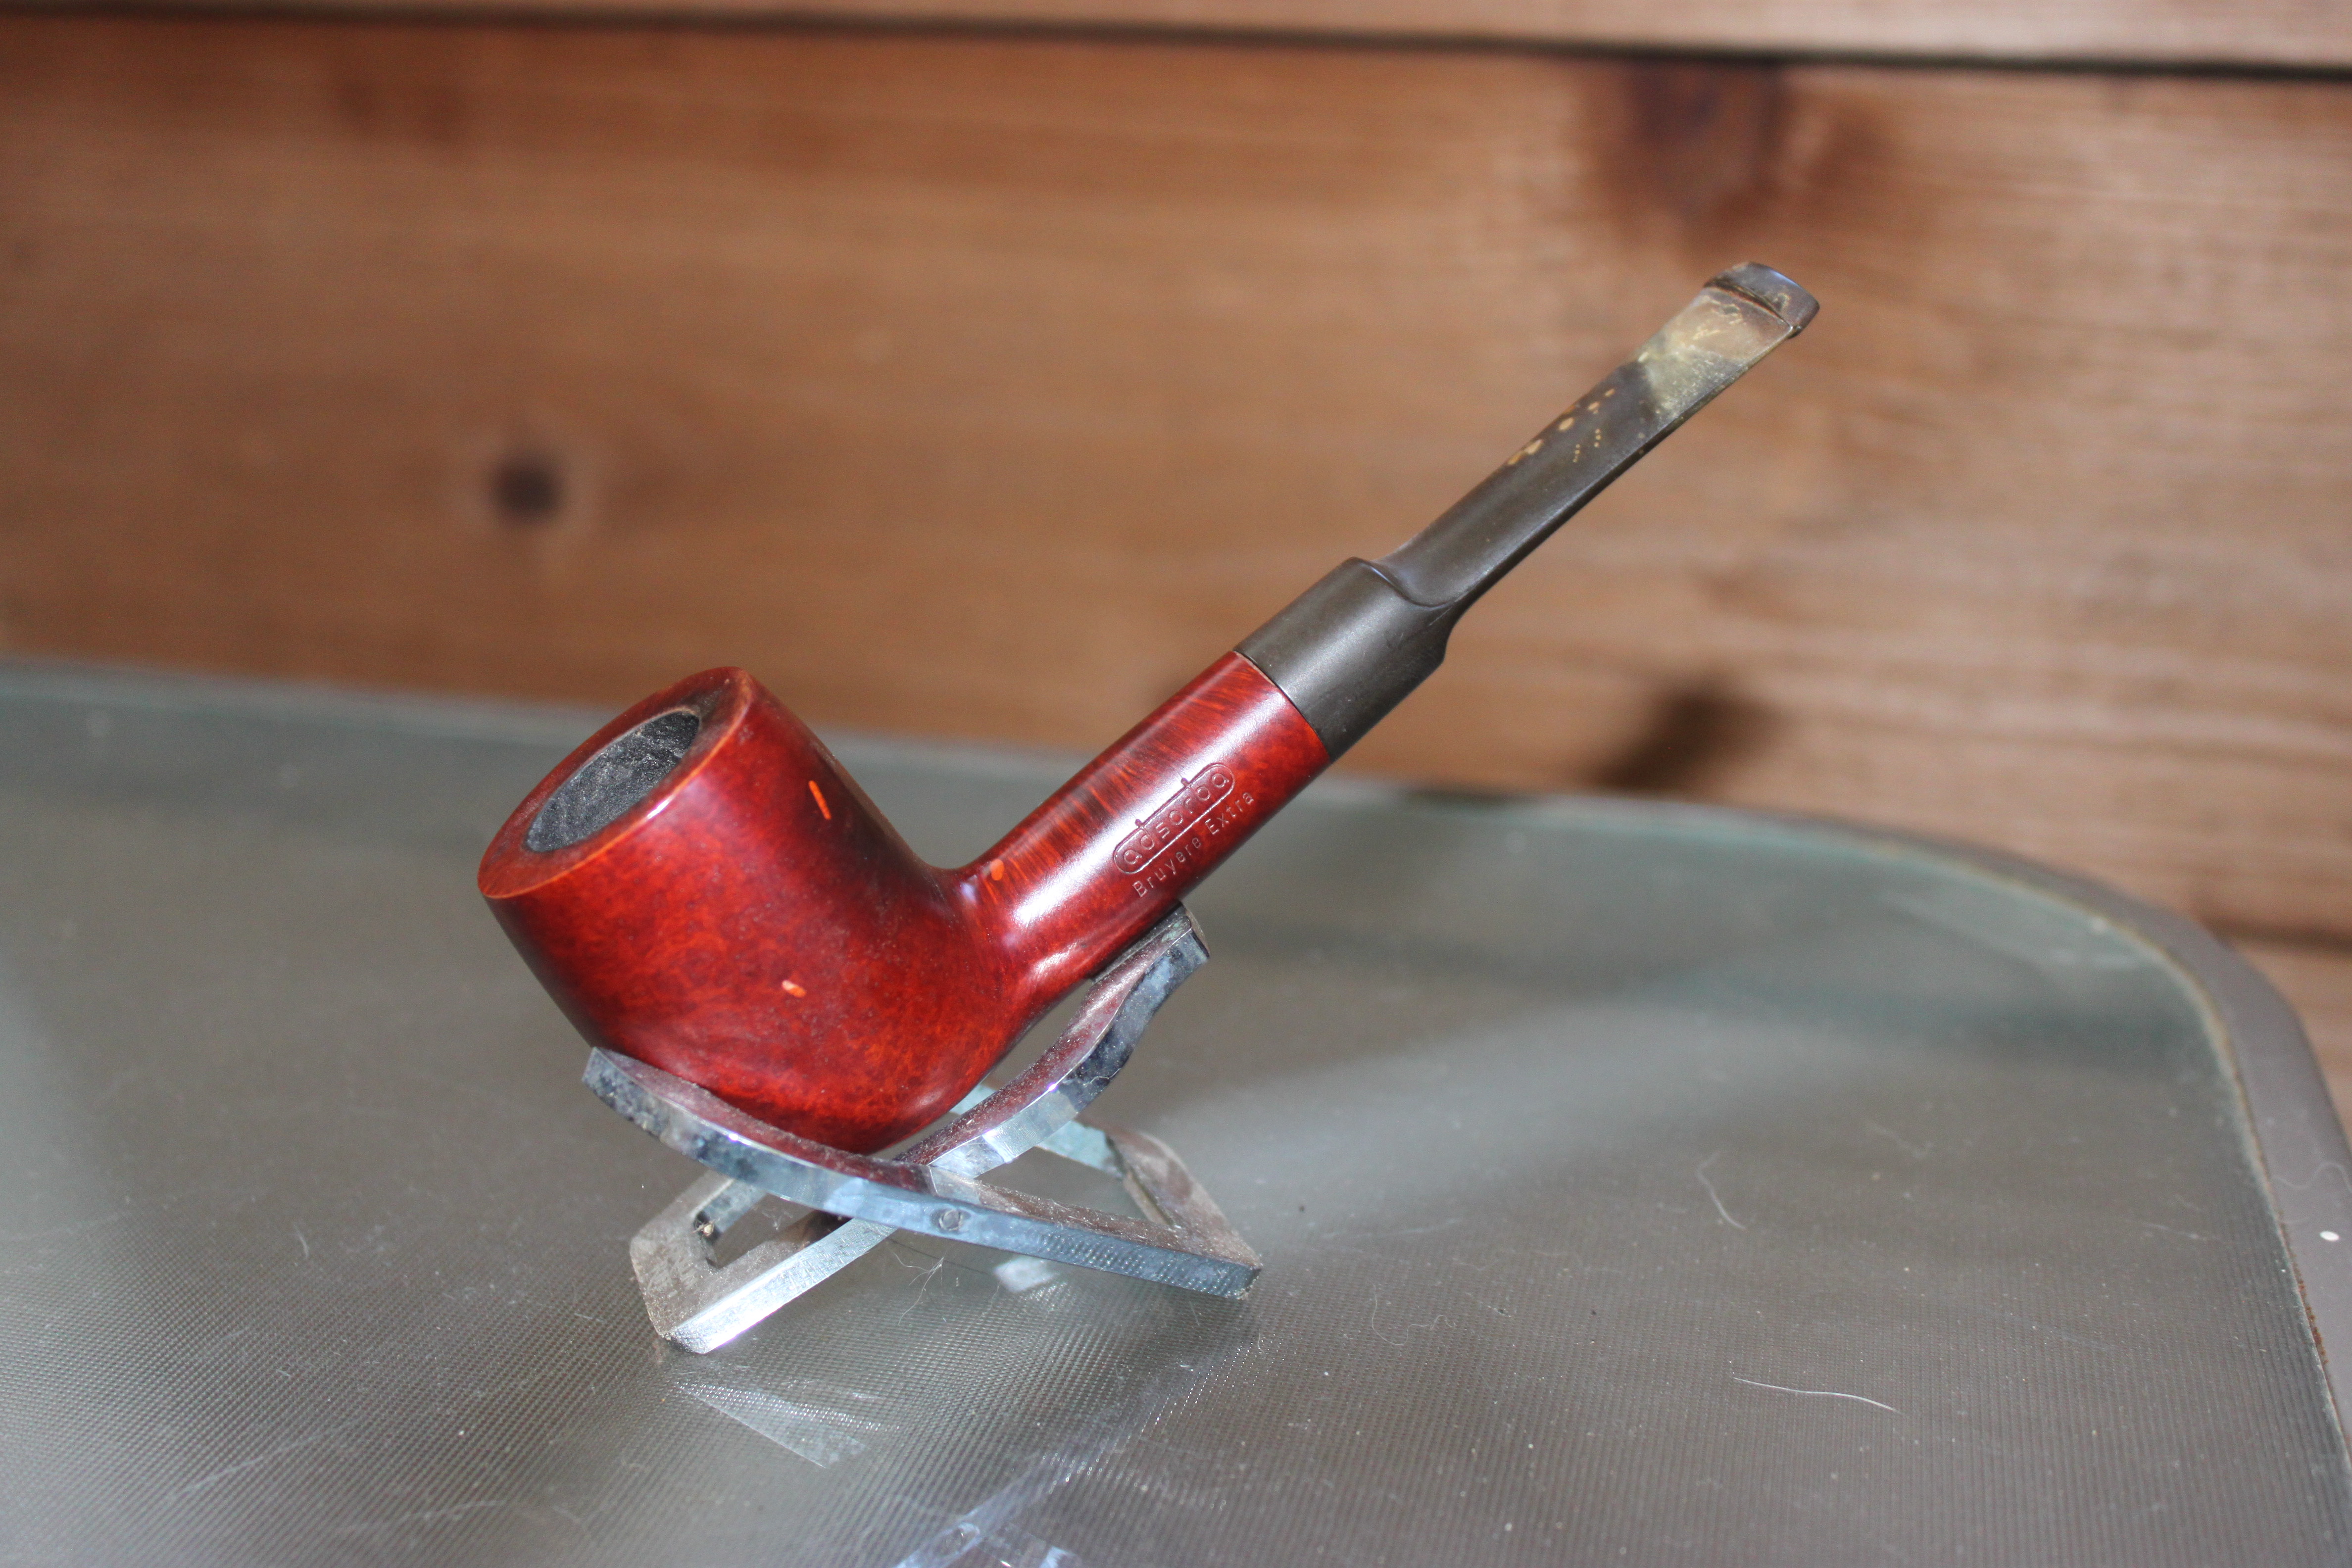
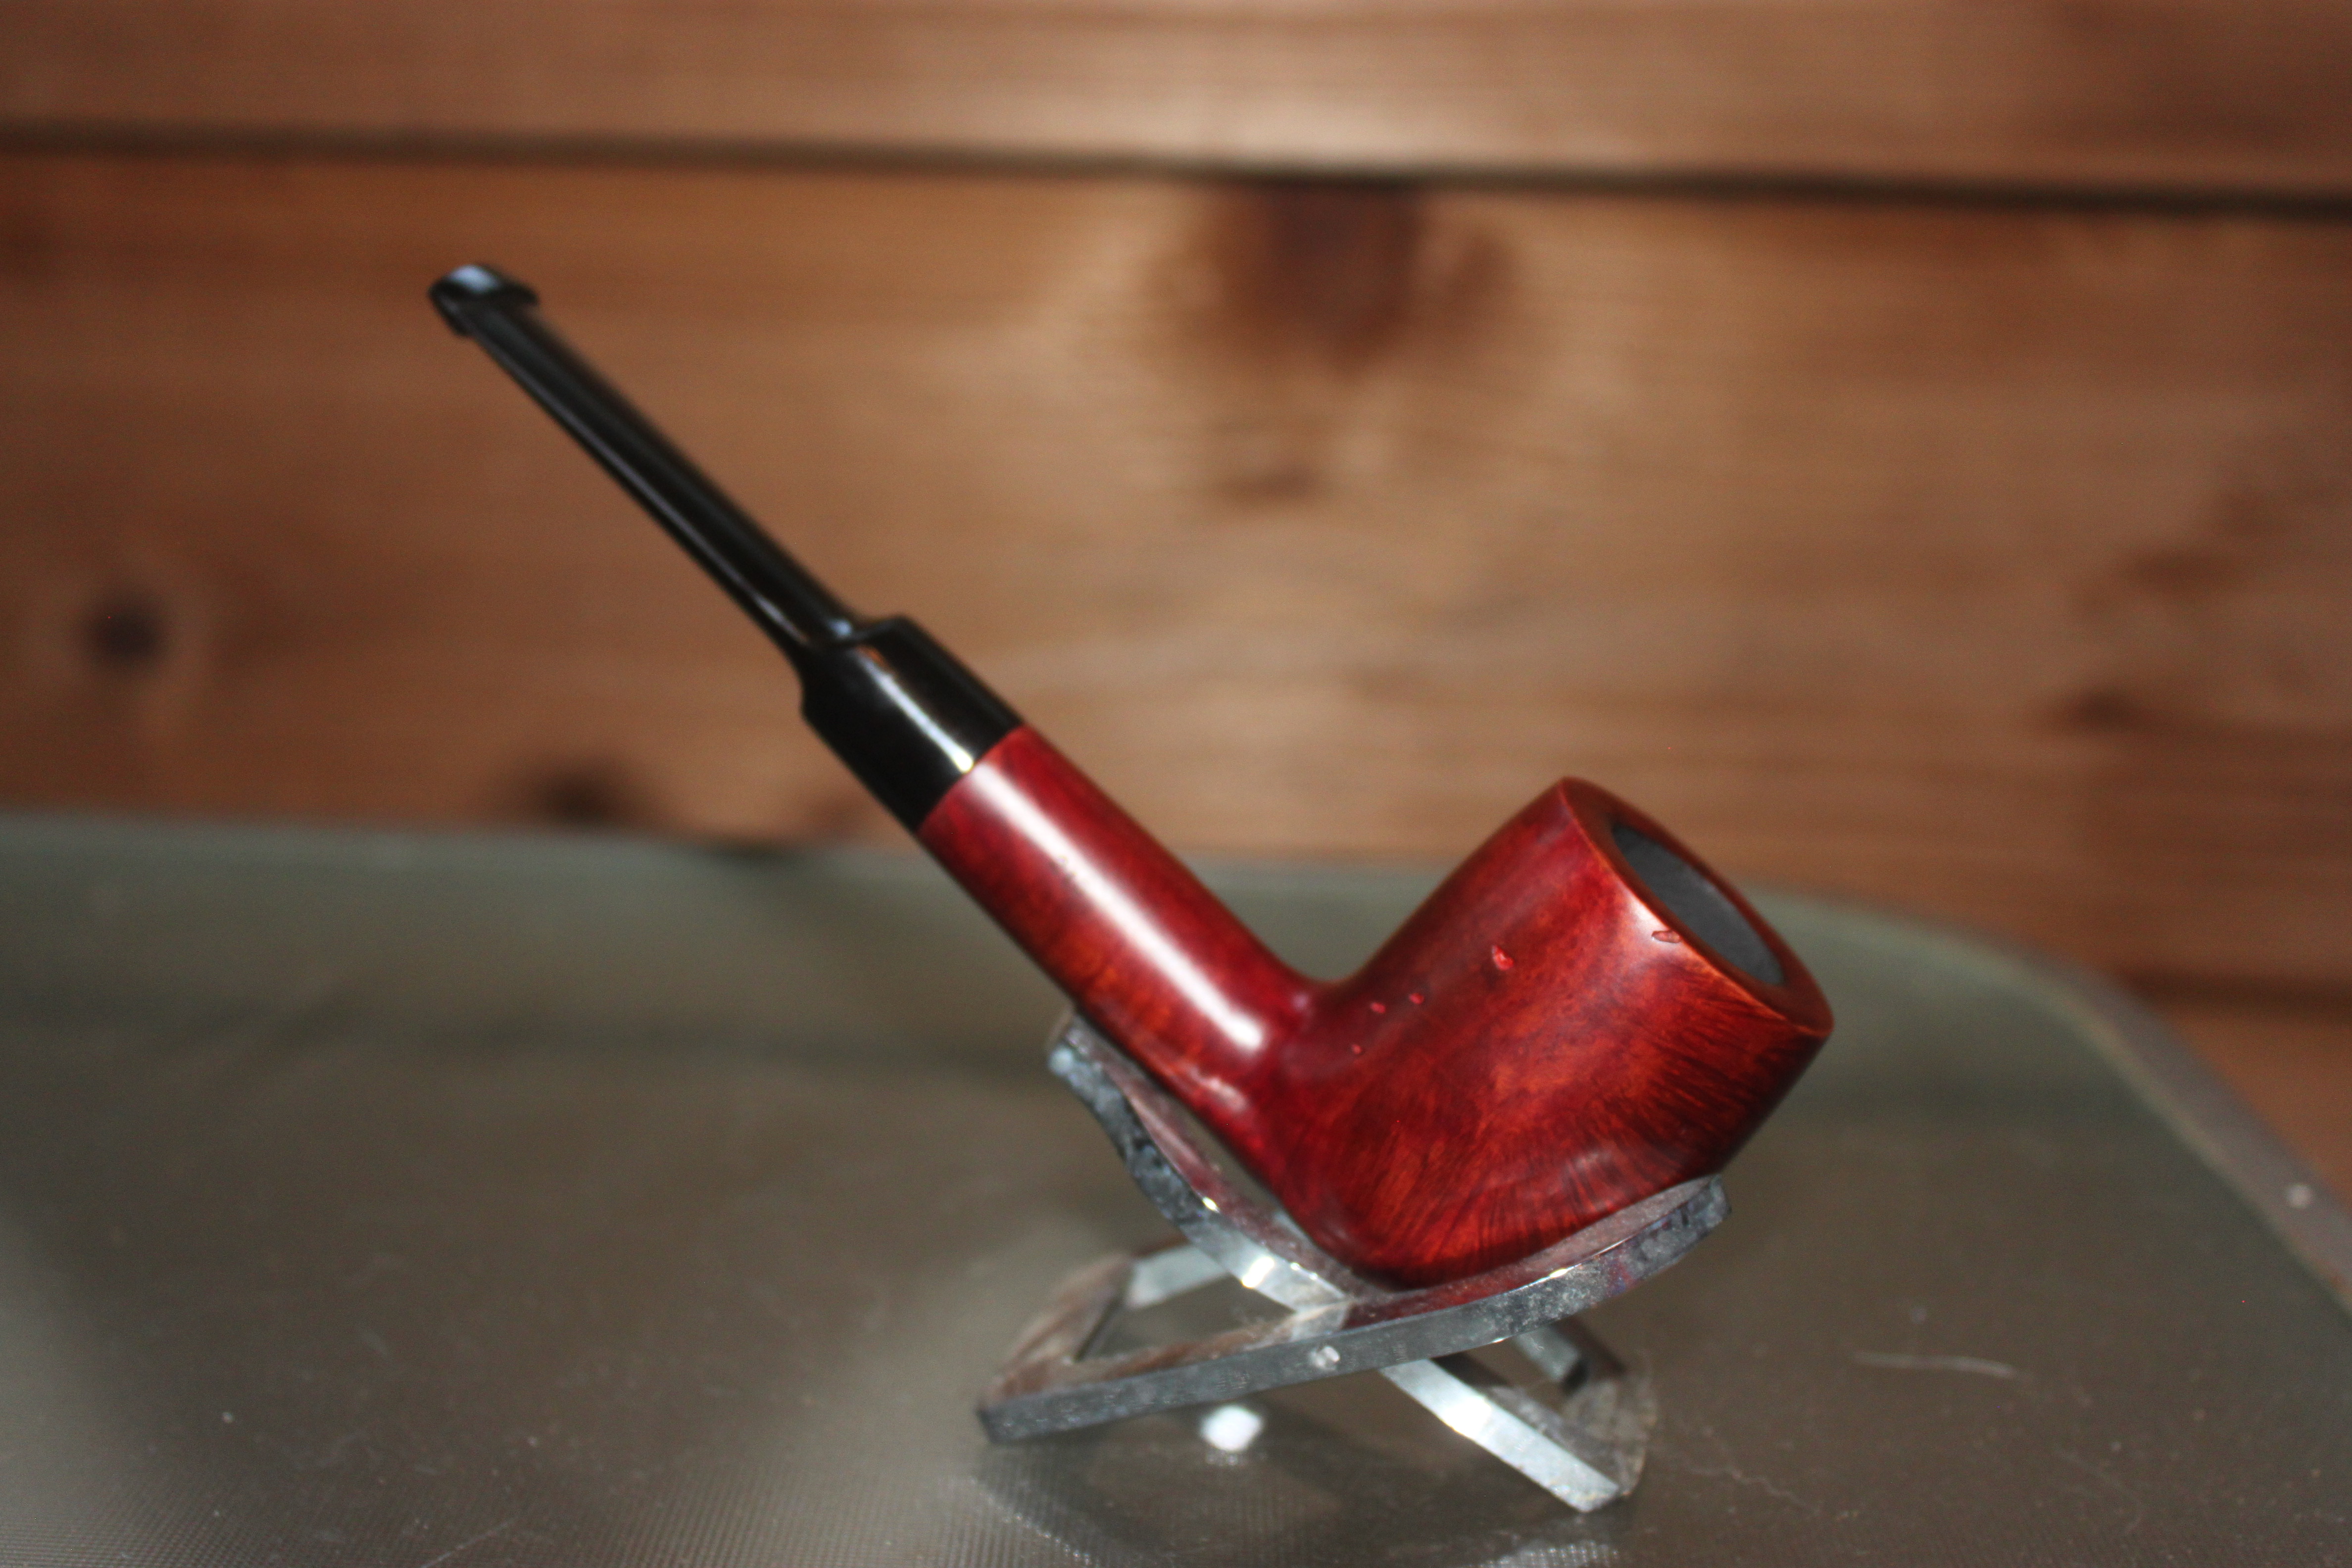
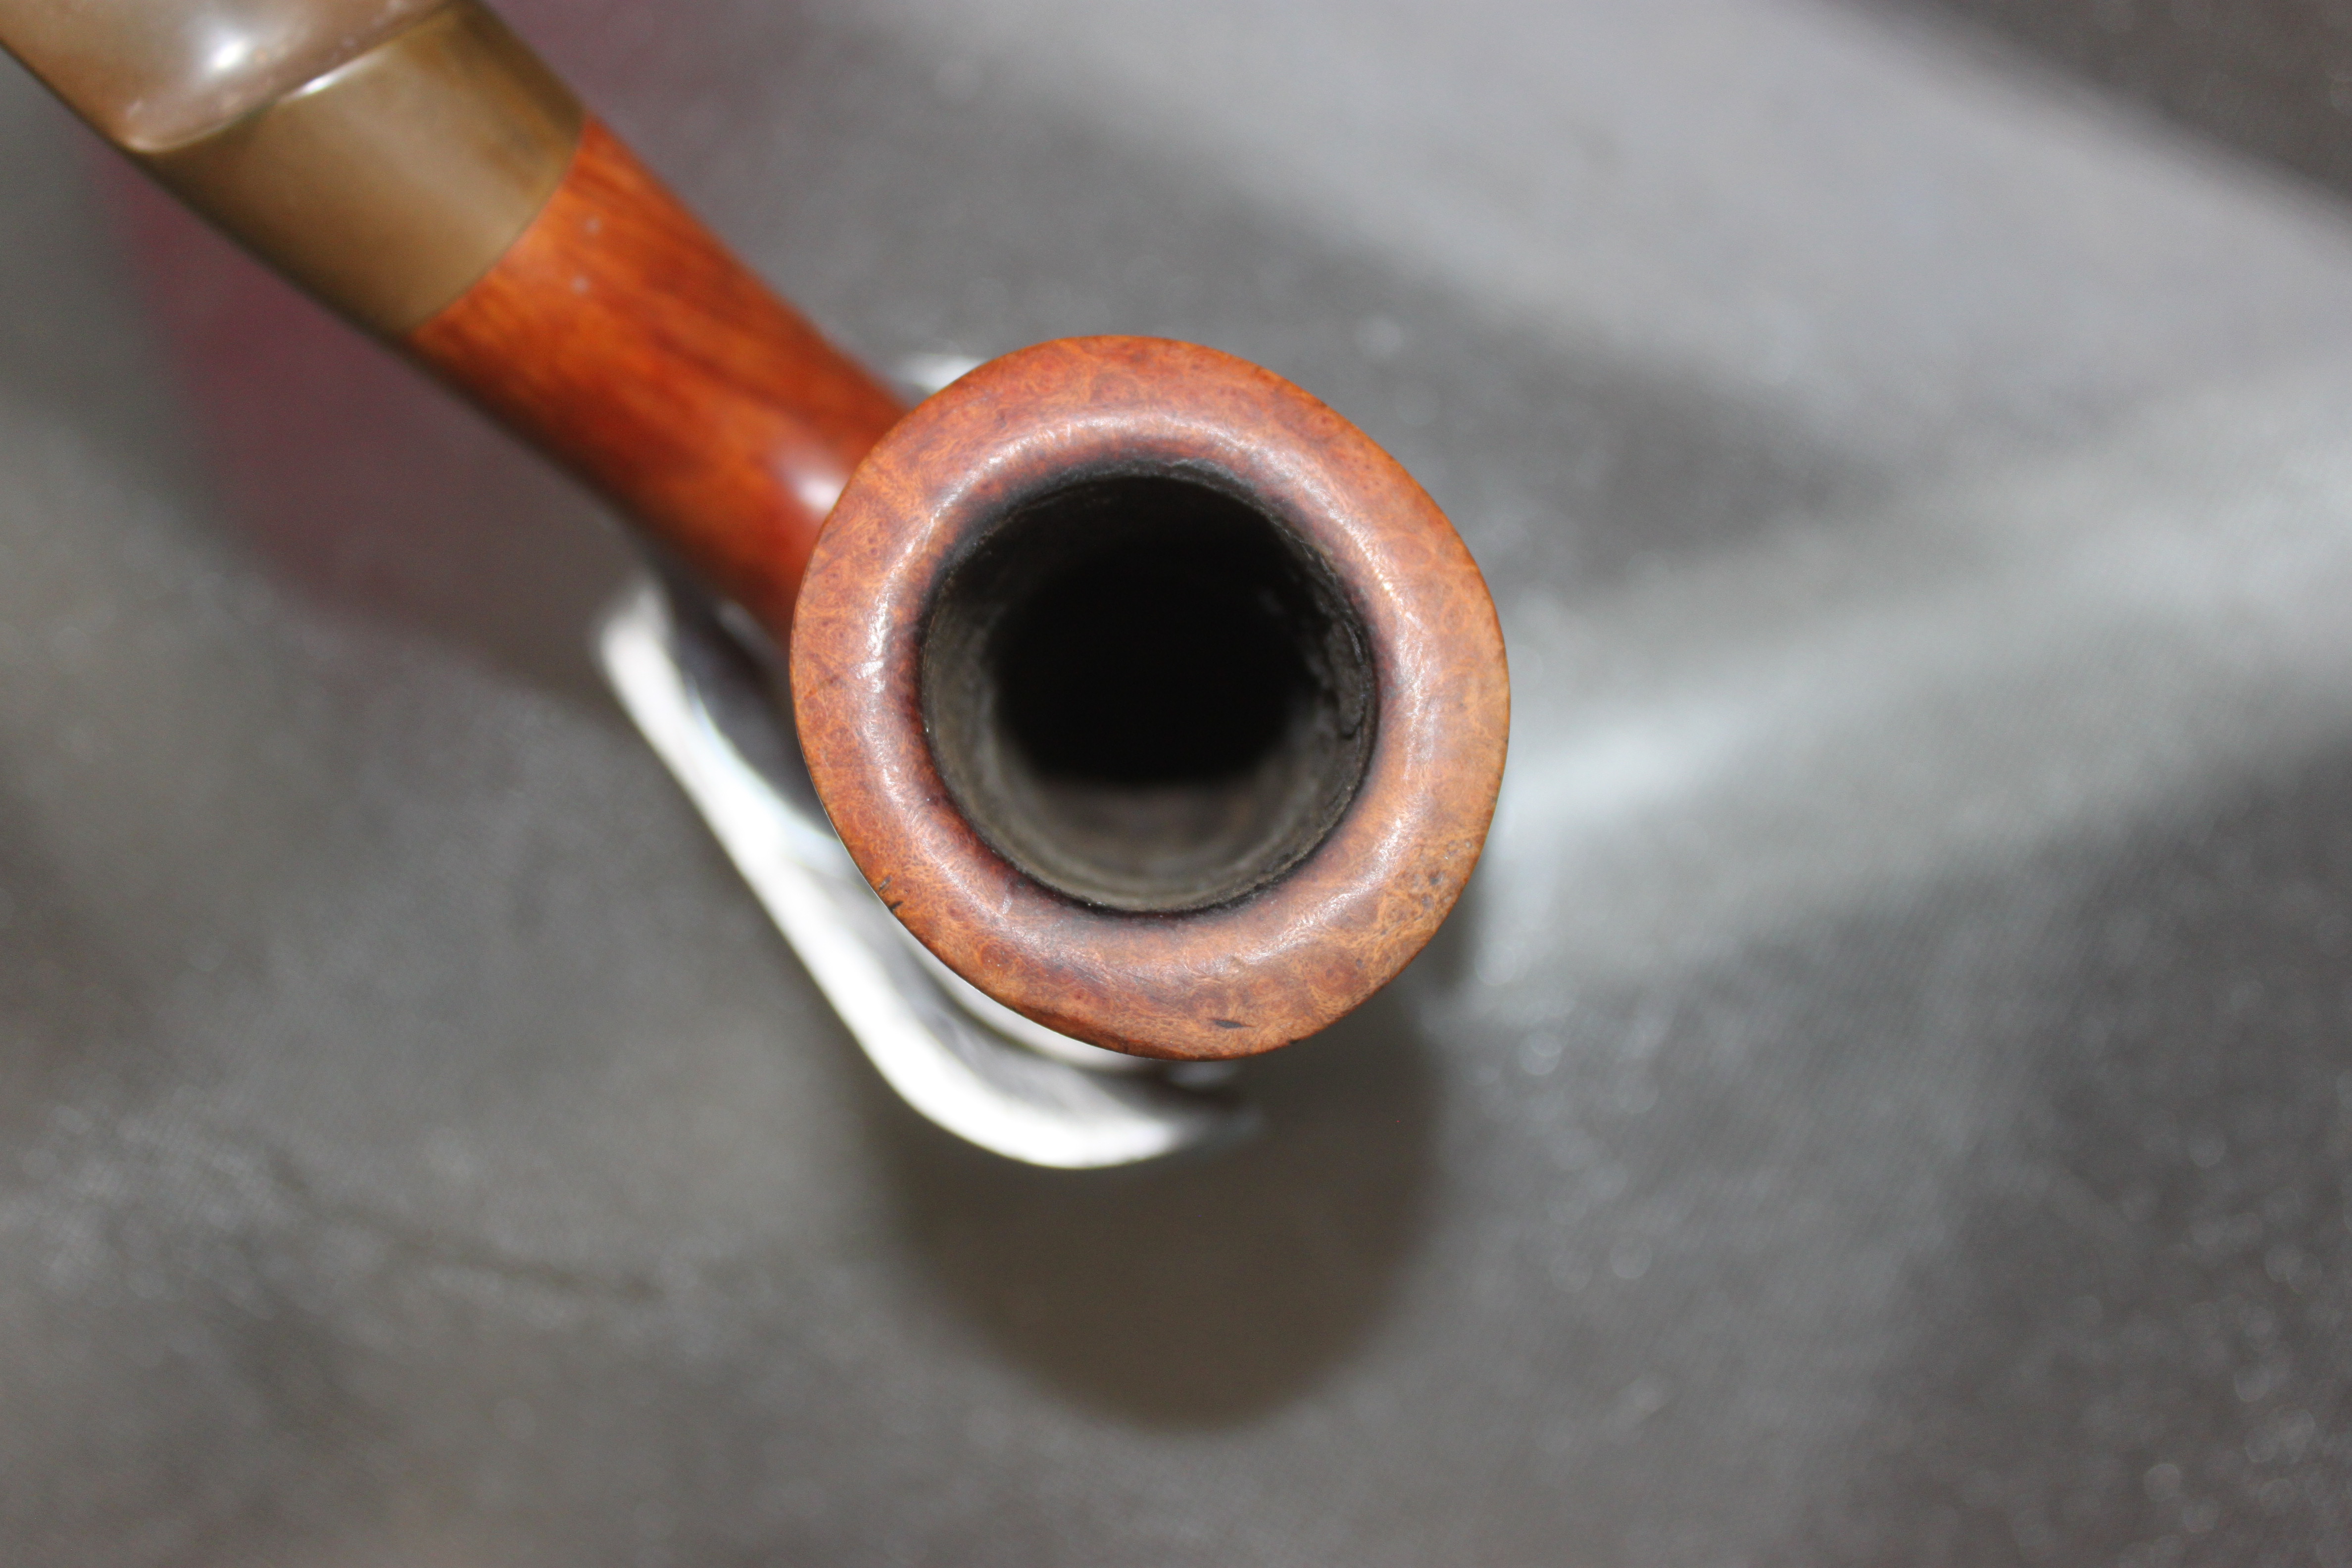
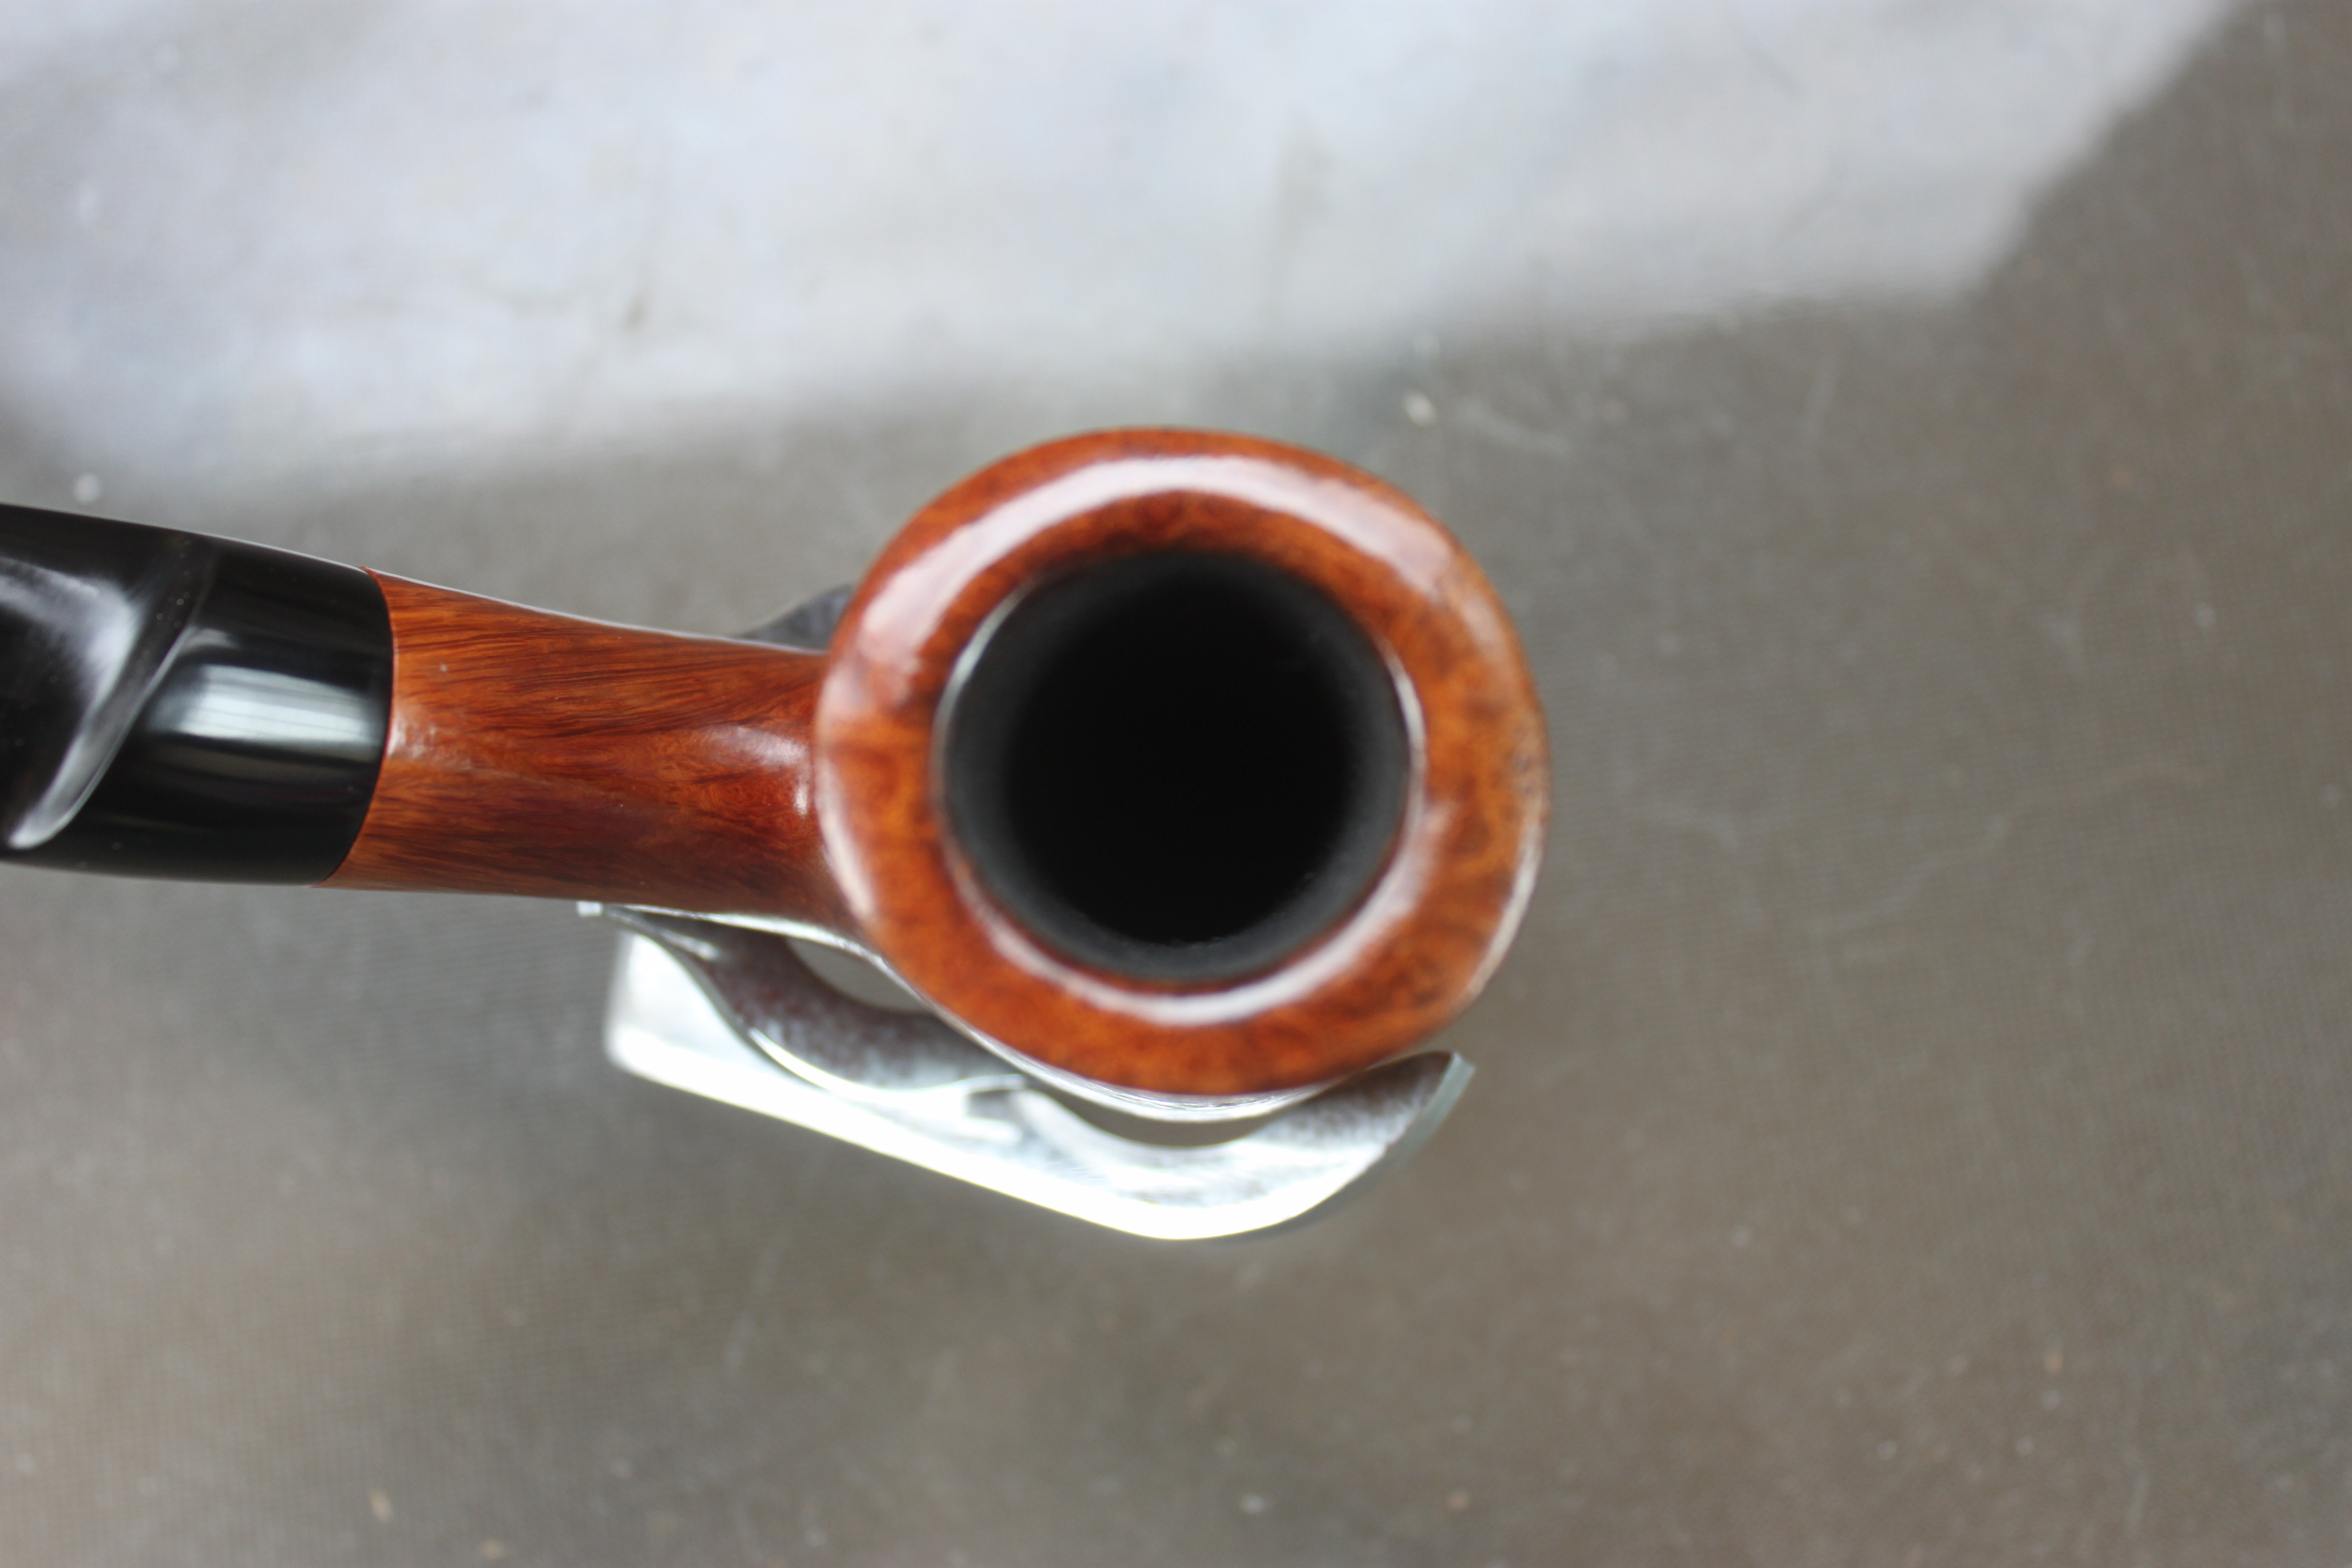
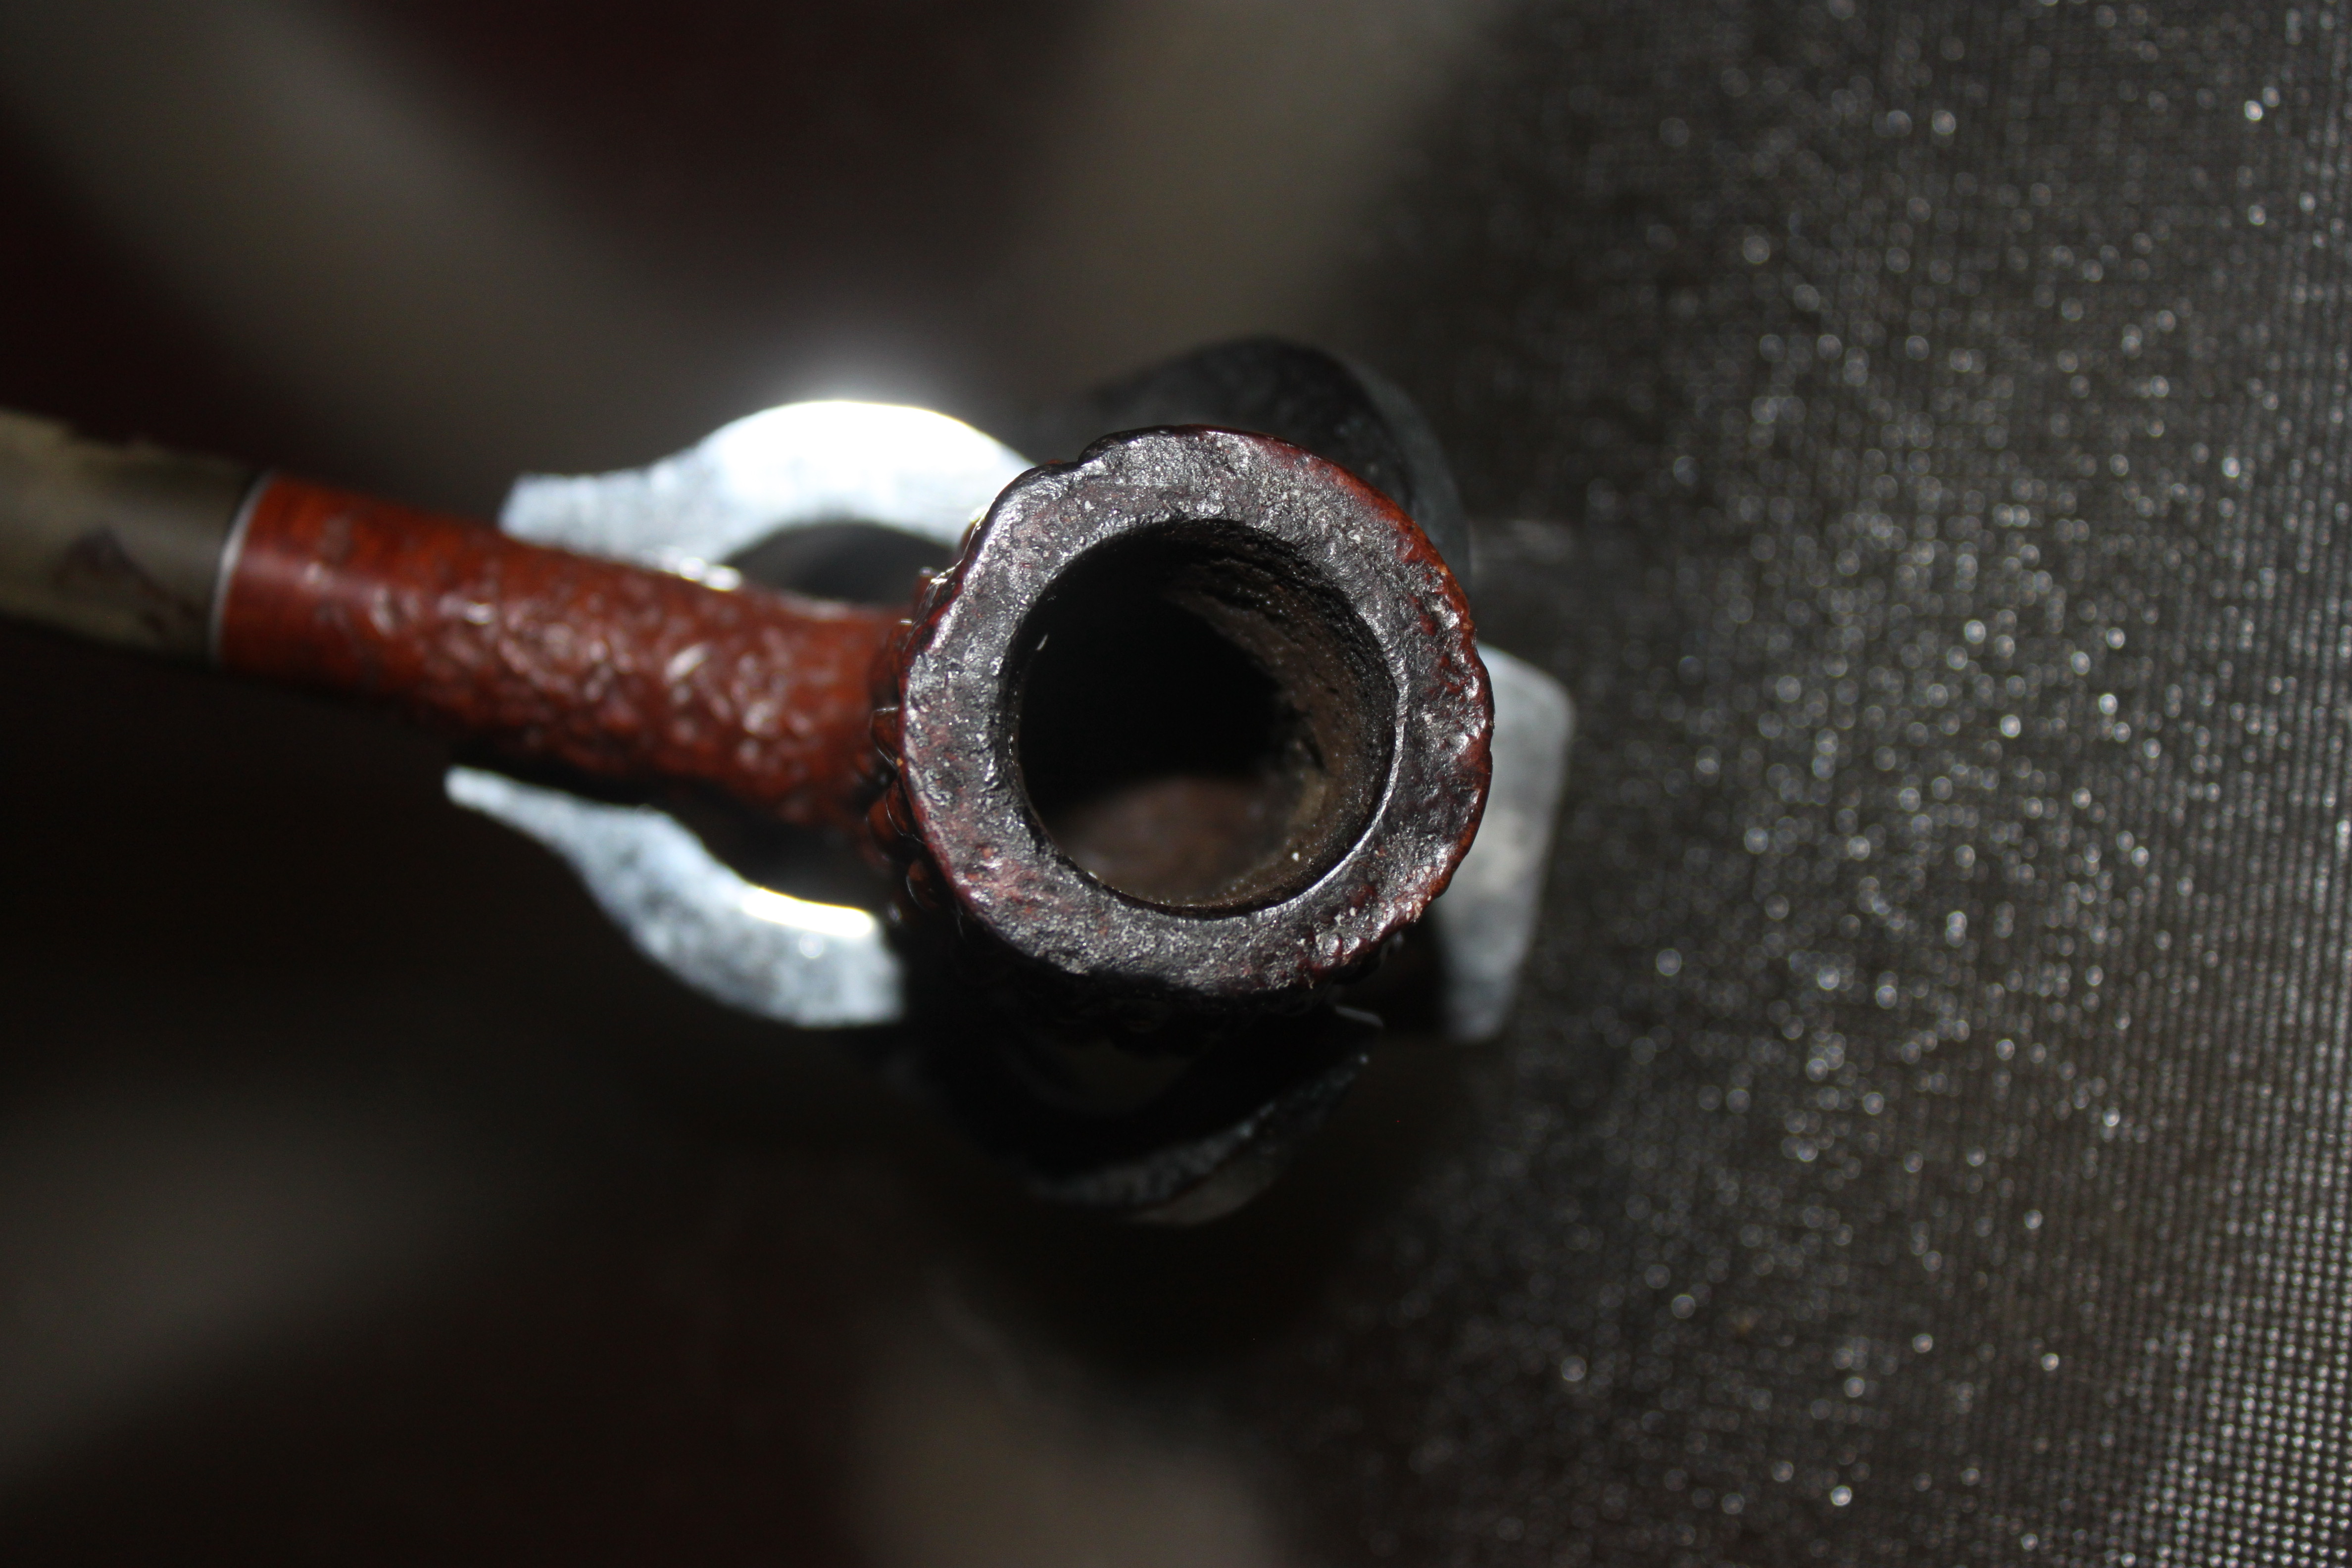
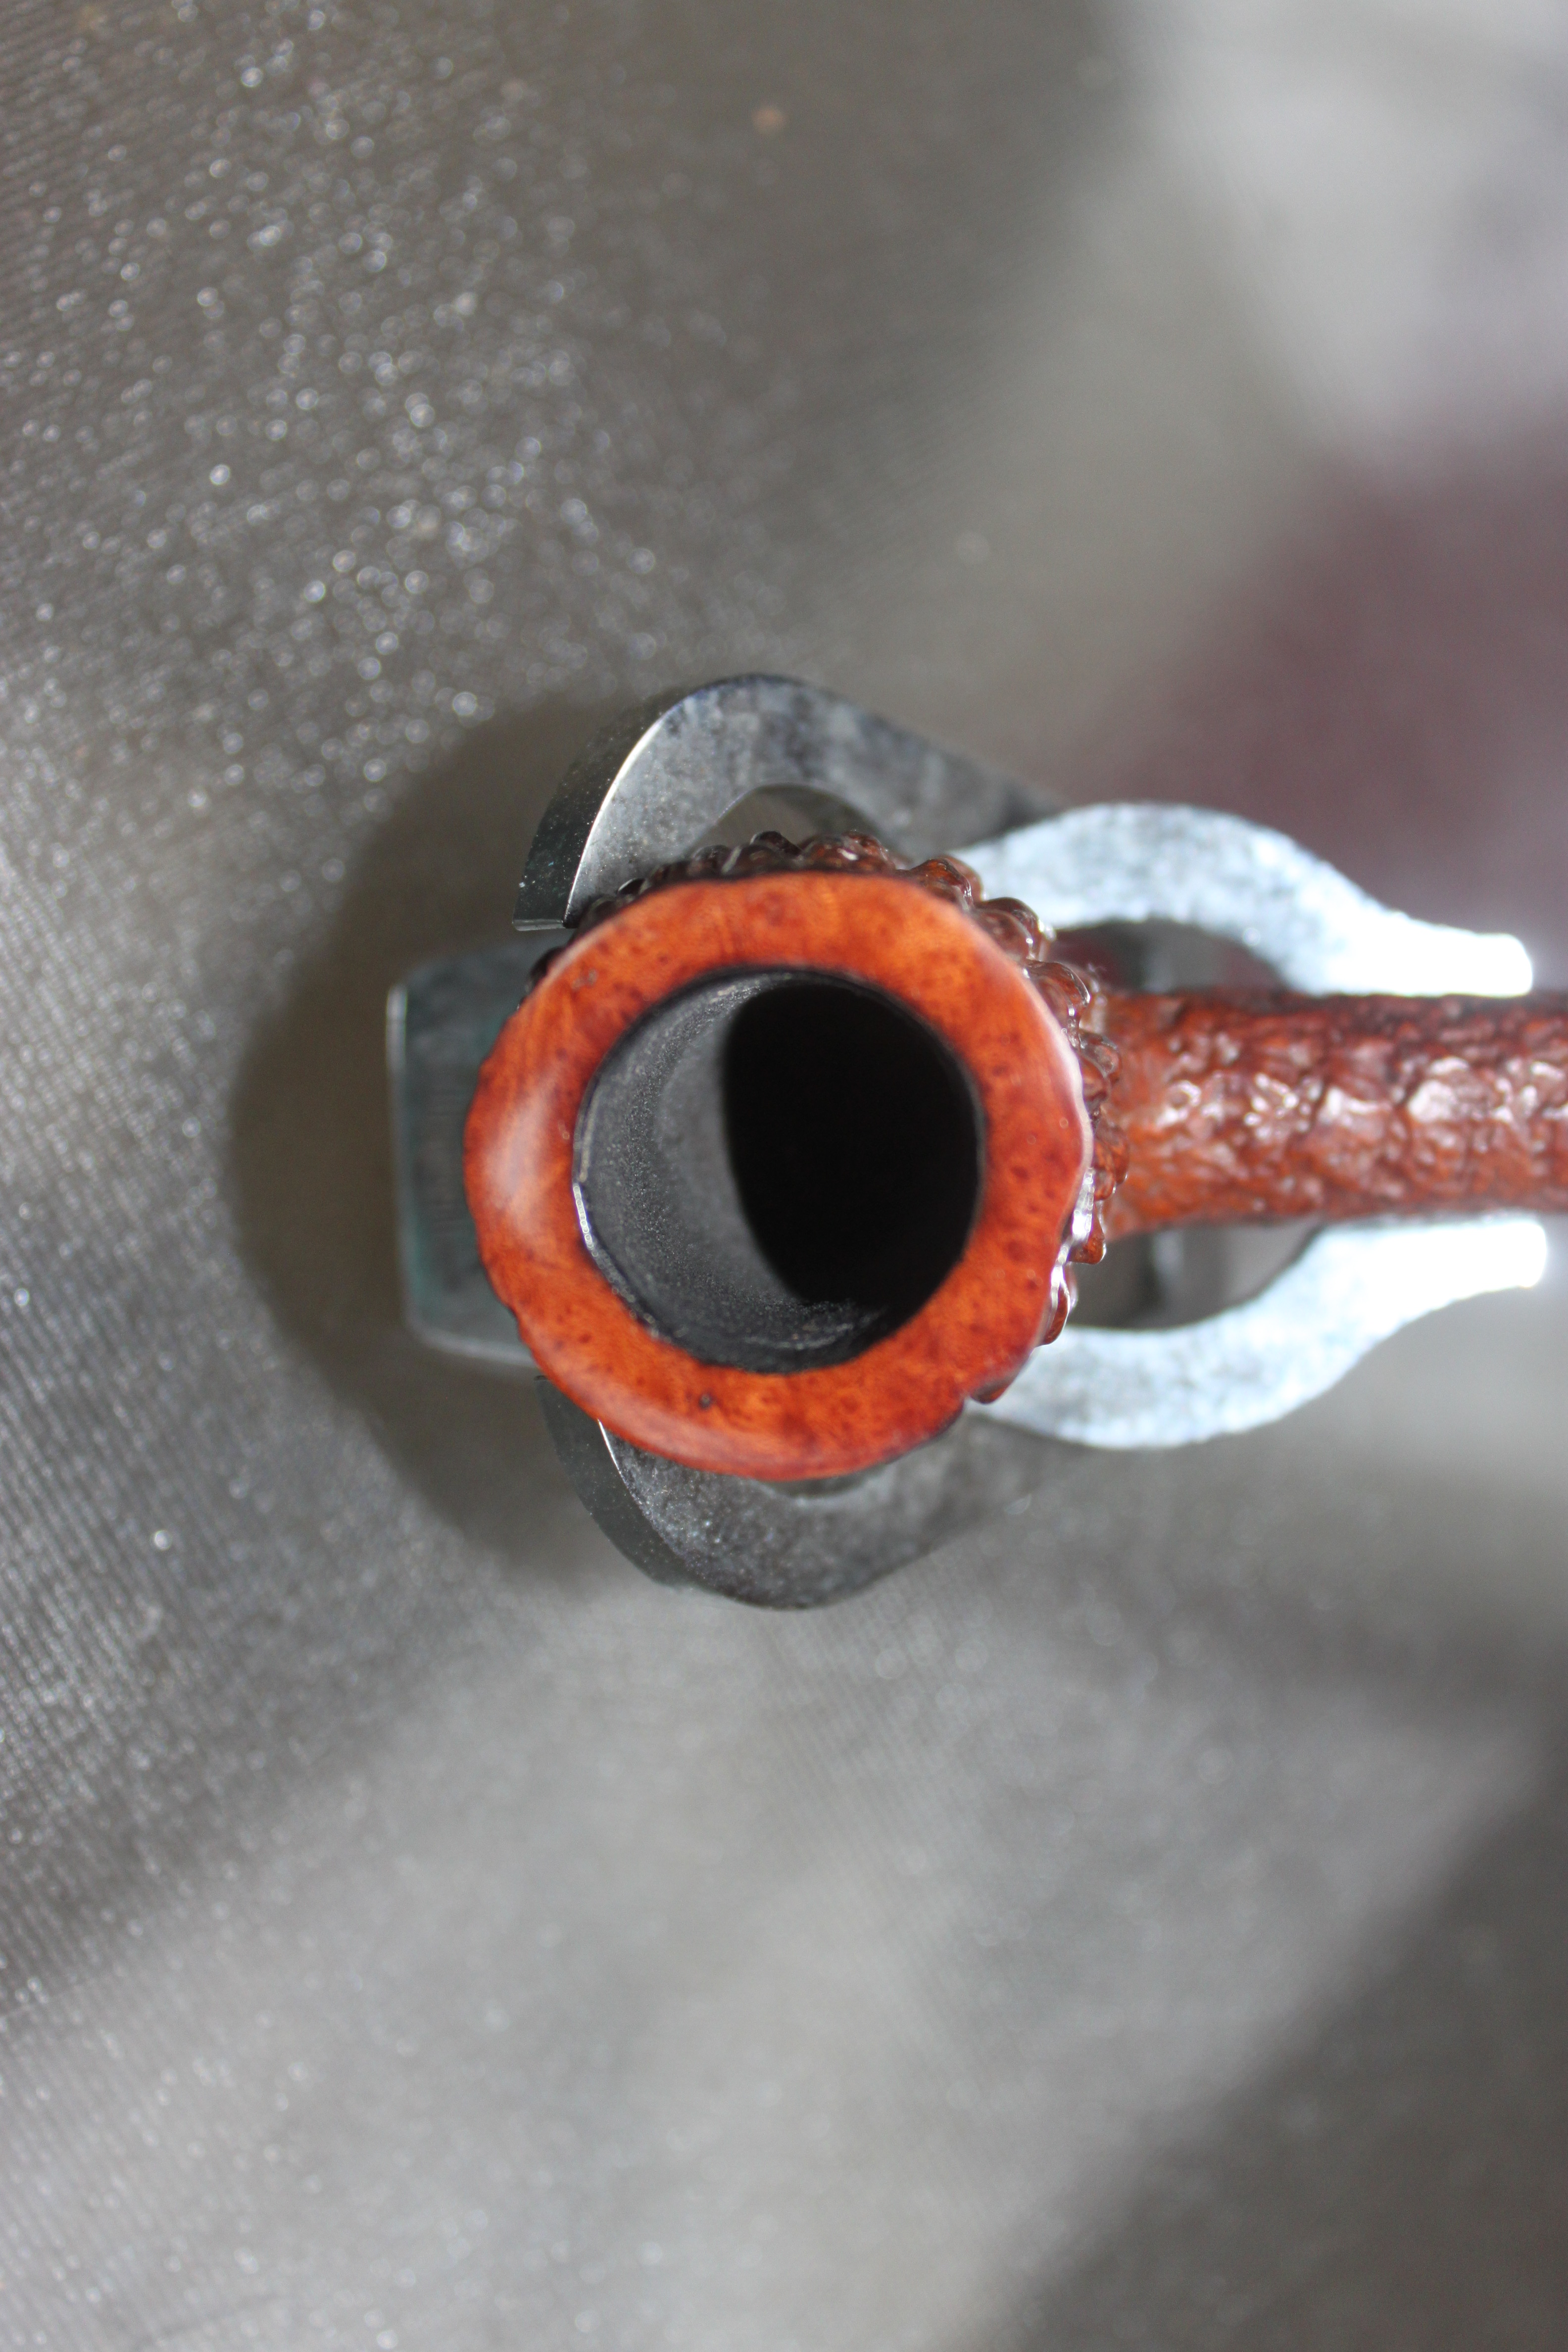
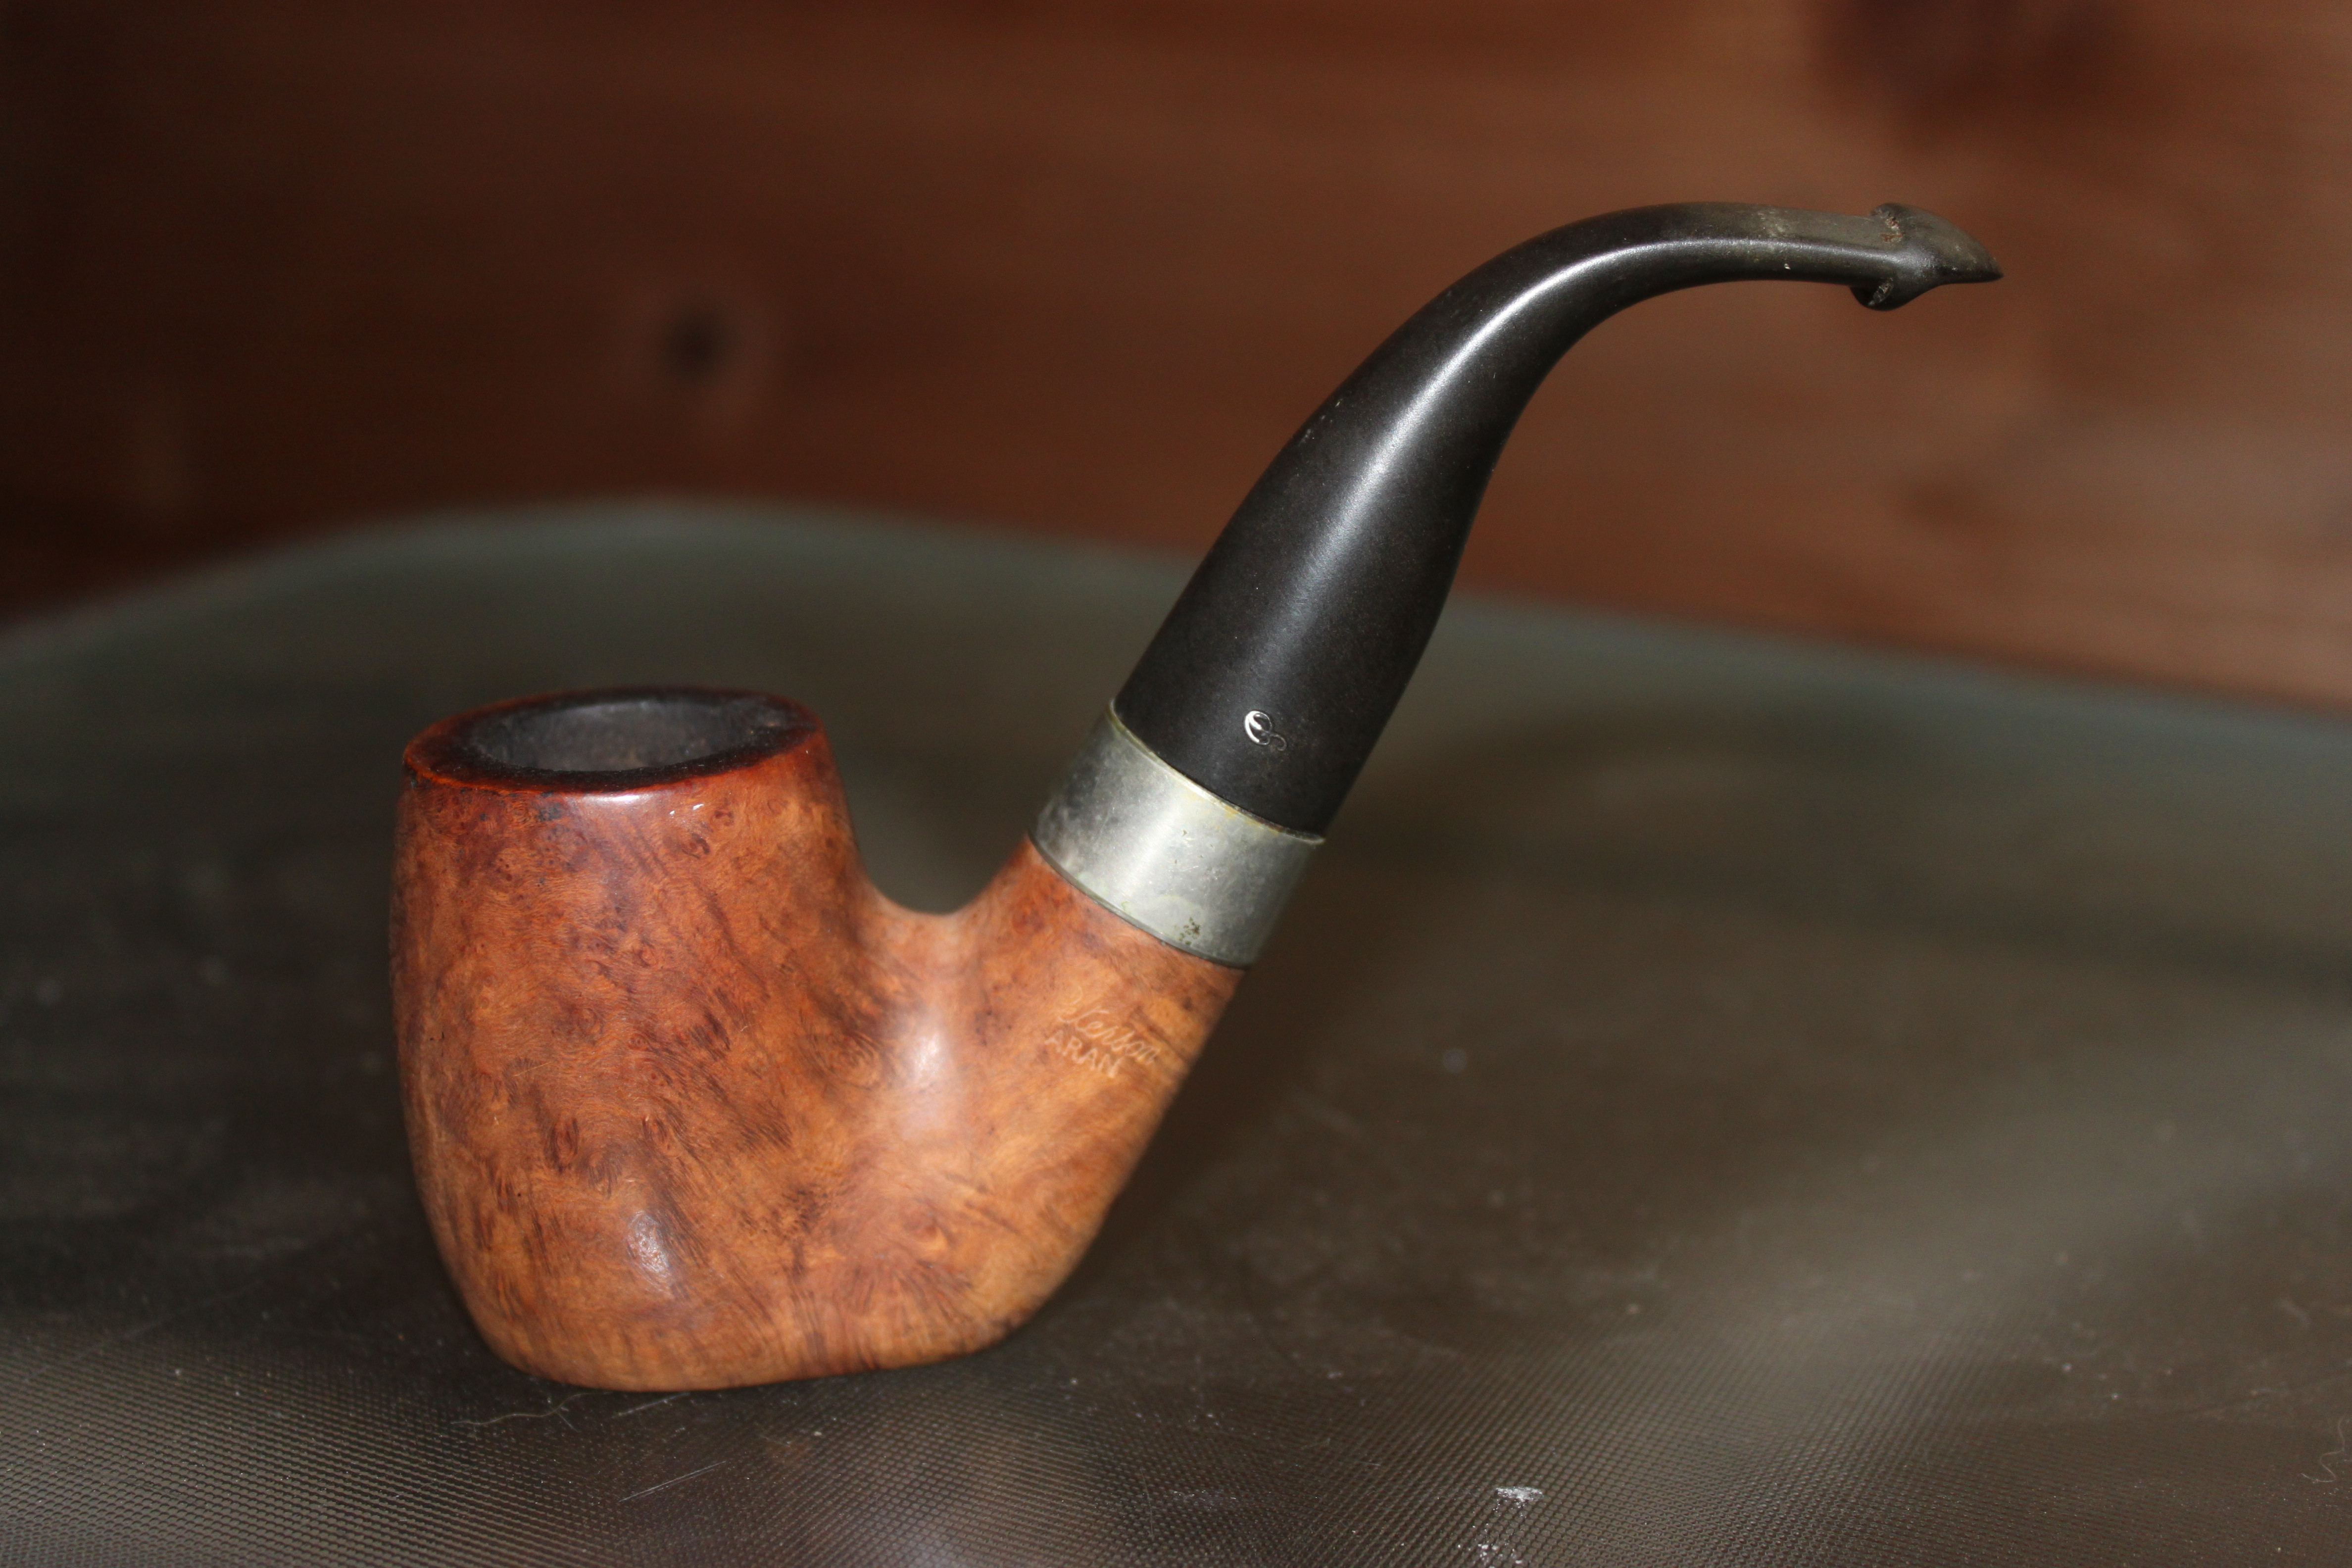
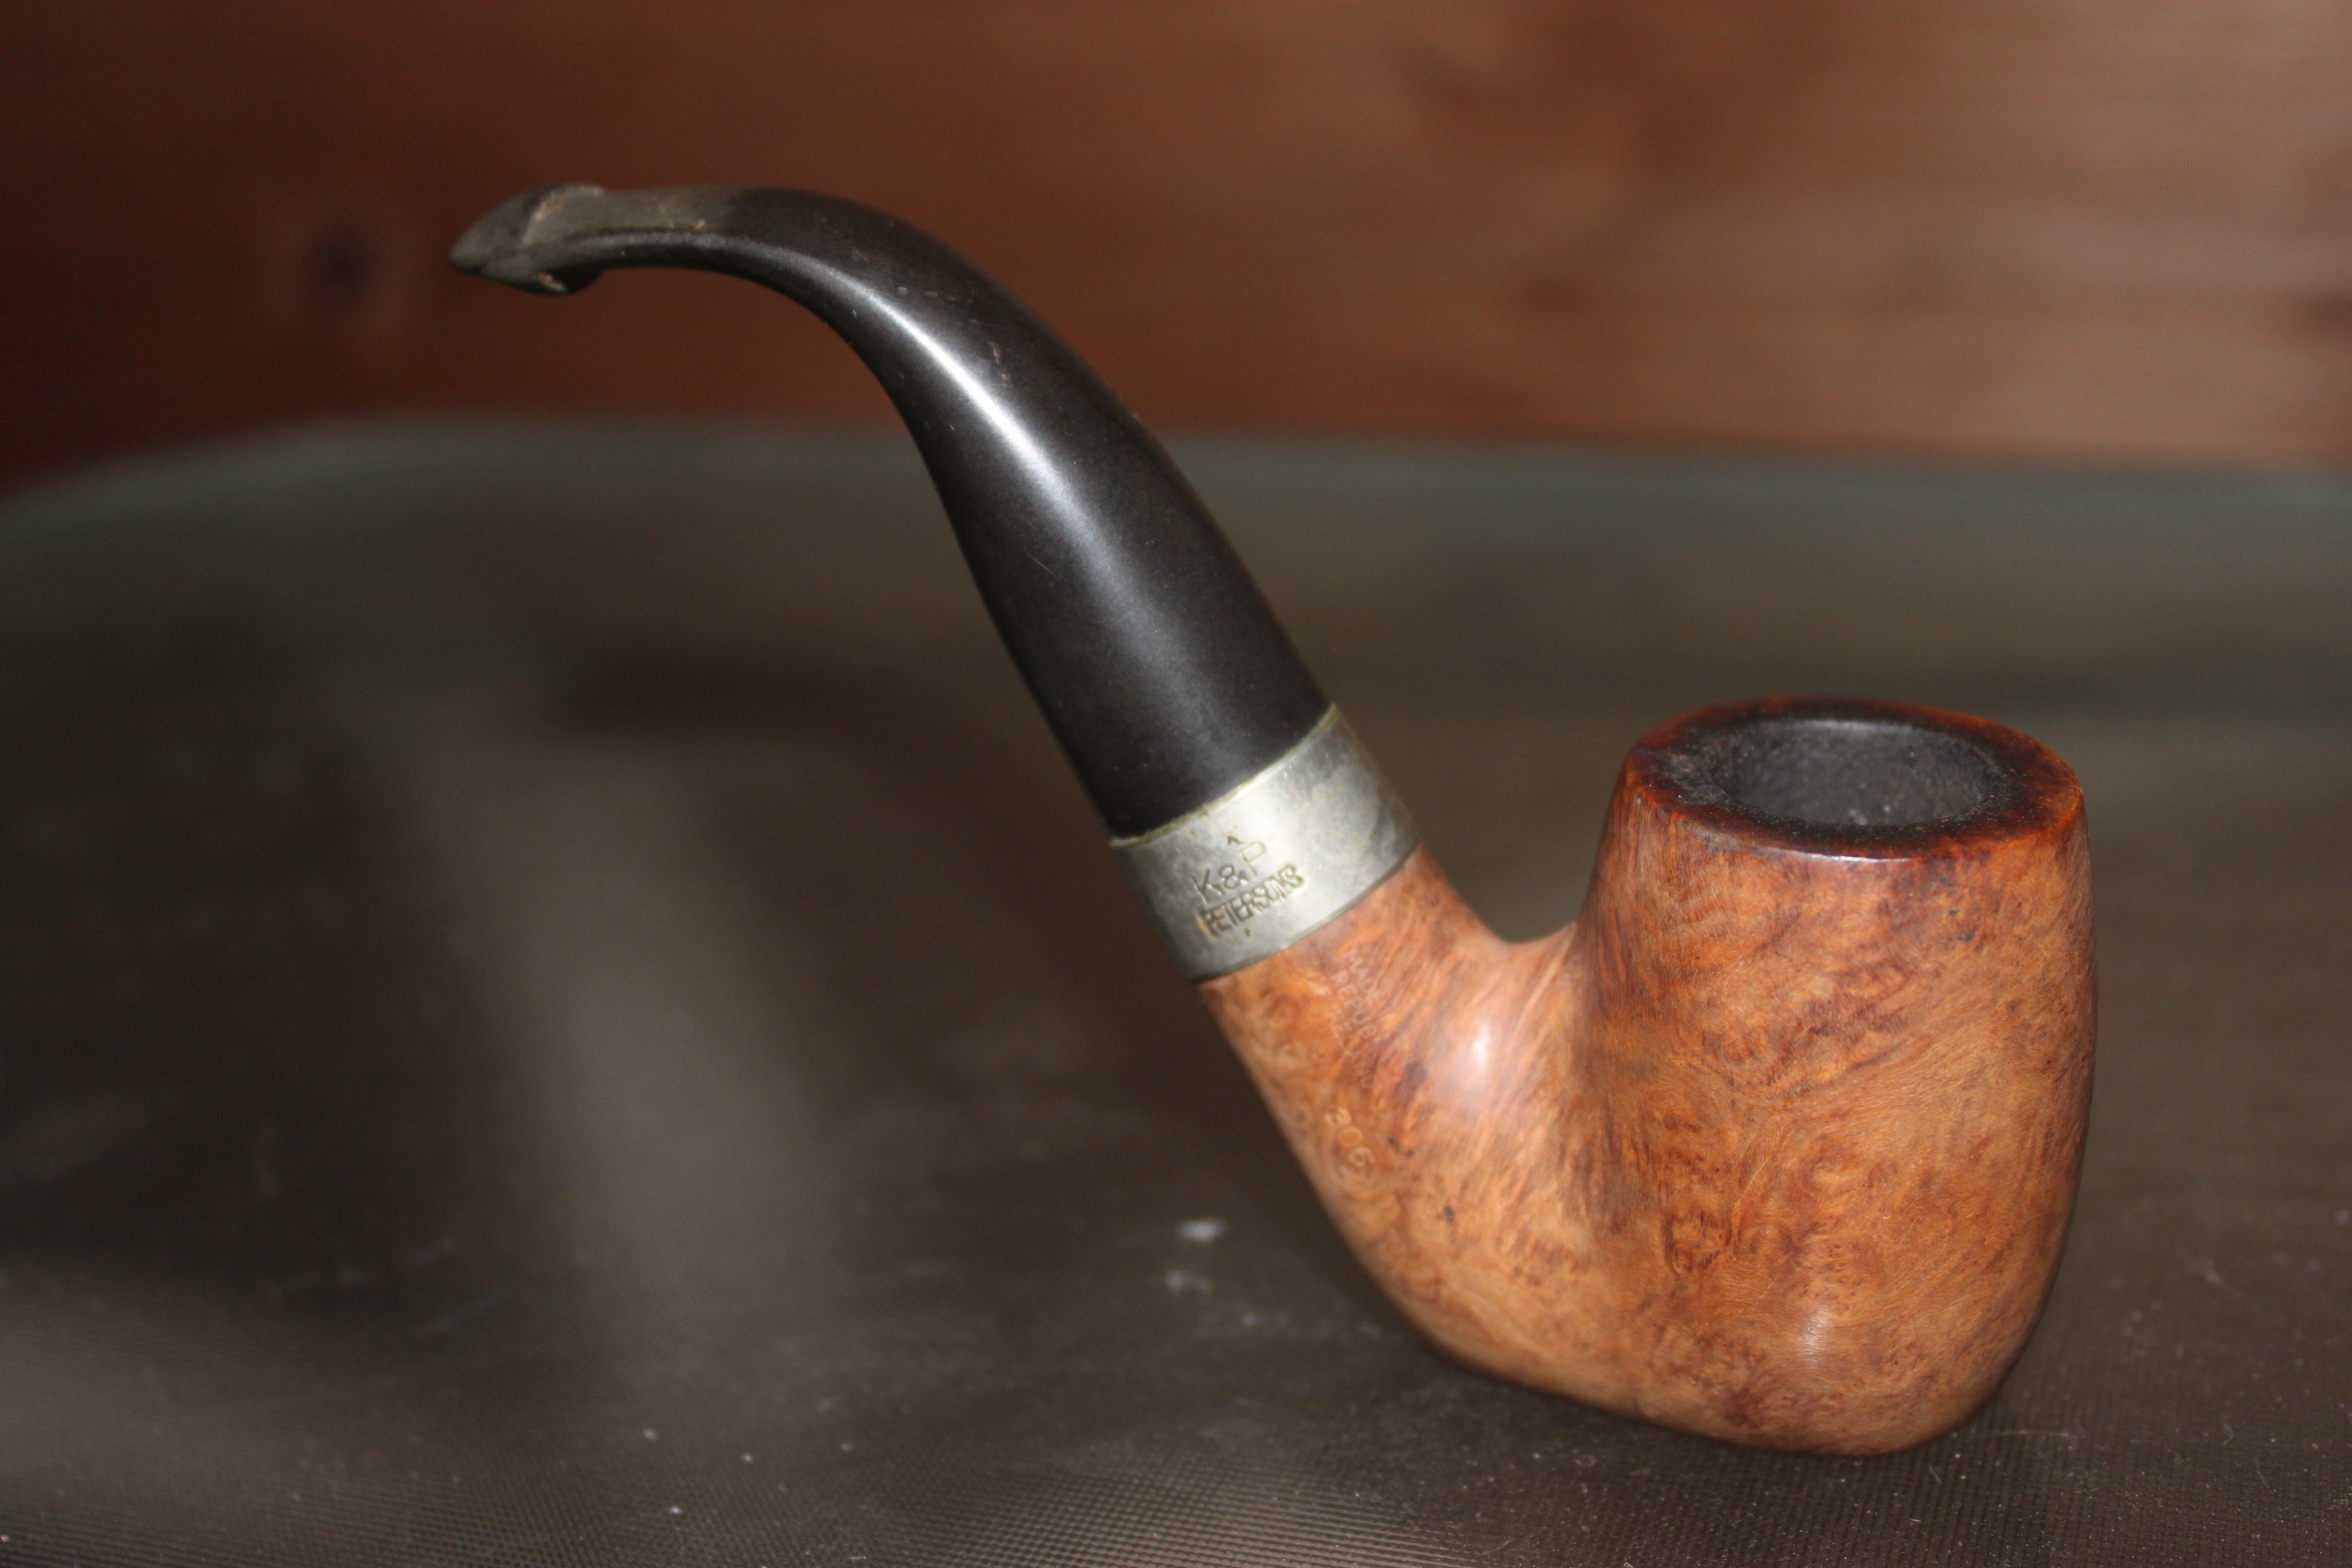
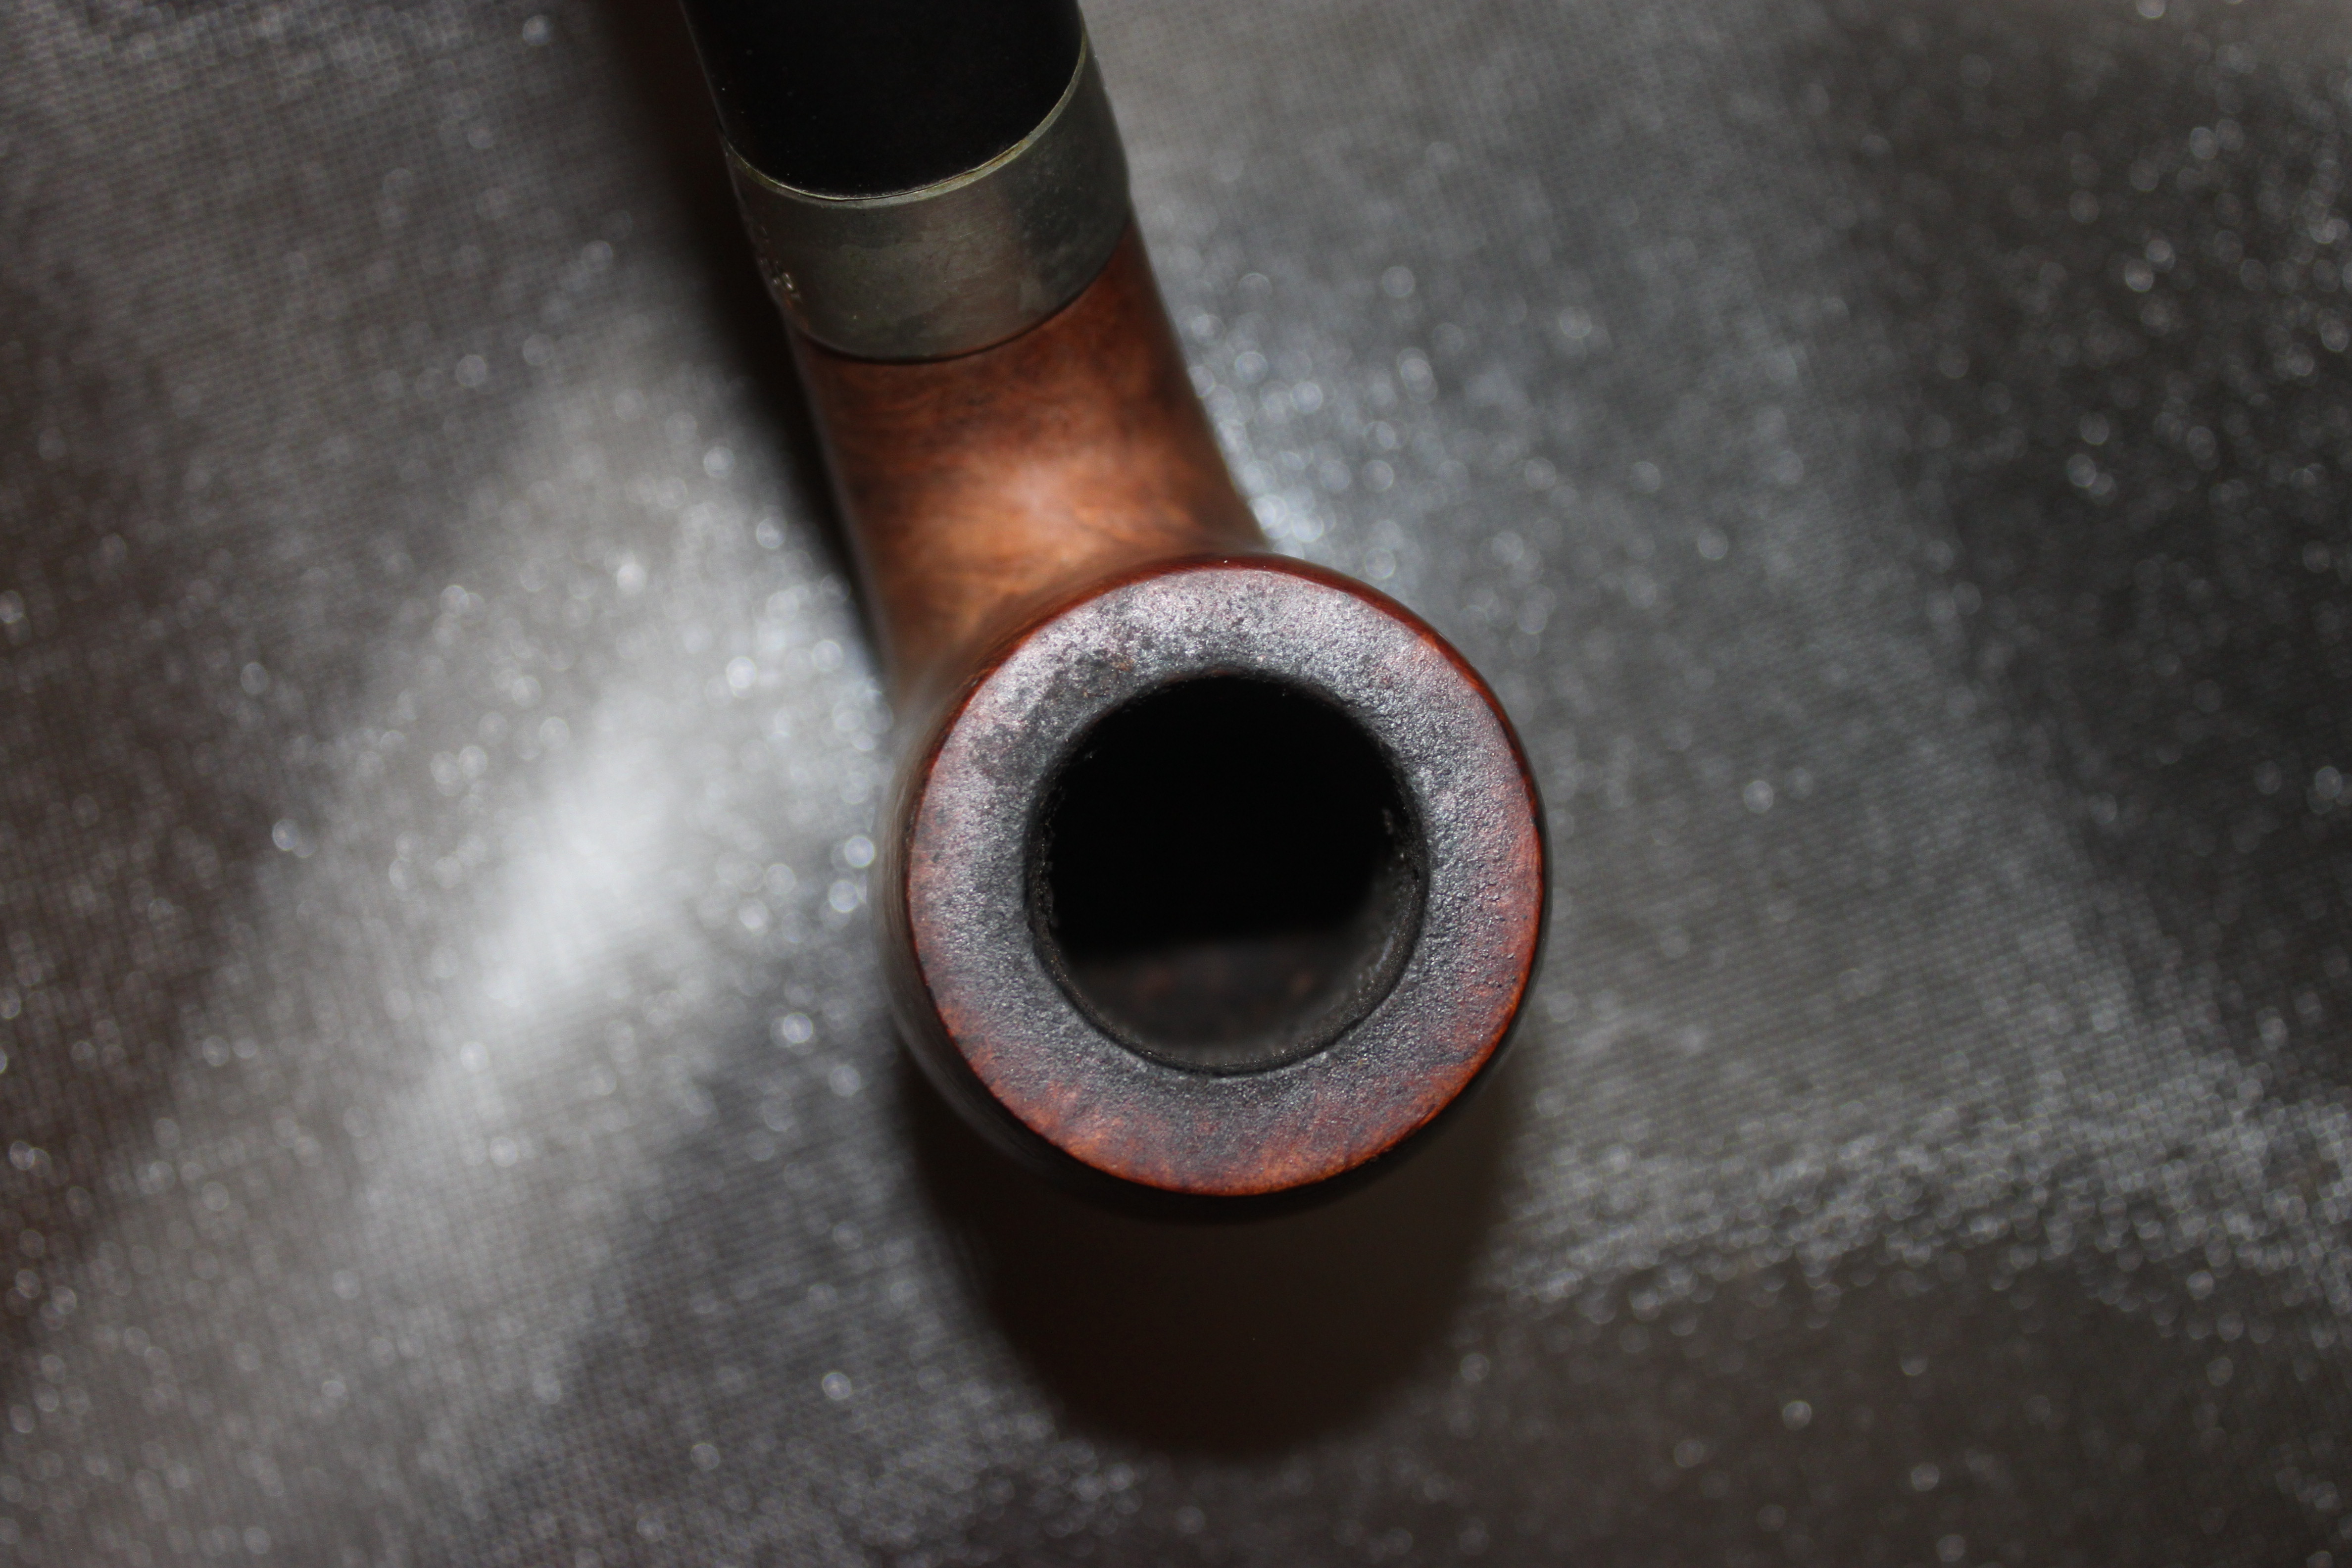
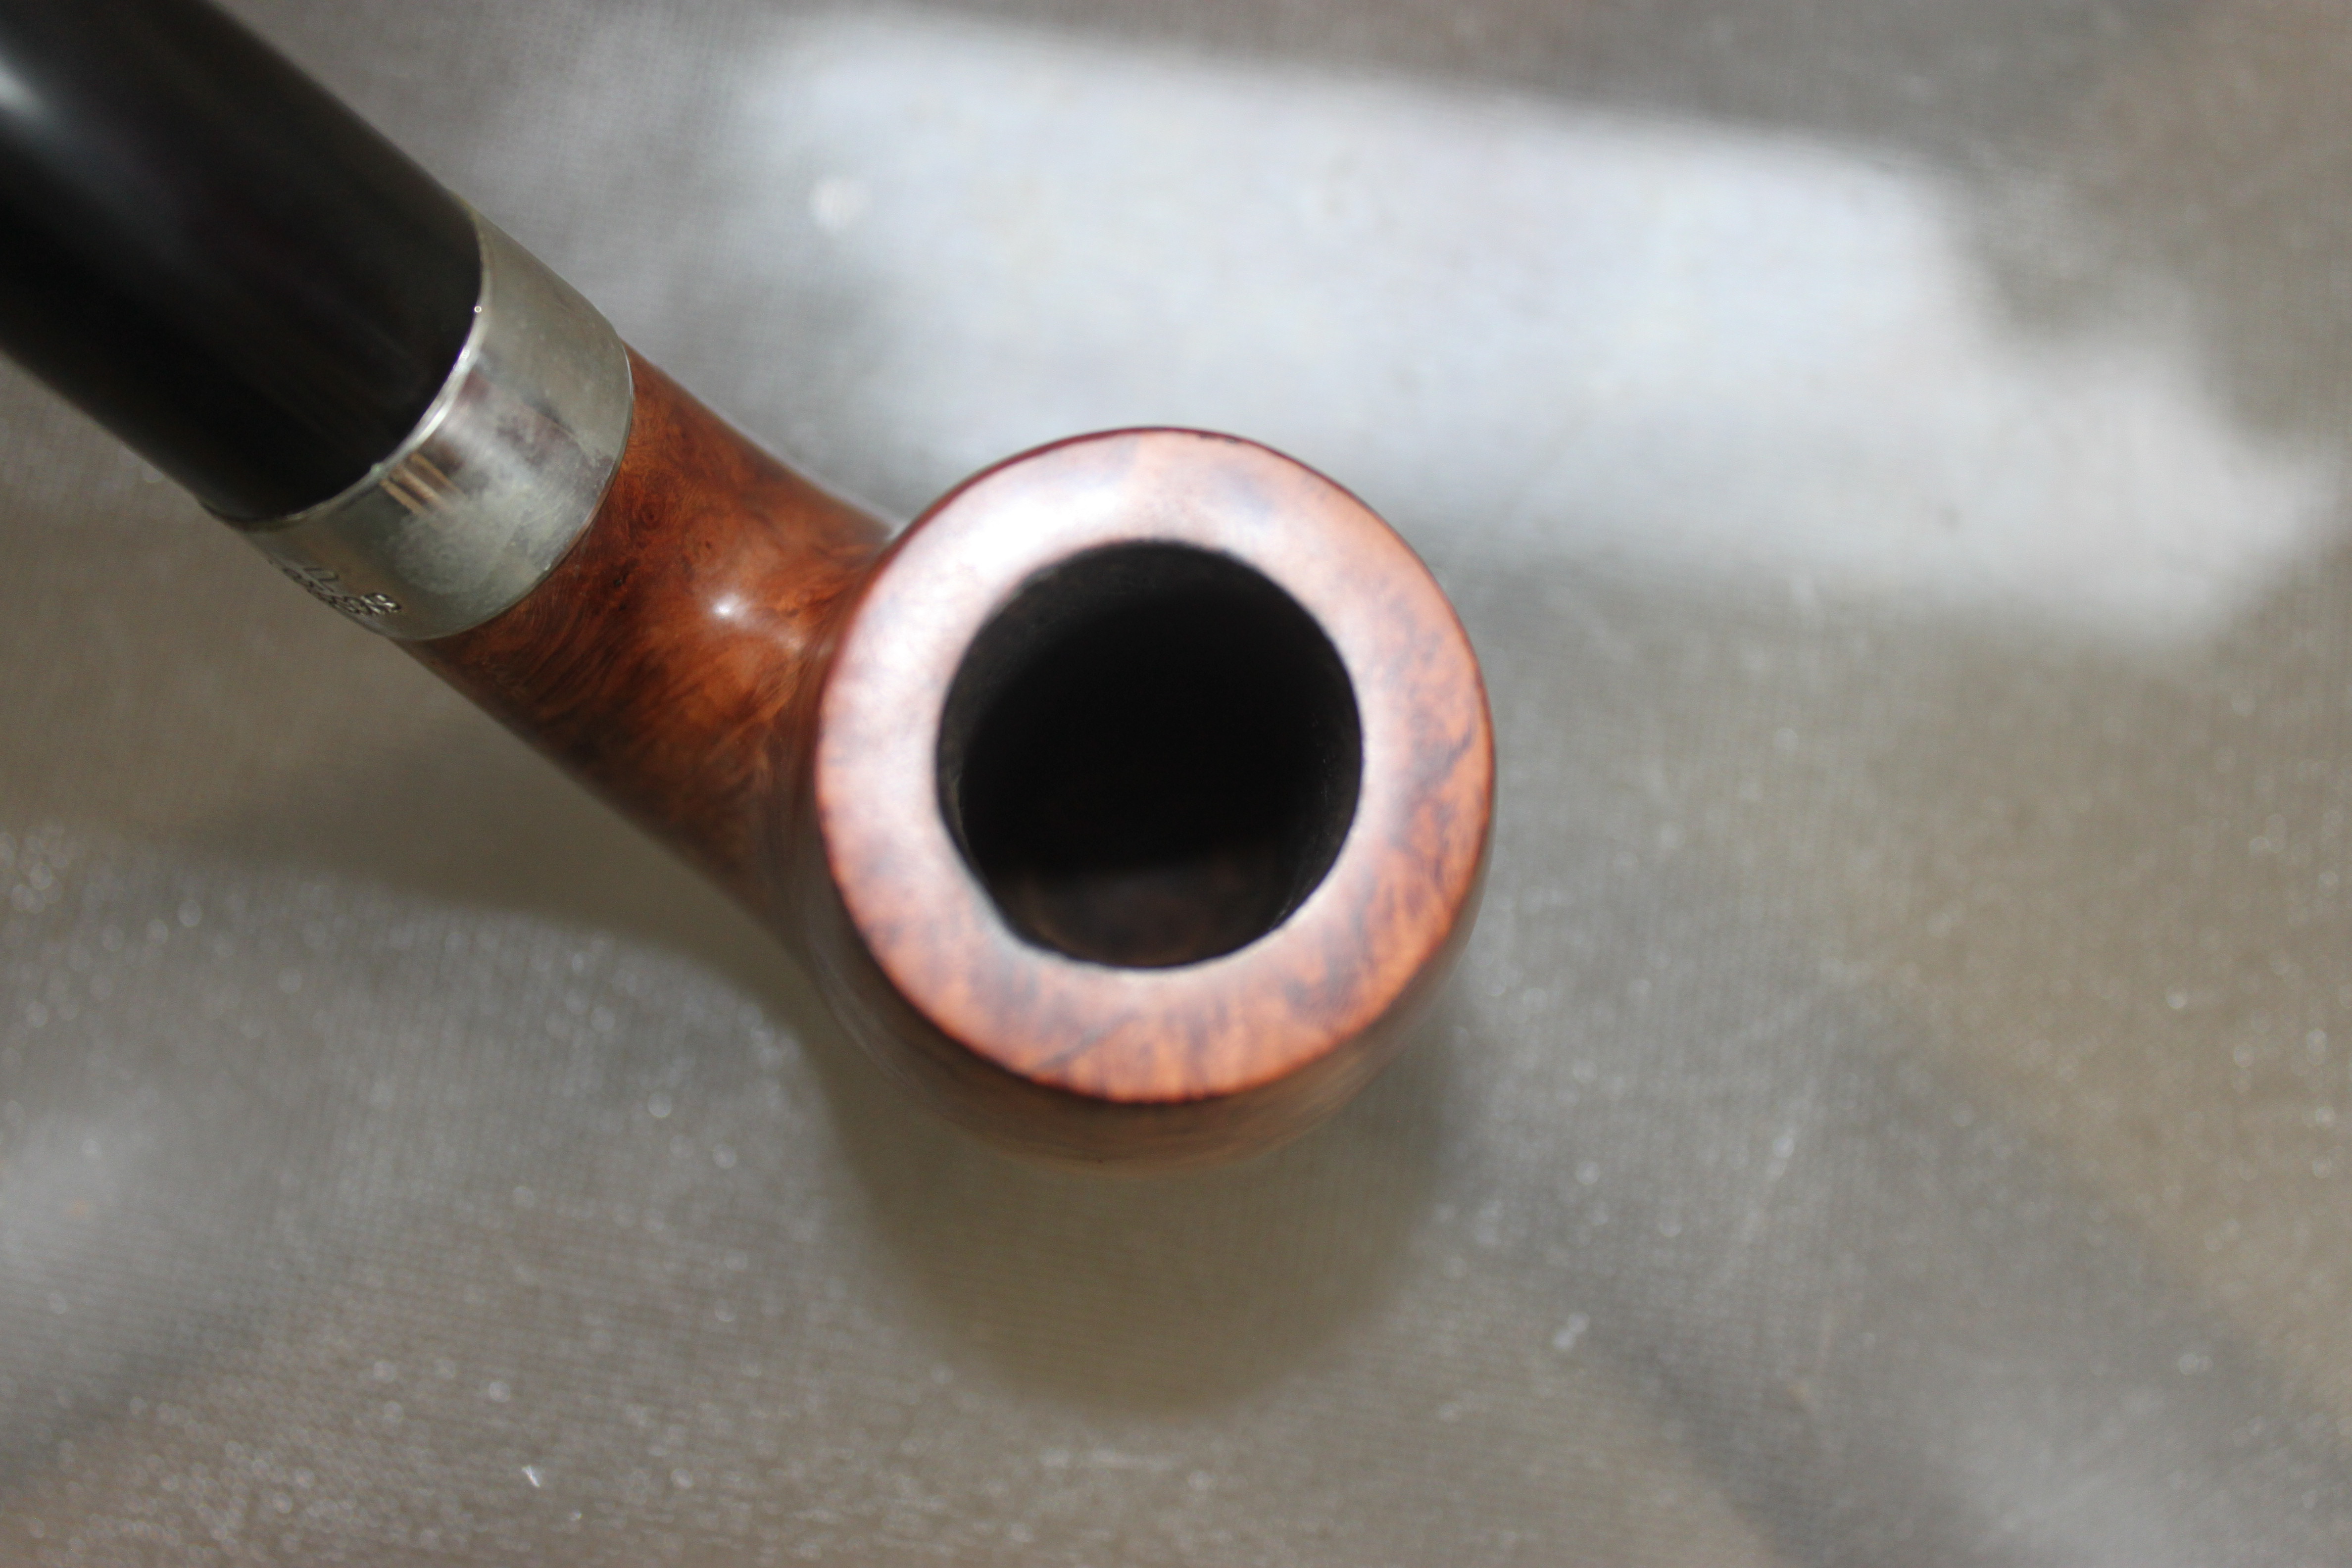
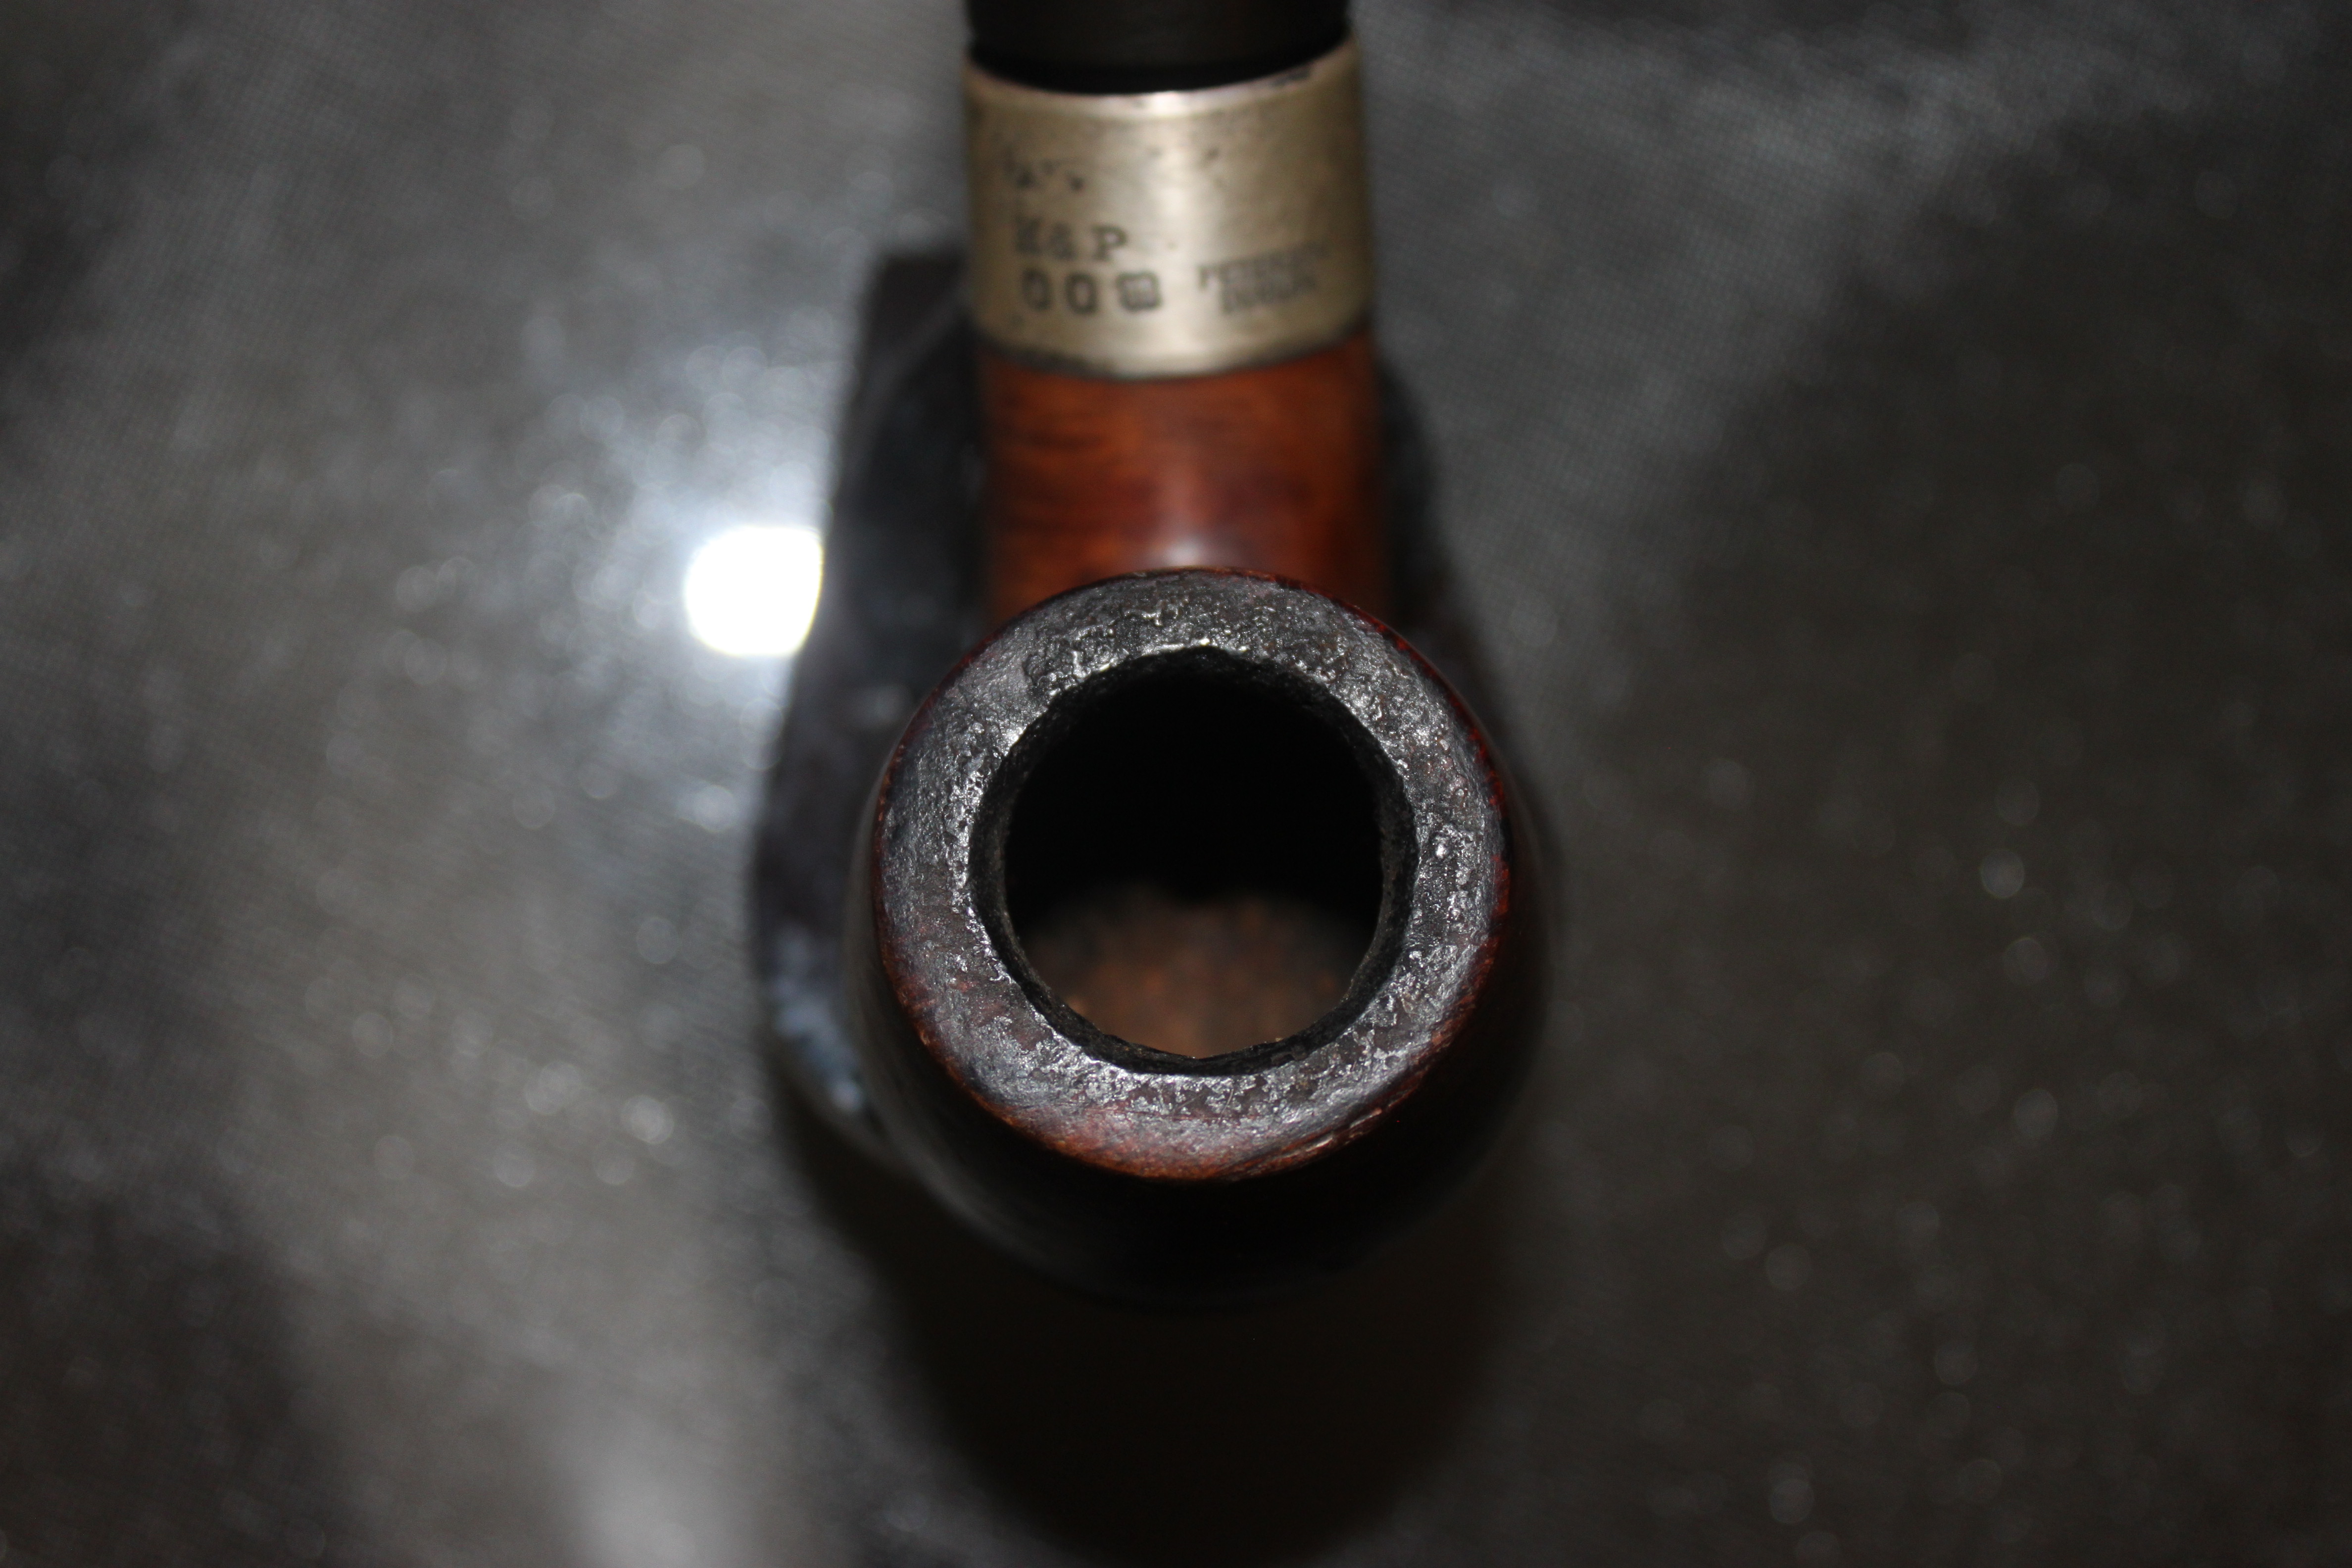
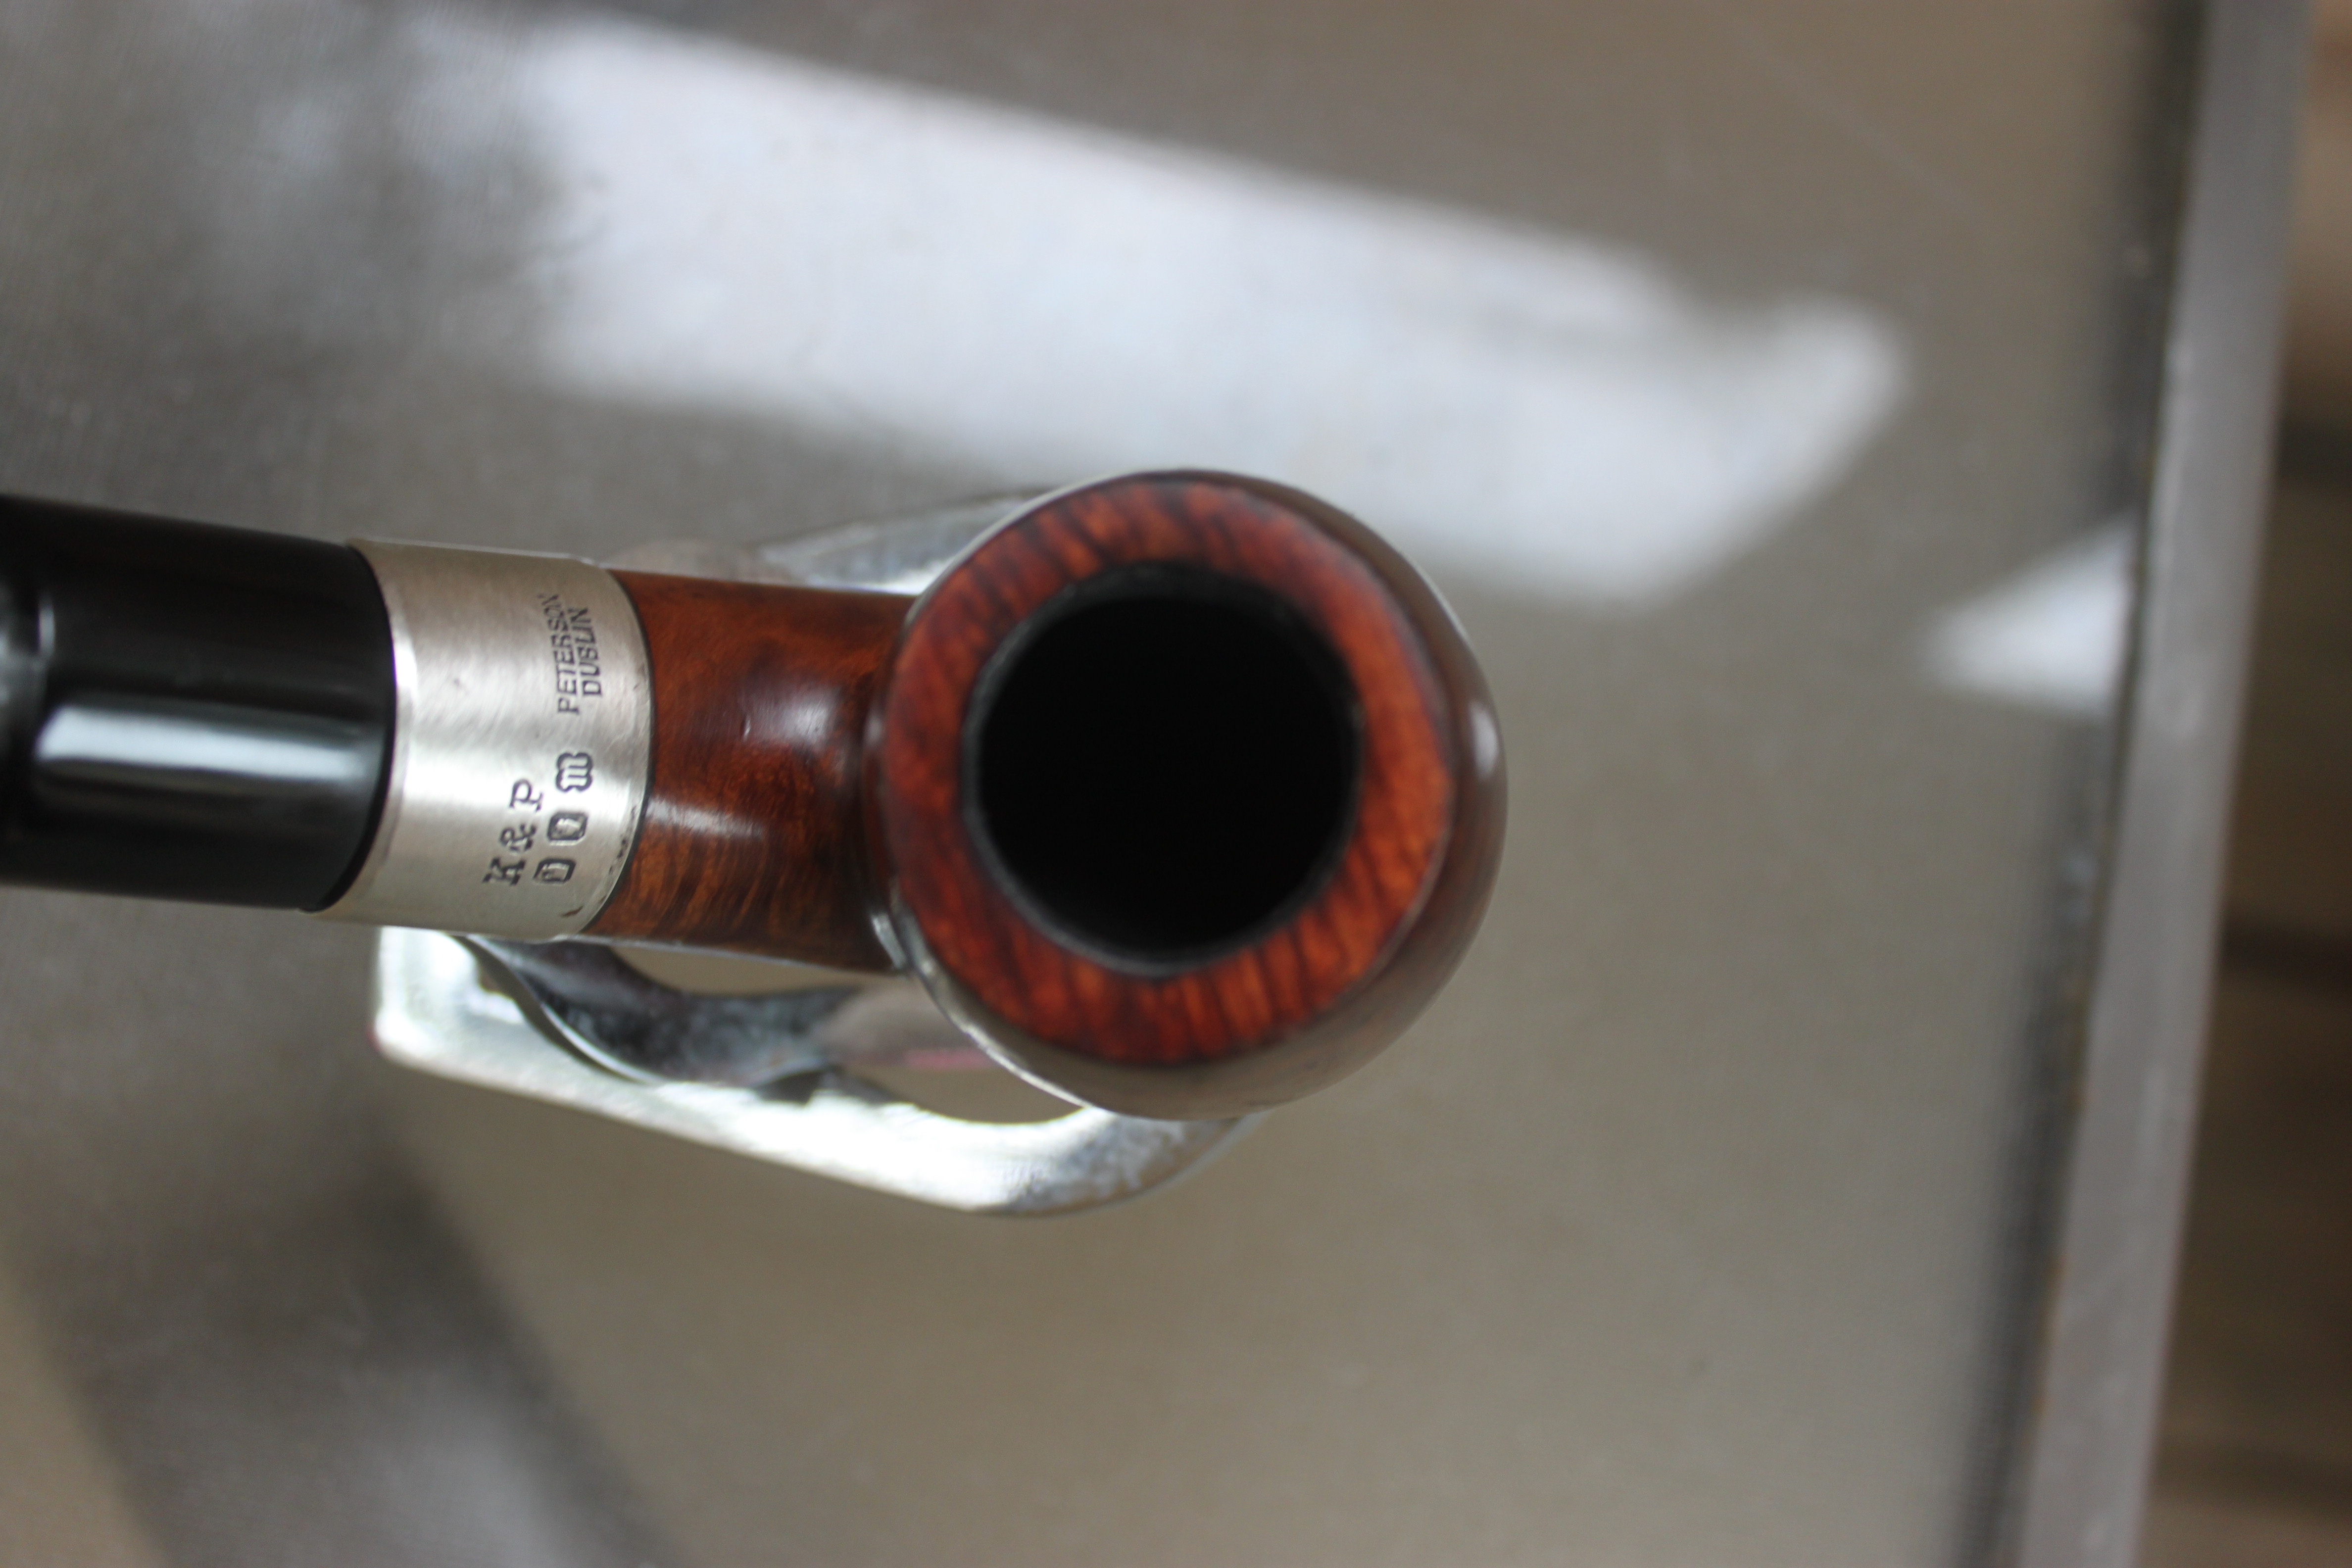
Bowl: I started on the bowl by reaming the inside. I cleaned the inside of the bowl and shank with high proof vodka, q-tips, and pipe cleaners. I then tackled to ugly outside. I wet sanded with 500 grit, 1000 grit, and finished with 1200 grit. Once I got the bowl down to the bare briar, I re-stained the bowl with green Fieblings leather dye. After the stain dried, I put a bowl coating in the bowl to smooth out any imperfections and help the next smoker to get a good cake started. The bowl was finished with a buff of red rouge and a buff of carnauba wax.

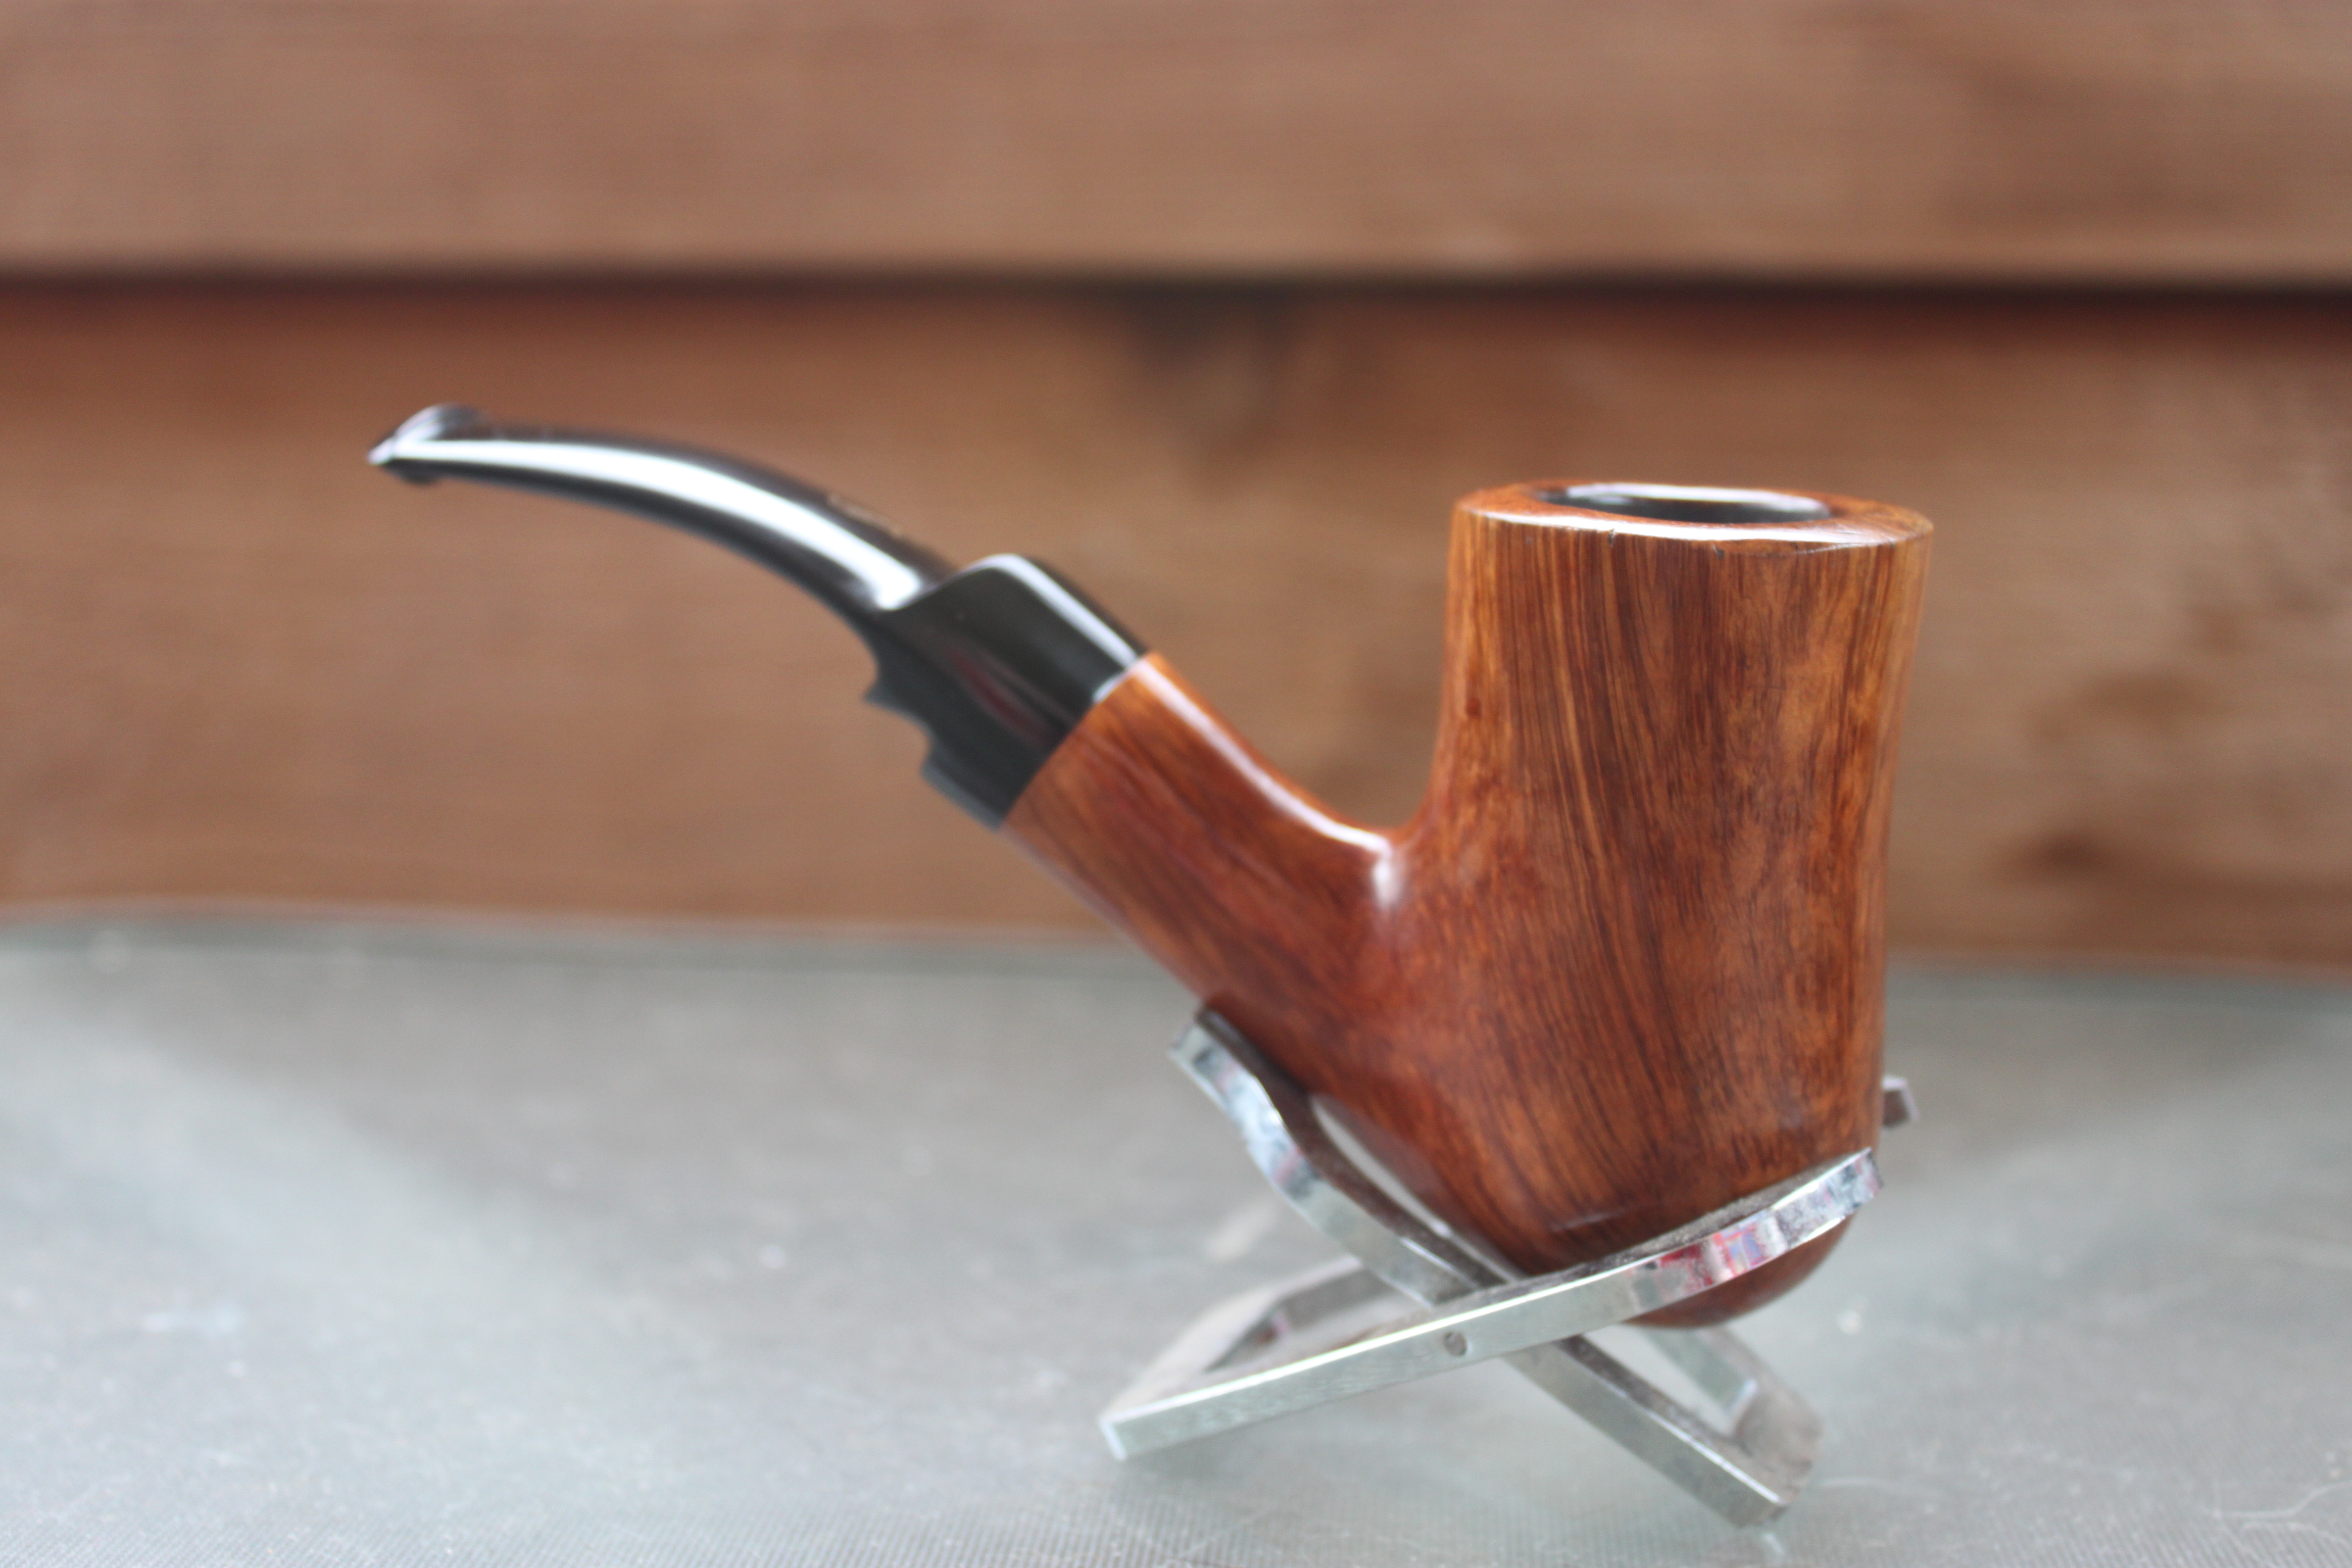
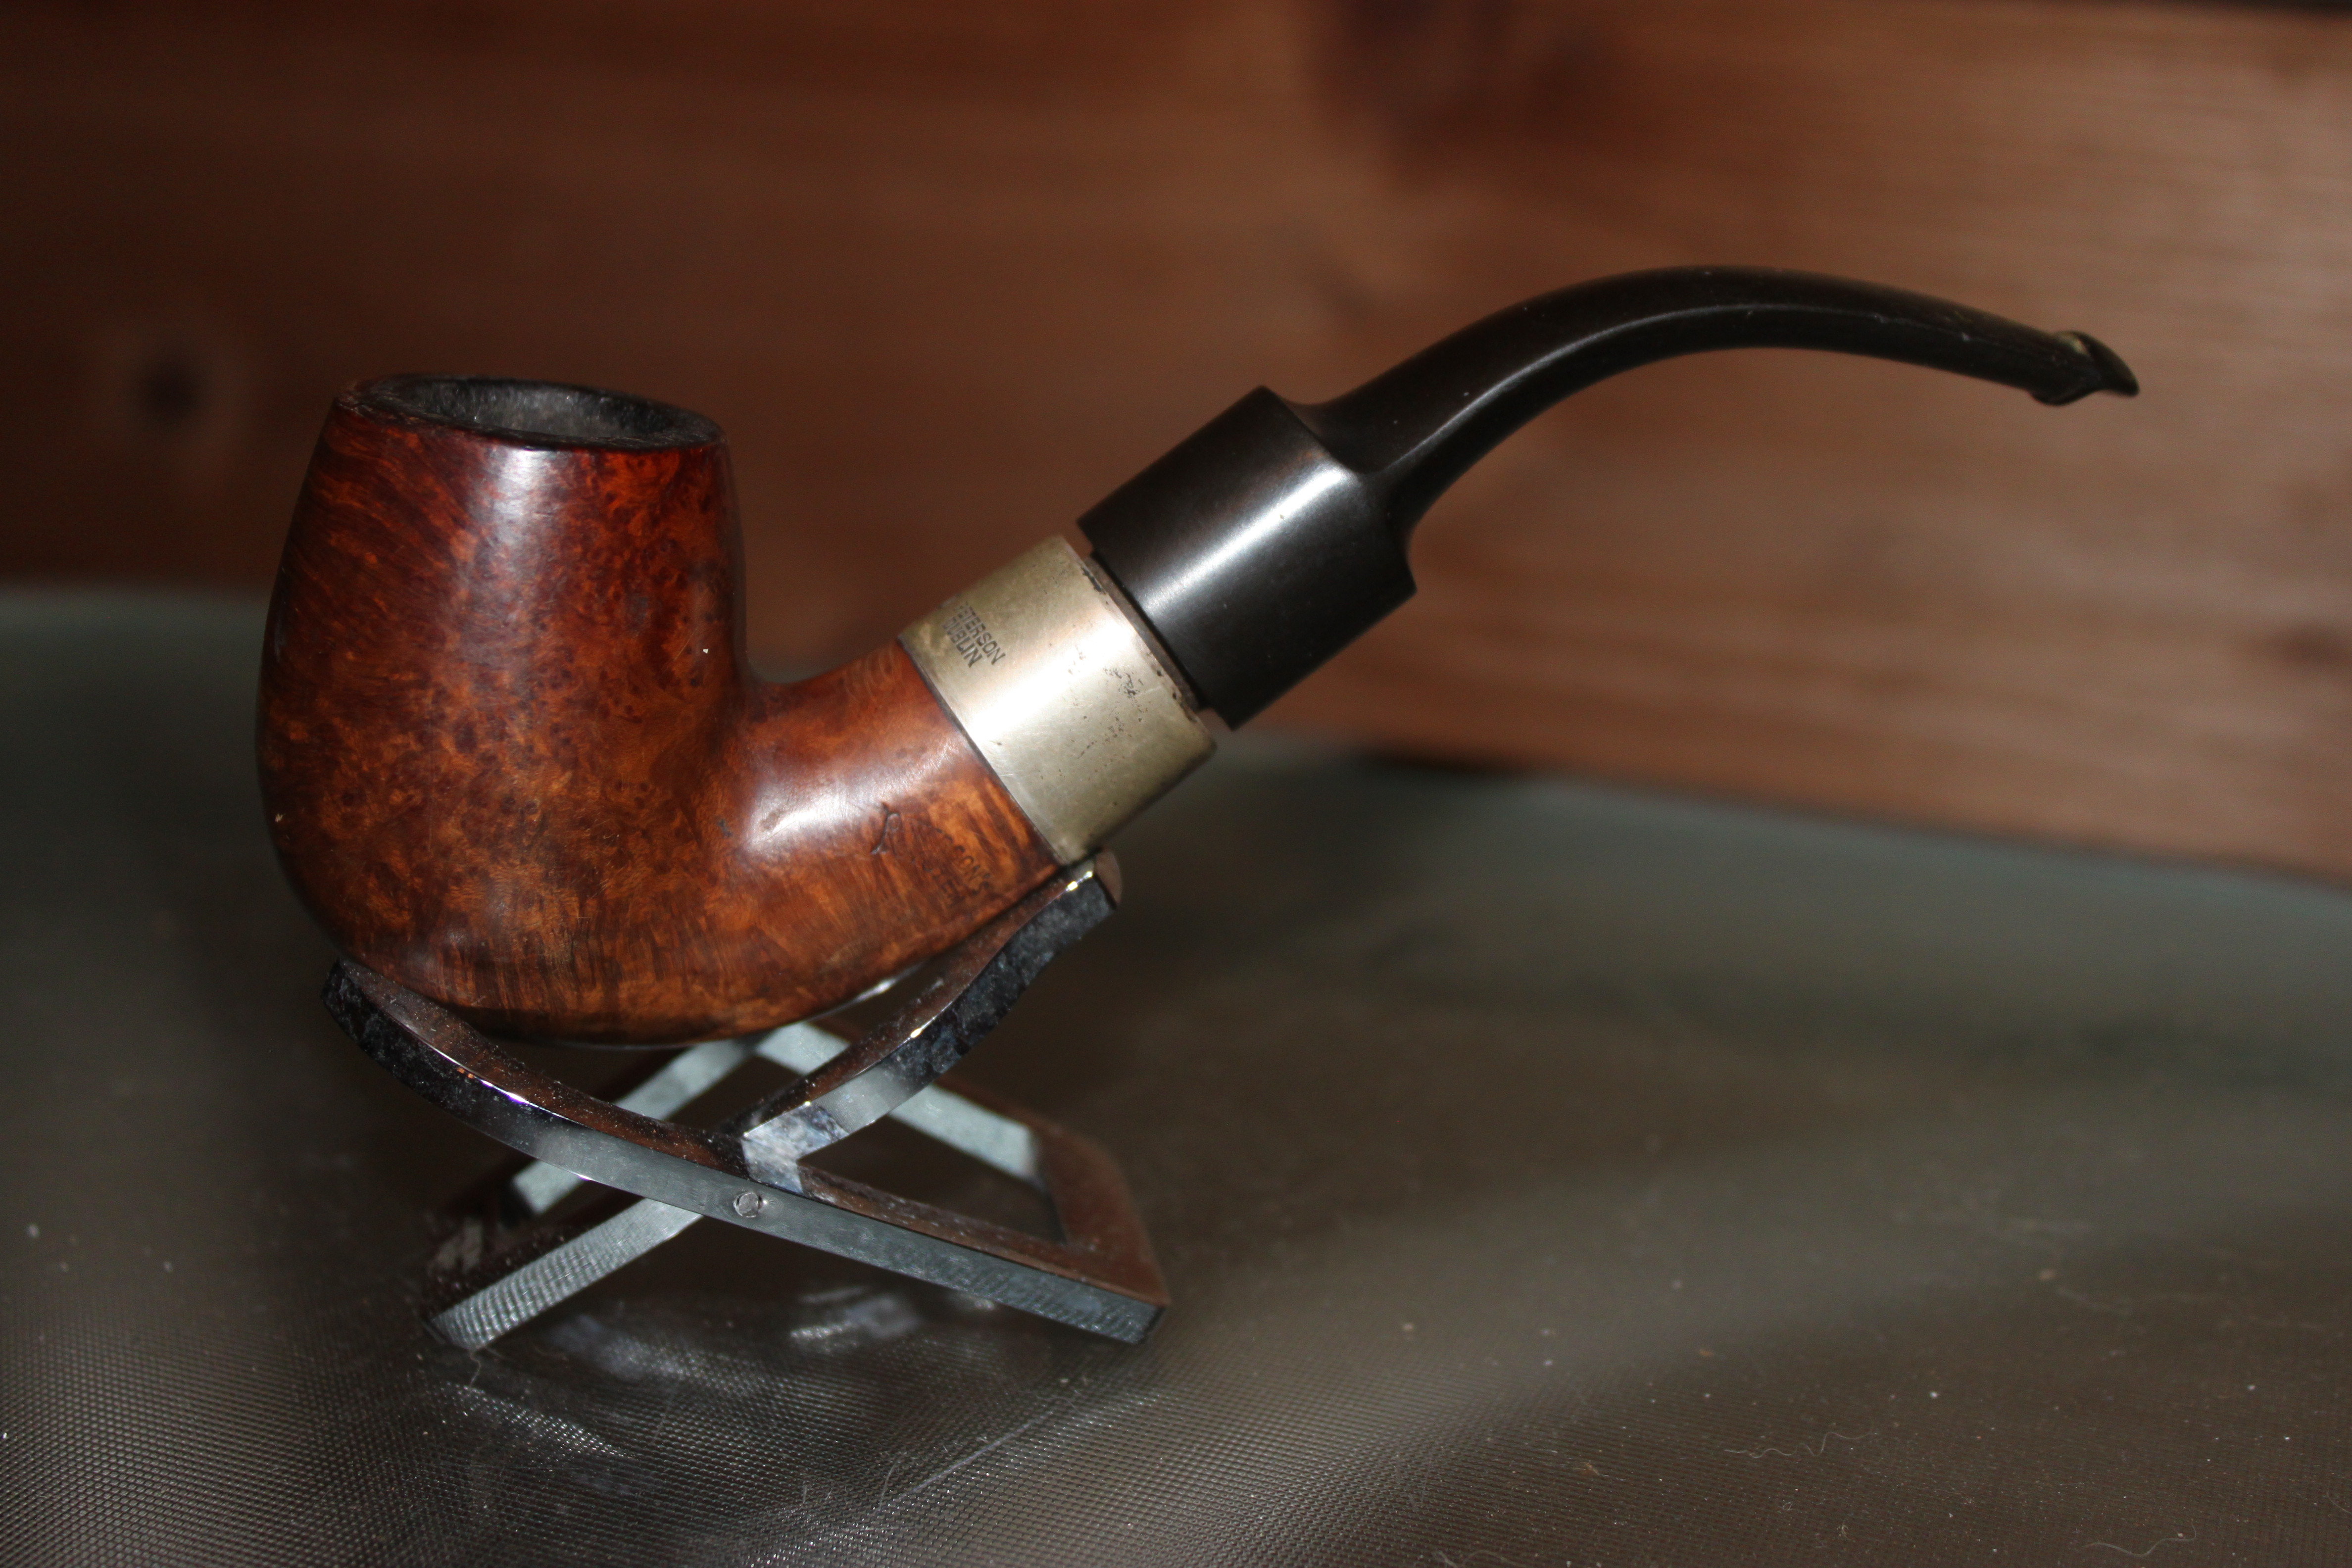
Here is the finished product:

Graycliff Chateau Grand Cru Review

IMG_3672

Graycliff? Who is Graycliff? Well, Graycliff is a lesser-known brand in the cigar industry. Some might say it’s a boutique brand but they have been around quite awhile. They have gained a following through multiple online venues. The only cigar brand coming out of the Bahamas, they have their own factory and resort. Let’s get into this smoke!

Blend Profile
Wrapper: Costa Rican Habano
Binder: Ecuador
Filler: Honduran, Costa Rican, Nicaragua
Country of Origin: Bahamas
Vitola: Uncut PG (Piccolo 4.25×46)

Appearance & Smell
This wrapper has a light milk chocolate color to it. It also displays a fair amount of toothiness to it. It’s not overly rough but it’s not a super smooth cigar either. The smell of the cigar has a lot of earthiness, light cocoa, and some wet leather.

Smoke Preparation
I used a Xikar Xi1 cutter to put a flat cut on the cap of the cigar and a Xikar Enigma double torch to evenly light the end.

IMG_3673

Burn & Draw
The cigar lit very evenly even though it had a loose/uncut foot. The burn stayed very even throughout the smoke, I didn’t have to re-light or touch-up once during the smoke. The draw was pretty light, very easy draw. The easy draw/looseness led to a rather flaky ash. The picture above was taken after the loose foot had already fallen off. That is about the length of ash that it got to before falling off each time.

IMG_3674

Strength & Body
The strength of this cigar really never got beyond a mild plus. The earthiness that I had smelled before lighting stayed very consistent throughout the smoke. In the second third I picked up some red clay and in the final third there was the addition of leather.

IMG_3675

Final Thoughts
In my local store, this cigar retails for $12. Do I think it’s worth it? I’m not so sure. I enjoyed the cigar enough but for such a mild smoke with very little complexity, I don’t think it warrants the $12 price tag. I do know that it costs a little more coming out of the Bahamas but I still think it needs to be a little more competitive on pricing. If you like mild cigars with earthiness, red clay, leather, and with a hint of cocoa, then you might enjoy this cigar if you can find it at a good price.

Source: Purchased Locally
Brand Information: Graycliff Cigar Company

IMG_3676.JPG

Medico Windsor Golden Grain Refurb

This was a pipe I picked up in an estate pipe lot online. It reads “Windsor Golden Grain” on the first side of the shank and it reads “Made in London England” on the second side of the shank. Check out the transformation below!

IMG_3492IMG_3493IMG_3494IMG_3495IMG_3496

Stem
This stem had a lot of oxidation on is so I started it off with a bleach bath. The stem was then wet sanded with 500 grit, 1000 grit, and 1200 grit. Once all the oxidation was off and the stem was smooth, I sanitized and cleaned the inside with high-proof vodka and pipe cleaners. There is a tiny bit of oxidation left around the logo on the side of the shank because I wanted to preserve the stem stamp. The final touch on the stem was to buff it with red tripoli and carnauba wax.

Bowl
I started the bowl with a good topping with a rough grit sandpaper follow by 500 grit, 1000 grit, and 1200 grit. The bowl then got a good reaming to get out all of the char and gunk. The inside of the bowl and shank were then cleaned with q-tips and highproof vodka until all of the char/tar was removed. The inside of the bowl got a professional grade coating. To finish off the bowl it also got the buffing of red tripoli and carnauba wax. Check out the final product below!

IMG_3647IMG_3648IMG_3649IMG_3650IMG_3651

I think it turned out pretty darn nice!Let me know your thoughts below!

Straight Grain Pipe Refurb

This is a no-name Straight Grain pipe. I sincerely believe that this pipe was a “second” from a higher company and they didn’t put their name on the pipe due to the sand pits/fills. Check out the before and after pictures below!

IMG_3498IMG_3499IMG_3500IMG_3501IMG_3502IMG_3503

Stem
Nasty! I took an extra tenon picture just so the oxidation on the stem would be apparent. This stem started with a bleach bath. From there I wet sanded it with 500 grit, 1000 grit, and 1200 grit until all of the oxidation was removed. I then sanitized/cleaned the inside of the stem with high-proof vodka and pipe cleaners. To finish it off, it received a buffing of red tripoli then carnauba wax.

Bowl
The bowl needed a little bit of topping to remove char, so I lightly topped it with 500 grit sandpaper. The inside of the bowl received a good reaming. Once the reaming was complete, I sanitized and cleaned the inside of the bowl/shank with q-tips and high-proof vodka. Once dry and completely clean, I put in a professional grade bowl coating. I dyed the sand pits to match the bowl a little bit better. The bowl was also finished with a buffing of red tripoli and carnauba wax.

IMG_3504

IMG_3505IMG_3506IMG_3507IMG_3508

I think it turned out very nice! Let me know your thoughts on the refurb. Thanks for looking!

Adsorba Bruyere Extra Pipe Refurb

Hey folks! This beauty is hitting eBay right now. Check out the before and after pics!

IMG_3632IMG_3633IMG_3634IMG_3635IMG_3636

Stem
Oh man! Can you say “GROSS”?!That stem is nasty. I started with a bleach bath, gave it a quick rinse and then hit it with some steel wool. Right after that, I gave it a wet sanding with 500 grit, 1000 grit, and 1200 grit. I then scrubbed the mess out of the inside of the stem with pipe cleaners, q-tips, and a high-proof cheap vodka. The outside of the stem was then buffed with red tripoli and then carnauba wax.

Bowl
Well, the bowl was pretty well worn, lots of char in the bowl, and lots of char on the rim. I had to sand off the entire stain. I wet sanded the outside with 500 grit, 1000 grit, and 1200 grit. I also sanded the top of the bowl the same way. I then took a pipe reamer to the inside only to find tiny little cracks in the char. To get out all of the char dust and to sanitize, I cleaned the inside of the bowl with q-tips and high-proof vodka. The scrubbing included the shank to sanitize. Once all of the crud was removed, I then put a heavy bowl coating on the inside to make it uniform once more and smooth for a good smoke. I re-stained the outside with a red stain, then sanded with micro-mesh 1500+. AFter than sanding, I re-dyed it again but with brown. The double dyeing gives the bowl grain more depth.

IMG_3637IMG_3638IMG_3639IMG_3640IMG_3641

Ahhhhh, that looks and feels much better! If you would like to see the pipe (if it’s still listed), you can check the link here: Adsorba Bruyere Extra Pipe

Thanks for reading!

Savinelli Autograph 8 Refurb

I had the pleasure of cleaning up this pipe for a good friend of mine. He said it had been gifted to him and he wanted it in top notch shape before he added it to his rotation. So check out the before and after pictures!

IMG_3332

IMG_3333

IMG_3334

IMG_3335

IMG_3336

Stem
I did my usually clean up to get the oxidation off. I wet-sanded with 500 grit, 1000 grit, and 1200 grit. I had to really be careful around the golden autograph on the stem, it can be hard to get around those tiny lines but it’s worth the patience! I scrubbed the inside clean with high proof vodka and pipe cleaners. The stem was finished with a buffing of red tripoli and a buffing of carnauba wax.

Bowl
Luckily the bowl didn’t have too much cake in it but I went ahead and reamed what was built up. The cake was pretty soft on this one. The inside then was cleaned with high proof vodka and q-tips to get all the carbon dust out. I decided that I wanted to do a bowl coating to protect the inside, so I applied that and let it dry. There was some slight scorching right on inside edge of the rim so I lightly sanded it off with 1200 grit. I cleaned the shank with high proof vodka and q-tips/pipe cleaners. The bowl was also finished with a buffing of red tripoli and a buffing of carnauba wax. Here is the finished product!

IMG_3339

IMG_3340

IMG_3341

IMG_3342

IMG_3343

I hope you enjoyed!

Elva Iris Style Pipe Refurb

New pipe for a new challenge! This pipe was certainly a one-of-a-kind to work on. I have never seen one carved like this. It is literally carved to look like an Iris flower. Plus, I had never heard of the Elva brand before, so that was new too. Check out the refurb process below!

IMG_3322

IMG_3323

IMG_3324

IMG_3325

IMG_3326

Stem
I knew that this stem would have to be patched, but to get down to a good surface, I have to clean off a couple of the oxidized surfaces. So I started by wet sanding the stem with 500 grit, 1000 grit, and then 1200 grit. The way the previous owner had smoked it had created an indent into the airway rather than a hole. I had to break out some of the indented material from the inside, which created a small hole that I would patch. I patched the stem using cyanoacrylate and activated charcoal. After a few layers, it was built up enough, then I proceed with the wet sanding of 500 grit, 1000 grit, and 1200 grit. I then sanitized the inside of the stem with high proof vodka and pipe cleaners. The stem was finished with a buffing of re tripoli and a buffing of carnauba wax.

Bowl
This bowl was tricky! I started by reaming the inside of the bowl to remove charcoal buildup. The bowl was then sanitized and cleaned with q-tips and high proof vodka. The top of the bowl was charred pretty good, so I worked on topping the bowl with some light sandpaper. That was really tricky since the petals of the Iris stick up above the top of the bowl. One of the petals had been broken by the previous owner and glued back into place, the glue stuck out in a couple places. I decided to sand down the glue to make it a smoother patch. I then put a bowl coating on the inside of the bowl to protect it. I lightly re-stained the top of the bowl after the topping. The shank was also sanitized with q-tips and high proof vodka. The bowl was finished with a buffing of red tripoli and a buffing of carnauba wax (as best I could, it was really tough around those petals)! Here is the finished product!

IMG_3327

IMG_3328

IMG_3329

IMG_3330

IMG_3331

I hope you enjoyed the refurb! Let me know about the weird pipes you own or have worked on!

Kaywoodie Natural Refurb

This is a pipe that I had the pleasure of referring for a friend of mine! It is a beautiful Kaywoodie. Here are the “before” pics!

IMG_3312

IMG_3313

IMG_3314

IMG_3315

IMG_3316

Stem
When I took these pictures, I had already started to give the stem a LIGHT bleach bath to see what was going on with the vulcanite. As you can see the bottom of the stem needs a patch near the button. I lightly wet-sanded the stem with 500 grit, 1000 grit and 1200 grit. I then used steel wool to clean the drinkless spout (sorry I didn’t get a before and after of that because it was a mess!) Then I used pipe cleaners with a high proof vodka to clean the inside of the stem. The hole was patched using cyanoacrylate with activated charcoal in small amounts and layered. Then the patch was sanded like the rest of the stem. The stem was finished with a buffing of red tripoli wax and a buffing of carnauba wax.

Bowl
The bowl needed some topping so I lightly removed the black charcoal layers with sanding. I reamed the bowl. I cleaned the bowl with high proof vodka, q-tips, and pipe cleaners. After the inside was clean, I put a light bowl coating on the inside to protect the wood and help build up a cake a little faster. On the inside, I struggled a bit. The rustication was so deep that I had a hard time getting the years of grime out of the ridges.  I did the best I could by lightly scrubbing in the grooves with a wire brush while being wary of making sure I didn’t remove stain or scratch the surface. The bowl was finished with a buffing of red tripoli wax and a buffing of carnauba wax.

Finished product!

IMG_3317

IMG_3318

IMG_3319

IMG_3320

IMG_3321

Forgive the dog fur on the button in the last picture, that stuff gets everywhere! I hope you enjoyed it!

Peterson Pipe Refurb

Here is the third of a series of Peterson pipes that a friend sent me to refurb. It has been a pleasure to work on these pipes for him. Check out the “before” and “after” pics and let me know what you think!

IMG_3119.JPG

IMG_3120

IMG_3121

IMG_3122

IMG_3123

Stem:
This stem had some oxidation and tooth marks so I wet-sanded it with 500 grit, 1000 grit, and 1200 grit. This process removed the oxidation and tooth marks. The inside of the stem was sanitized/cleaned with high proof vodka and pipe cleaners. Inside the tenon was a little bigger so I used q-tips on that part. I then used some permanent white paint to help fill in the “P” on the side of the stem. The stem was then finished off with a buffing of red tripoli and a buffing of carnauba wax.

Bowl:
The bowl was reamed to remove all carbon build up. There was some darkening on the rim of the bowl that I sanded off. The inside of the bowl and the shank were sanitized/cleaned with high proof vodka, q-tips, and pipe cleaners. The rim did not need to be stained before buffing because the buffing restored the color. The bowl was finished with a buffing of red tripoli and a buffing of carnauba wax.

IMG_3162.JPG

IMG_3163

IMG_3164

IMG_3165

IMG_3166

Thank you for checking it out!


Peterson System Pipe Refurb

Hello! I refurbed this pipe for one of my friends. Please check out the “before” and “after” pics! I have included the process I went through to restore it.

IMG_3109

IMG_3110

IMG_3111

IMG_3112

IMG_3113

Stem: 
The stem had some oxidation and tooth marks so I wet sanded it with 500 grit, 1000 grit, and 1200 grit. This removed the oxidation and the teeth marks. The inside was sanitized with high proof vodka and pipe cleaners. Unfortunately, the previous owner did something weird to the tenon which caused the tenon not to go all the way into the shank and was crooked. (I unfortunately didn’t get any “before” pictures.) The tenon require some sanding and a heat treatment to properly fit it into the bowl. The stem was finished with a buffing of red tripoli and carnauba wax.

Bowl:
The bowl received a reaming to remove the built up carbon on the inside. The inside of the bowl and shank were sanitized/cleaned with high proof vodka and q-tips. The rim of the bowl needed a light topping to remove burn marks and build-up. The rim then received a light staining to match it back to the rest of the bowl. The bowl was then finished with a buffing of red tripoli and a buffing of carnauba wax.

IMG_3157

IMG_3158

IMG_3159

IMG_3160

IMG_3161

Thank you for looking!