New pipe for a new challenge! This pipe was certainly a one-of-a-kind to work on. I have never seen one carved like this. It is literally carved to look like an Iris flower. Plus, I had never heard of the Elva brand before, so that was new too. Check out the refurb process below!


Stem
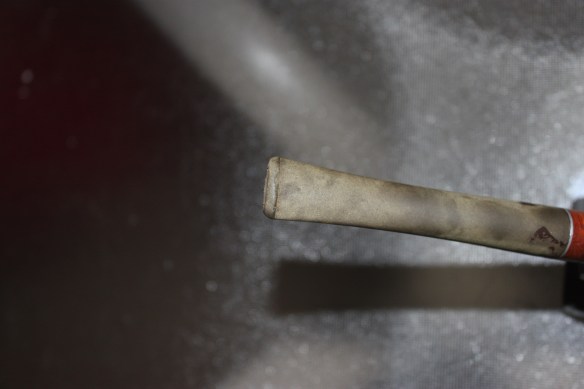
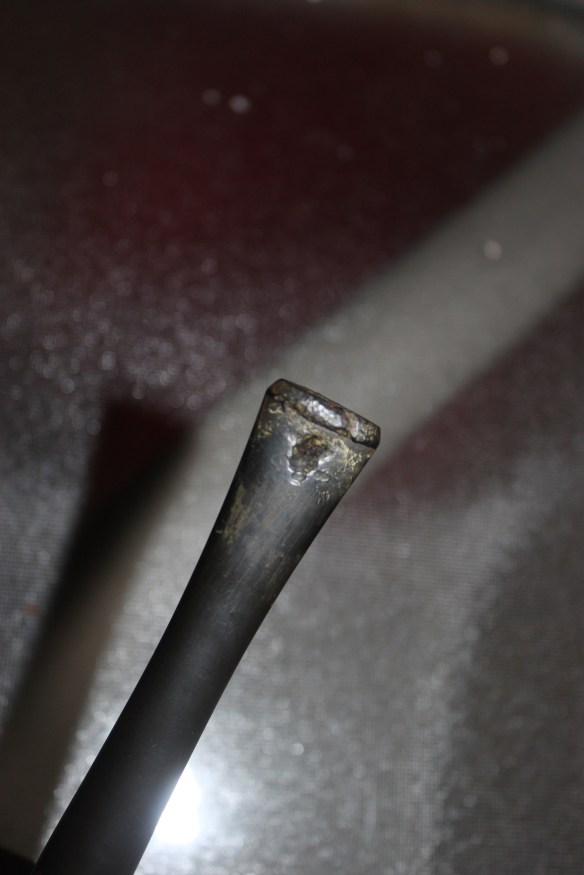
I knew that this stem would have to be patched, but to get down to a good surface, I have to clean off a couple of the oxidized surfaces. So I started by wet sanding the stem with 500 grit, 1000 grit, and then 1200 grit. The way the previous owner had smoked it had created an indent into the airway rather than a hole. I had to break out some of the indented material from the inside, which created a small hole that I would patch. I patched the stem using cyanoacrylate and activated charcoal. After a few layers, it was built up enough, then I proceed with the wet sanding of 500 grit, 1000 grit, and 1200 grit. I then sanitized the inside of the stem with high proof vodka and pipe cleaners. The stem was finished with a buffing of re tripoli and a buffing of carnauba wax.
Bowl
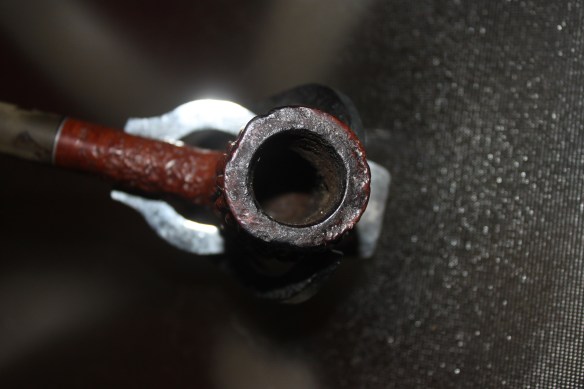
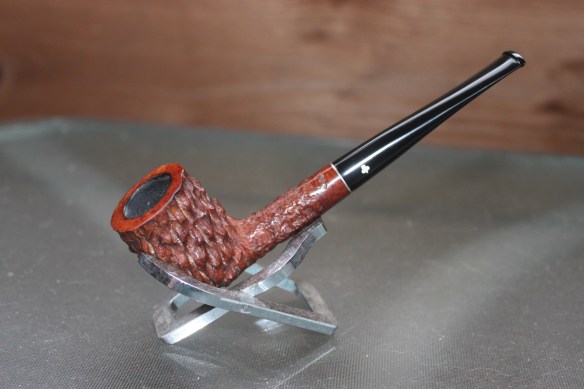
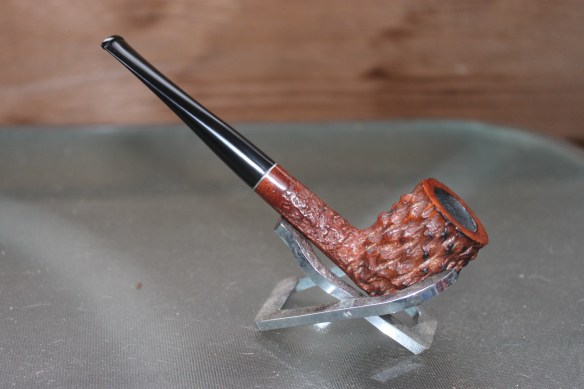
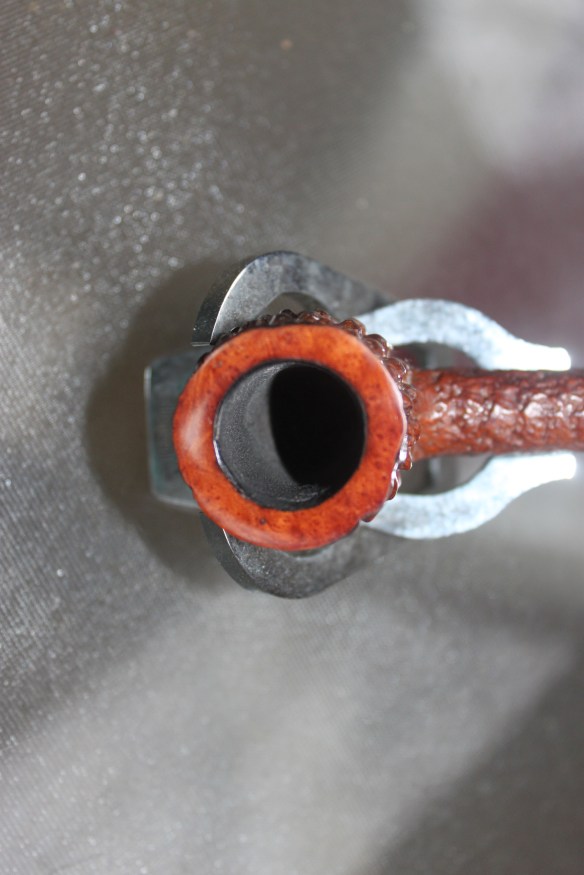
This bowl was tricky! I started by reaming the inside of the bowl to remove charcoal buildup. The bowl was then sanitized and cleaned with q-tips and high proof vodka. The top of the bowl was charred pretty good, so I worked on topping the bowl with some light sandpaper. That was really tricky since the petals of the Iris stick up above the top of the bowl. One of the petals had been broken by the previous owner and glued back into place, the glue stuck out in a couple places. I decided to sand down the glue to make it a smoother patch. I then put a bowl coating on the inside of the bowl to protect it. I lightly re-stained the top of the bowl after the topping. The shank was also sanitized with q-tips and high proof vodka. The bowl was finished with a buffing of red tripoli and a buffing of carnauba wax (as best I could, it was really tough around those petals)! Here is the finished product!


I hope you enjoyed the refurb! Let me know about the weird pipes you own or have worked on!