Nub Cappuccino (Single Roast) Review

IMG_3668

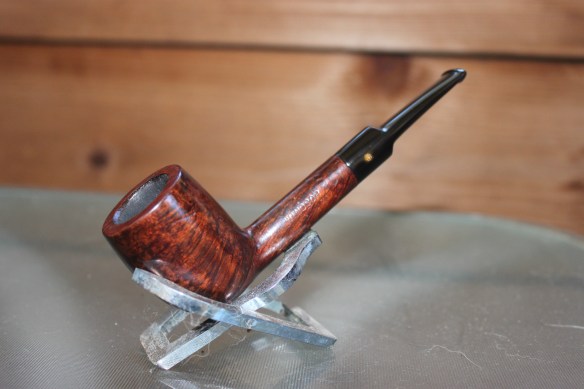
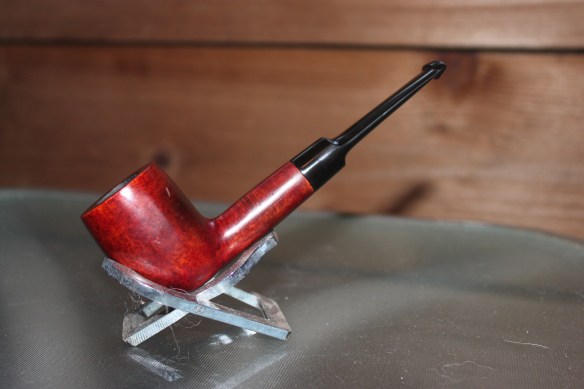
When I first started smoking cigars, I was pointed to the flavored section. I smoked quite a few of the Tatiana cigars and Java cigars. After awhile, I switched to non-flavored cigars and I haven’t smoked many flavored recently. At the time, Nub did not have a flavored line of cigars. Within the past few years, Oliva has added flavored cigars to the Nub lineup. Today I am reviewing the Nub Cappuccino (Single roast). Let’s take a look!

Blend Profile
Wrapper: Sumatra
Binder: I had difficulty finding a reputable source that says exactly what the binder is.
Filler: Again, I had trouble finding reputable sources for this information.
Country of Origin: Dominican Republic
Vitola: 4×38 (438)

Appearance & Smell
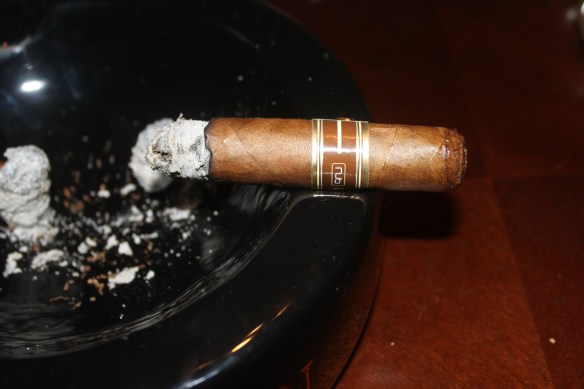
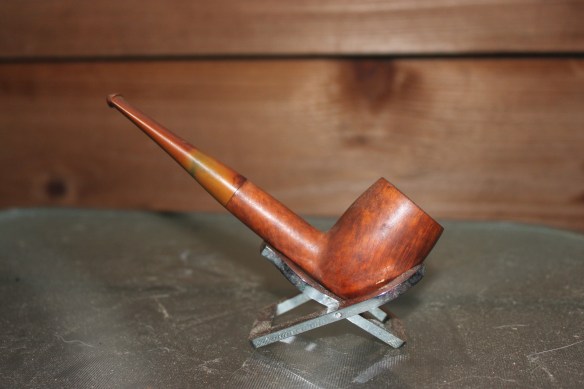
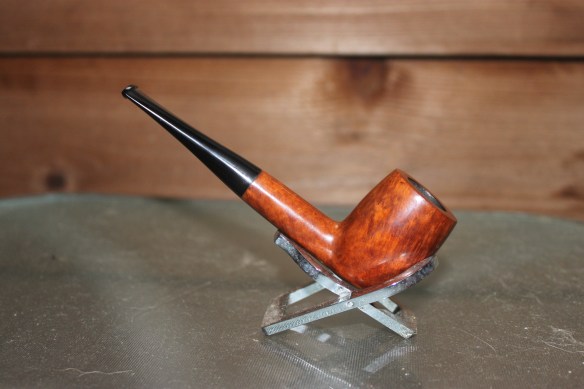
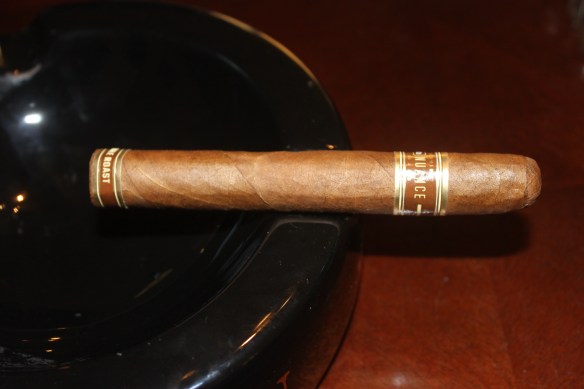
It has a very nice medium brown wrapper. The wrapper is pretty smooth with a few visible veins. The cigar smells like coffee but it is not as strong as I thought it would be. I expected to pick up a lot more sweetness but I was pleasantly surprised to not be overwhelmed by sugar.

Smoke Preparation
I used a Xikar Xi1 to get a nice flat cut on the cap of the cigar. Pre-light draw tasted faintly like coffee and a little bit like oak. I lit the cigar with a Xikar Enigma double torch.

IMG_3669

Burn & Draw
The draw was a little bit tighter than a prefer. The cigar made me work a little harder to get good smoke. From the beginning this cigar did not burn evenly. It may be related to the tight draw but there is no way of knowing for sure. I had to touch it a few times to try and even it up but it never worked.

IMG_3670

Strength & Body
The strength was about a mild to medium which was a pleasant surprise. Most flavored cigars tend to stick strictly in the mild realm, so it was nice to have a cigar that pushed into medium strength just a little. From the light up there was an unusual bitterness. Every now and then I would get random sweet/coffee notes but the over all taste was old/bitter.

Final Thoughts
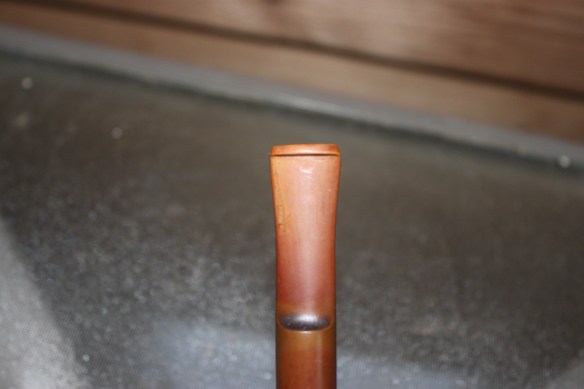
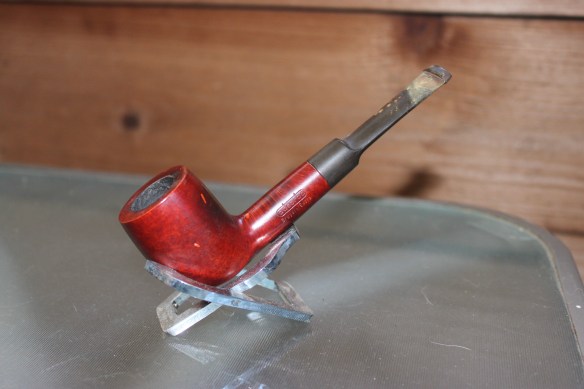
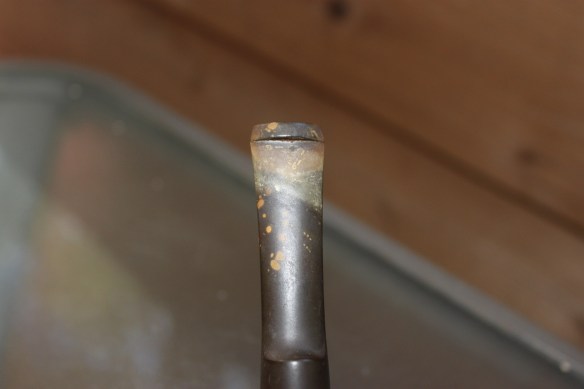
There was some aspects of this cigar that I was happy about and some that I was not very happy about at all. I enjoyed that it was just mild and boring and the size was nice for a faster/shorter smoke. Unfortunately, it burned uneven the entire smoke, it was a tight draw, and the cigar had a consistent bitterness that never varied into other tastes. This cigar retails for about $5-$6 a piece. Even with the inexpensive price tag, I don’t think I will be giving this one a whirl again. I could only get halfway through the cigar before I had to give up, so the picture below was the last.

Source: Given as a gift

IMG_3671

Medico Windsor Golden Grain Refurb

This was a pipe I picked up in an estate pipe lot online. It reads “Windsor Golden Grain” on the first side of the shank and it reads “Made in London England” on the second side of the shank. Check out the transformation below!

IMG_3492IMG_3493IMG_3494IMG_3495IMG_3496

Stem
This stem had a lot of oxidation on is so I started it off with a bleach bath. The stem was then wet sanded with 500 grit, 1000 grit, and 1200 grit. Once all the oxidation was off and the stem was smooth, I sanitized and cleaned the inside with high-proof vodka and pipe cleaners. There is a tiny bit of oxidation left around the logo on the side of the shank because I wanted to preserve the stem stamp. The final touch on the stem was to buff it with red tripoli and carnauba wax.

Bowl
I started the bowl with a good topping with a rough grit sandpaper follow by 500 grit, 1000 grit, and 1200 grit. The bowl then got a good reaming to get out all of the char and gunk. The inside of the bowl and shank were then cleaned with q-tips and highproof vodka until all of the char/tar was removed. The inside of the bowl got a professional grade coating. To finish off the bowl it also got the buffing of red tripoli and carnauba wax. Check out the final product below!

IMG_3647IMG_3648IMG_3649IMG_3650IMG_3651

I think it turned out pretty darn nice!Let me know your thoughts below!

Straight Grain Pipe Refurb

This is a no-name Straight Grain pipe. I sincerely believe that this pipe was a “second” from a higher company and they didn’t put their name on the pipe due to the sand pits/fills. Check out the before and after pictures below!

IMG_3498IMG_3499IMG_3500IMG_3501IMG_3502IMG_3503

Stem
Nasty! I took an extra tenon picture just so the oxidation on the stem would be apparent. This stem started with a bleach bath. From there I wet sanded it with 500 grit, 1000 grit, and 1200 grit until all of the oxidation was removed. I then sanitized/cleaned the inside of the stem with high-proof vodka and pipe cleaners. To finish it off, it received a buffing of red tripoli then carnauba wax.

Bowl
The bowl needed a little bit of topping to remove char, so I lightly topped it with 500 grit sandpaper. The inside of the bowl received a good reaming. Once the reaming was complete, I sanitized and cleaned the inside of the bowl/shank with q-tips and high-proof vodka. Once dry and completely clean, I put in a professional grade bowl coating. I dyed the sand pits to match the bowl a little bit better. The bowl was also finished with a buffing of red tripoli and carnauba wax.

IMG_3504

IMG_3505IMG_3506IMG_3507IMG_3508

I think it turned out very nice! Let me know your thoughts on the refurb. Thanks for looking!

Adsorba Bruyere Extra Pipe Refurb

Hey folks! This beauty is hitting eBay right now. Check out the before and after pics!

IMG_3632IMG_3633IMG_3634IMG_3635IMG_3636

Stem
Oh man! Can you say “GROSS”?!That stem is nasty. I started with a bleach bath, gave it a quick rinse and then hit it with some steel wool. Right after that, I gave it a wet sanding with 500 grit, 1000 grit, and 1200 grit. I then scrubbed the mess out of the inside of the stem with pipe cleaners, q-tips, and a high-proof cheap vodka. The outside of the stem was then buffed with red tripoli and then carnauba wax.

Bowl
Well, the bowl was pretty well worn, lots of char in the bowl, and lots of char on the rim. I had to sand off the entire stain. I wet sanded the outside with 500 grit, 1000 grit, and 1200 grit. I also sanded the top of the bowl the same way. I then took a pipe reamer to the inside only to find tiny little cracks in the char. To get out all of the char dust and to sanitize, I cleaned the inside of the bowl with q-tips and high-proof vodka. The scrubbing included the shank to sanitize. Once all of the crud was removed, I then put a heavy bowl coating on the inside to make it uniform once more and smooth for a good smoke. I re-stained the outside with a red stain, then sanded with micro-mesh 1500+. AFter than sanding, I re-dyed it again but with brown. The double dyeing gives the bowl grain more depth.

IMG_3637IMG_3638IMG_3639IMG_3640IMG_3641

Ahhhhh, that looks and feels much better! If you would like to see the pipe (if it’s still listed), you can check the link here: Adsorba Bruyere Extra Pipe

Thanks for reading!