
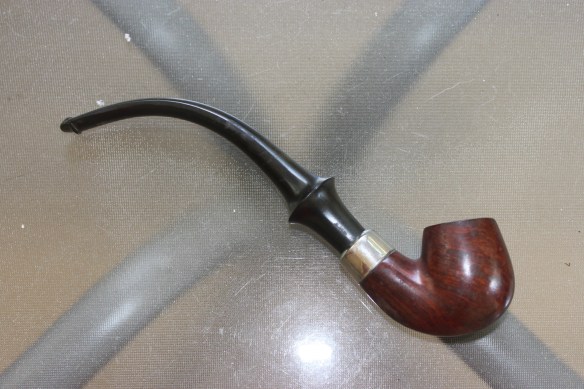
This pipe came to me from a friend who had purchased it online. He asked that I make it clean and beautiful again. It was a pleasure to work on this one. I did ask his permission to remove the stain because I could tell it had some beautiful grain underneath. Here are the “before” pics:


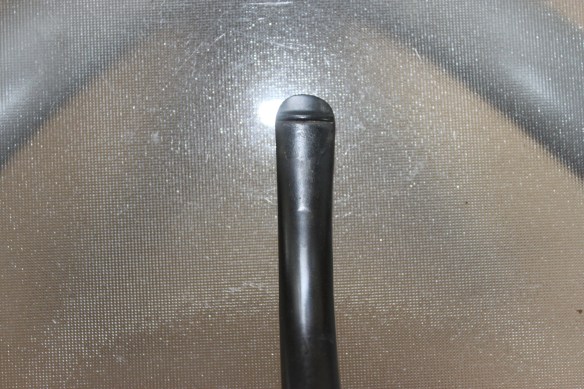
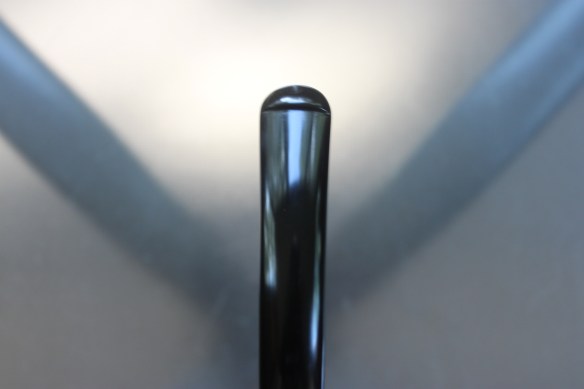
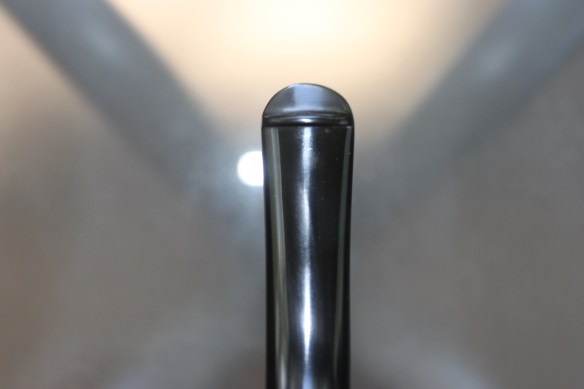
Stem
I used my usual method of wet sanding the stem with 500 grit, 1000 grit, and 1200 grit. This part of the pipe takes me the most time so I do that first. I was very careful to leave the logo and the “Wellington” name on the top of the stem. I finished by buffing with red tripoli and then carnauba wax.
Bowl
The first thing I tackled was removing the stain from the bowl. This take a little while but I follow the same process that I do for the stem to remove the stain and leave a smooth, silky finish. I topped the bowl with the same sanding grits. Then the bowl was reamed and sanitized with vodka to remove cake and carbon. I also went ahead and cleaned/sanitized the shank at that time. The metal cap on the shank has a couple small hairline cracks which made it loose on the shank. I cleaned the inside of the metal cap and reattached in to the shank. Once the debris was removed from the bowl I used a professional grade bowl coating to take care of a couple of imperfections on the inside. The bowl is finished the same way that the stem is, a buffing with red tripoli and a buffing with carnauba wax.
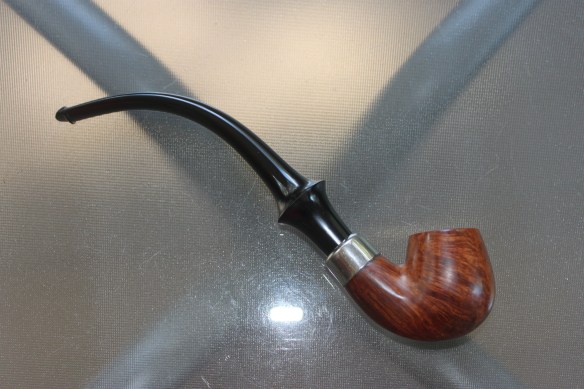
Here is the finished product:


Thanks for reading!
