
Ooooweeeee! I got this pipe 2-3 years ago in a lot I bought on eBay. I kept putting off the refurb because it looked like a no-name pipe to me. Upon closer inspection, I found that the stem had a dot on it. The dot looked yellow because of the severity of the oxidation to the stem. But after I found the dot, I whipped out my trusty magnifying glass and took a closer look at the writing on the bottom of the bowl/shank. I could make out a “Du” and “England” and a few numbers. I thought to myself, could it be? Is it possible that this is a Dunhill? It is indeed! Here are the goods:

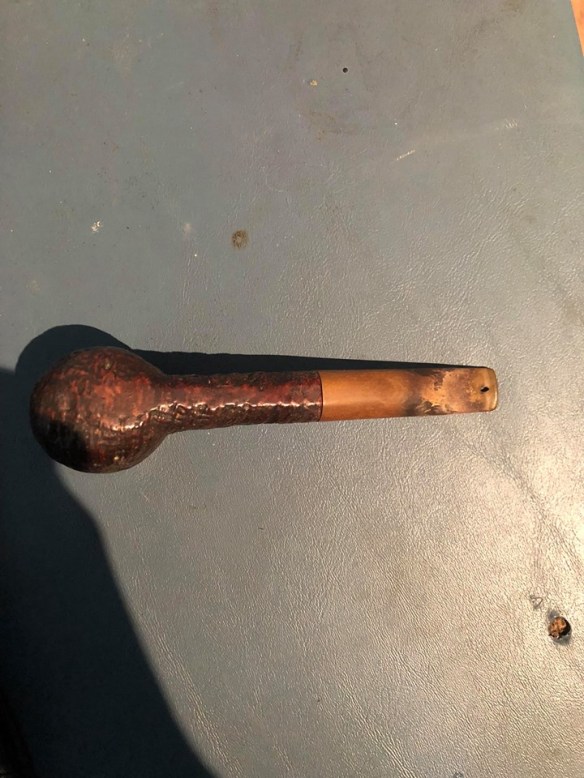
Those first two pics I took on the fly and prior to a bleach bath for the stem. Here is after the bleach bath:


Stem:
After the bleach bath on the stem, I wet sanded to get the remaining oxidation off. I used 500 grit, 1000 grit, and 1200 grit. In addition to the hole in the stem, the end of the stem had been deformed. I used a patching solution to slowly layer on the hole and build it back. I then used more of my patching solution to rebuild the walls near the button on both sides to even it up. I then cleaned/sanitized the inside of the stem. I finished the stem with a buffing of red tripoli and then a buffing of carnauba wax.
Bowl:
The bowl was in better condition than the stem. I reamed the bowl clean of old carbon build up. I then sanitized/cleaned the inside of the shank and the bowl with a very high proof vodka. After the bowl/shank dried out, I added a professional grade bowl coating to the inside of the bowl. The bowl was then finished with a buffing of red tripoli and light buffing of carnauba. I didn’t buff the sides too much because I didn’t want to get wax stuck in the crevices.
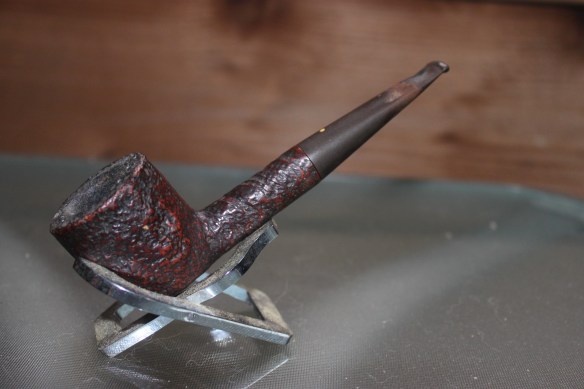
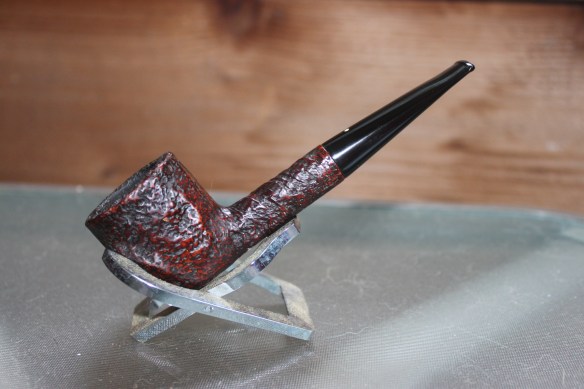
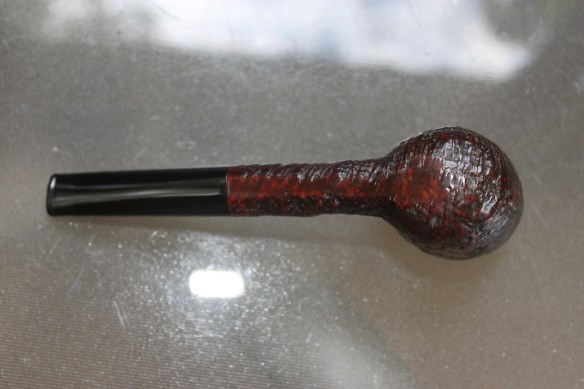
Here is the final result:


Thank you for checking it out!

Reblogged this on rebornpipes and commented:
Kaitylyn did an amazing job on this Dunhill restoration. I wanted to share it here on rebornpipes and encourage folks to check out her blog. Well done Kaitlyn.
LikeLike
Very nice restoration, I’ve had many that the nomenclature couldn’t be read, but with a Microscope, it frequently can be.
LikeLike
Congrats on a job well done. What an outstanding refurb, what a wonderful Dunhill is this 🙂
What patching solution did you apply and how did you save the button for “clogging up” with it ?
Best wishes,
Roland
LikeLike
I use an activated charcoal and glue combo. I then use a tiny piece of cardboard with tape over it inside the button to keep the patch from going too deep and/or from sticking.
LikeLike