Golden Duke Dr. Grabow Refurb

This part of a group of pipes that were sent to me from a friend to be refurbished. I love the way it turned out! Check out the before and after pics. I apologize for the lighting in the after pics but you get the idea!

IMG_2806.JPG

IMG_2808.JPG

IMG_2807.JPG

IMG_2809.JPG

IMG_2810.JPG

IMG_2811.JPG

Stem
To remove the oxidation from the stem I wet sanded it. I used 500 grit, 1000 grit, and 1200 grit. I then sanitized and cleaned it out with high proof vodka and pipe cleaners. To finish up the stem I gave it a buffing of red tripoli and a buffing of carnauba wax. I used the adjustomatic feature to straighten up the stem with the bowl.

Bowl
I reamed the bowl to get rid of build up. I then cleaned it out and sanitized it with q-tips and high proof vodka. The shank was then cleaned with q-tips and vodka too. I lightly topped the bowl to get rid of blackening. The bowl was finished with a buffing of red tripoli and a buffing of carnauba wax.

IMG_2846.JPG

IMG_2847.JPG

IMG_2848.JPG

IMG_2849.JPG

IMG_2851.JPG

I hope you enjoyed the process and pictures!

Peterson Standard System Pipe Refurb

This was another pipe that I had the opportunity to clean up for a friend. Check out the before and after pics!

IMG_2831

IMG_2832.JPG

IMG_2833.JPG

IMG_2834

IMG_2835.JPG

Stem
The stem had a bit of oxidation and chatter on it so I started with wet-sanding the stem. I used 500 grit, 1000 grit, and 1200 grit sandpaper. I then cleaned and sanitized the inside of the stem with pipe cleaners and high proof vodka. The finishing touches on the stem are two buffings, one with red tripoli and one with carnauba wax.

Bowl
The bowl got a good reaming and during the reaming I discovered some unevenness in the bottom of the bowl. I cleaned out the carbon dust, sanitized the bowl, and let it dry. To even up the bowl I used a professional grade bowl coating. I slightly topped the top of the bowl to remove blackening. I then cleaned and sanitized the shank which took quite a bit of scrubbing with high proof vodka due to a build up of tar. The bowl was finished with a buffing of red tripoli and a buffing of carnauba wax.

Here is the finished product!

IMG_2841.JPG

IMG_2842.JPG

IMG_2843.JPG

IMG_2844

IMG_2845.JPG

Thanks for looking!

Dunhill Pipe Refurb

I have had the opportunity to work on a couple different Dunhills and they are always a pleasure to work on. Before you think to yourself, “Well of course it is because of the prestige and the price tag! It’s really more about the reasons that Dunhill maintains the prestige and such a high price tag: Quality materials and craftsmanship. I can tell the difference in vulcanite stems that I work on and overtime I touch a Dunhill, I can feel the quality. Well, this refurb was for a friend and I hope you enjoy the before-and-after pics and he enjoys the smoke. Cheers!

IMG_2742.JPG

IMG_2743.JPG

IMG_2744.JPG

IMG_2745.JPG

IMG_2746.JPG

Stem
The stem just needed a good cleaning with oxidation removal. I wet-sanded the stem with the grits of 500, 1000, and 1200. The stem was then sanitized and cleaned in the airway. The finishing touches were a buffing of both red tripoli and carnauba wax.

Bowl
I reamed the bowl and was surprised to find the first mistake I had ever seen in a Dunhill! When drilling the shank into the bowl, they slightly over-drilled and went a little bit into the far side of the bowl. It wasn’t by any means a large drill mark but when being smoked, it created a bigger “hole” if you will. I don’t usually like to bowl coat Dunhills but I did on this one. After the reaming, sanitizing, and cleaning, I put in a professional grade bowl coating to help prevent that imperfection from getting worse or spreading. I then worked on getting some of the grime off the top of the bowl without hurting the rustication. I used a lot of q-tips and vodka. The shank was also cleaned and sanitized. The finishing touches were again buffing with both red tripoli and carnauba wax. Man! That really made the silver shank band shine!

Here is the finished product:

IMG_2760

IMG_2761.JPG

IMG_2762.JPG

IMG_2763.JPG

IMG_2764

Thanks for looking!

JC Newman El Baton Robusto Review

IMG_2687.JPG

The reason this review comes about is because a customer asked me to bring this cigar into my shop. I try to be as accommodating as possible for my customers when I have the shelf space. I brought in the El Baton Robusto and Belicoso. Both retail for $6.99 which I think is a good deal for an “everyday smoke”. I decided to give the robusto a whirl and here we are!

Blend Profile
Wrapper: Nicaraguan Corojo
Binder: Nicaragua
Filler: Nicaragua
The El Baton website does not give specifics about what type of tobacco from Nicaragua they use, just that it is from Nicaragua.
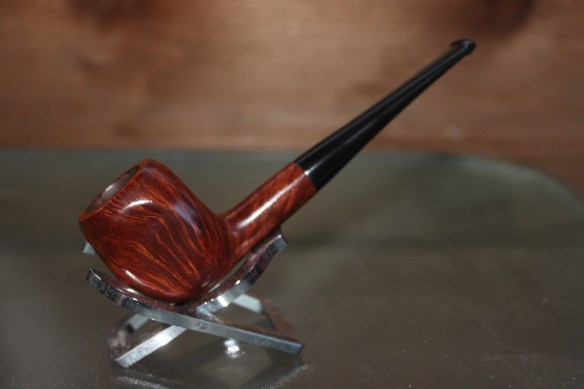
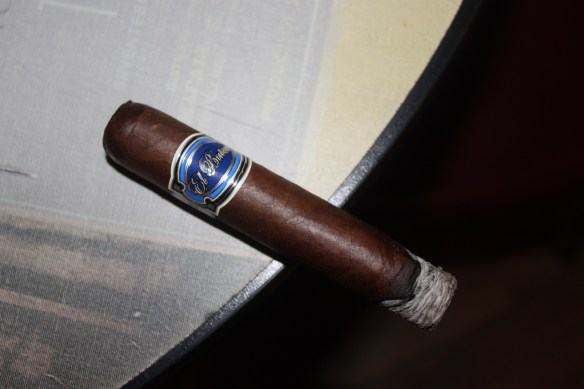
Appearance & Smell
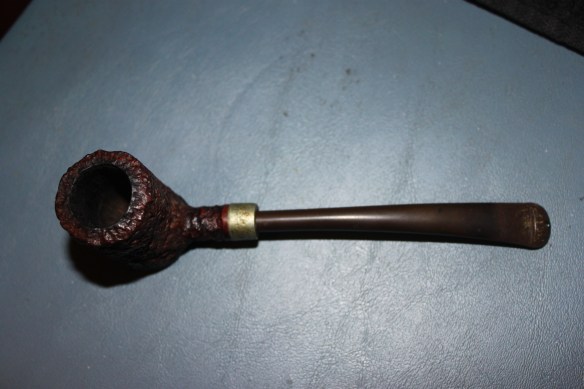
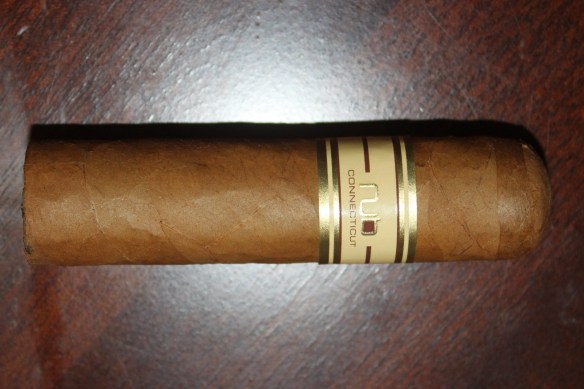
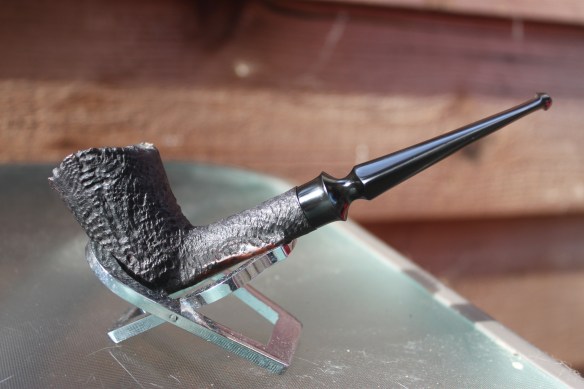
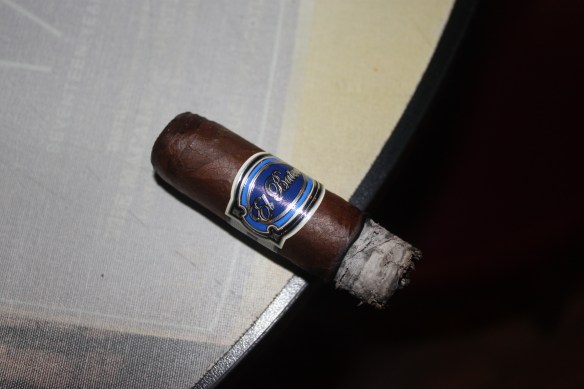
This has a toothy, medium brown wrapper. It has some veins but the veins seem very fitting and not overbearing. The smell is earthy and a little oaky.
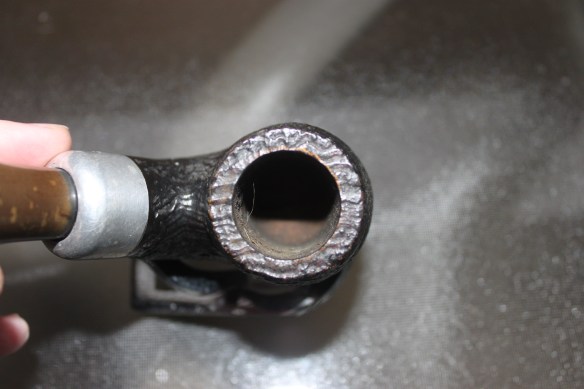
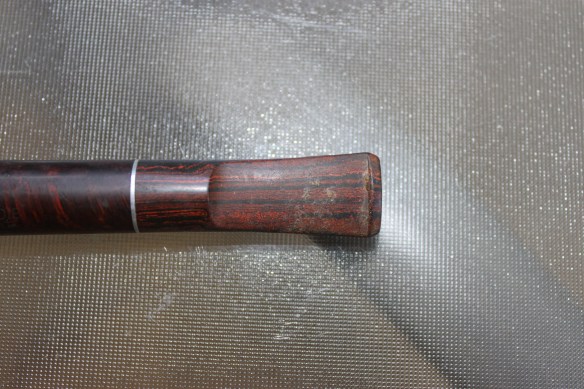
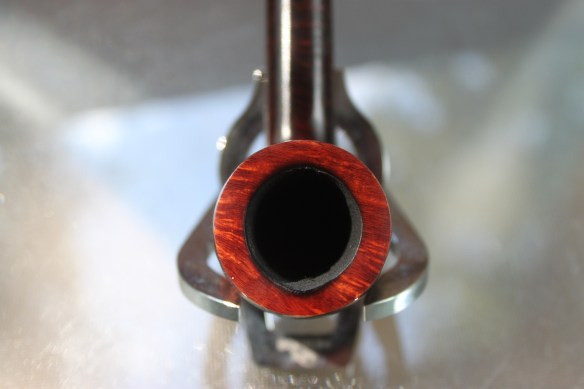
Smoke Preparation
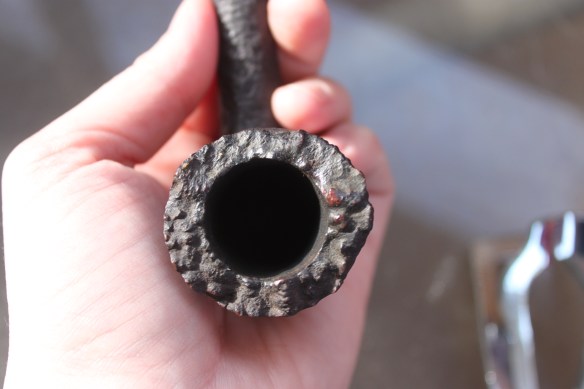
I used a Xikar X1 to put a flat cut on the cigar. The cut was good and appears to have no construction problems.
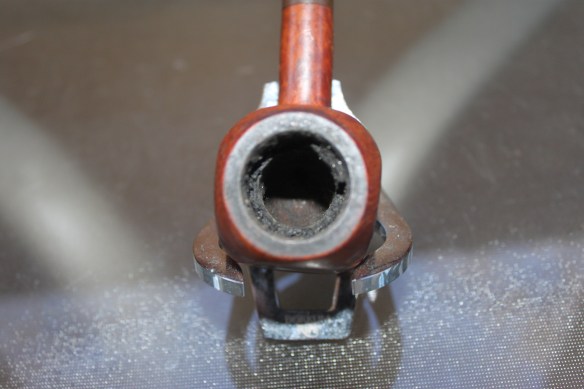
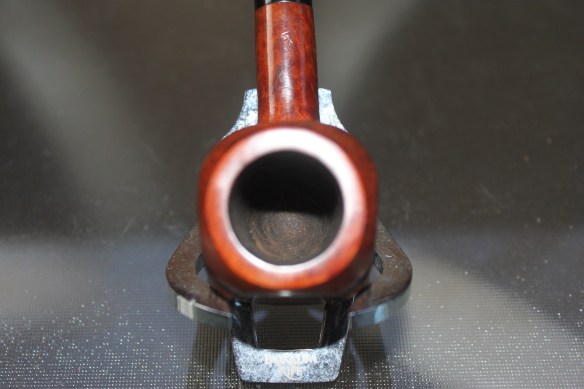
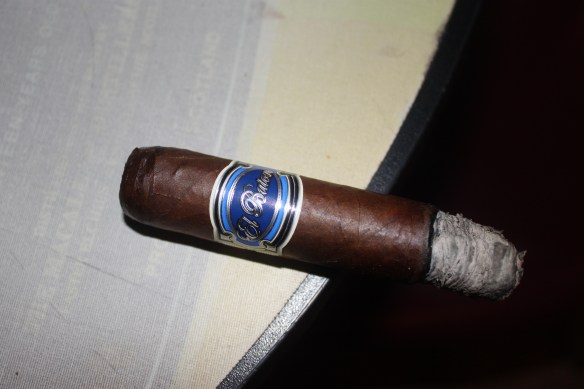
IMG_2688.JPG

Burn & Draw
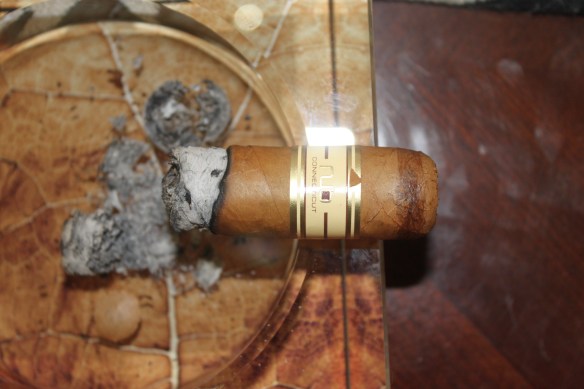
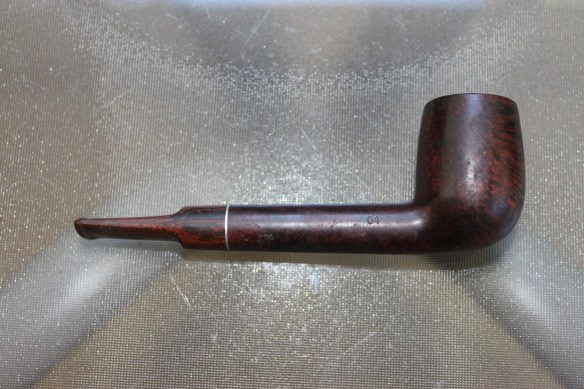
The lighting process was easy and the cigar seemed to take an immediate and even light. The draw was nice, not too easy and not too hard, just an easy medium. As the cigar went on, it did start to burn unevenly a bit. You can see the unevenness in the picture above. Then it even back out which you can see in the next pic.

IMG_2689.JPG

Strength & Body
Immediate impression is that it is a medium. As it goes on, it gains a little more strength. So medium plus at max. There was not a lot of complexity in terms of flavor variation and transitions. It was rather bland overall.

Final Thoughts
This cigar had good construction which is expected of anything coming from JC Newman. When it came to flavor and actually enjoying the smoke, it really wasn’t there for me. I found it to be bland and boring. Would I smoke it again and give it another chance? Yes. The notes of earthiness and oak weren’t bad but it got boring. I would be willing to give them another shot to see if my palate picks up something new. At an “everyday smoke” price, it’s well constructed and would be one that I could give out at any occasion and not feel bad about price or strength. Perhaps I will give it another chance soon!

IMG_2690.JPG

Sourced: Locally
Brand Information: El Baton Website

Peterson Tankard Pipe Refurbish

A friend sent me a Peterson Tankard that he had picked up. He asked me to make it shine like new again. So here are the before and after pics of the process! It’s hard to tell in the before pictures but there was a decent amount of oxidization that had occurred to the stem. I usually get better pictures than this so I’m sorry for the poor lighting/pictures. Trust me though, it really was an awesome refurb!

IMG_2654

IMG_2655.JPG

IMG_2656

IMG_2657.JPG

IMG_2658.JPG

IMG_2659.JPG

Stem
Even with the flash on my camera, it’s hard to tell that there was quite a bit of oxidation that needed to be removed. I wet sanded the stem using 500 grit, 1000 grit, and 1200 grit. The stem was then sanitized and cleaned on the inside. The stem is finished with a buffing of red tripoli and carnauba wax.

Bowl
This bad boy was pretty clean on the inside. There wasn’t a lot of carbonation that had to be removed. BUT the bowl had some serious ghosting, whatever tobacco that was smoked in this pipe before was very strong. So I reamed the bowl down and added a professional grade bowl coating after sanitation to help dispel any remaining ghosting (per request of my friend). The shank was then cleaned and sanitized as well. The metal ring was shined up with some fine steel wool. The bowl was finished with a quick buffing of red tripoli and carnauba wax.

IMG_2661

IMG_2662.JPG

IMG_2663.JPG

IMG_2664.JPG

IMG_2666.JPG

IMG_2667.JPG

IMG_2669.JPG

I’m sorry that the lighting isn’t that great in these pictures. The transformation really was awesome! My friend will receive his pipe back soon and I can’t wait for him to light it up. Thank you for reading about this refurb and let me know your thoughts! Thanks!

Nub Connecticut Review

IMG_2644

The Nub Connecticut is not new for me but it has been awhile since I smoked one. I decided that I wanted a morning smoke with my coffee. The shorter size of the Nub line lent itself to be a great option for starting the day off right! Here are my thoughts on this cigar!

Blend Profile
Wrapper: Connecticut
Binder: Nicaragua
Filler: Nicaragua
Country of Origin: Nicaragua

Appearance & Smell
The pre-light appearance is a smooth, tan wrapper that looks delicious. The pre-light smell has creaminess and some cedar notes.

Smoke Preparation
I used my Xikar Xi1 to put a flat cut on the very end of the cap. I also used my Xikar Enigma double torch to get the cigar lit.

IMG_2645

Burn & Draw
This had a great draw for a morning cigar. It was a little bit easier to pull through than I like my other cigars but it was nice to have an easy smoke in the morning. Burn stayed mostly even. You can see some slight unevenness in the picture above but it was never enough that I felt like I needed to touch it up,

img_2646.jpg

Strength & Body
I found this cigar to be mild to medium. The Connecticut wrapper keeps it like but the Nicaraguan filler has a little more strength to it. The flavor was great! It stayed pretty true to the pre-light smell, lots of creamy richness, cedar notes, and a little bit of nuttiness.

Final Thoughts
This is definitely a smoke I would have again as a morning cigar. It paired very well with my coffee, the draw was easy, the strength was never overwhelming. Overall, I found it to be a great way to start my day and I would definitely buy some more of these! I will note that this cigar might be a little more mellow than other Nub Connecticuts because it was in my humidor since 5-18-16.

Source: Purchased Locally

IMG_2647

Golden Grain Pipe Refurb

This was another pipe that came to me in a lot of estate pipes. It’s a beautiful little Golden Grain. The grain in the bowl was gorgeous, so I just couldn’t wait to get my hands on the stem to make the whole pipe stand out again. Here are the before pictures:

IMG_2535.JPG

IMG_2536.JPG

IMG_2537.JPG

IMG_2538.JPG

IMG_2539

Stem
The stem had some fairly heavy oxidation, so I wet-sanded it with 500 grit, 1000 grit, and 1200 grit. The tooth marks were shallow enough that they came out with the oxidation removal. The stem was finished up with a buffing of red tripoli and a buffing of carnauba wax.

Bowl
I reamed the char/layers out of the bowl and sanitized it with vodka. The vodka helped to clean out the extra carbon and dust. The shank received the same vodka cleaning with q-tips as well. The top of the bowl had some buildup, so I topped it by dry-sanding with 500 grit, 1000 grit, and 1200 grit. Then I re-stained the top to match the rest of the bowl. The bowl was also buffed with red tripoli and carnauba wax.

Here are the after pics!

IMG_2553.JPG

IMG_2554.JPG

IMG_2555.JPG

IMG_2556.JPG

IMG_2557.JPG

Thanks for looking!

Wellington Churchwarden Refurb

This was a nifty pipe that came to me in a lot that I purchased from an estate sale. It looked like it had been smoked once or twice but it still had a sale price sticker on the bottom of the stem near the button. I thought it was odd that it wasn’t removed when it was smoked. I’m not sure if it was the original sale price sticker or a second hand sale price sticker but it’s cool either way!

Here are the before pictures!

IMG_2433

IMG_2434

IMG_2435

IMG_2436

IMG_2437

Stem
This pipe had quite a bit of oxidation. It looks like it had some water/liquid spots on it from long ago. Luckily I didn’t have to fight with tooth marks! A quick wet-sanding with 500 grit, 1000 grit, and 1200 grit. It was finished with a quick buffing of red tripoli and a buffing of carnauba wax. I did remove the sticker to gain uniformity in the vulcanite.

Bowl
Since the bowl only seemed to be smoked once or twice, there wasn’t a lot to clean out. I did a very light reaming and cleaned/sanitized it with q-tips and vodka. There were a couple spots on the outside that needed a quick buff, so they were also buffed with red tripoli and carnauba wax.

Here is the finished product!


IMG_2440

IMG_2441

IMG_2442

img_2443.jpg

img_2444.jpg

The pipe turned out perfect! It’s hard to tell from the lights and reflections but the button end on each side of the stem turned out awesome! I can’t wait for this pipe to find a new home!

Thanks for taking a look!

Celius Root Pipe Refurb

I must admit that I had never heard of the Celius Root pipes before I found this one in a large group of pipes I had purchased. When I first held it, I could tell that it was a nice pipe and it felt good in the hand. After doing some research, it turns out that I was right, it is a nice pipe line. This one says “Celius Root Denmark Pawn 19”. The stem was the main part that needed love but the bowl was already pretty good. Here are the before pics:

IMG_2394.JPG

IMG_2395

IMG_2396

IMG_2398

IMG_2399.JPG

Stem
To get rid of the oxidation and the tooth marks, I wet-sanded the stem with 500 grit, 1000 grit, and 1200 grit. I then cleaned the inside of the stem with pipe cleaners and high proof vodka. The stem is finished up with a buffing of red tripoli and a buffing of carnauba wax.

Bowl
The bowl really didn’t have a lot of cake build up so I just did a light reaming. The reaming revealed a couple of crags inside the bowl and those drive me crazy. To get rid of the crags, I used a professional grade bowl coating on the inside to make it all even. Then I used some q-tips and brushes with vodka on the inside of the shank to clean it up. The crags on the rim all seamed pretty good without any burns or cake so I left it the way that it was. The bowl received a very light buffing of carnauba wax on the bottom side of the shank where it was smooth.

Here is the finished product:

IMG_2400.JPG

IMG_2401.JPG

IMG_2402

IMG_2403

IMG_2404.JPG

Thank you for looking and feel free to let me know what you think of the finished product!

Kaywoodie Regent 04 Refurb (PC)

This is a Kaywoodie Regent that I was able to trade for. I’m currently working on trying to collect every shape that Kaywoodie made in the Regent line. They are the only Kaywoodie pipes to ever carry a cumberland stem and I love ’em! This wasn’t too big of a refurb job. I left a little bit of blackening on the rim because I didn’t want to shorten the bowl too much.

Check out the “before” and “after” pics!

IMG_1891

IMG_1892

IMG_1893

IMG_1894

IMG_1895

IMG_1896

IMG_1906

IMG_1907

IMG_1908

IMG_1909

IMG_1910

IMG_1911

If you ever get a lead on any Kaywoodie Regents, please let me know! Thanks!