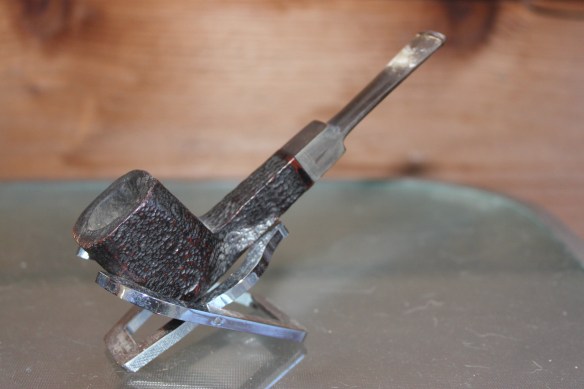
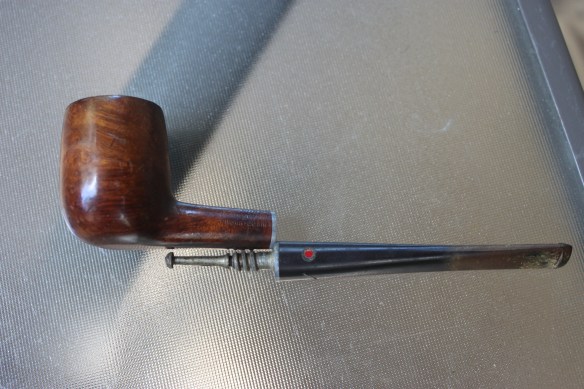
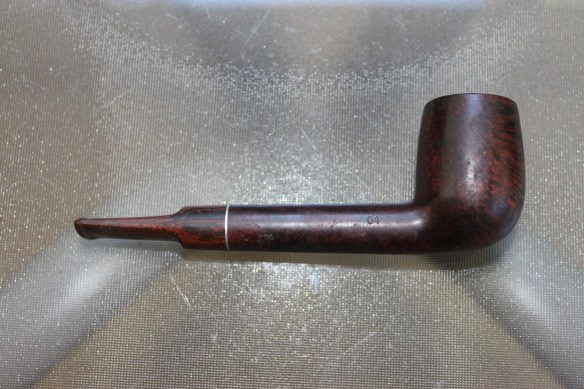
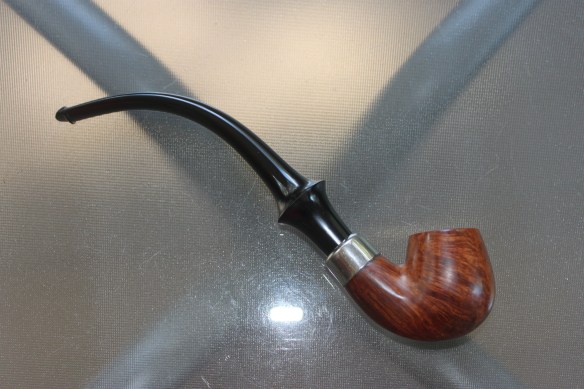
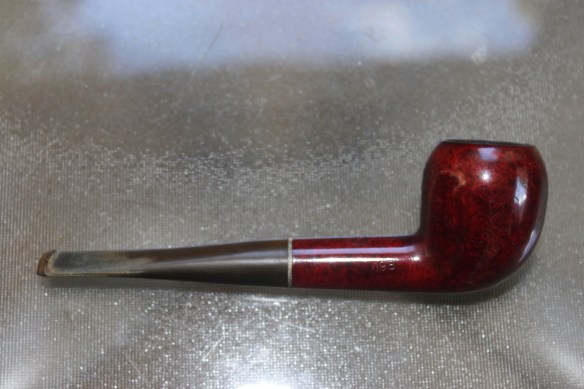
This was a nifty pipe that came to me in a lot that I purchased from an estate sale. It looked like it had been smoked once or twice but it still had a sale price sticker on the bottom of the stem near the button. I thought it was odd that it wasn’t removed when it was smoked. I’m not sure if it was the original sale price sticker or a second hand sale price sticker but it’s cool either way!
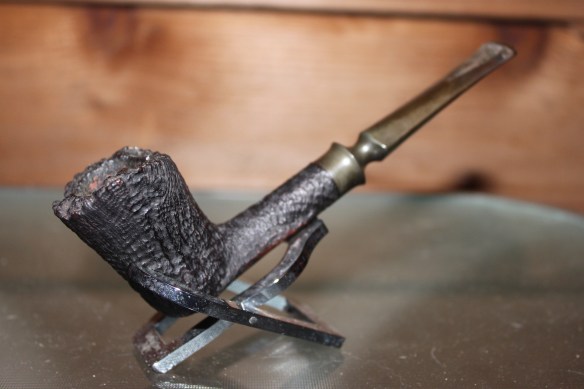
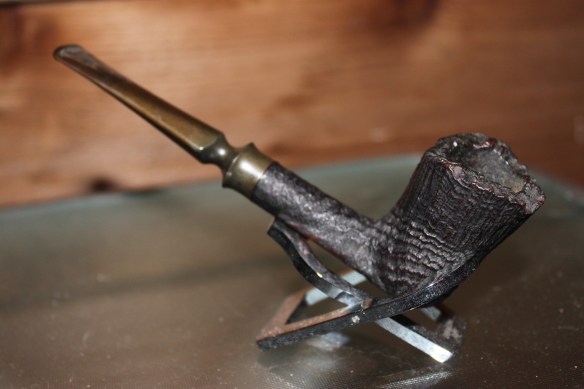
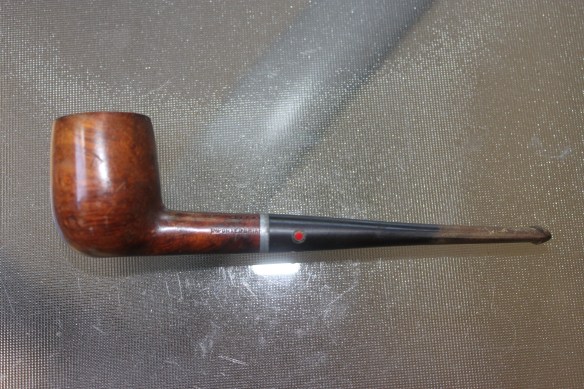
Here are the before pictures!


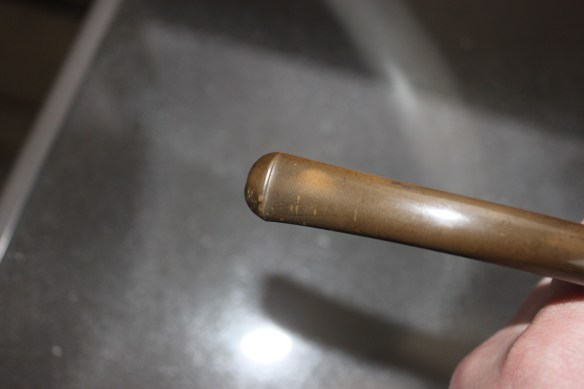

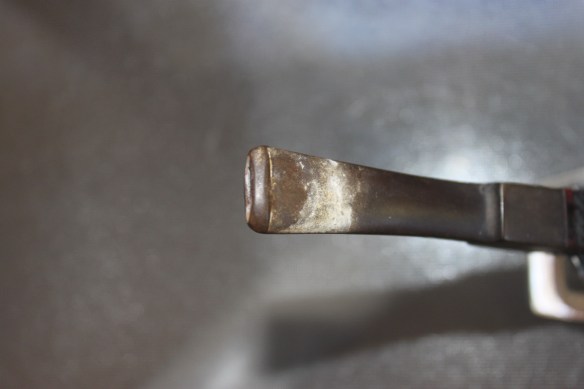
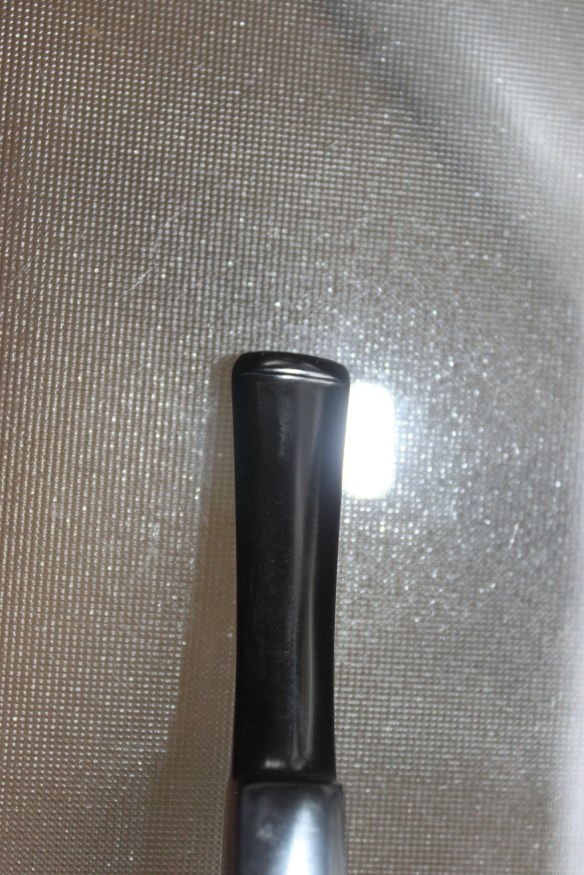
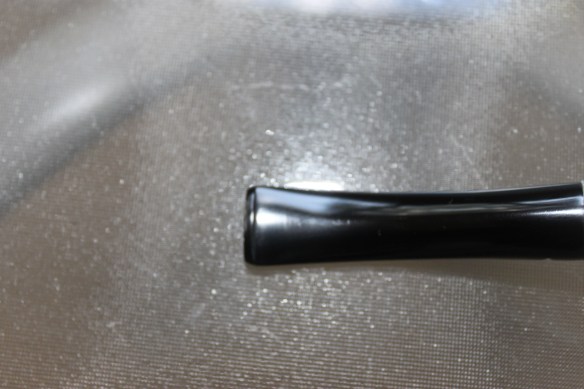
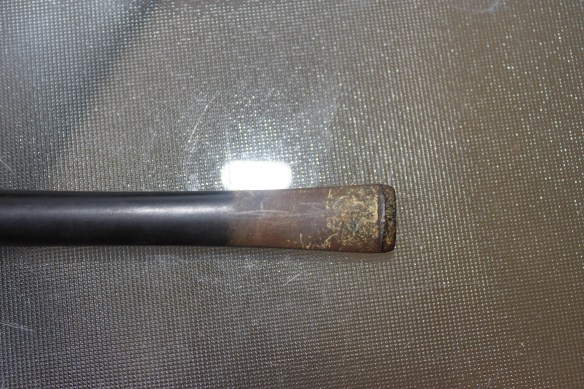
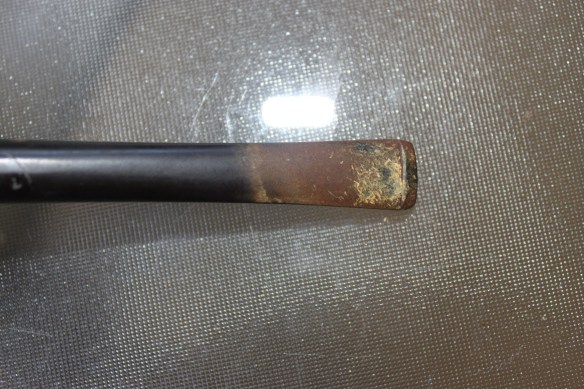
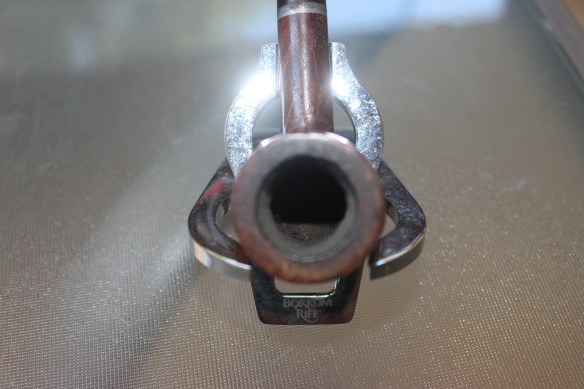
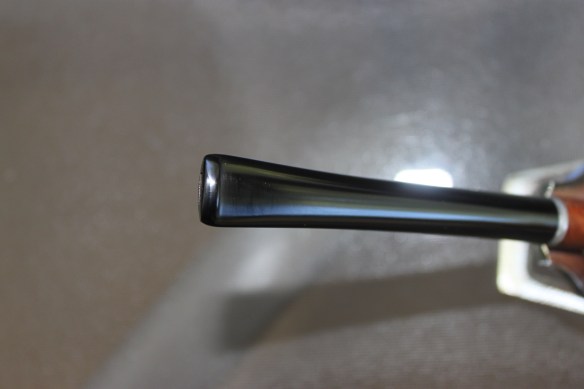
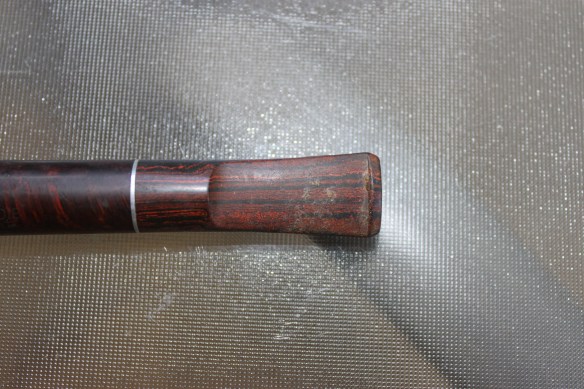
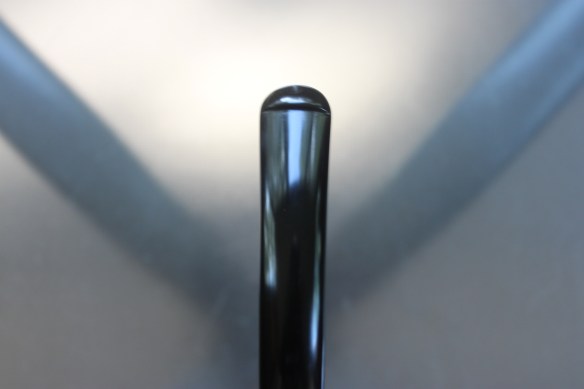
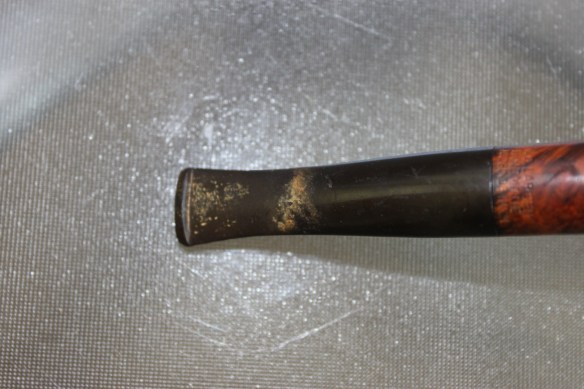
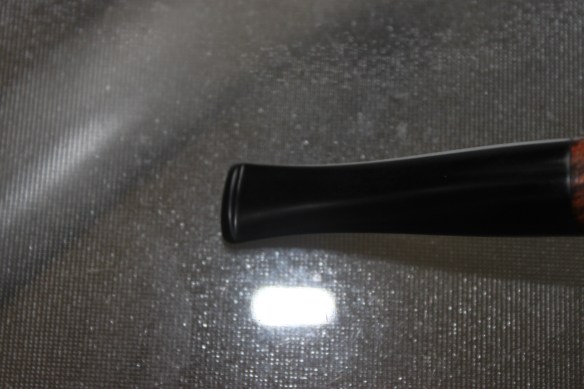
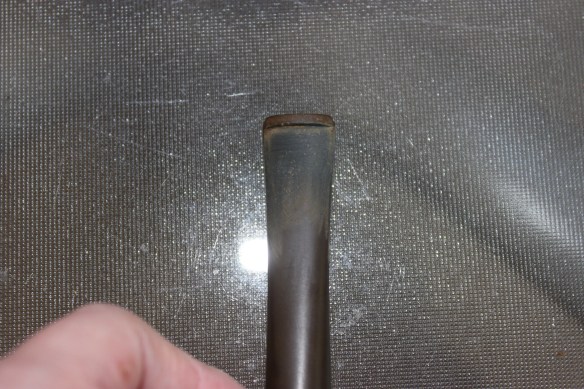
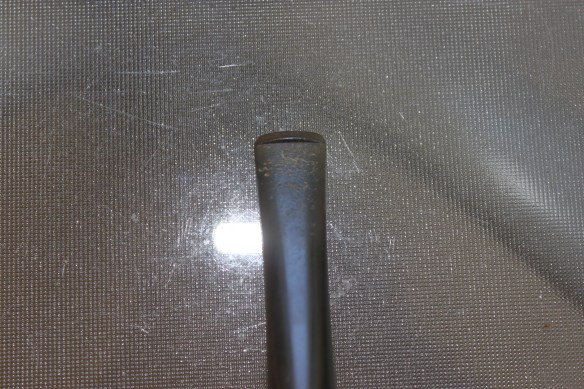
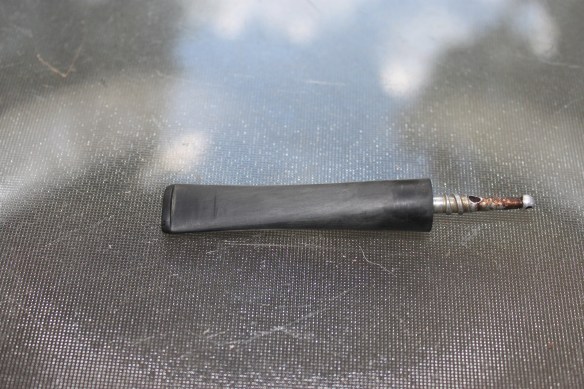
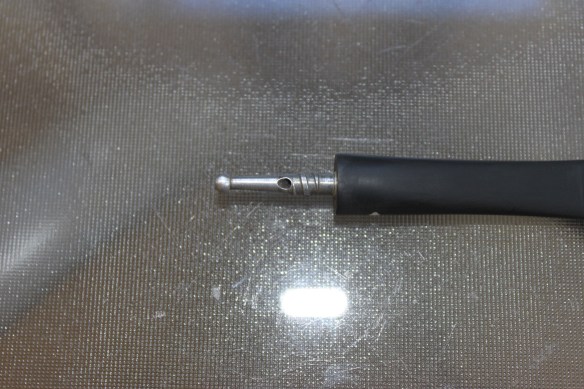
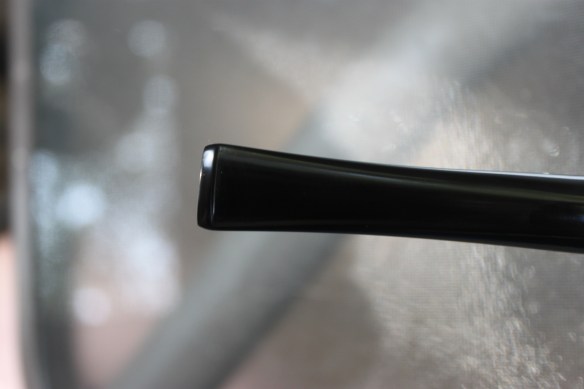
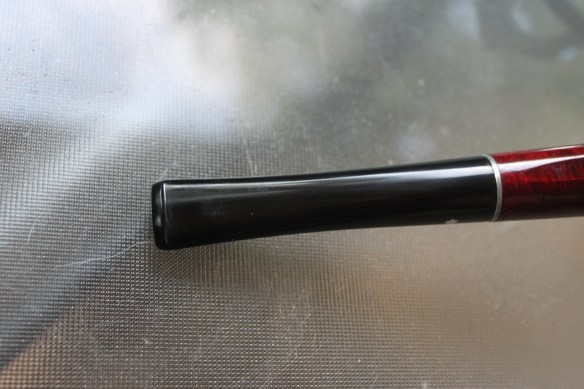
Stem
This pipe had quite a bit of oxidation. It looks like it had some water/liquid spots on it from long ago. Luckily I didn’t have to fight with tooth marks! A quick wet-sanding with 500 grit, 1000 grit, and 1200 grit. It was finished with a quick buffing of red tripoli and a buffing of carnauba wax. I did remove the sticker to gain uniformity in the vulcanite.
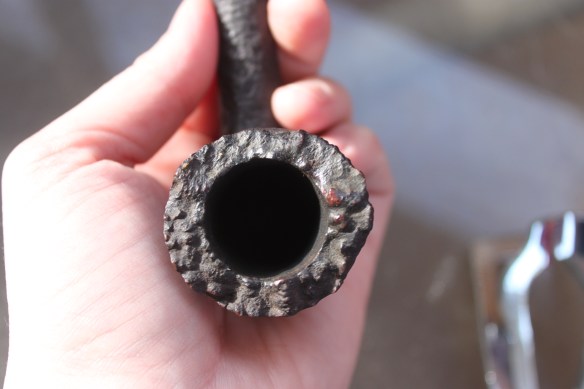
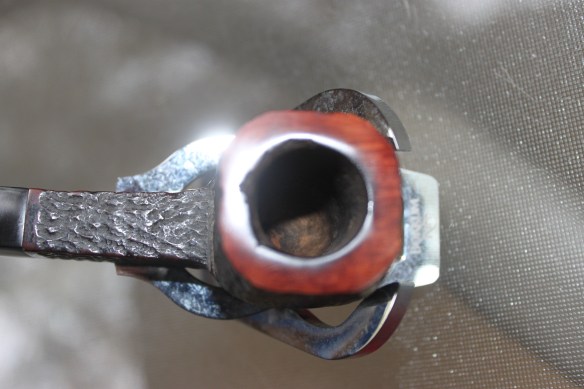
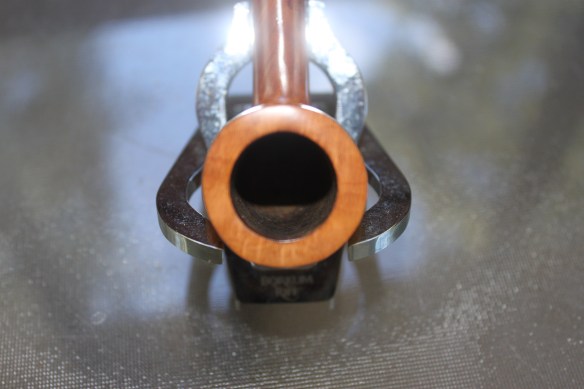
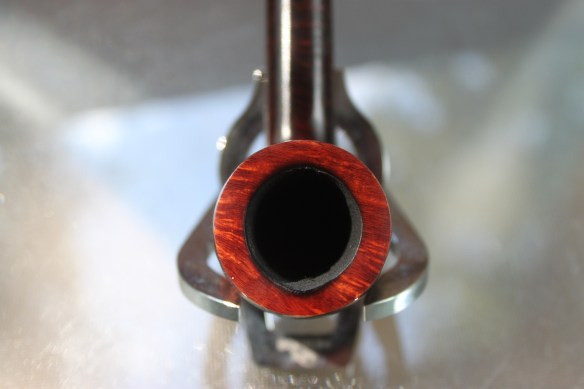
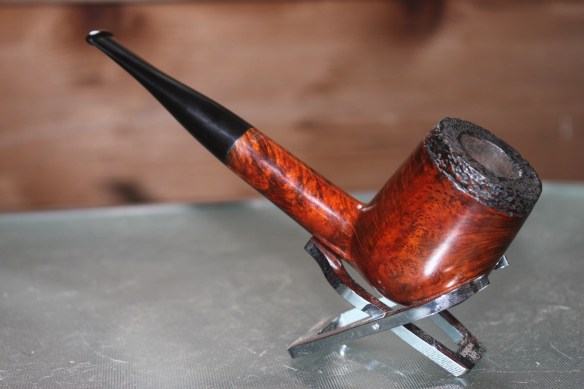
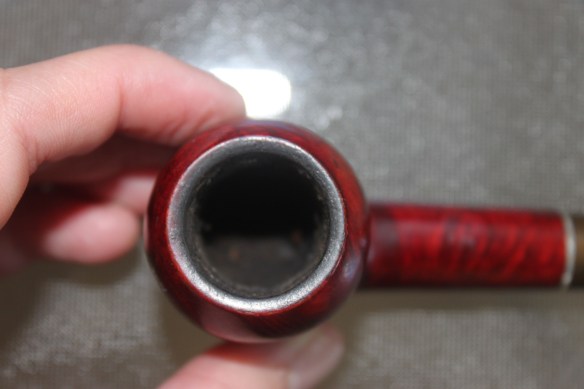
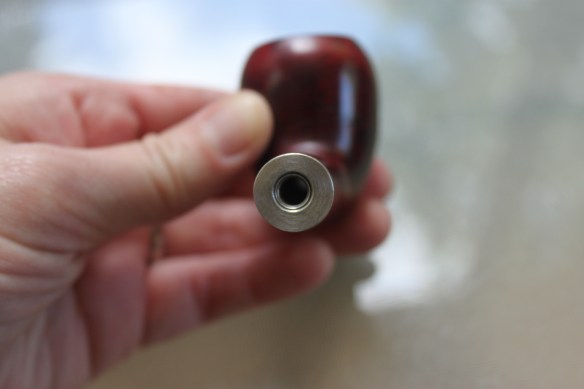
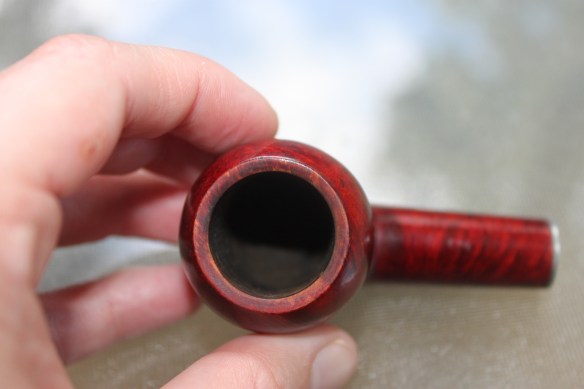
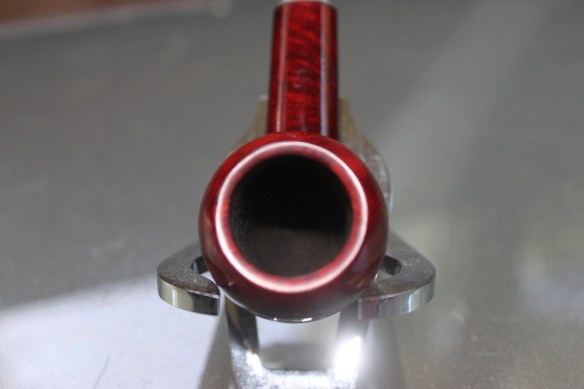
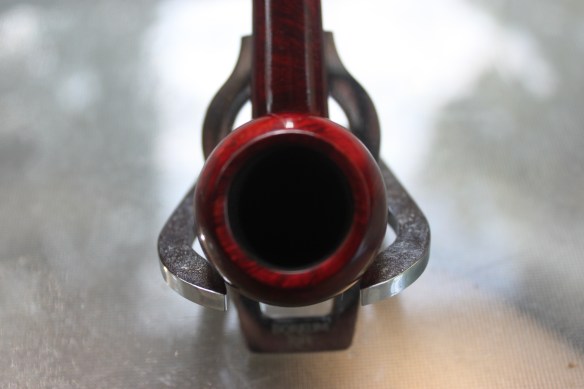
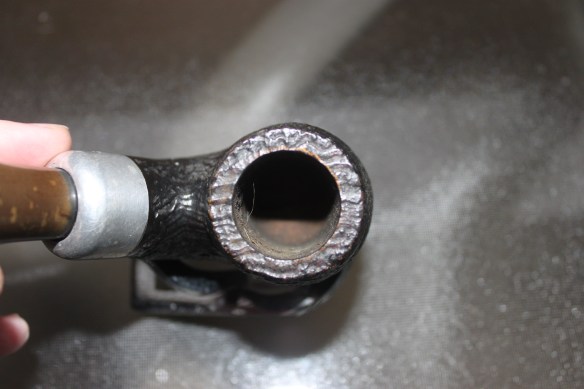
Bowl
Since the bowl only seemed to be smoked once or twice, there wasn’t a lot to clean out. I did a very light reaming and cleaned/sanitized it with q-tips and vodka. There were a couple spots on the outside that needed a quick buff, so they were also buffed with red tripoli and carnauba wax.
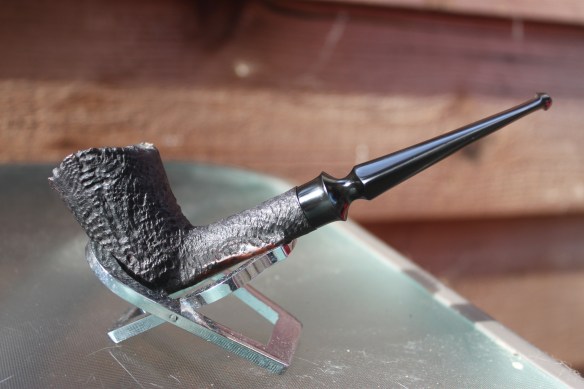
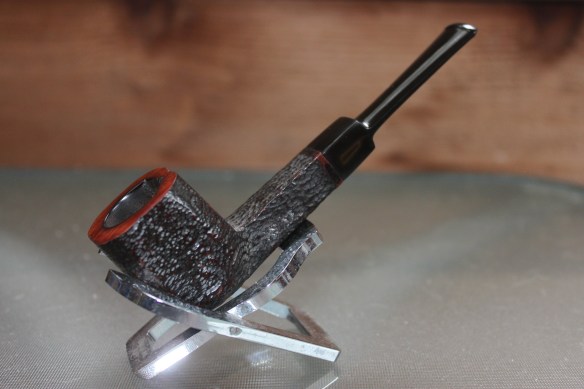
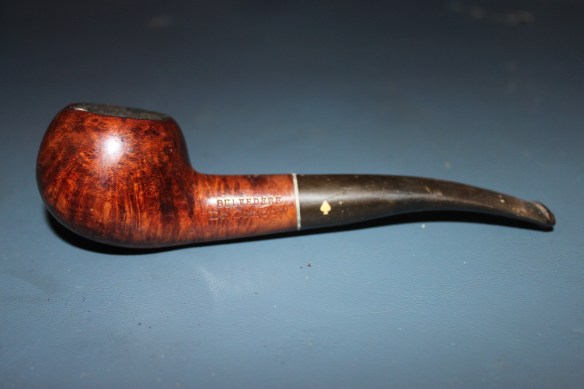
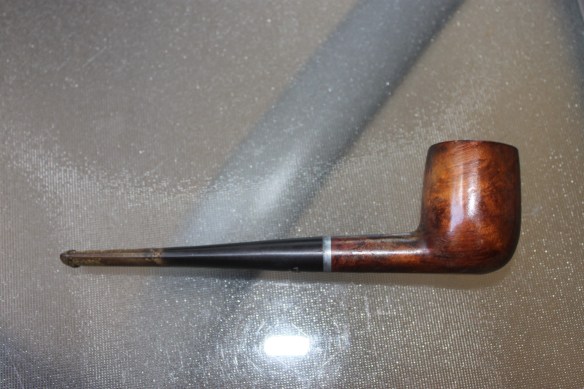
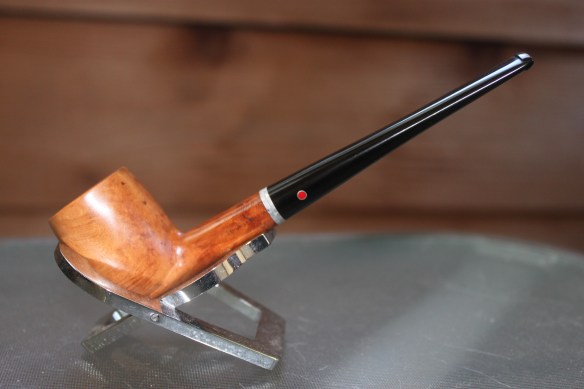
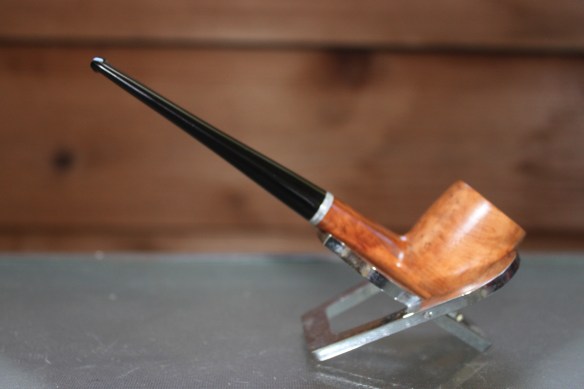
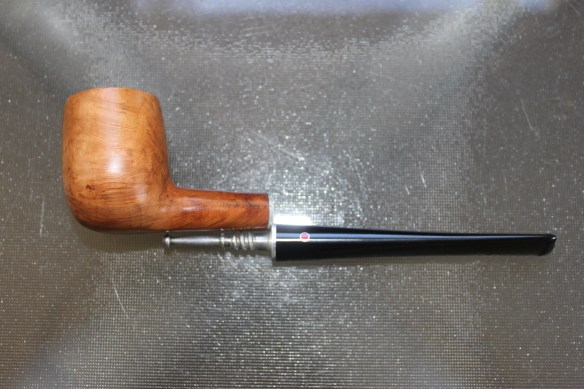
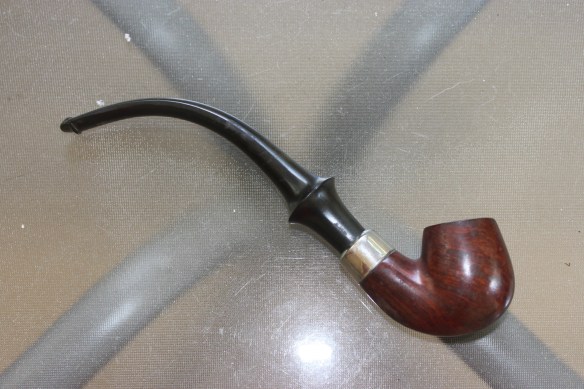
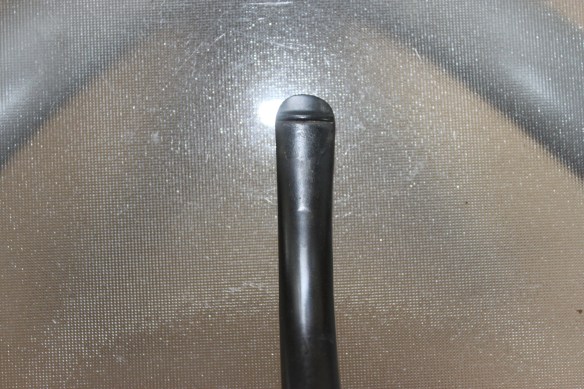
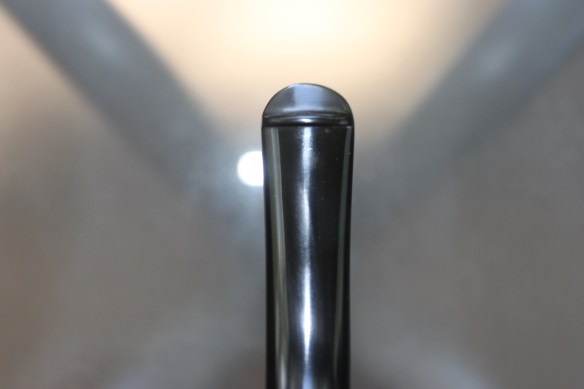
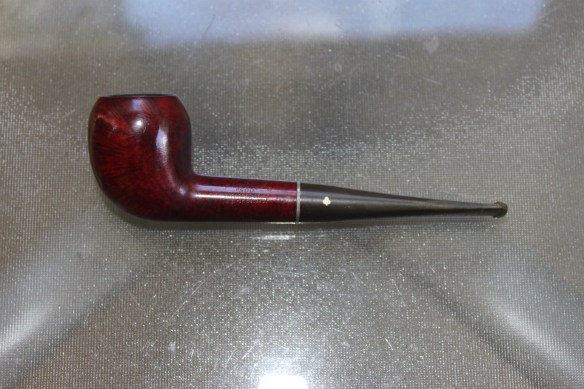
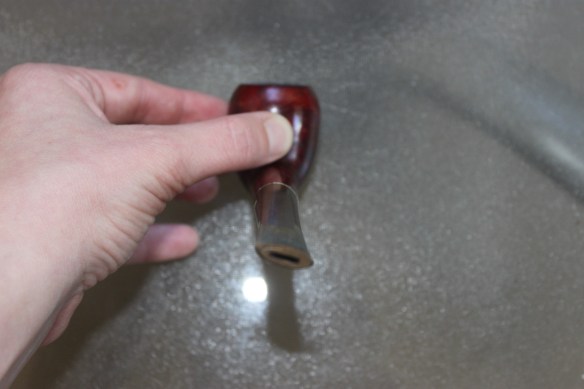
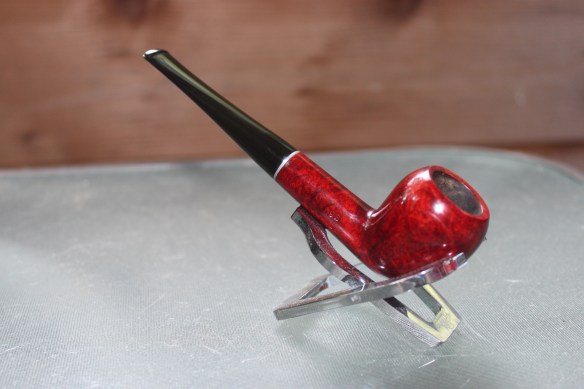
Here is the finished product!
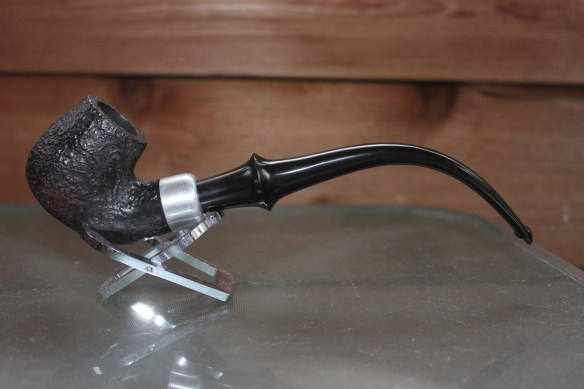


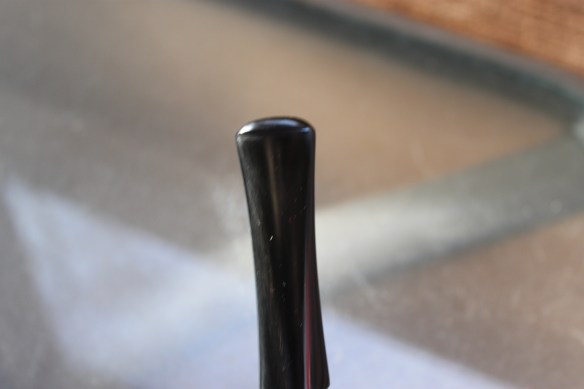
The pipe turned out perfect! It’s hard to tell from the lights and reflections but the button end on each side of the stem turned out awesome! I can’t wait for this pipe to find a new home!
Thanks for taking a look!