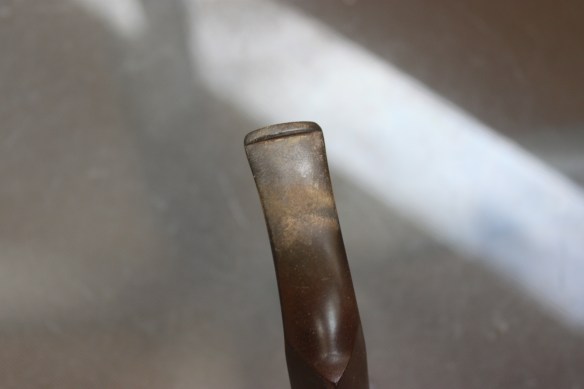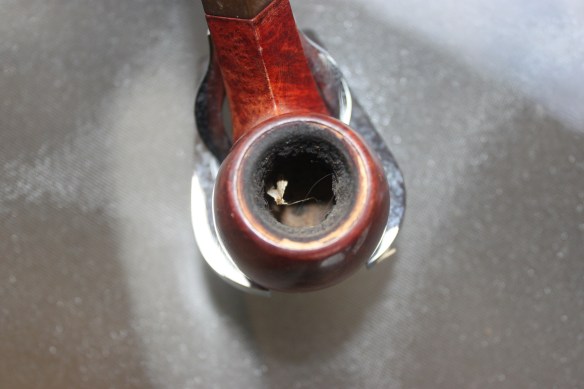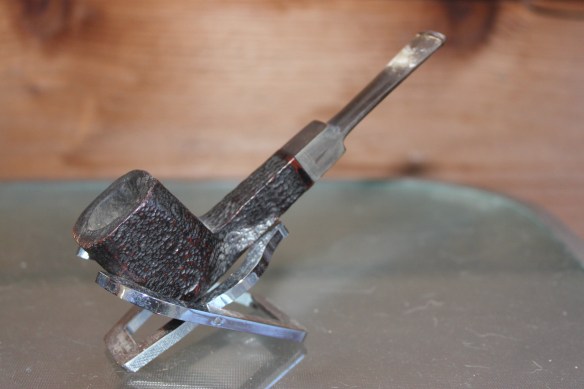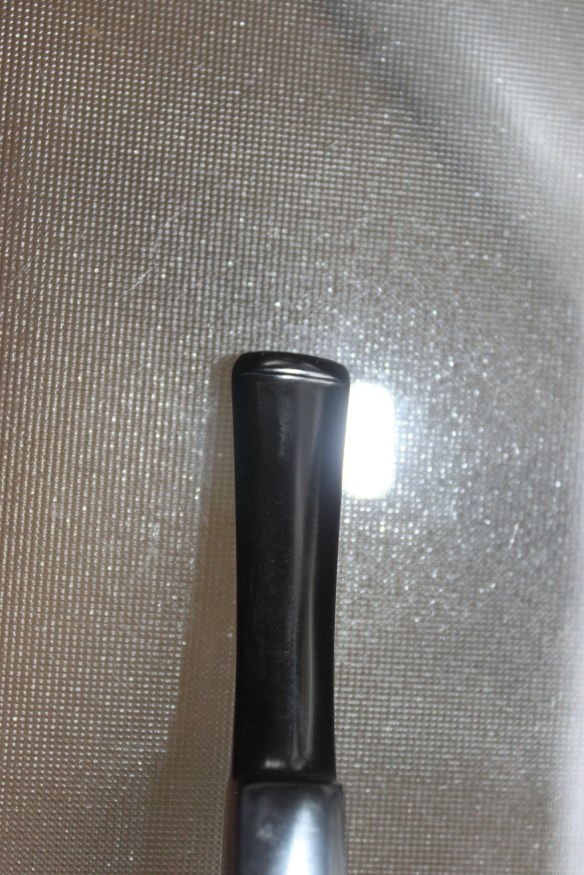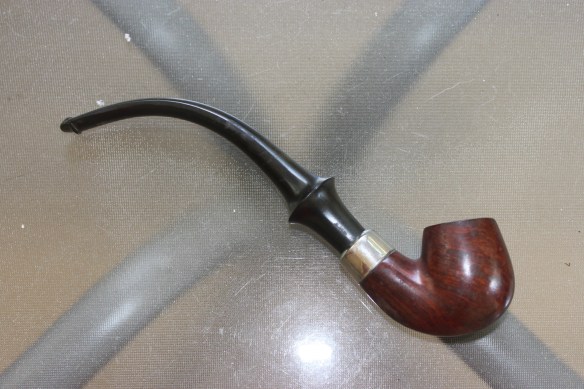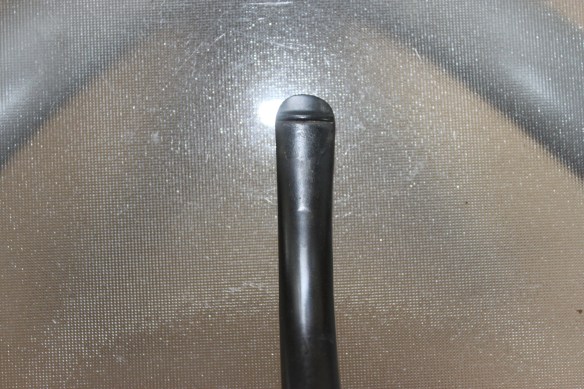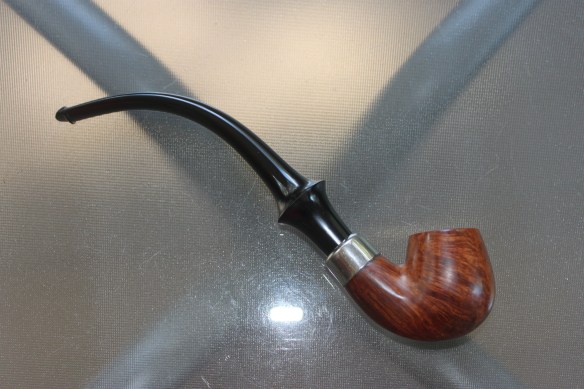
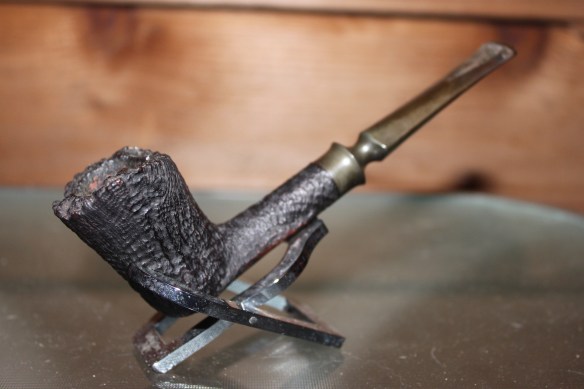
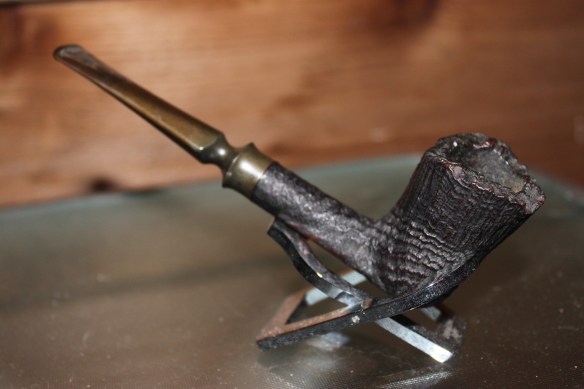
I must admit that I had never heard of the Celius Root pipes before I found this one in a large group of pipes I had purchased. When I first held it, I could tell that it was a nice pipe and it felt good in the hand. After doing some research, it turns out that I was right, it is a nice pipe line. This one says “Celius Root Denmark Pawn 19”. The stem was the main part that needed love but the bowl was already pretty good. Here are the before pics:


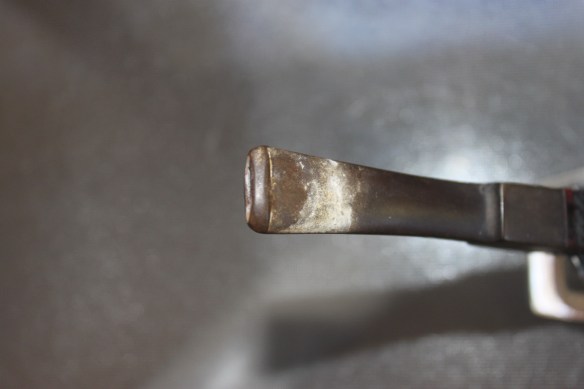
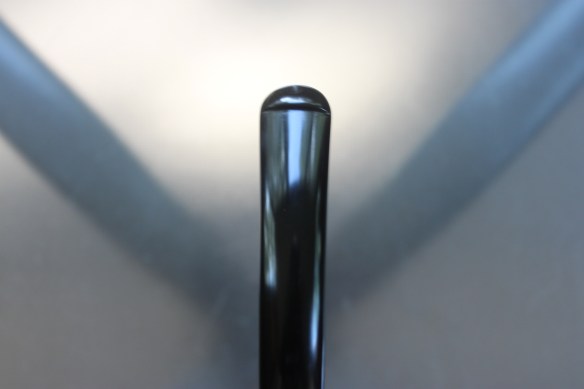
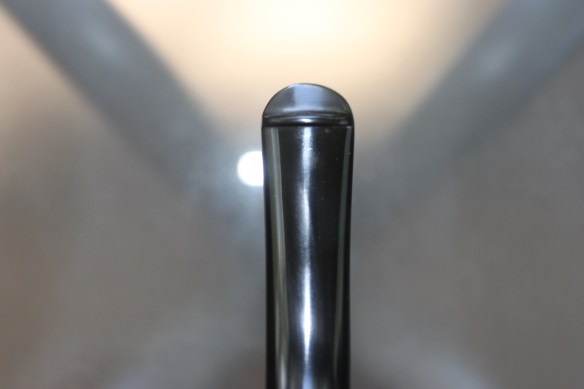
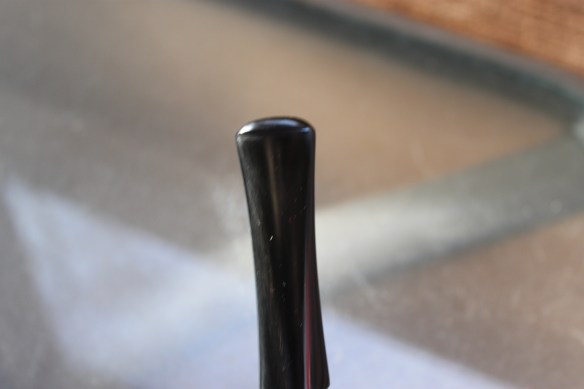
Stem
To get rid of the oxidation and the tooth marks, I wet-sanded the stem with 500 grit, 1000 grit, and 1200 grit. I then cleaned the inside of the stem with pipe cleaners and high proof vodka. The stem is finished up with a buffing of red tripoli and a buffing of carnauba wax.
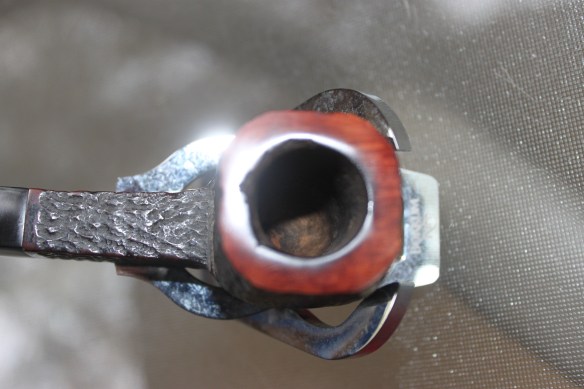
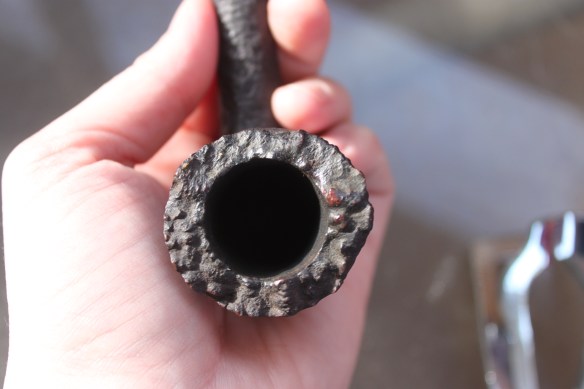
Bowl
The bowl really didn’t have a lot of cake build up so I just did a light reaming. The reaming revealed a couple of crags inside the bowl and those drive me crazy. To get rid of the crags, I used a professional grade bowl coating on the inside to make it all even. Then I used some q-tips and brushes with vodka on the inside of the shank to clean it up. The crags on the rim all seamed pretty good without any burns or cake so I left it the way that it was. The bowl received a very light buffing of carnauba wax on the bottom side of the shank where it was smooth.
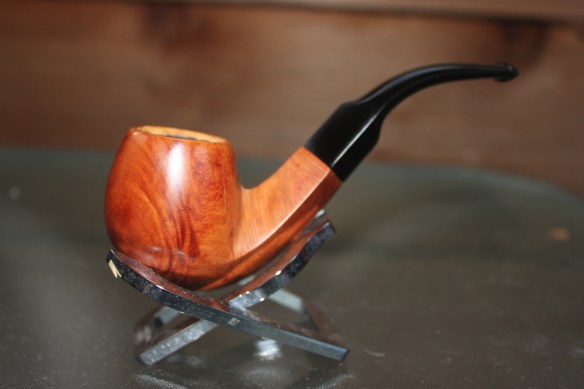
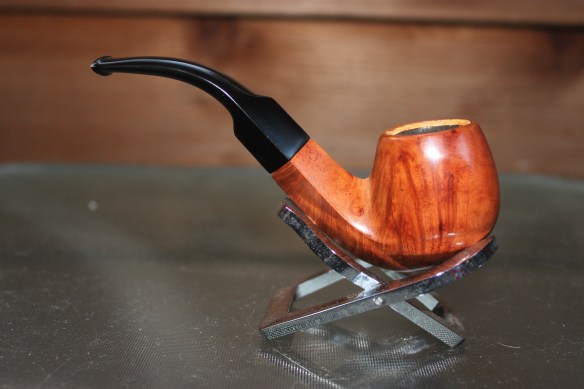
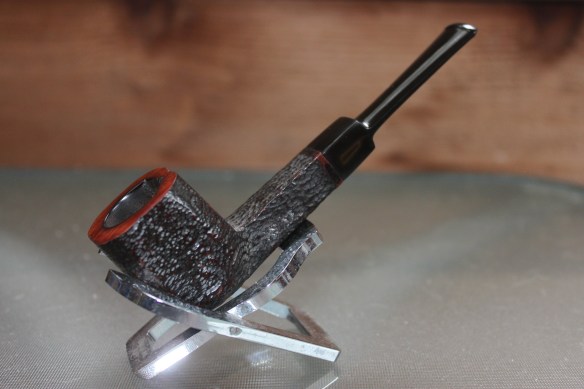
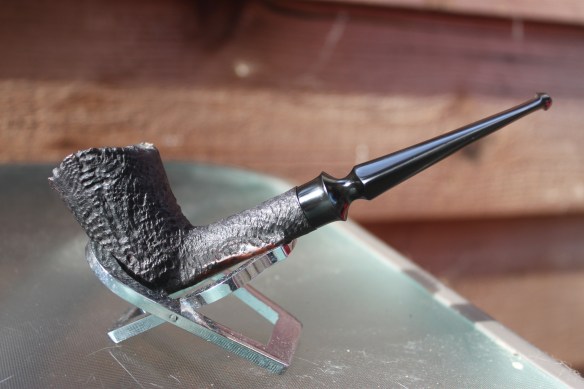
Here is the finished product:


Thank you for looking and feel free to let me know what you think of the finished product!